I love quilt alongs and the best part is seeing the variety you all are making! It makes my day. 🙂
This week we are getting down to the nitty gritty and getting the quilt ready for machine quilting next week. But don’t worry, if you aren’t to that point yet, that’s perfectly fine. These quilt along posts will stay up indefinitely and you can always refer back to the intro post for links to each specific QAL step.
![]()
Click here for the quilt along schedule and supply list.
Preparation is Key
Getting ready to machine quilt is a little like getting ready to paint a house. The actual painting isn’t hard – it’s all the prep work (ike moving furniture and taping down the windows) that takes time and gets in the way of the fun part. So take your time to prepare the quilt and baste it and don’t feel like you have to rush this part. In fact, I always set aside a separate day for backing and basting and then give myself a little reward when my least favorite part of the process is finished!
A tip on choosing batting: if you want to hide machine quilting “irregularities” and give your quilt that antique puckered look, choose a cotton batting. If you want to give your stitches more definition and a loftier look, choose wool. I usually stay away from polyester batting because it’s very slippery and usually causes me to get puckers on the back of my quilt. Cotton and wool cling to the quilt which gives you better control while quilting.
Sewing the Backing Fabric
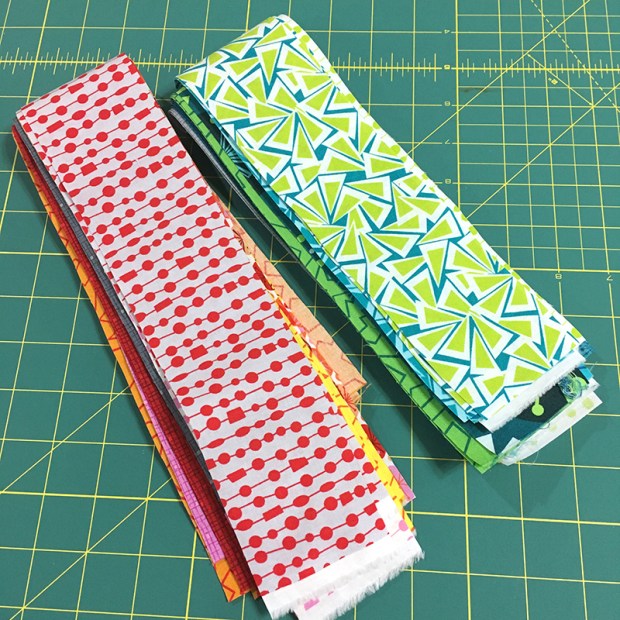
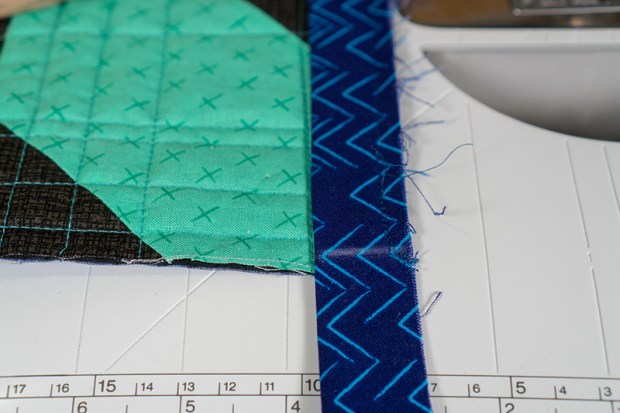
You want to ensure that the backing fabric is at least 3-4″ bigger on all sides of the quilt top, more if you plan to long arm quilt. The easiest way to do this is to cut two large pieces of fabric and sew them together. For example, my quilt measures 60 x 72. So If I cut 4 yards into 2 two -yard pieces that will give me one big rectangle approximately 72″ x 80″ to work with once the chunks are sewn together parallel to the selvage.
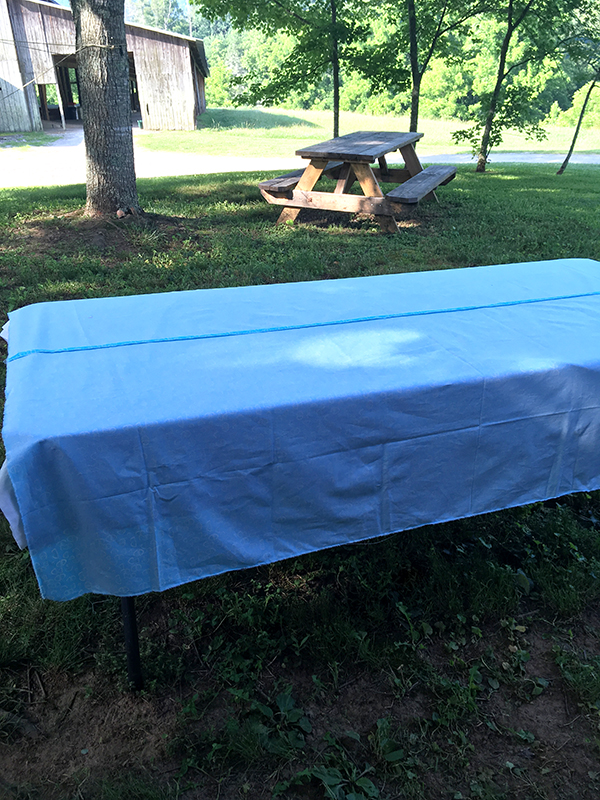
I basted this quilt at a recent teaching retreat I participated in. All you need is one table for basting – work on the middle and then the sides as needed.
Spray Basting the Quilt
If you prefer to pin baste, click here for an alternate tutorial.
My basic method for spray basting is to spray the wrong side of the top and bottom layers of the quilt outside, then bring them inside for assembly. For a slight variation of this technique, click here for my wall basting tutorial.
My favorite basting spray is 505. Be sure to shake the can before you use it and spray a little on a scrap to make sure the nozzle isn’t clogged. If the spray doesn’t flow out evenly, some of the chemical can accumulate and leave a stain on your quilt, so always test it first.

At first I tried an off brand that a friend had but I didn’t like it because it wasn’t sticky enough. Fortunately one of the other retreaters had some 505 which they let me use for my quilt!
The basting spray does not cause any problems with machine quilting, and if you notice it starting to gum up the needle at all, just wipe it away and you’ll be all set!
Lay out all 3 layers of the quilt – backing, batting, and quilt top on a large table (or design wall). Spend time smoothing out each layer with a long acrylic ruler before adding the next layer. This can take awhile but is worth it so that the quilt is nice, flat and smooth.

Notice the leftover batting – most of it will get trimmed away after basting. I like enough extra batting and backing so that I don’t have to worry about getting my quilt top perfectly centered.
You can also use the acrylic ruler to scooch any quilt blocks back into place and straighten out any wonky seams as needed. Smooth out any bubbles as needed so that the quilt is nice and flat.
The last step is to iron the quilts on both sides – front and back. This helps set the glue and allows you to work out any wrinkles one last time before you quilt. I use a hot dry iron ,with no steam. You can iron the quilt on an ironing board, or on a table to give you more room. Because there’s batting inside, the quilt acts as it’s own pressing surface.

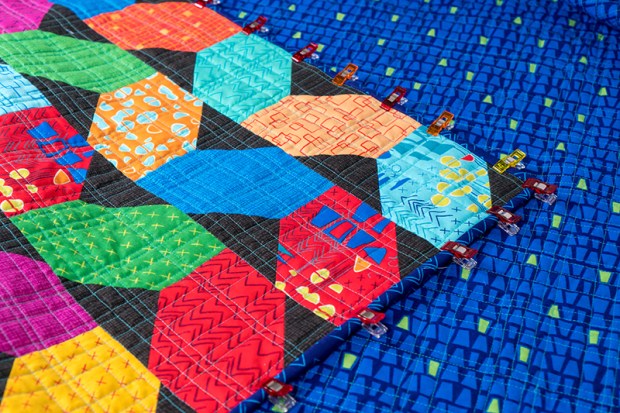
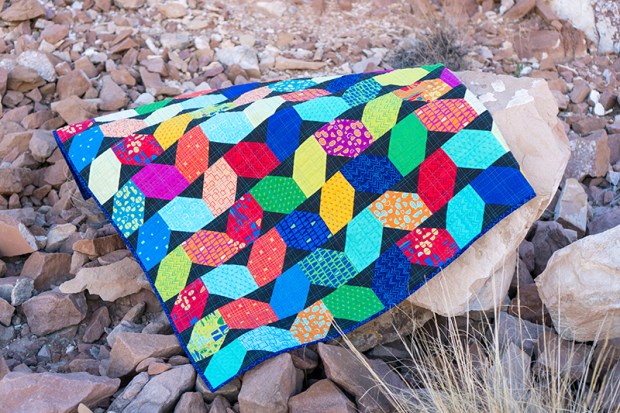
My quilt is basted and ready to quilt!
Now it’s your turn! Get your quilt basted and we’ll start machine quilting next week. We’ll have extra time for quilting since it’s my favorite part!
Show Your Work
Don’t forget to share your progress in one of 3 ways (or all of them if you like):
(1) In my Christa Quilts Facebook group
(2) On Instagram, #dotndashqal
(3) Share a link to your blog, or leave a comment about your process on this post.

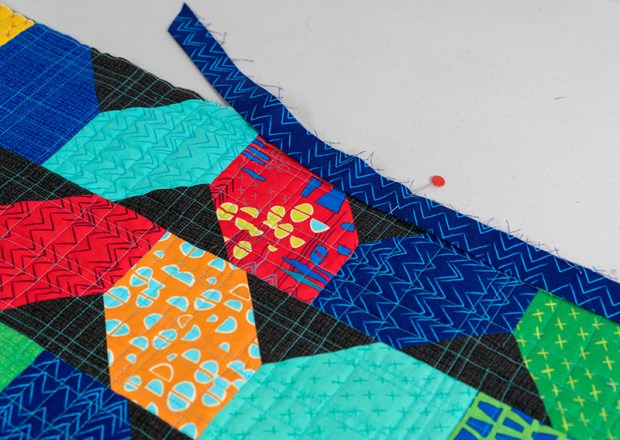
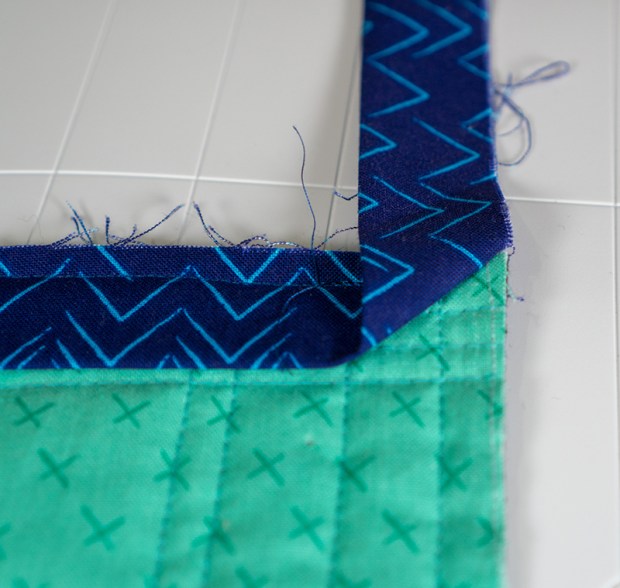
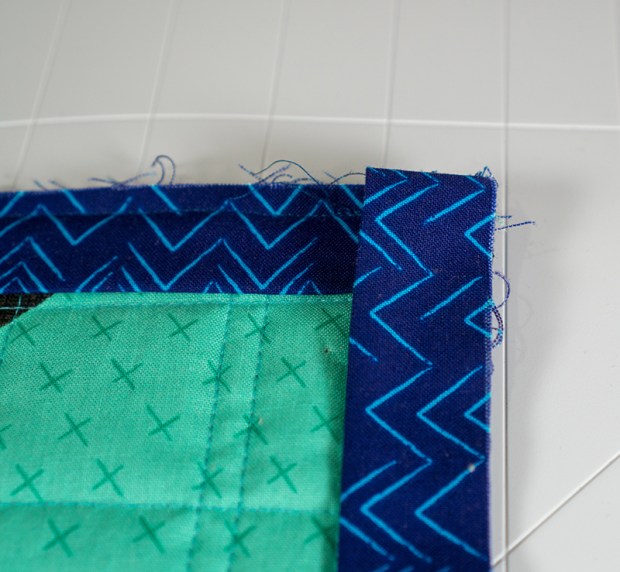
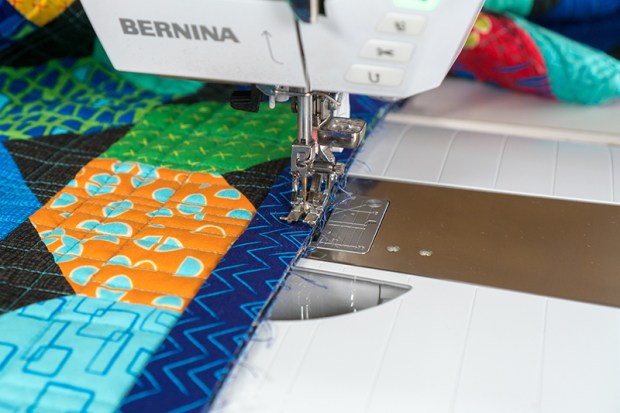
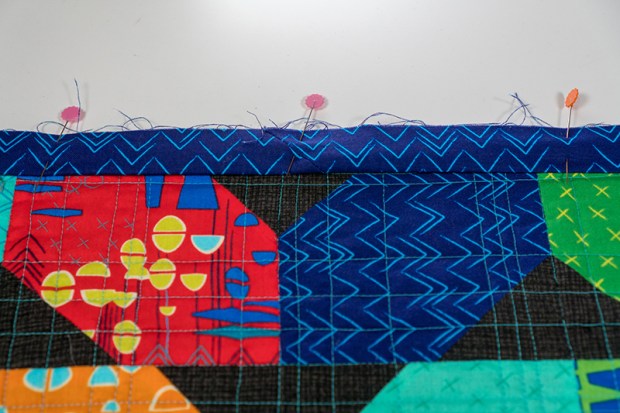
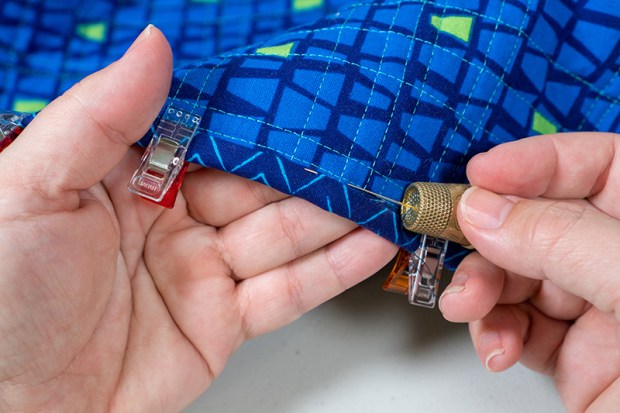
Trim the batting so that there’s only 1-2 inches sticking out on all sides of the quilt. This will prevent the excess from flipping under the quilt and getting caught in the machine.


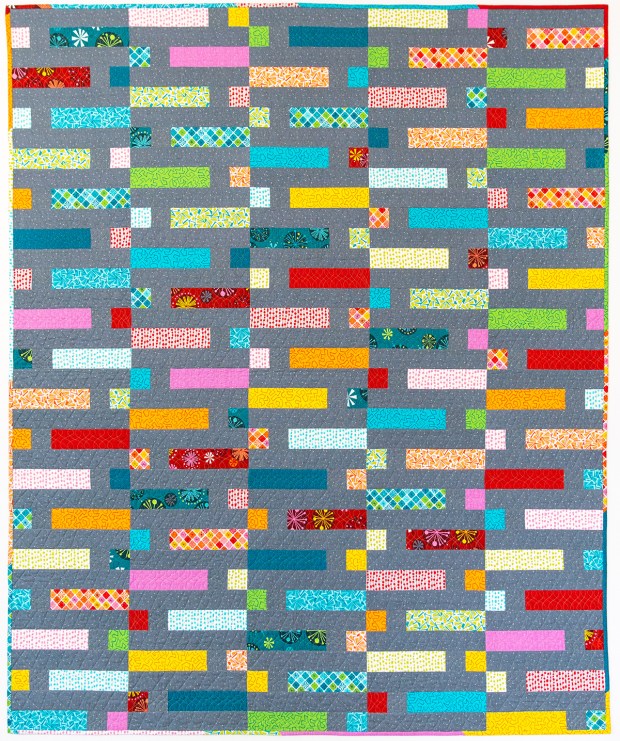
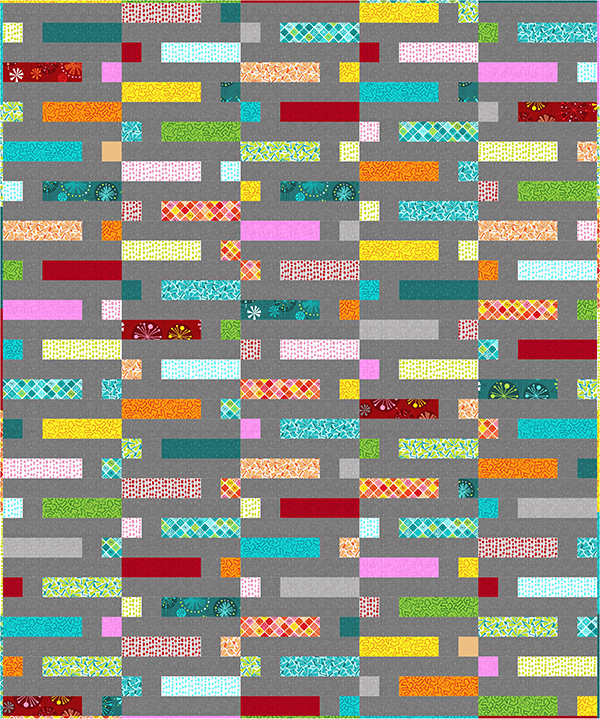
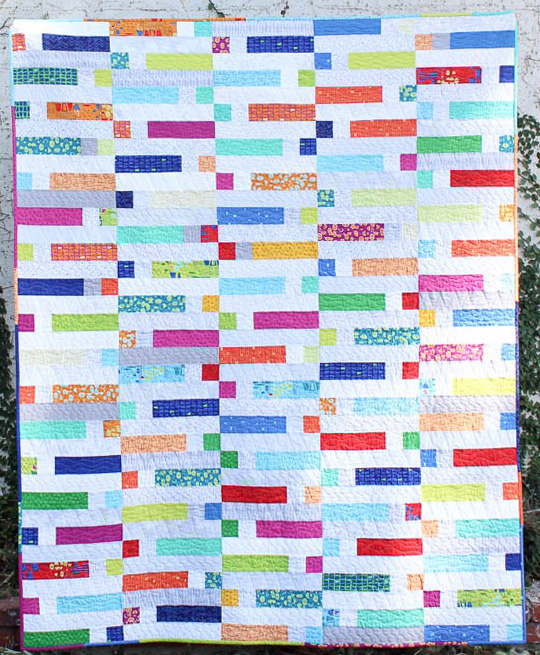
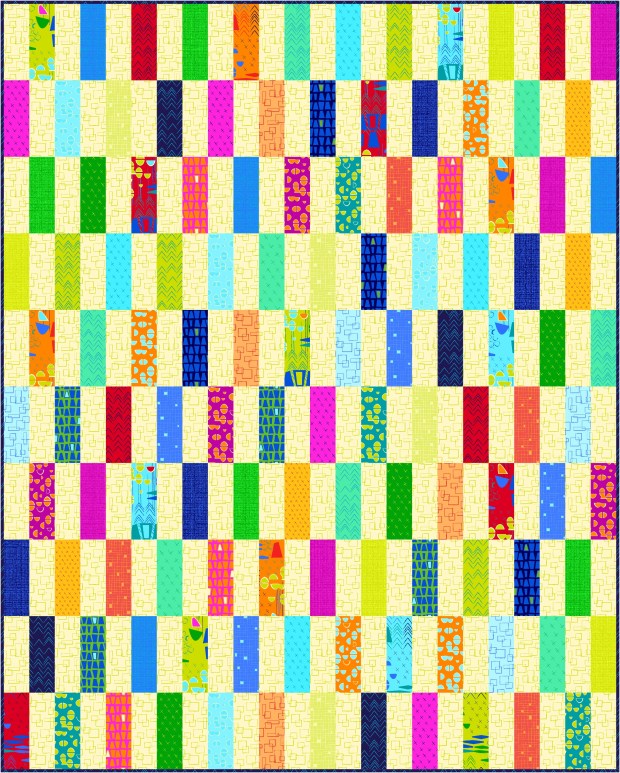
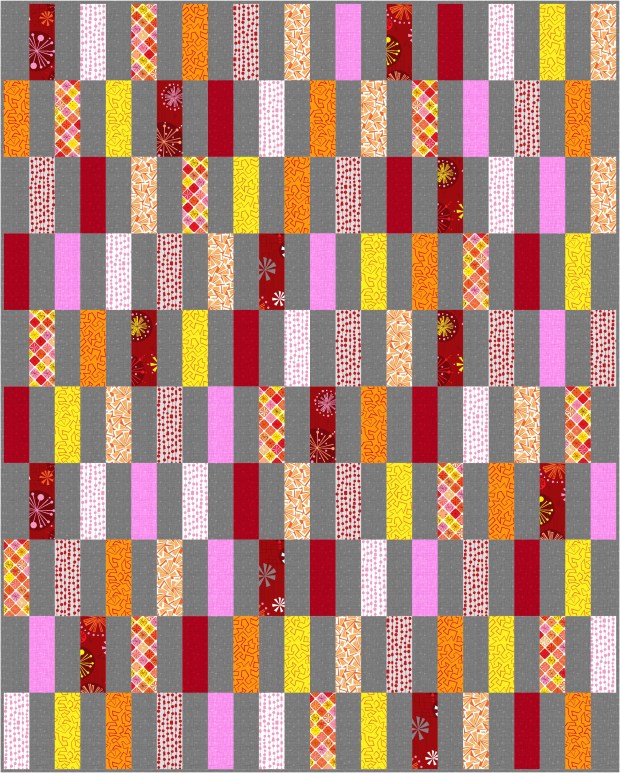
 My Dot ‘n’ Dash design is based on


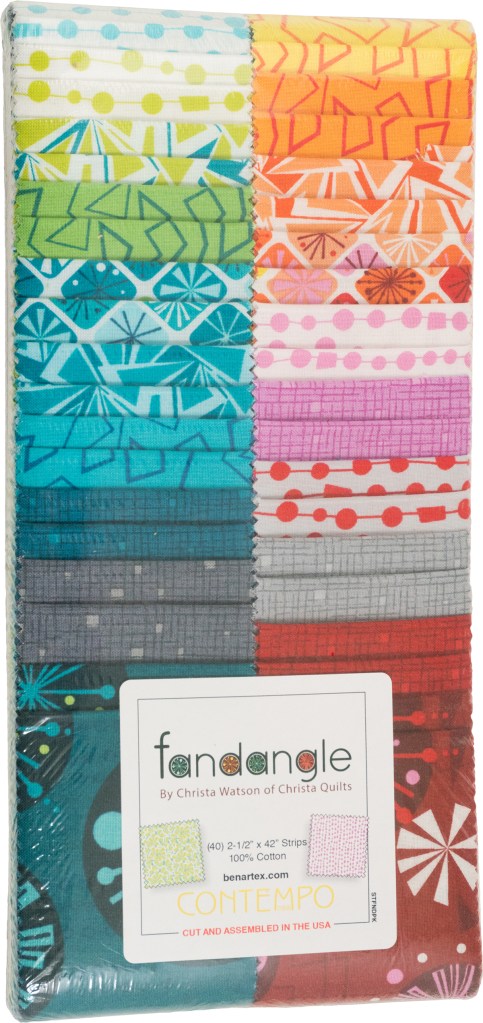
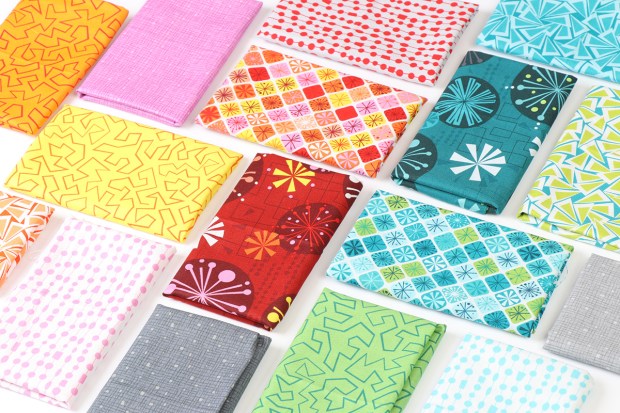
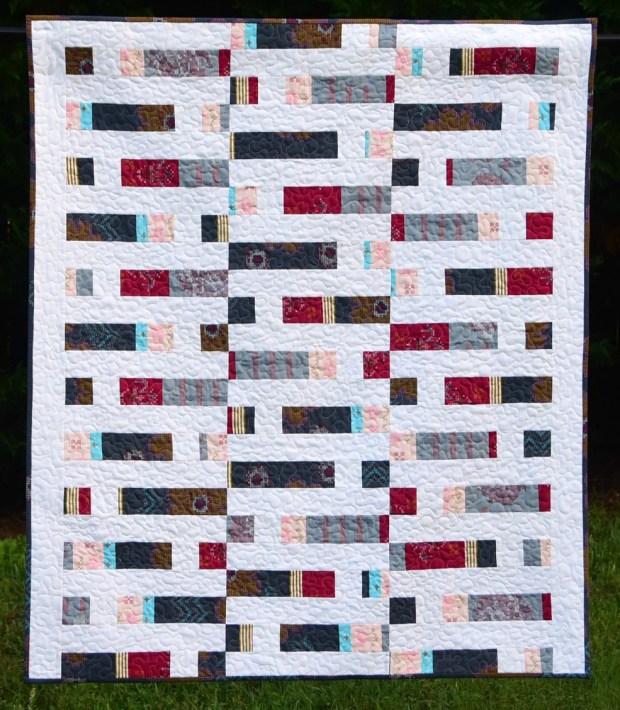
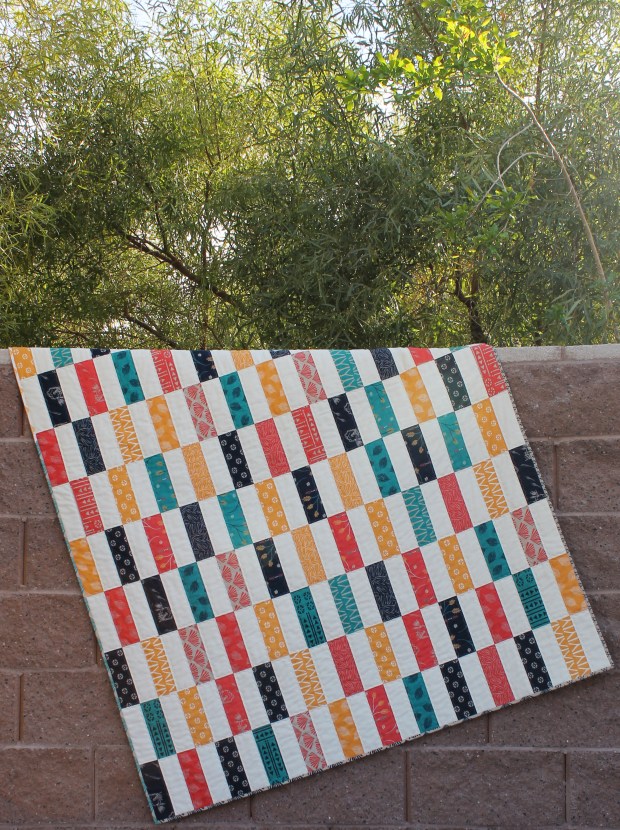
 This remake showcases Fandangle, my second fabric line from Benartex.
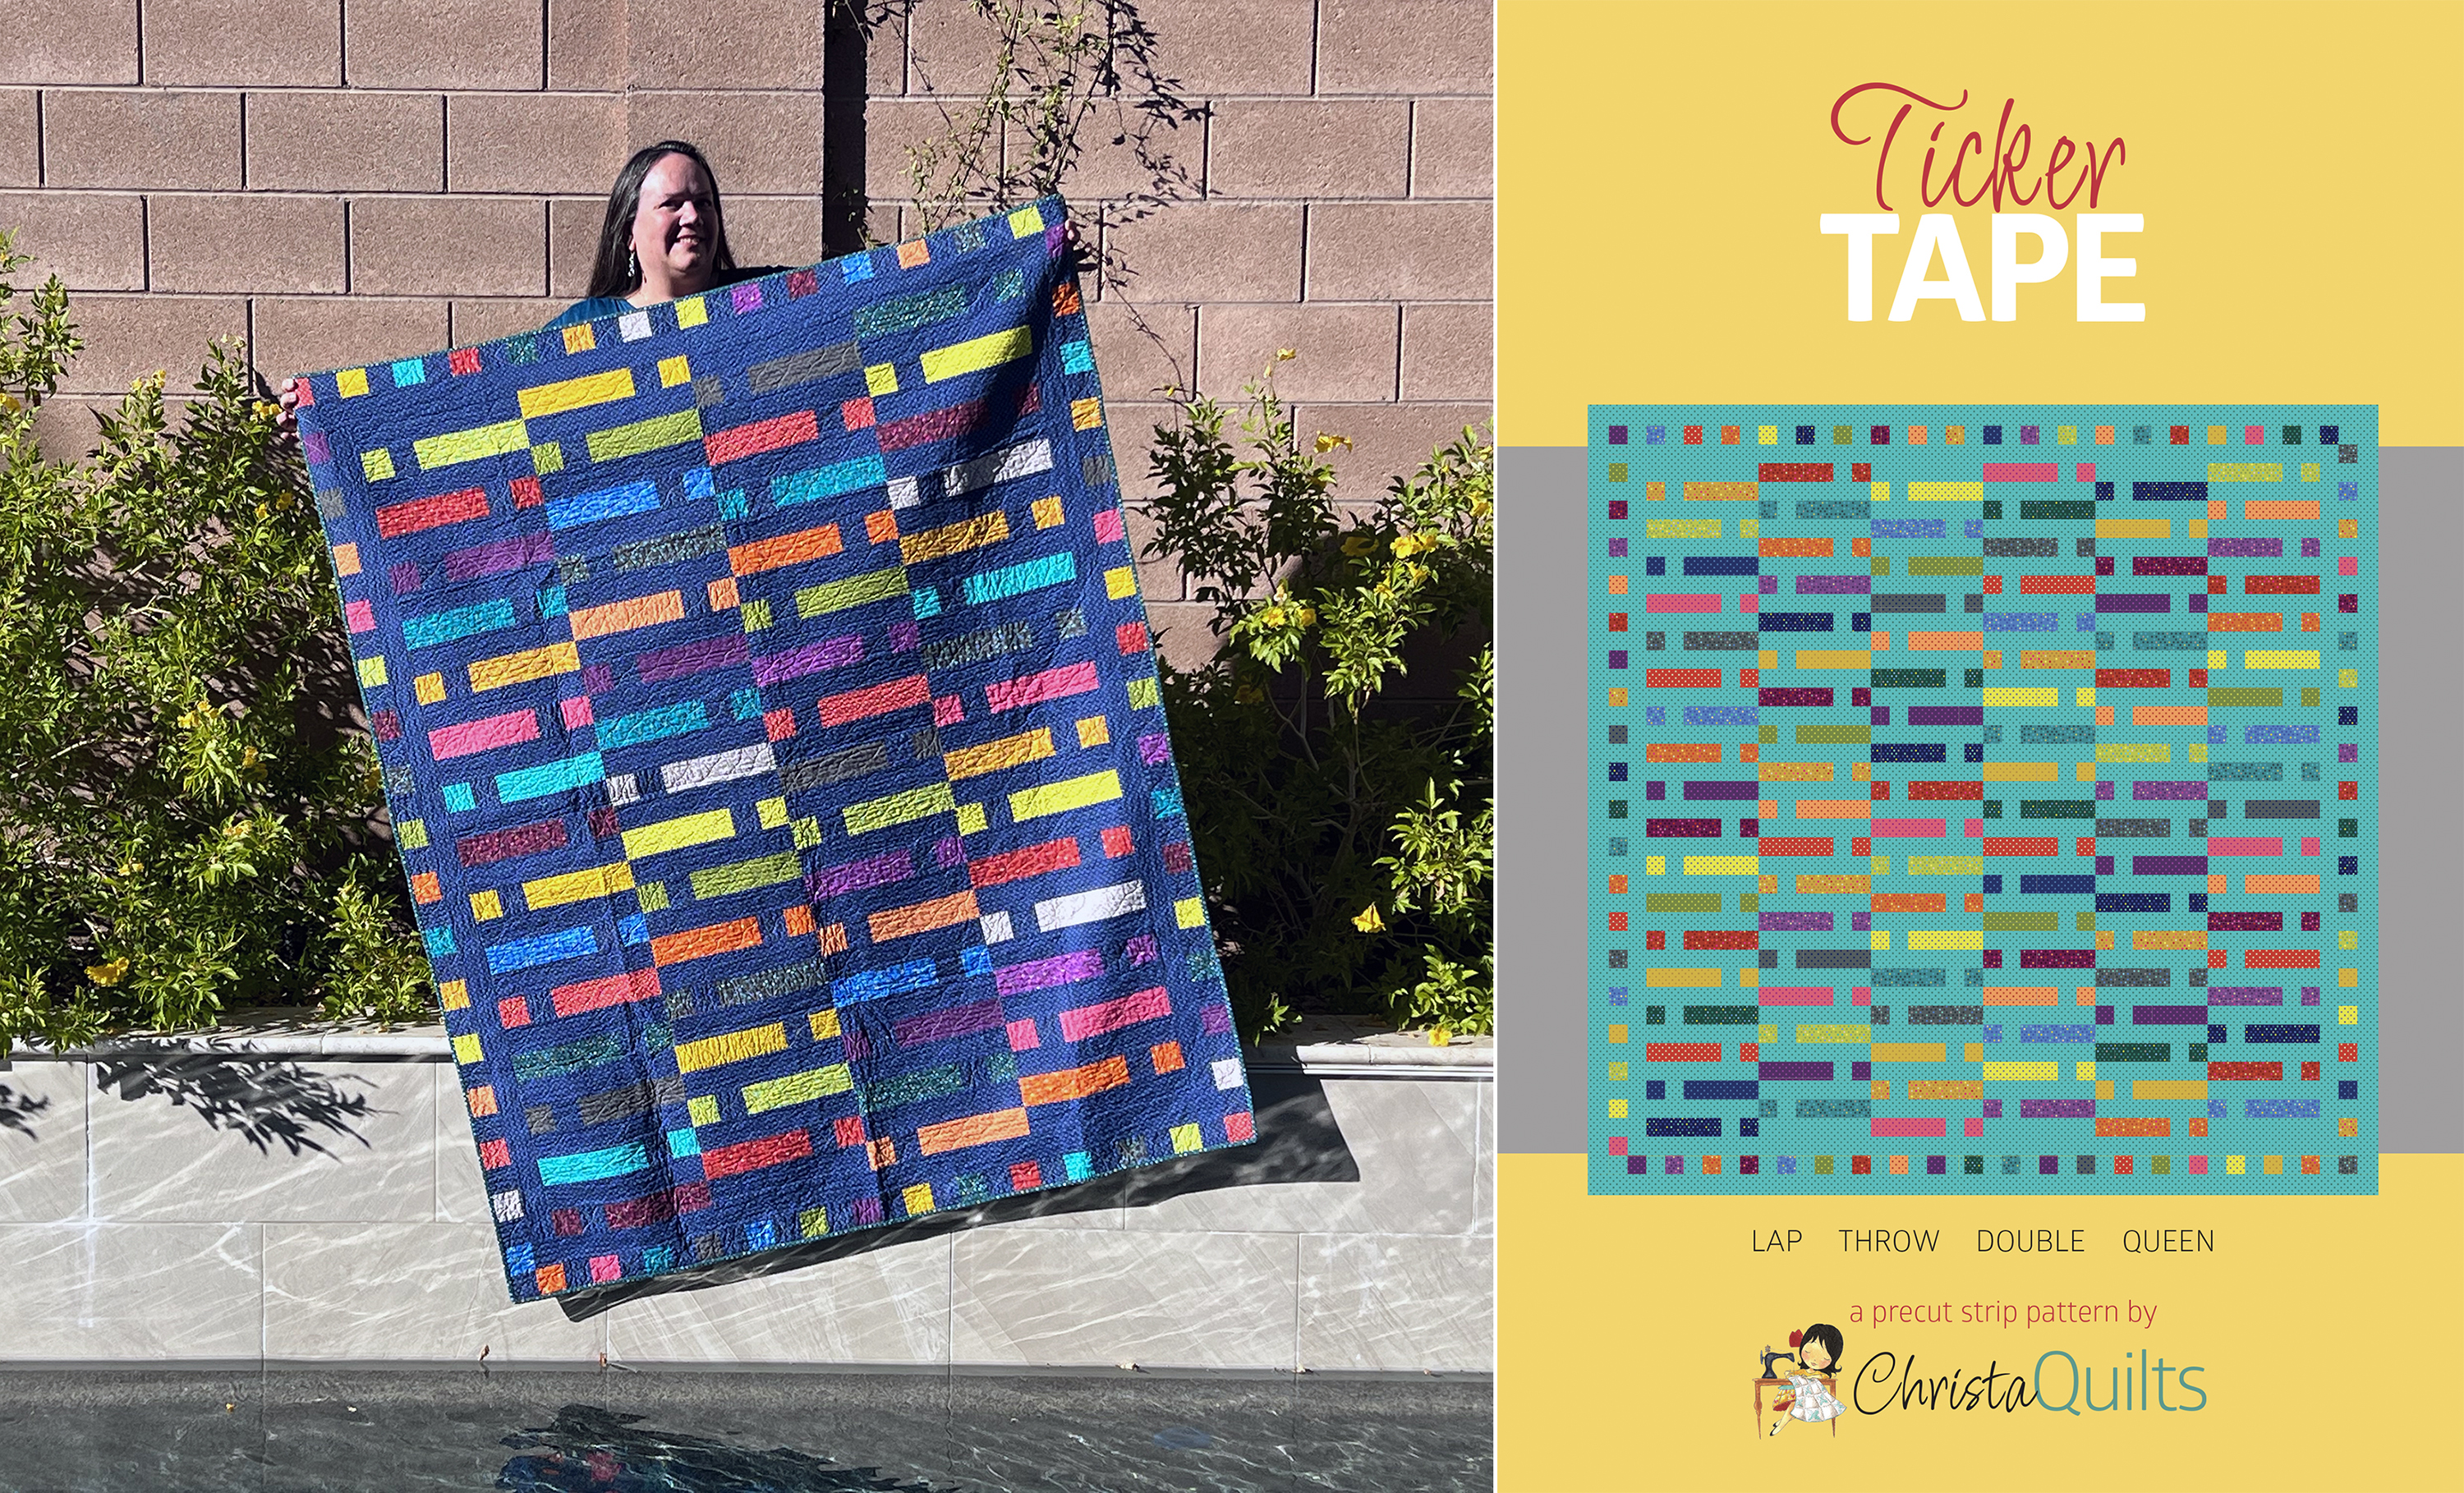
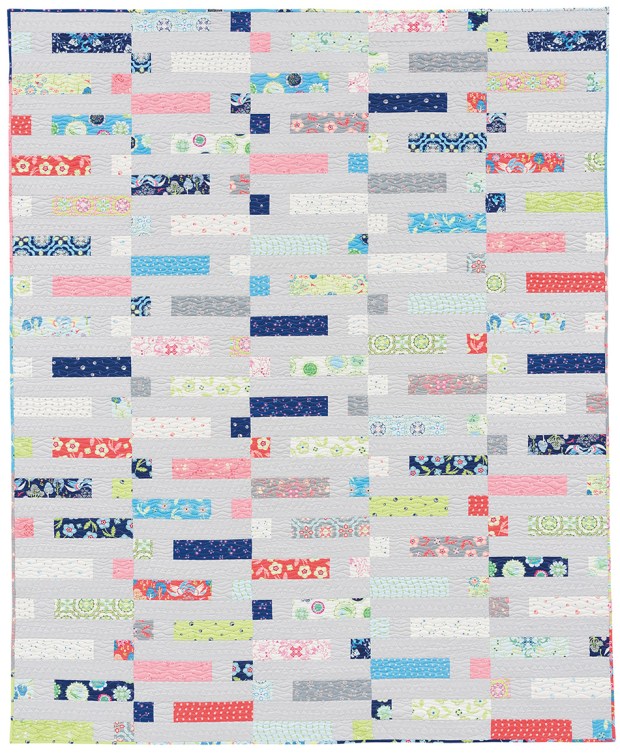
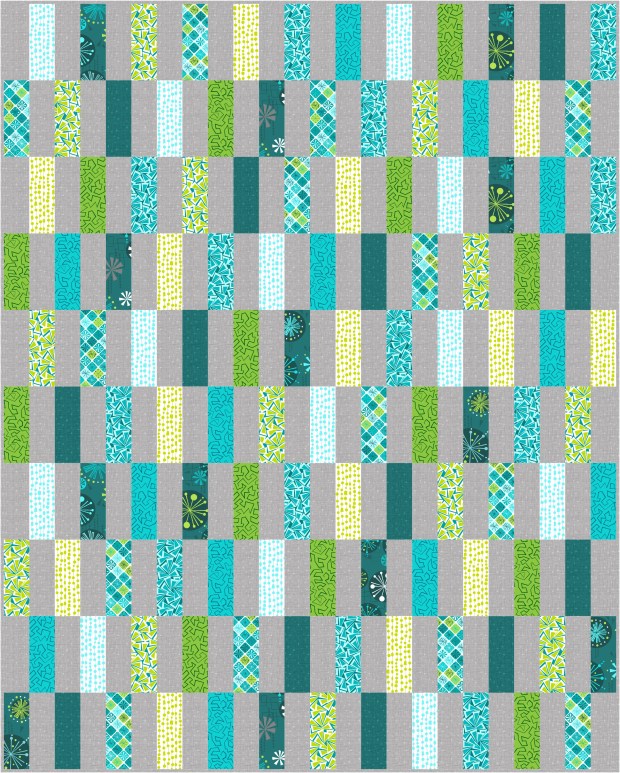
 Dot ‘n’ Dash with light gray background recolored in