This weekend I got a chance to attend the Home Machine Quilting Show in Sandy, Utah (near SLC). I attended this particular show for the first time last year and was excited to return again this year. Although I didn’t take any classes, and there was a little too much “bling” for my tastes, they had a very well-represented modern category.
![]() In fact, this was probably the best selection of modern quilts I’ve seen in the last few shows I’ve attended. I think more and more people are starting to “get” modern quilting, which I, for one, am thrilled about! I present these beauties now for your viewing pleasure. 🙂
In fact, this was probably the best selection of modern quilts I’ve seen in the last few shows I’ve attended. I think more and more people are starting to “get” modern quilting, which I, for one, am thrilled about! I present these beauties now for your viewing pleasure. 🙂
 Modern Dots with a Passion, 1st Place Modern by Mary Buckeyene, Las Vegas, NV
Mary is a member of our local traditional guild. I was thrilled to see a ribbon hanging on her fabulous quilt, and pleased to see she’s made the modern switch!
 Modern Mojo 2nd Place Modern by Linda Thielfolt, Troy, MI
If I remember correctly, this quilt also got a ribbon at MQX in 2013. Nicely done, Linda! 🙂
 Floating on a Lazy River, 3rd Place Modern by Candace West, Floral City, FL
It was fun to see a ribbon on this quilt. I remember seeing it hanging at Road to Ca earlier this year (ribbonless). It just goes to show that different judges have different tastes, so if you enter your quilts into a variety of shows, who knows – you just may hit the jackpot!
 Dandelion Clock by Linda Hungerford, Honorable Mention, Conventional Machine
I just love this cheery quilt! It was made by my friend Linda and it just goes to show that turnabout is fair play. Linda photographed my quilt at Paducah for me a few weeks ago, and I was happy to return the favor at this show where she was unable to attend!
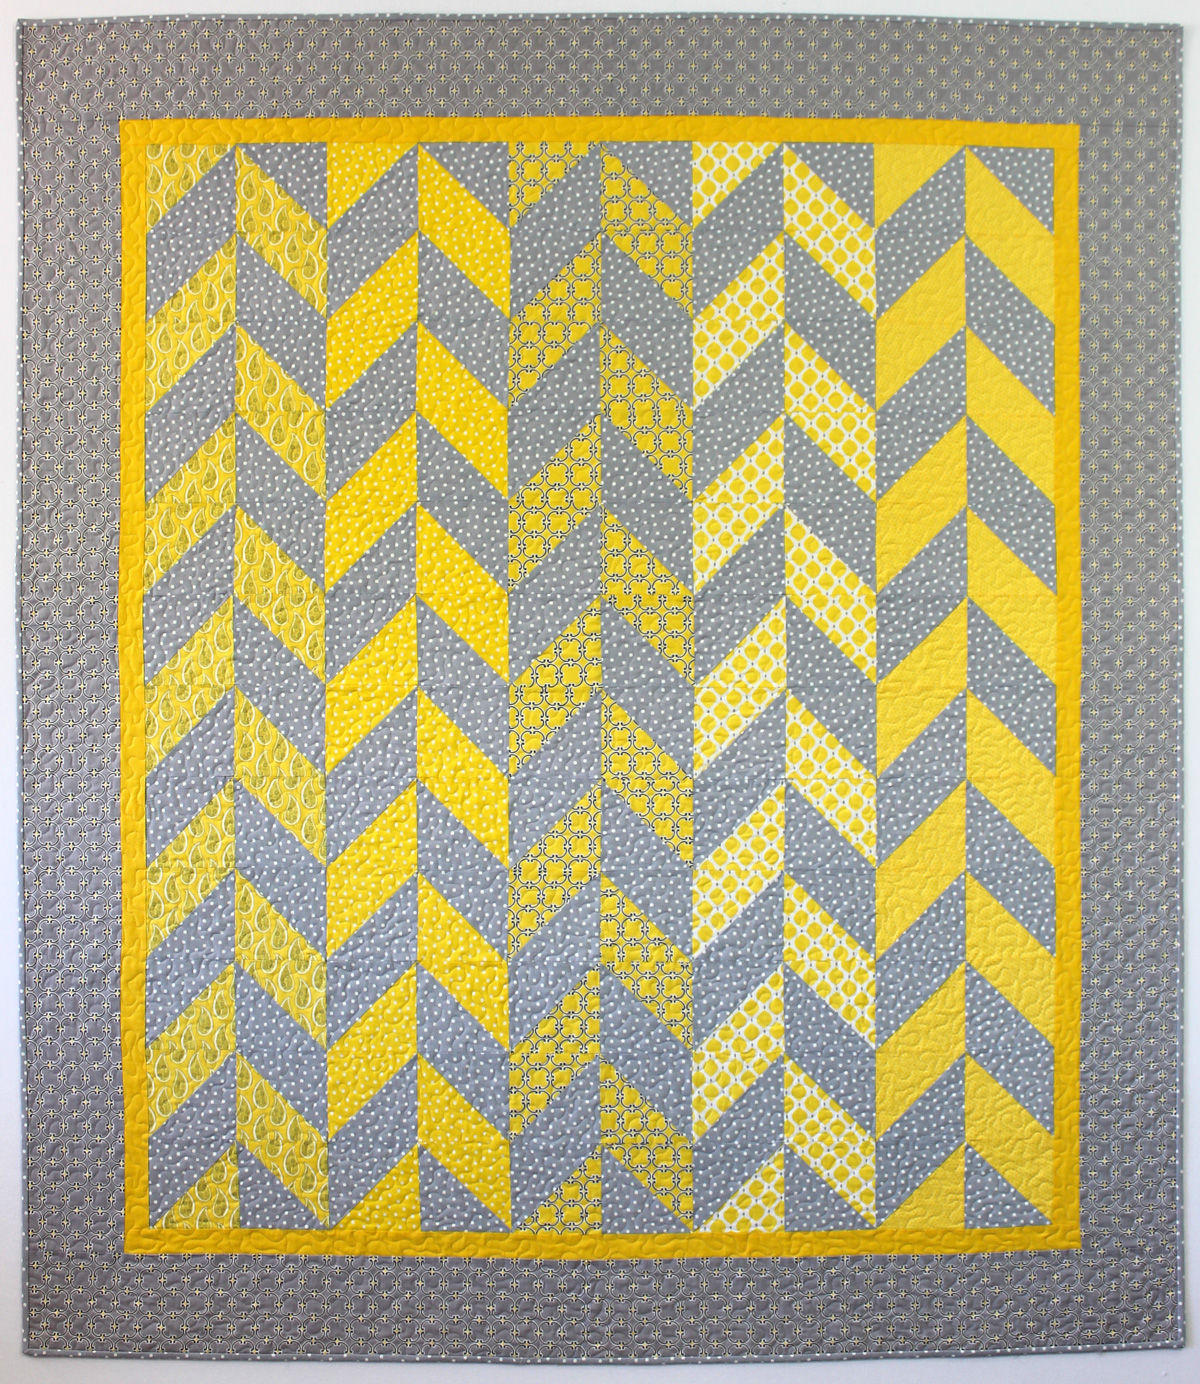
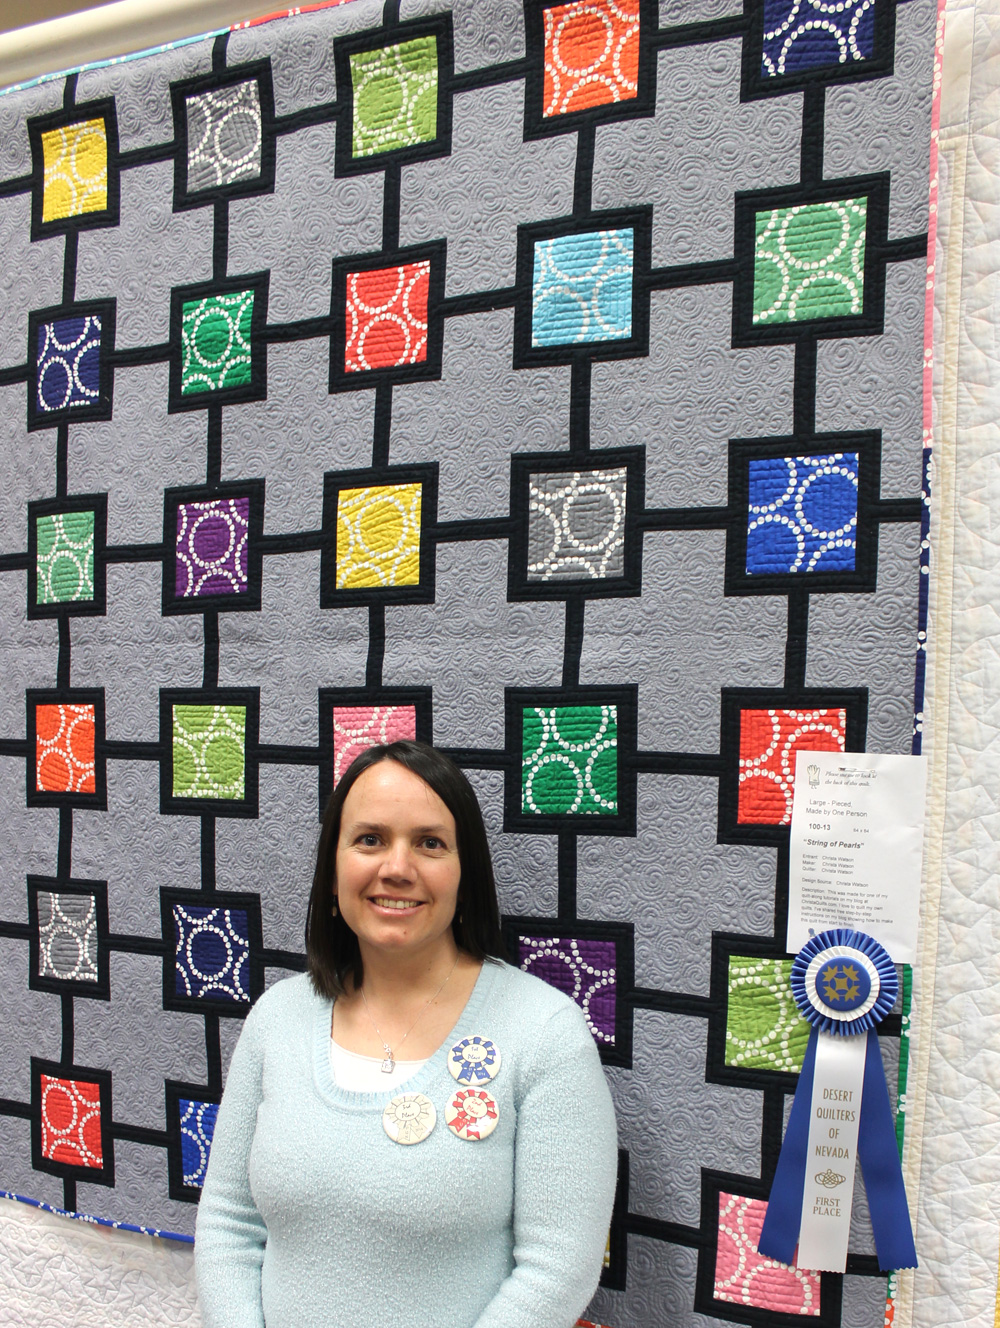
 My String of Pearls quilt at HMQS. I love entering my quilts in shows because the most fun part of finishing a quilt, is the sharing that comes after!
The rest of the quilts below earn my seal of approval for “awesomeness in modern quilting.” Most of the modern quilts at HMQS were pieced and quilted by the same person which thrills me to no end! Yes, you really can make show quality quilts on your own. 🙂
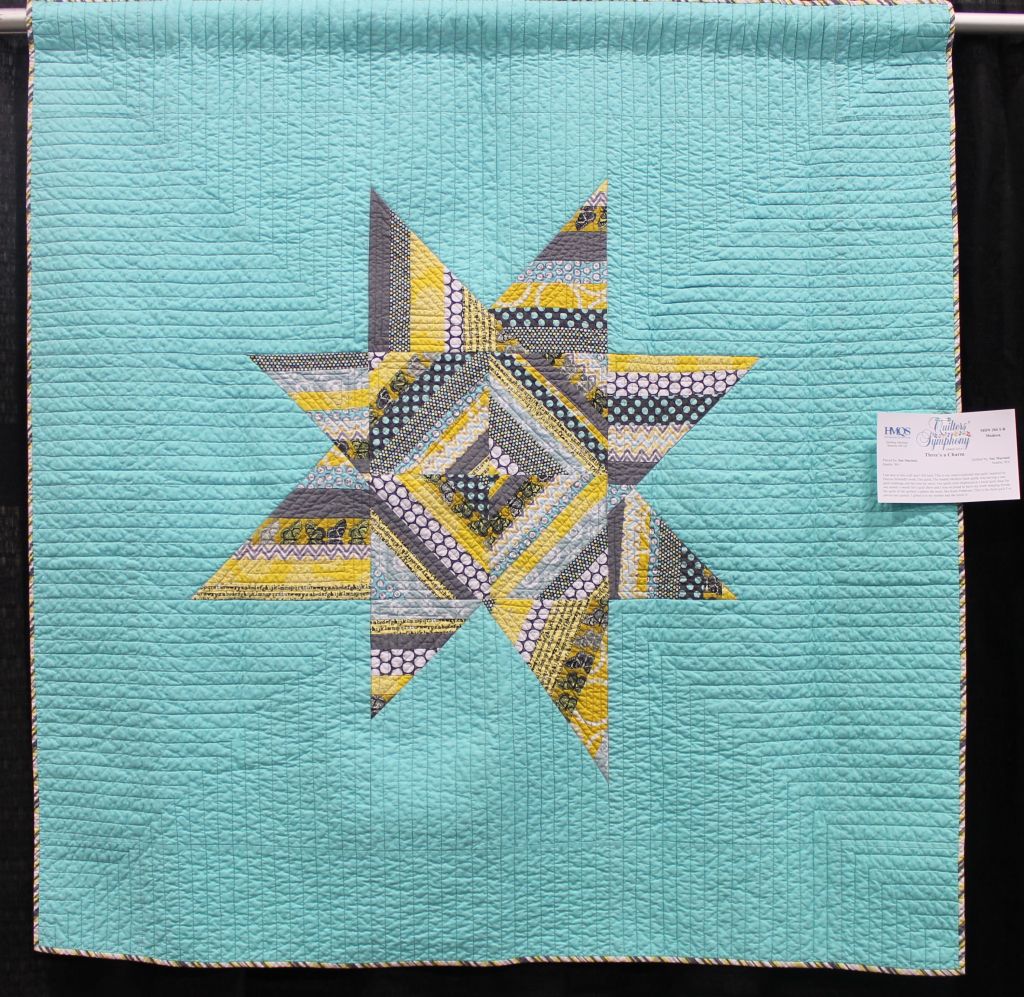 Three’s a Charm by Sue Mariotti, Seattle, WA
 Varigated by Paige Alexander, Easley, SC (pattern design by Debbie Grifka)
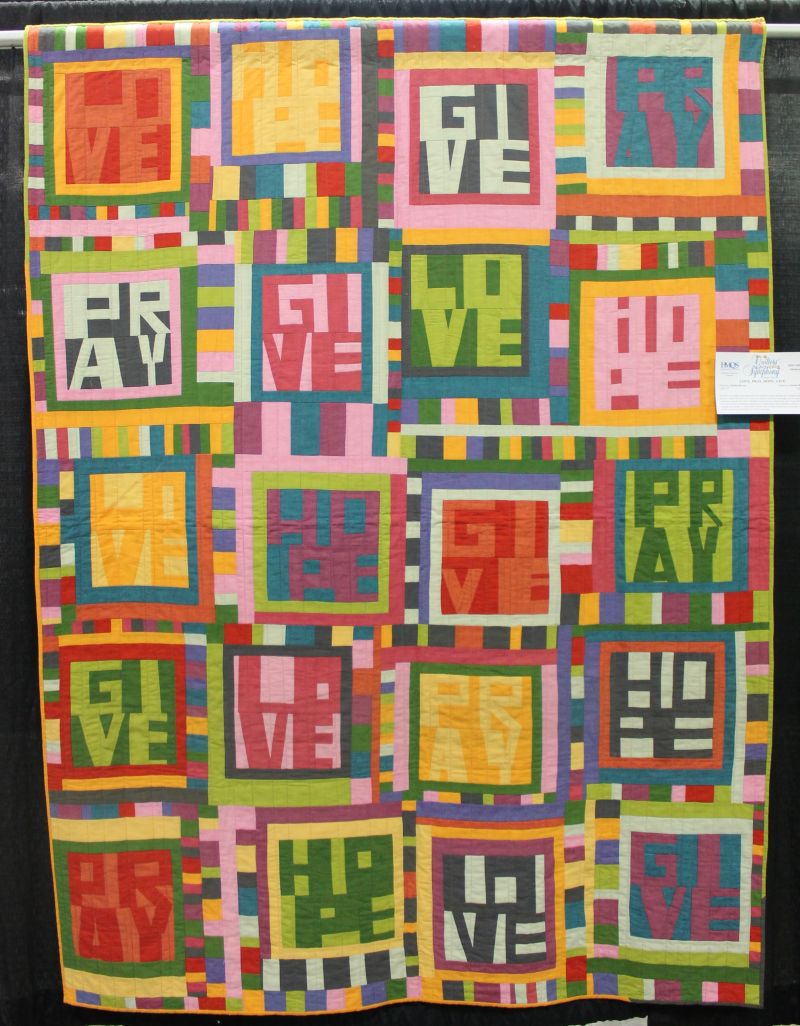 Love, Pray, Hope, Give by Kristin Barrus, Lehi, UT
 Tiki by Mary Eldredge, Murray, UT
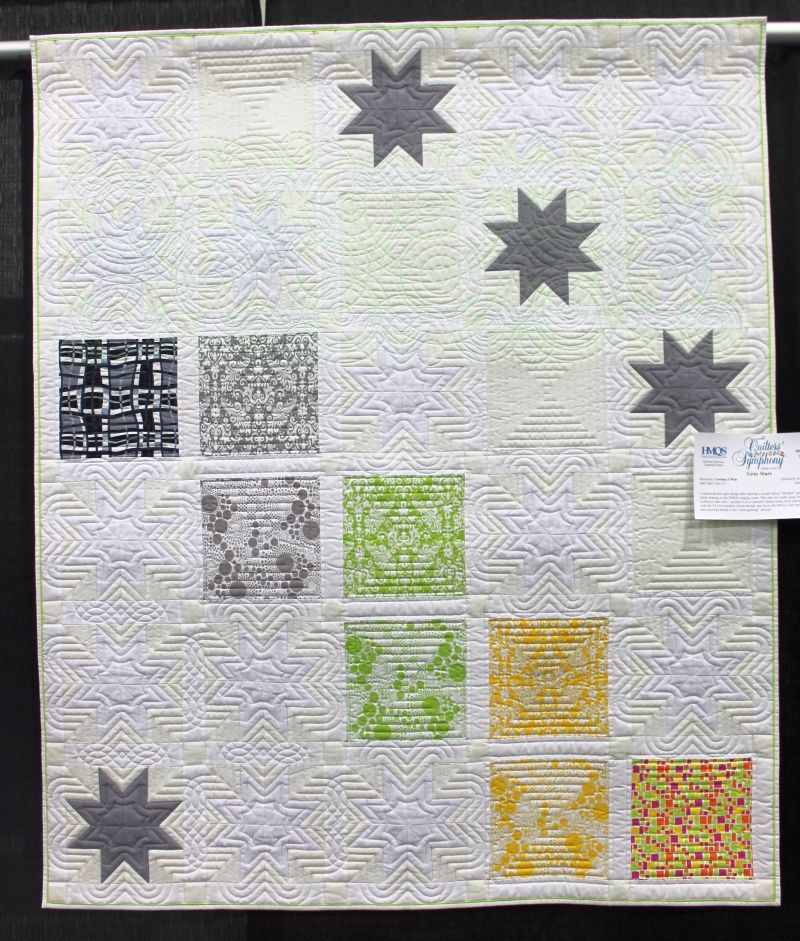 Gray Stars by Corinna Weir, Salt Lake City, UT
 Modern Alphabet by Gerrie Thompson, Happy Valley, OR
 Spring Frenzy by DeAnn Oliekan, Kaysville, UT