It’s been awhile since I’ve shared a home update because I’ve been working on some other behind the scenes quilting projects (new fabric, new patterns, new book, etc…) But I was able to catch my breath this weekend, get organized and take a few pics of my new sewing studio. It’s not completely finished as it still needs a few quilts on the walls for decoration, but it’s fully functional and is the dream space I’ve always wanted. So let’s take a virtual tour, shall we?
My Ikea Cabinets!!

The cabinets are from the Ikea kitchen department.
The floor is laminate from a local flooring center.
The most important part of my space is storage. I am definitely not a pack rack, but I still prefer to keep my messes behind closed doors so that the rest of the space appears nice and tidy. I was thrilled to be able to get wall-to-wall cabinets installed at a price that didn’t break my budget. I used Ikea’s kitchen services to plan and purchase stock cabinets in various sizes to fit the space. I was able to customize them with snazzy door fronts and handles, and I spent hours upon hours figuring out the right configuration of shelves, bins and drawers to hold everything I needed.
Here’s What’s Inside:

Starting on the far right of the tall cabinets, I knew it would be super important to keep a step ladder to reach the upper cabinets. I was thrilled that they were able to install the cabinets so that the one “permanent” shelf was above the door line in this cabinet. This allows the space under the shelf to be long enough for my ironing board and big board to fit. Inside the rest of the unit is a combination of shelves at different heights, with plenty of storage drawers and bins.

I keep my thread and other supplies in hidden pull out drawers that I could customize for height. This area works perfect to store all of my thread. The cabinets are 24″ deep so I wanted to ensure I could maximize the space and reach everything. It took a quite awhile for me to come up with the right configuration, but I’m pleased with the results.

The center section is for fabric storage and quilts in progress. As you can see, there’s quite a bit of empty space which means I have plenty of room for growth! I honestly don’t keep a lot of UFO’s and I recently gave away a lot of my stash that I realized I simply don’t use. Because the cabinets are so deep, I found thin cardboard sheets that I could cut in half to measure 9″ x 22″.

It took me many hours to refold all of my fabric onto thin pieces of cardboard.
These thin “bolts” are basically twice the length of the popular comic book boards that many quilters use for stash storage. I’ve kept about 5 yards of every fabric I’ve designed for my own personal stash and it’s exciting to watch it grow!

I’ve organized my scraps into smaller bins by color, which is how I’ll most likely use them. The other drawers hold other misc. stuff so that everything has a place to go!

This is one of my favorite drawers – I configured it so that there was enough room to hold my biggest rulers standing straight up. They are held in place by several wooden ruler racks that line the bottom of the drawer. They key is to maximize every inch of this space!!

The very left cabinets hold fat quarter bundles and kits for sale along with my patterns and books for sale. I even wanted the trash tucked away behind closed doors so that the entire space stays tidy. To the left is the hallway and a half-wall that leads to the downstairs on the other side. My husband’s office is the open door on the left and the 2 kids’ rooms are to the right, (not shown) behind my sewing room.
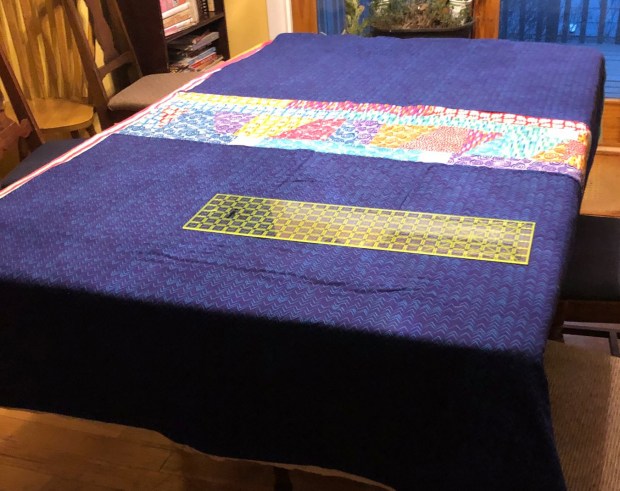
I’m happy to still have a pony wall to drape large pieces of fabric that I’m working with!! Eventually we’d like to replace the half-wall with a decorative stair railing to open up the hallway a bit more. The king sized white flannel sheet is waiting to be used in my design wall, and the pink Modern Marks fabric has been washed and will be an experiment in sewing clothing made from my fabric. (I’ll post more about that later if all goes well!)

You can just barely see the corner nook area peeking out in the far right of this photo.
Here’s what the space looks like on the wall opposite the cabinets. Those big foam core insulation sheets will become my design wall and I have a nice window to look out of while I’m working at the computer. We installed a floor plug in the middle of the room so that I could set up my sewing table without having cords running across the room.
I still need to purchase a nicer office desk and I’m looking to replace the sewing table with one that’s a bit larger with an attached side table. I also need to add color to those walls in the form of quilts, but one step and one project at a time, right??
The Bonus Area

Now I just need to add quilts on the walls and a cozy side chair to this area.
My space has a bonus corner nook which serves as my cutting and packaging station. I was able to pull the cabinets a few inches away from the wall, and get a custom width counter top that extends to 30″ (rather than the standard 26″) to give me enough room for cutting. I was also able to lower the cabinets by an inch since I’ve very short. This space is much more ergonomic compared to the table top height I was using before.

My shipping materials fit in the shelves underneath so that whenever someone orders some of my fabric, or one of my patterns, it’s super quick and easy to fulfill their order! I love having plenty of room to roll out a bolt of fabric and cut yardage quickly and easily as well as cutting smaller pieces for my own quilts.
I hope you’ve enjoyed this tour of my new workspace and I can’t wait for the exciting new things I’ll be creating here!!

My mom got me a cute wooden plaque that says “In this room we quilt.”
The quilt themed clock was a Christmas gift from Moda.


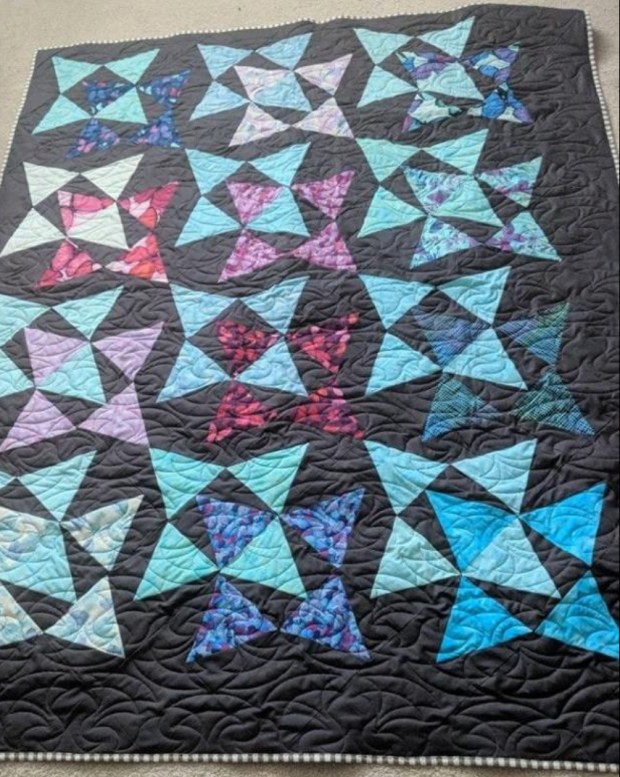


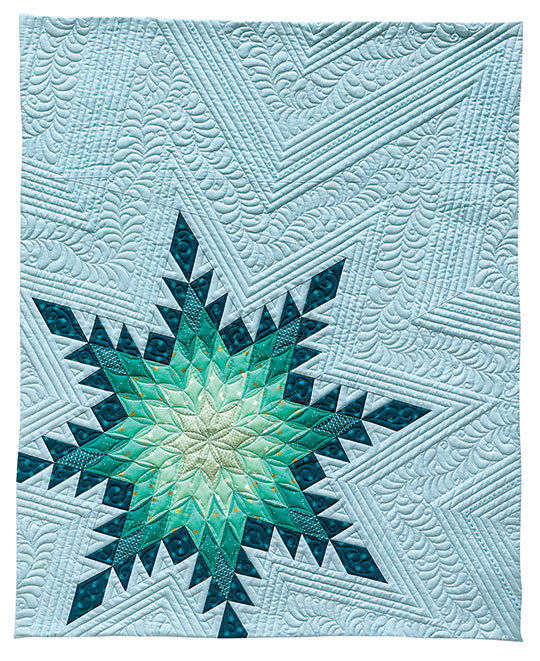
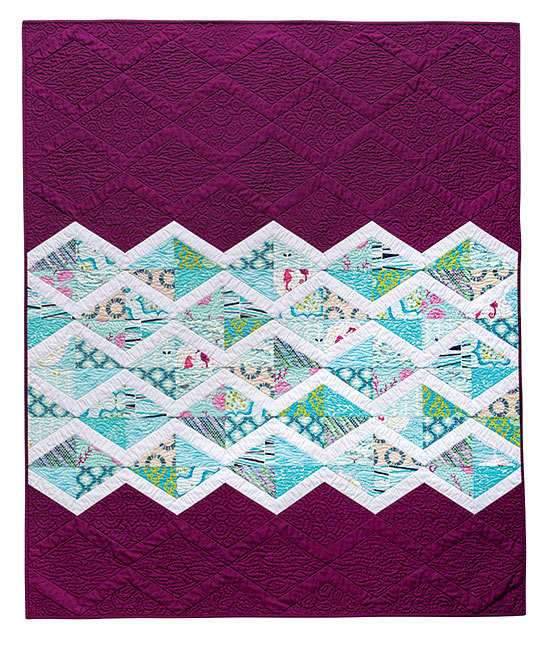
 Out of the Box by Christa Watson