You all know I love to see what you create using the fabrics I’ve designed for Benartex. Well every now and then a quilt comes along that really makes my heart sing! So today I wanted to share more about this fabulous quilt called Hypnotica by my talented friend Nancy Messuri who is a relatively new quilt pattern designer.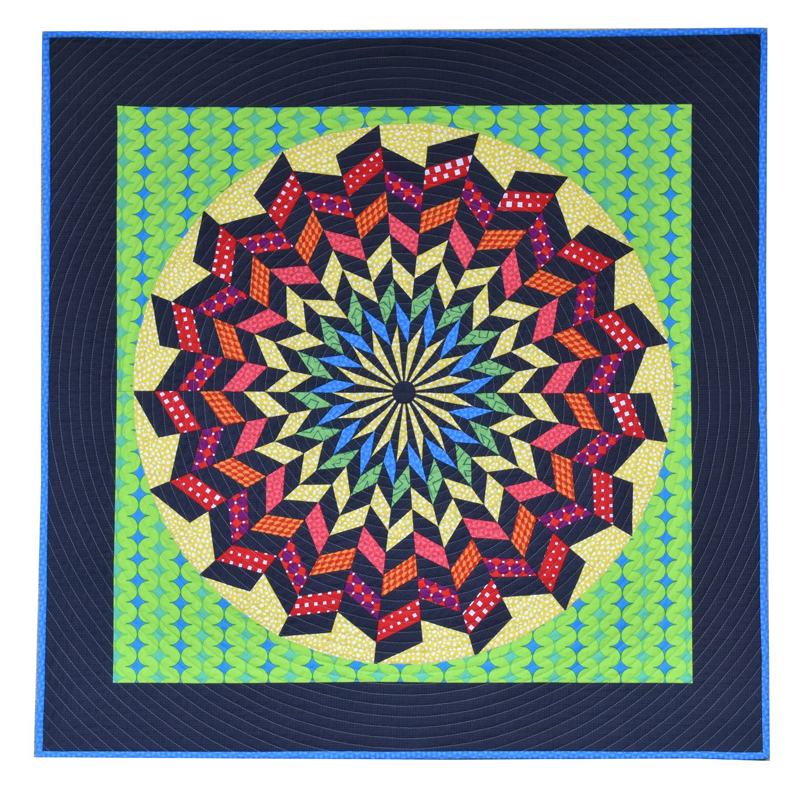 Click here to get Nancy’s Hypnotica Quilt Pattern PDF
I’ve invited Nancy to come on the blog to tell you more about this fabulous quilt in her own words…..
From Nancy Messuri:
I am honored Christa gave me the opportunity to guest blog as I am a huge fan all her fabric lines, books, and easygoing teaching style, so I was very excited when she asked me to guest post, as there is lots to share about this quilt!

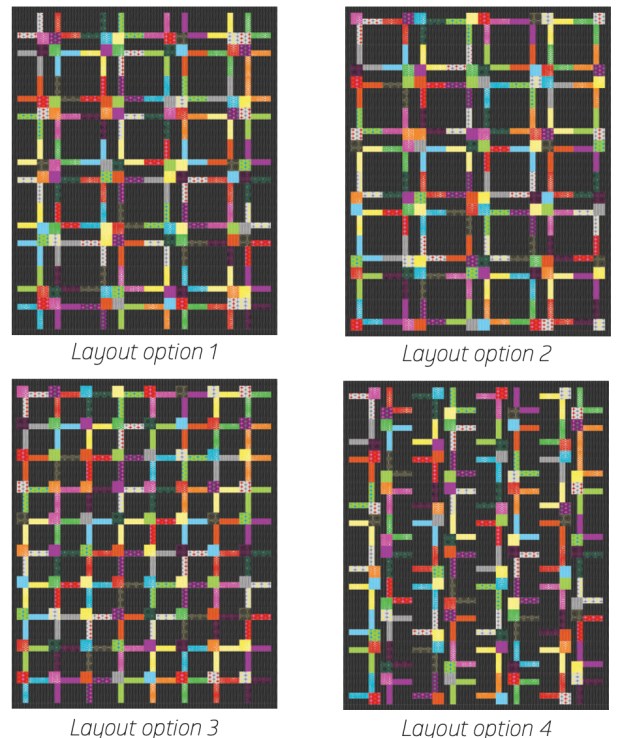
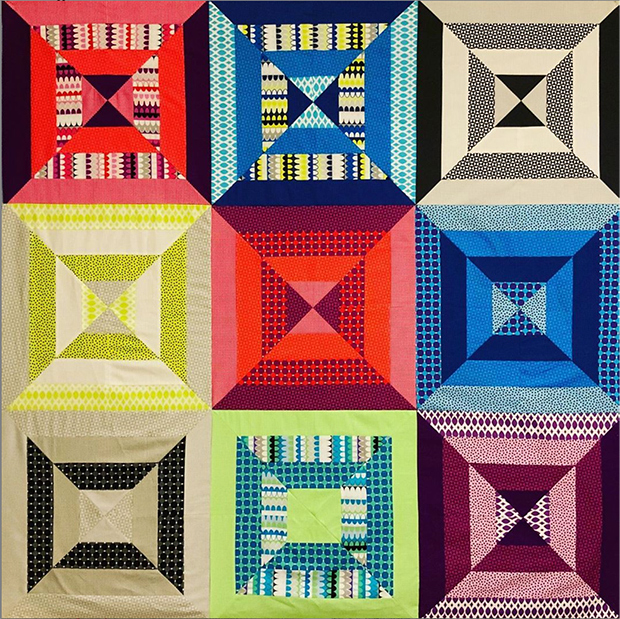
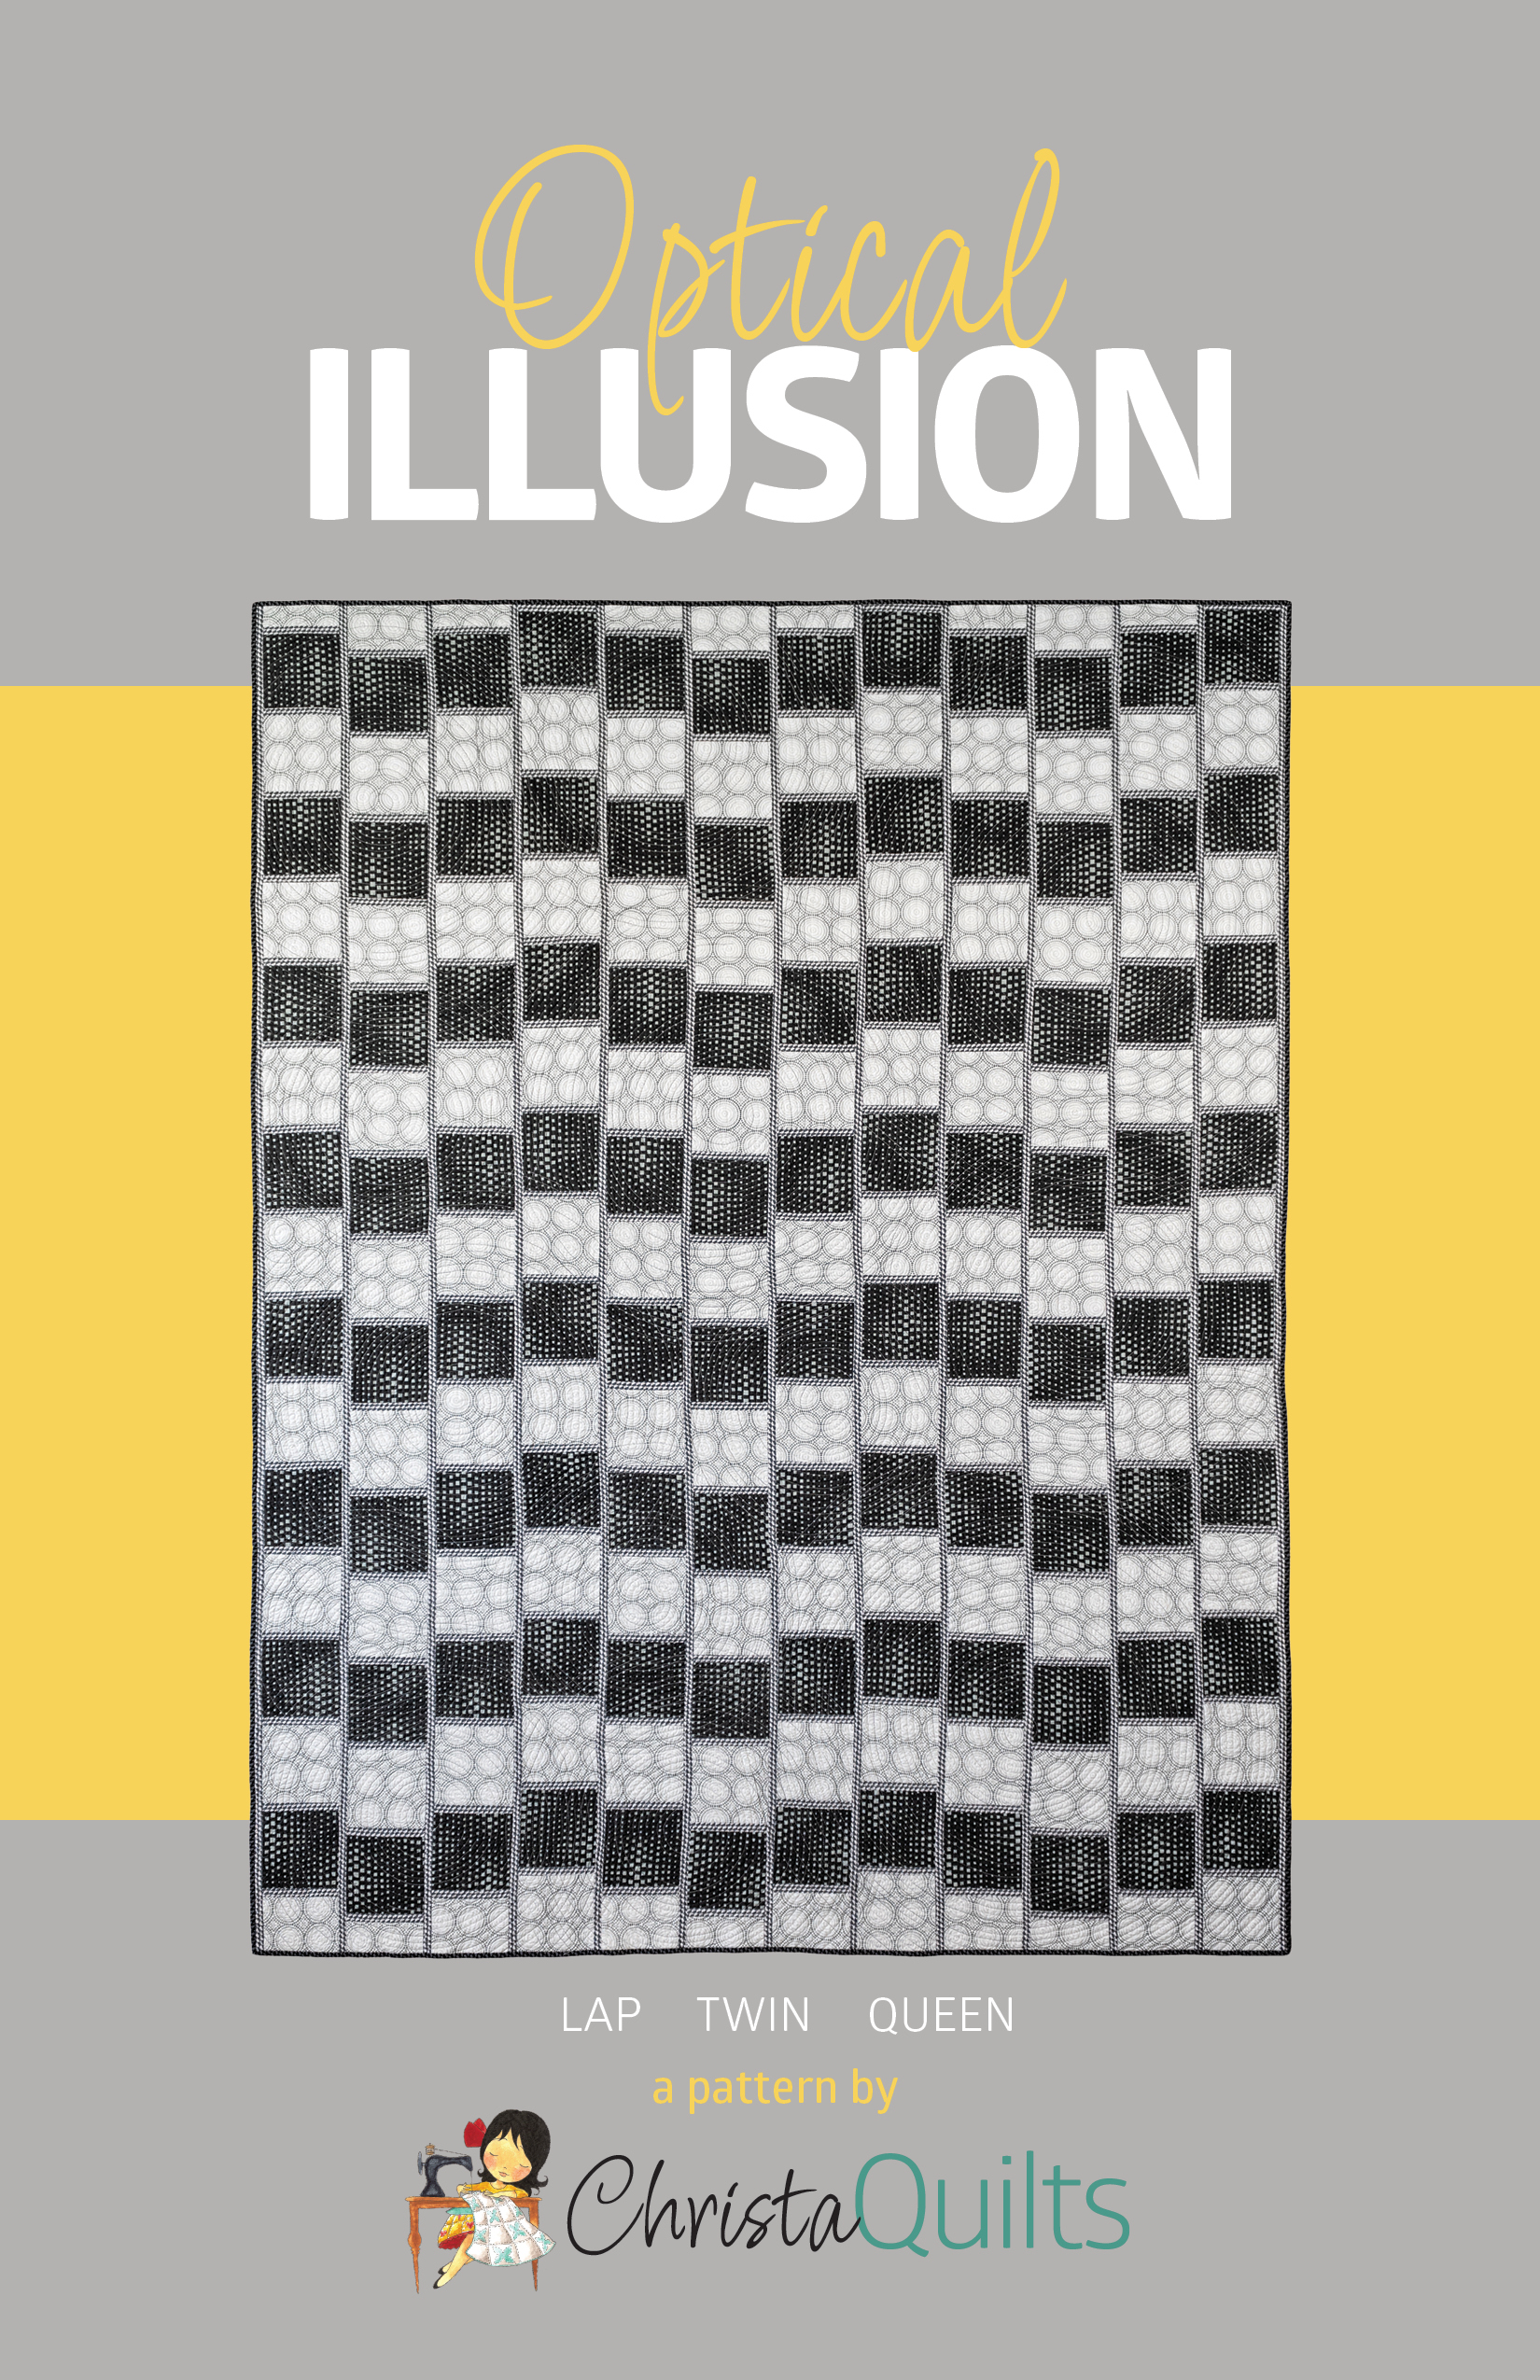
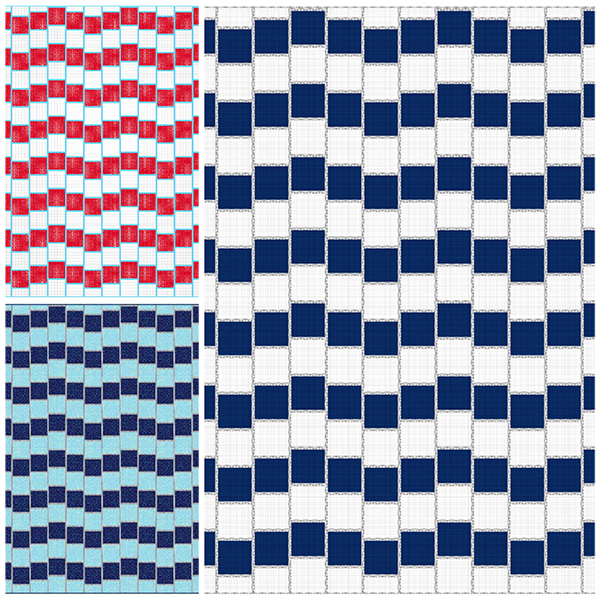
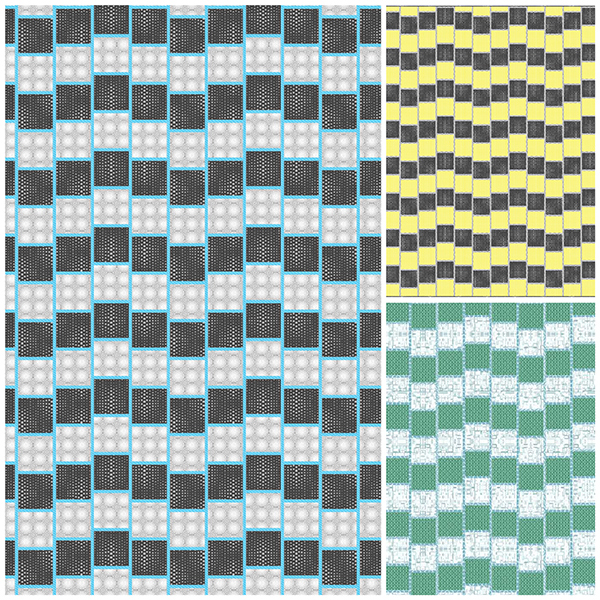
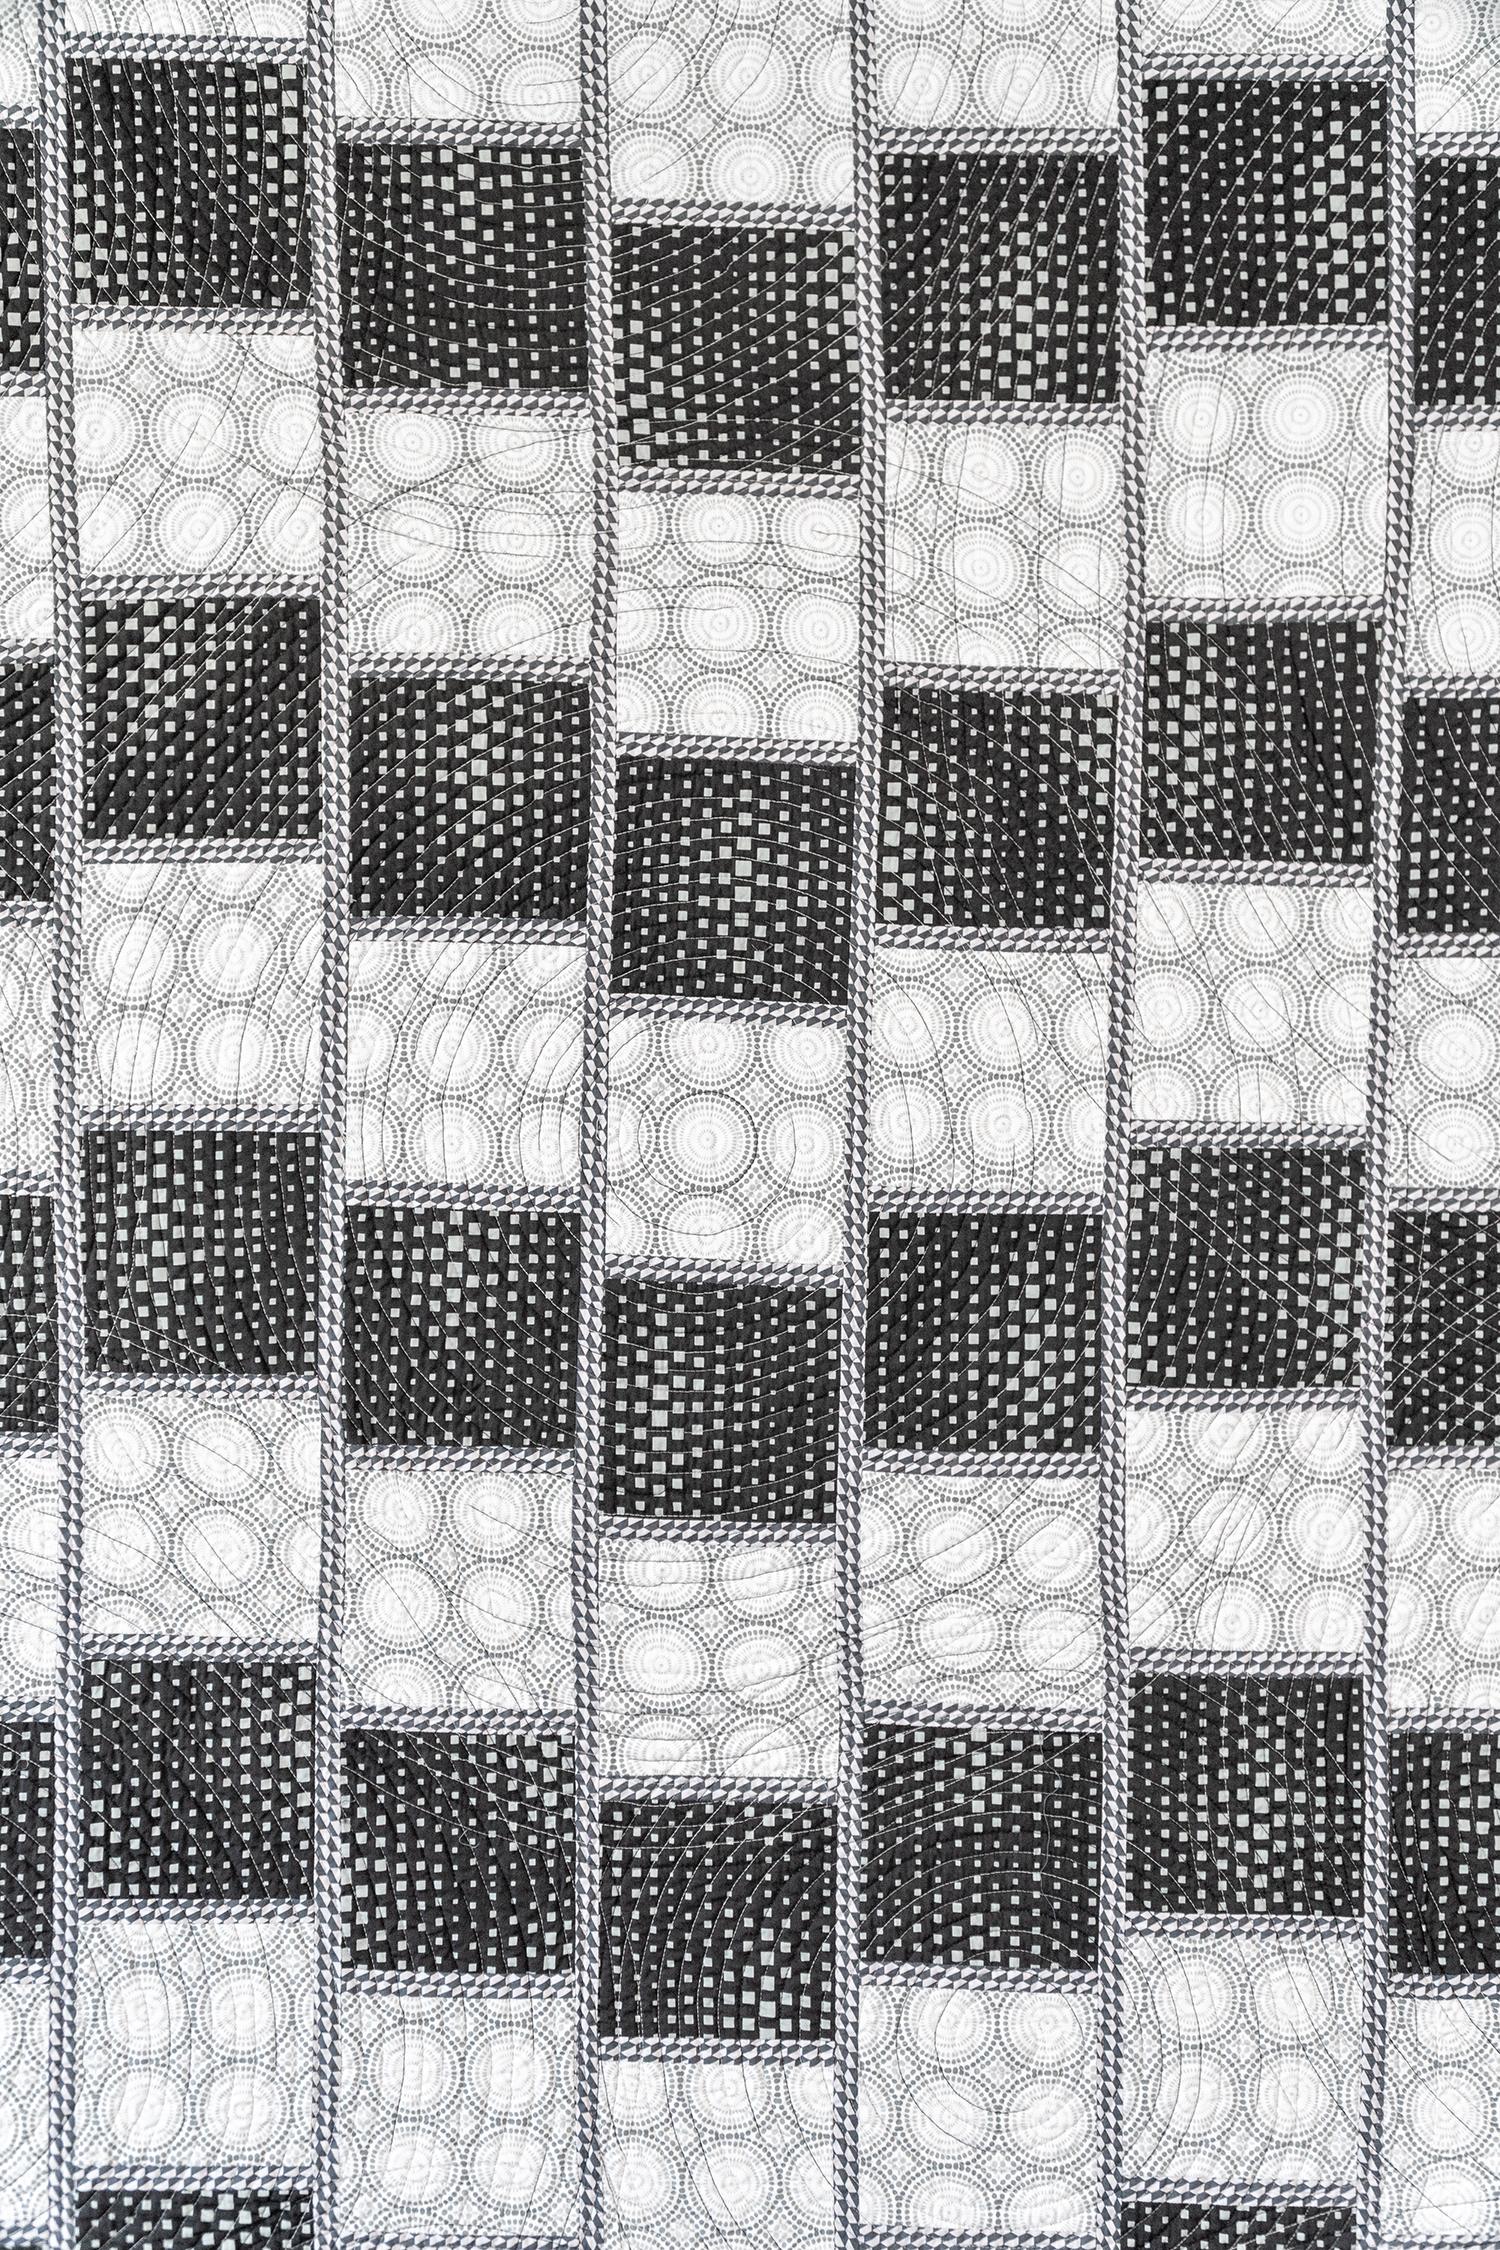
Hypnotica started off as a study in black and white and I had no intention of making it into a quilt. It was simply a personal design challenge in Electric Quilt 8 (EQ8). After playing with some initial coloring though, I found the design quite interesting. I saw it had potential to be very striking. My geometric quilt designs often mesh with Christa’s sense of line and color, so I placed a few of her fabrics into my design. And wow, did it ever come to life!
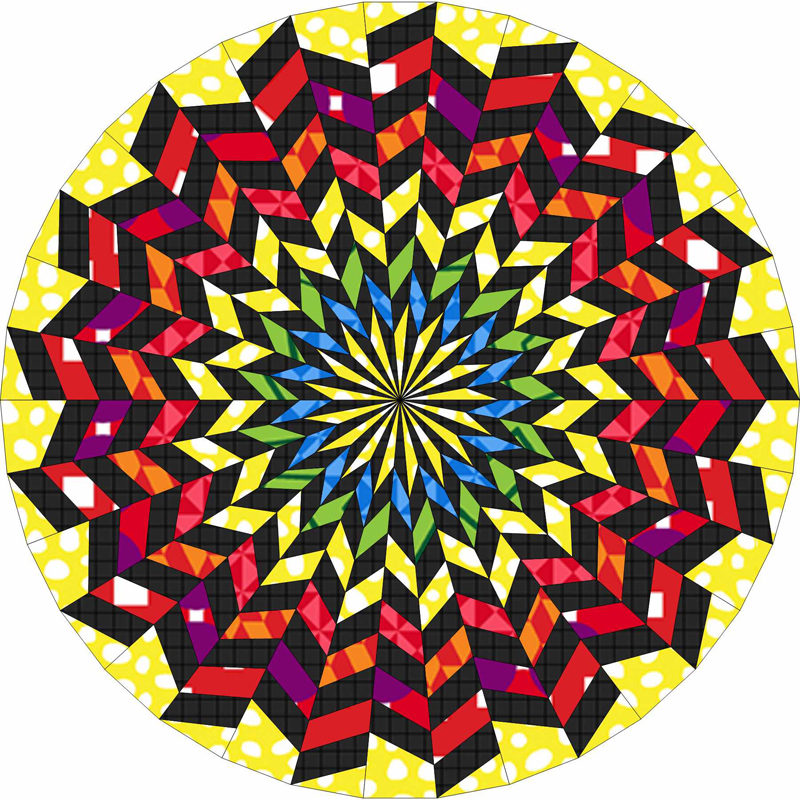
I started thinking about possibly piecing Hypnotica, but the fact that all 34 wedges meet at the center point was daunting. However, I continued playing with fabric placements in EQ8 using Christa’s fabrics. When I found a grouping that really stood out I decided I had to give this quilt a try.

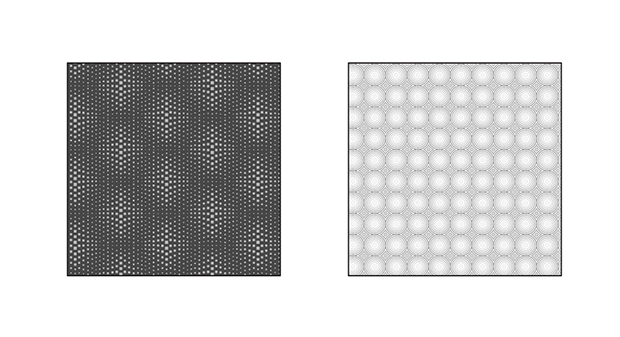
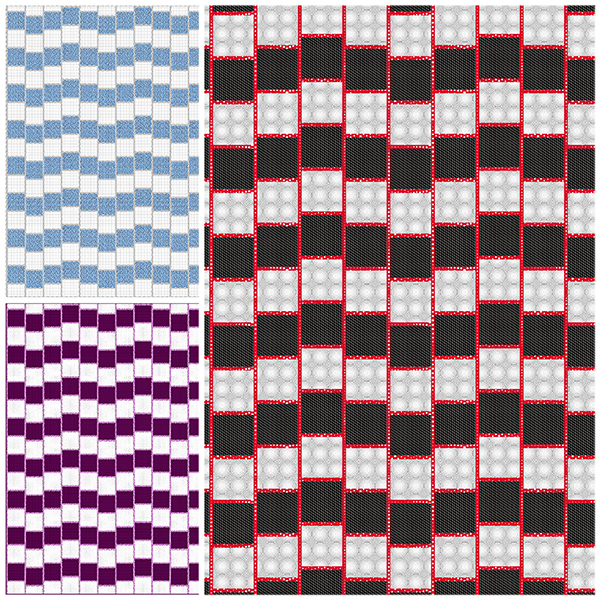
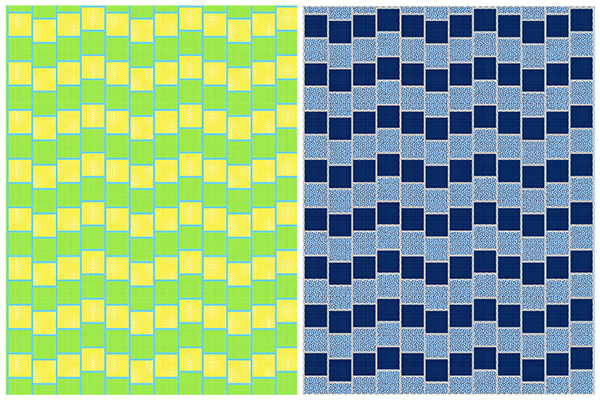
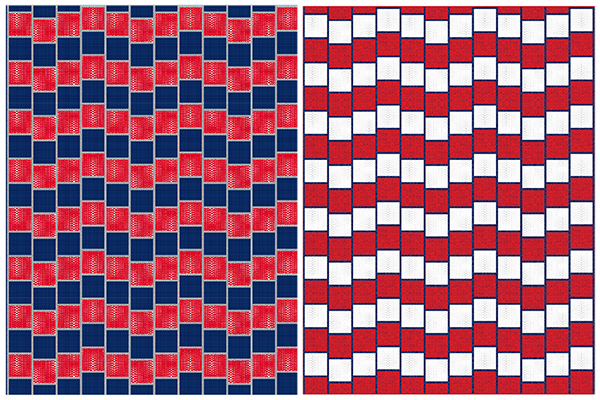
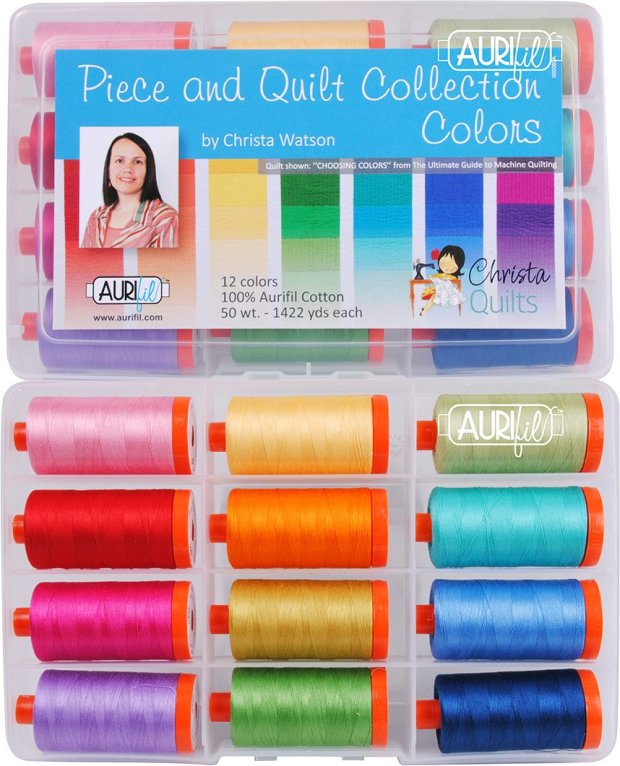
Fabrics in the quilt are a mix of Geo Pop, Gridwork, Abstract Garden and Fandangle
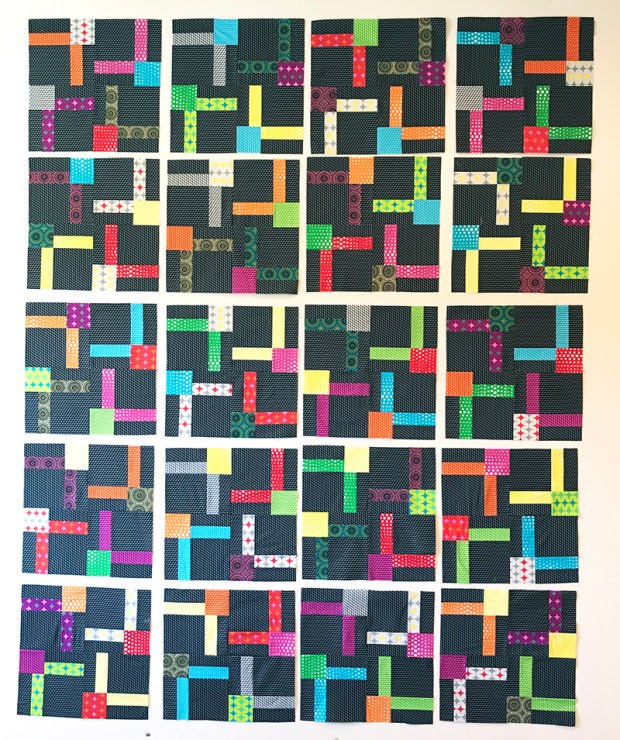
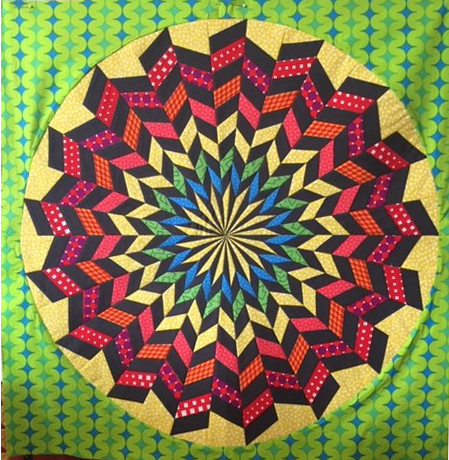
Construction of the quilt center was actually easier than I expected it to be. The entire circle is made up of only two different wedges which alternate around the quilt. I printed patterns for the foundation paper pieced wedges from EQ8, then did a few test runs of sewing patches into wedges and sewing wedges together.

After I felt confident with the tests, I was ready to use Christa’s beautiful fabrics and pieced together the two semi-circles. I quickly learned not to sew too fast over multiple layers of fabric as wedges were added; especially when nearing the center of the quilt. Hypnotica is definitely a “slow and steady wins the race” kind of quilt!

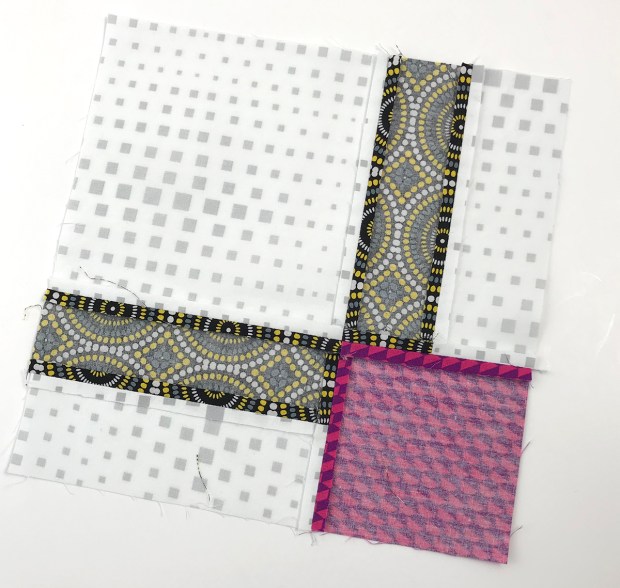
The two background pieces are sewn to each semi-circle before sewing the two halves of the circle together. If you are new to curved piecing, this is an easy curve to start with as the seam is sewn in a long, gentle curve. A few test runs of curved piecing with scrap fabric can give lots of confidence!
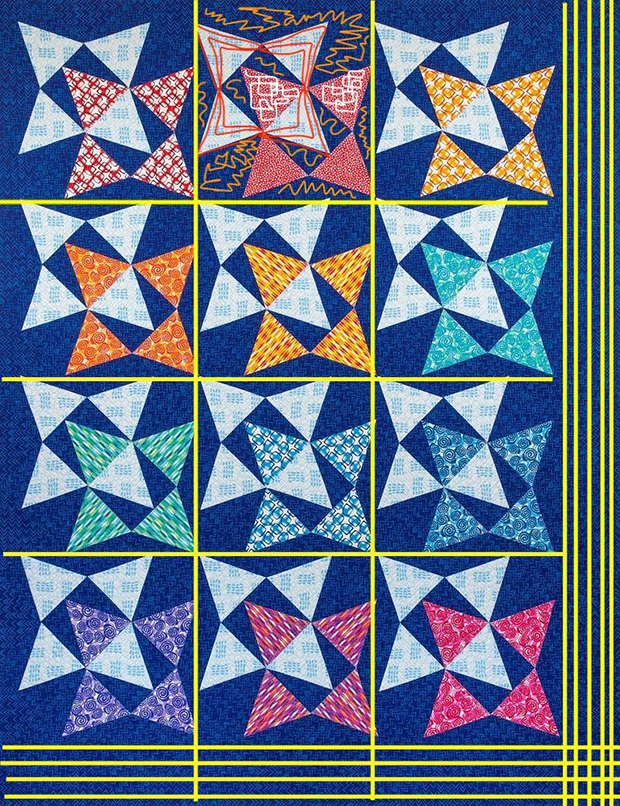
The moment of truth arrived; matching up all the points of the two halves while dealing with all the layers meeting up at the center point. I listened to my own advice and sewed very slowly and I am happy to say I nailed it on the first try! (There may have been a happy dance or two after that.) At that point, I knew a pattern had to be created for Hypnotica.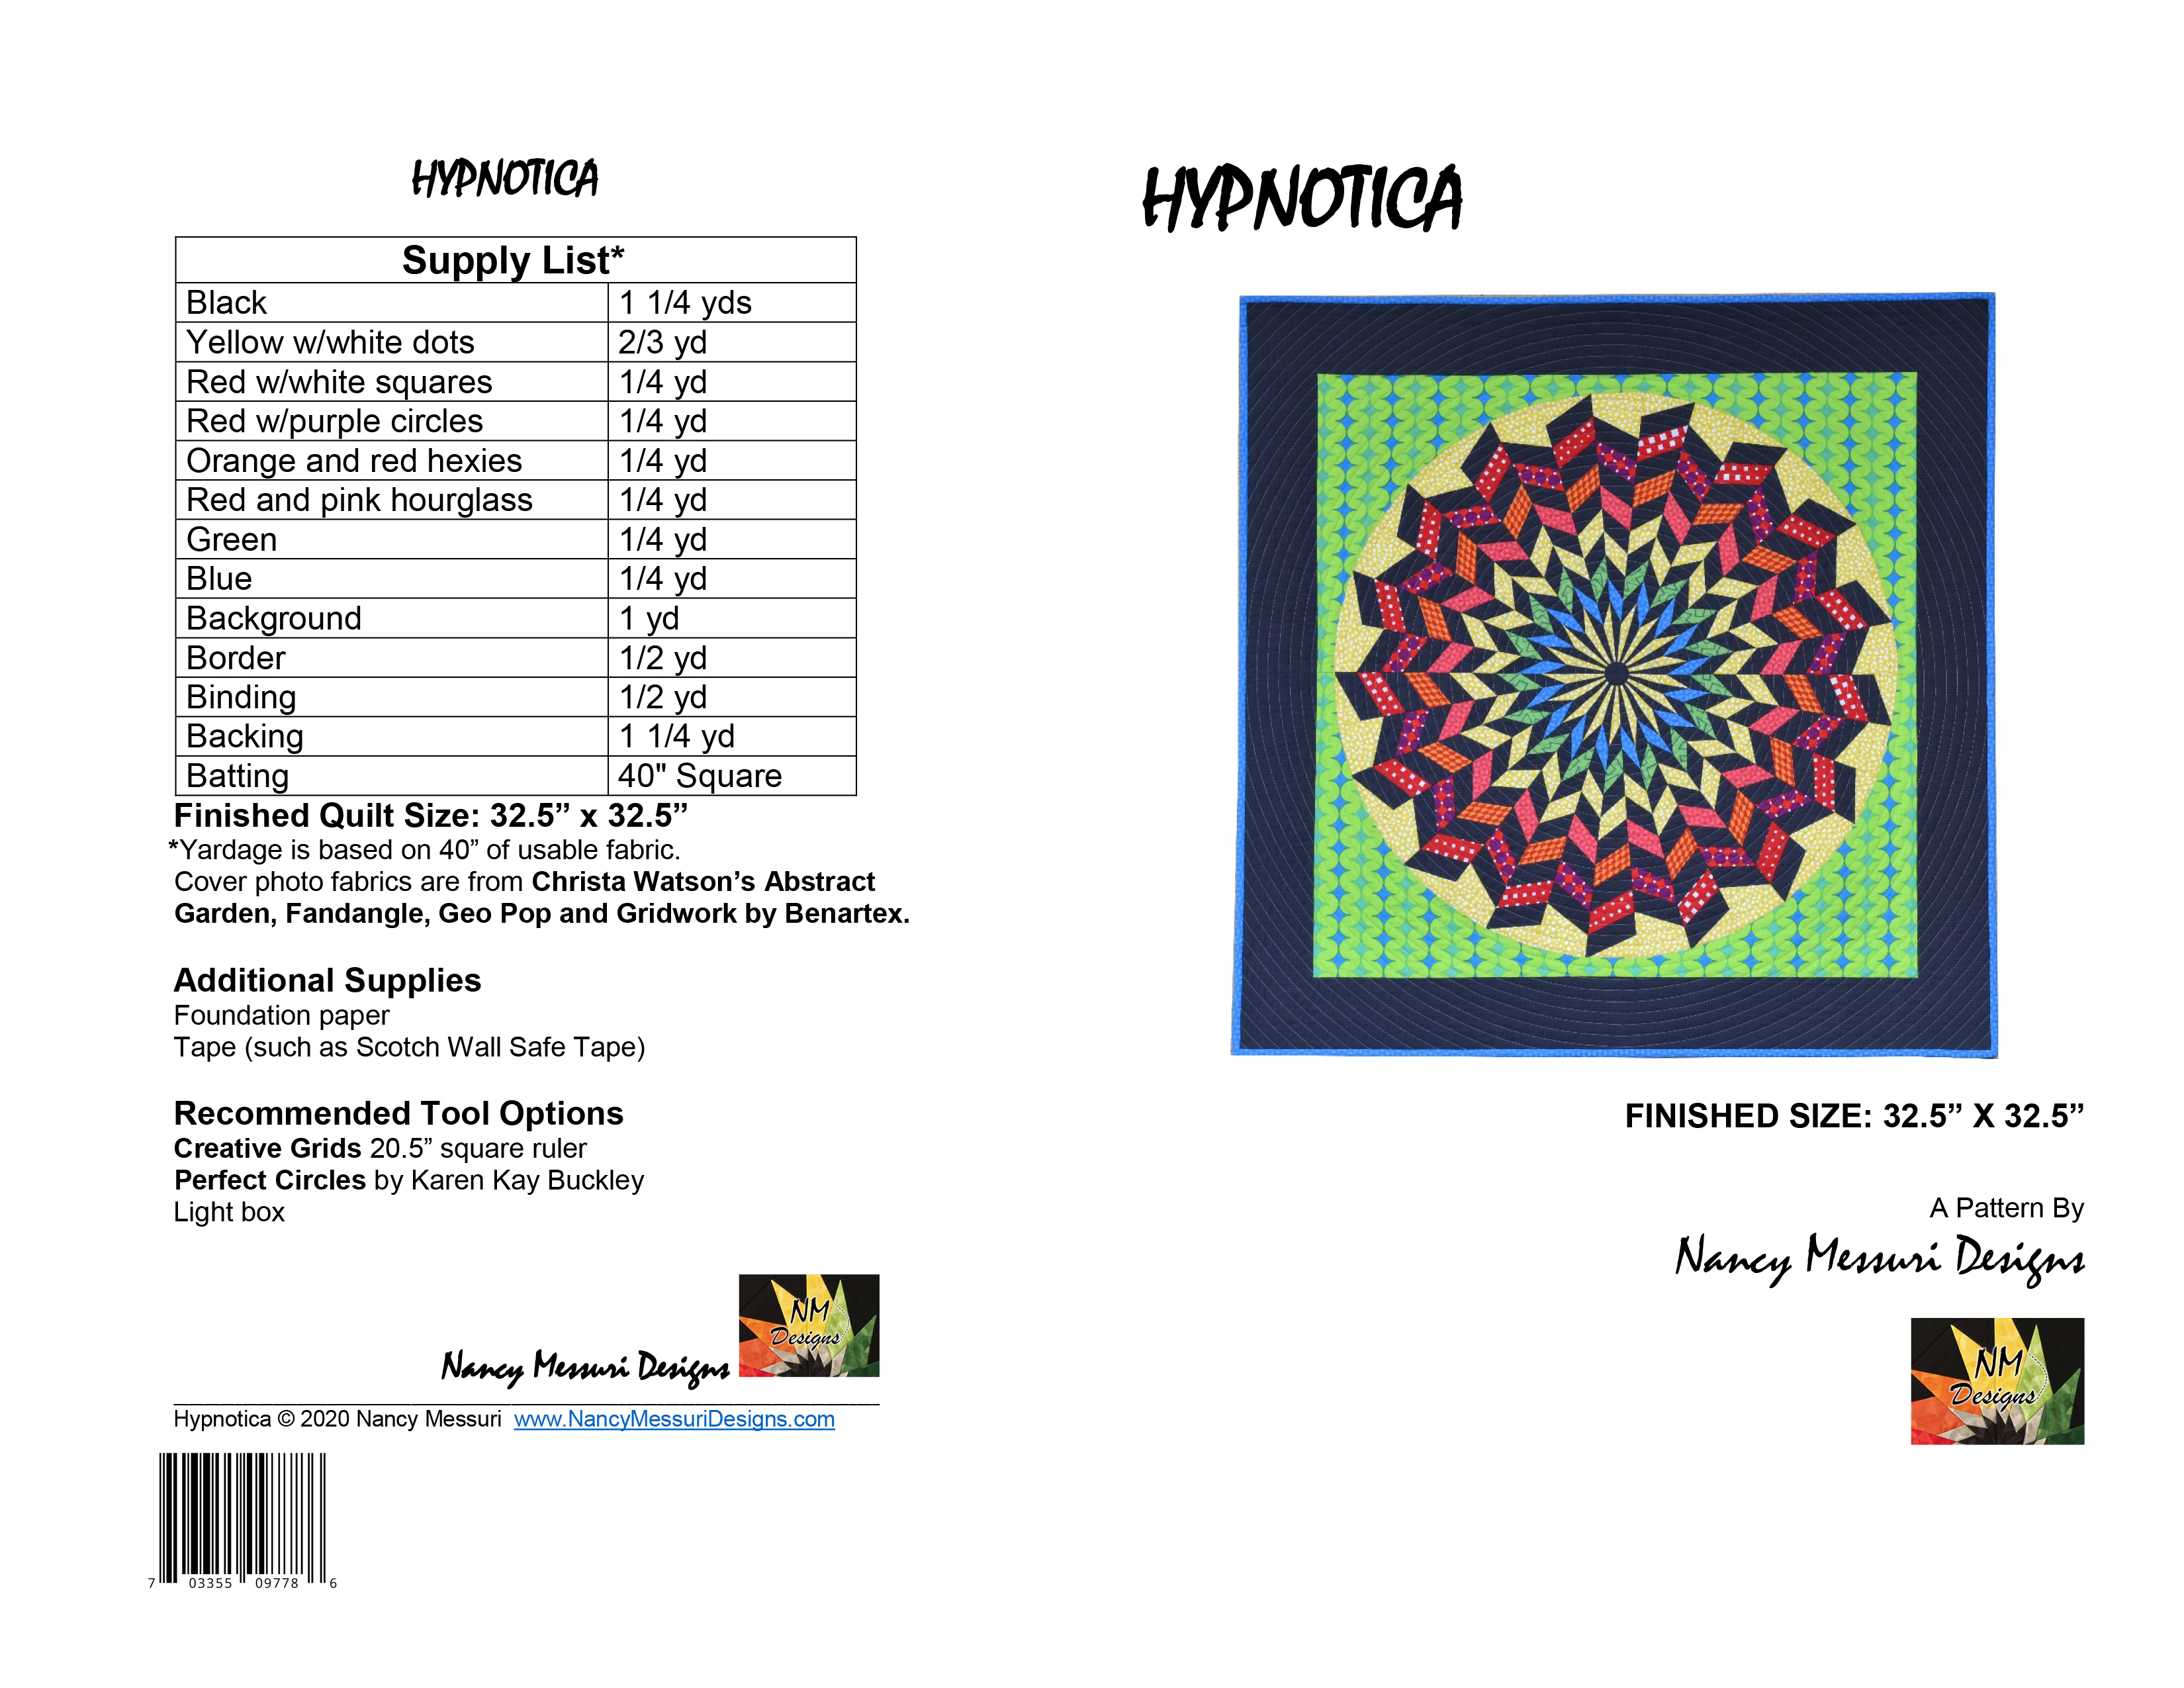 Click the image above to enlarge.
Click here to order Hypnotica Quilt Pattern.
I quilted Hypnotica with a continuous spiral that turned out wonderfully. It was quick, easy, and looks fantastic! If you have not tried this before, Christa has a great YouTube video tutorial, “How to Machine Quilt Continuous Spirals.”

Click here to view Christa’s spiral quilting tutorial.

I would love to see your interpretations of Hypnotica on my Facebook page, Nancy Messuri Designs! The pattern is available on my website, NancyMessuriDesigns.com. There are new patterns in the works, so I hope you pop in from time to time. Or better yet, sign up for updates so you won’t miss a thing!

Thanks so much Nancy for sharing your beautiful quilt!! Now I can’t wait to see what she creates next. 🙂


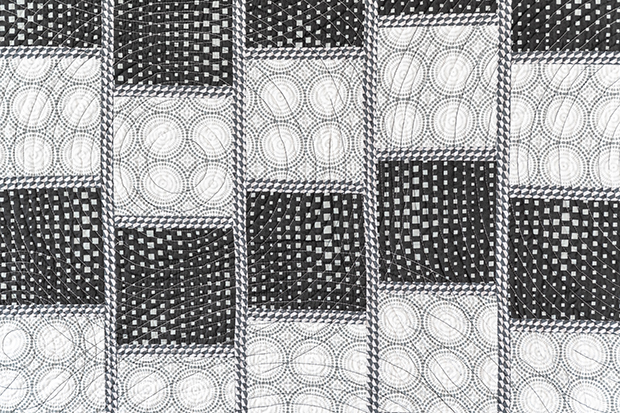
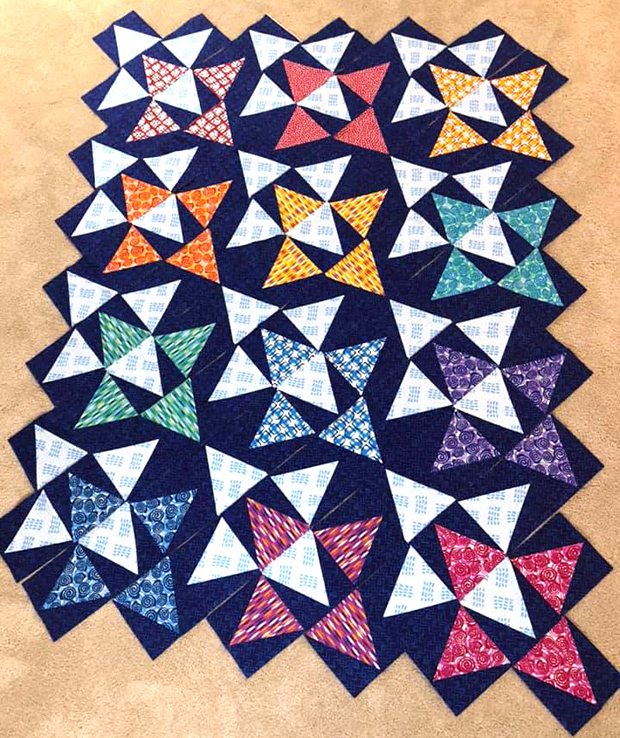
 Basting in process on my design wall.