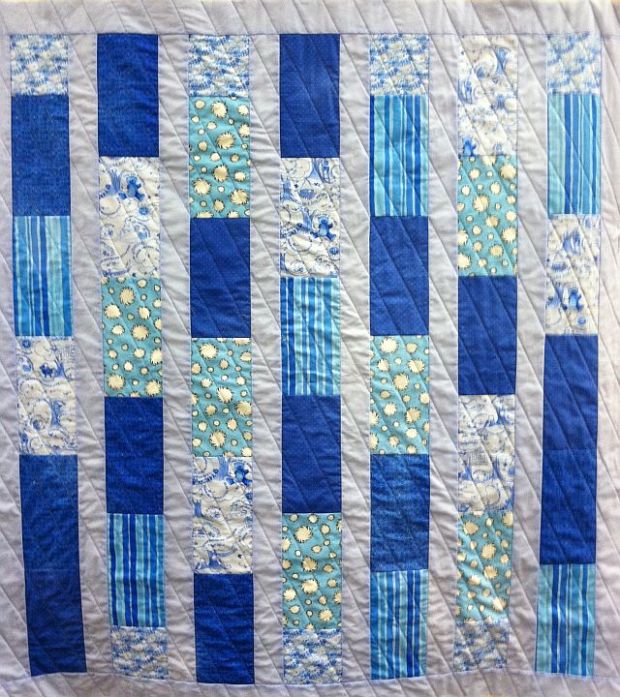
I finished up the quilting on my boy version of Baby Bricks while I was at a quilting retreat last weekend. I brought along a few items to sell so the weekend paid for itself!
Step 1 – Quilt the Marked Lines
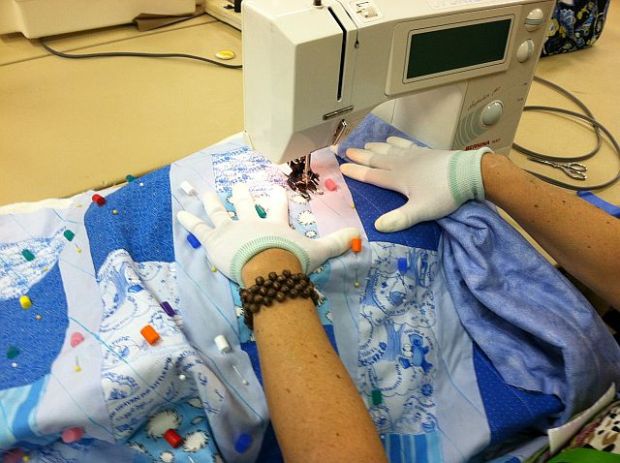
This quilt was so easy to machine quilt. It was just a matter of following the marked lines! I timed myself and it took less than 2 hours to machine quilt the top. Start with a large area for quilting so you have room for the quilt. A drop in table is best but as you can see here, I quilted this just using the surface available on the bed of my machine.
 I started on the very edge of the quilt with the first marked line. I scrunched up the quilt under the arm of the machine and used Machingers quilting gloves to grip the quilt making it easier to push through the machine.
I used a walking foot to quilt the straight lines with my feed dogs engaged. I set my stitch to a longer length (4 out of a max of 5), and quilted with 50 weight variegated light blue cotton thread on both top and bobbin. I used a new Topstitch needle, size 80/12 for the quilting.
 I quilted about half of the quilt from one direction, turned it around and then quilted the other half. Because my marked lines ran from one edge to the other, I did not have to tie off or bury my threads. The ends will be covered by the binding so they will be secure. I left the basting pins and Pinmoors in the quilt and removed them one at a time as I quilted.
Step 2 – Remove the Markings
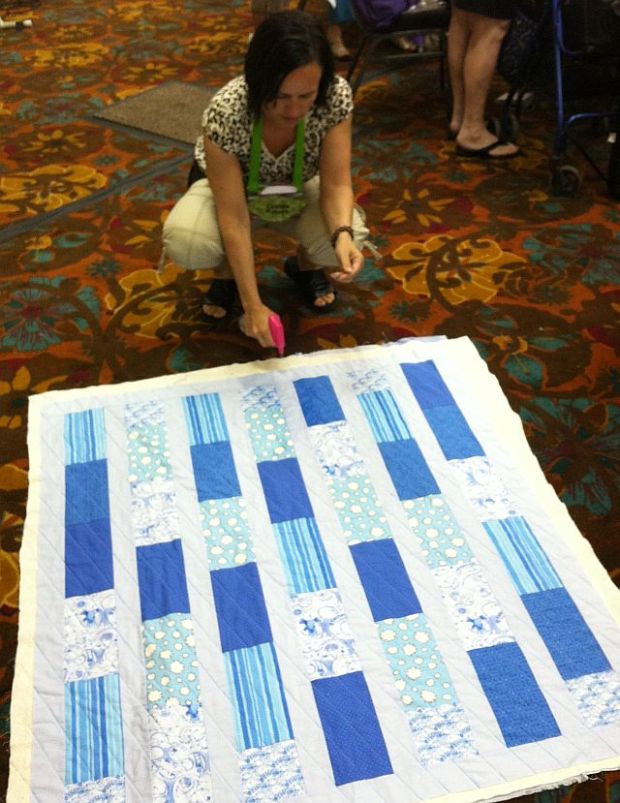
I used a spray bottle to remove all of the marked lines. I will soak the quilt after binding to block it and remove any excess marks. (I advocate prewashing all the fabrics first to be sure they don’t bleed. This gives me piece of mind when I completely soak it later.)
It’s all quilted now and ready for binding. Next week I will show how I quilted the pink and green girl version using more advanced free-motion quilting techniques. You can use either option on your quilt, or combine them!
Here is the schedule of tutorial posts for my Baby Bricks do-it-yourself quilt along:
- Week 1 – Supply List & Intro
- Week 2 – Cutting Your Fabric
- Week 3 – Sewing the Quilt Top
- Week 4 – Marking and Basting
- Week 5 – Machine Quilting Option 1 – Straight Stitching (today’s blog post above)
- Week 6 – Machine Quilting Option 2 – Free Motion Quilting
- Week 7 – Binding by Hand
- Week 8 Bonus – Blocking and Labeling


I bought a walking foot to go with my new machine so I am in hopes that I can learn to machine quilt.
Can you tell me what kind of marker it is that you just spritz with water and it disappears?
Marsha, It’s an inexpensive water soluble blue marker. I carry two brands in my shop: EZ Quilting and Clover. I hope you enjoy your walking foot!
When quilting someone else’s quilt for hire, would you suggest marking the quilt with a water soluble pen such as you used here?
Barb, I would use a water soluble pen only if you know that the fabrics are color-fast. If you are unsure, use painters tape instead and quilt along the edge of the tape. Or you could use an air-erasable pen that disappears on its own.
Too cute!!! And super fast, a winning combination!
Emma