Welcome to a new year and a new quilt along! I just love quilt alongs – don’t you? To ease into making this quilt, all you have to do this week is gather your materials and read through the introduction below. Then we will dive in and start cutting next week! For anyone new to the blog: click THIS LINK for the full supply list and QAL schedule.

What is Paper Piecing?
First of all, there are two techniques known as paper piecing and they are completely different methods. For our Pieced Primrose quilt, we are going to be doing “Foundation” paper piecing, which means that fabric will be sewn to paper foundations and then ripped away before you assemble the quilt. The foundations stabilize the quilt blocks and allow for more accuracy than what you could achieve with regular piecing techniques.
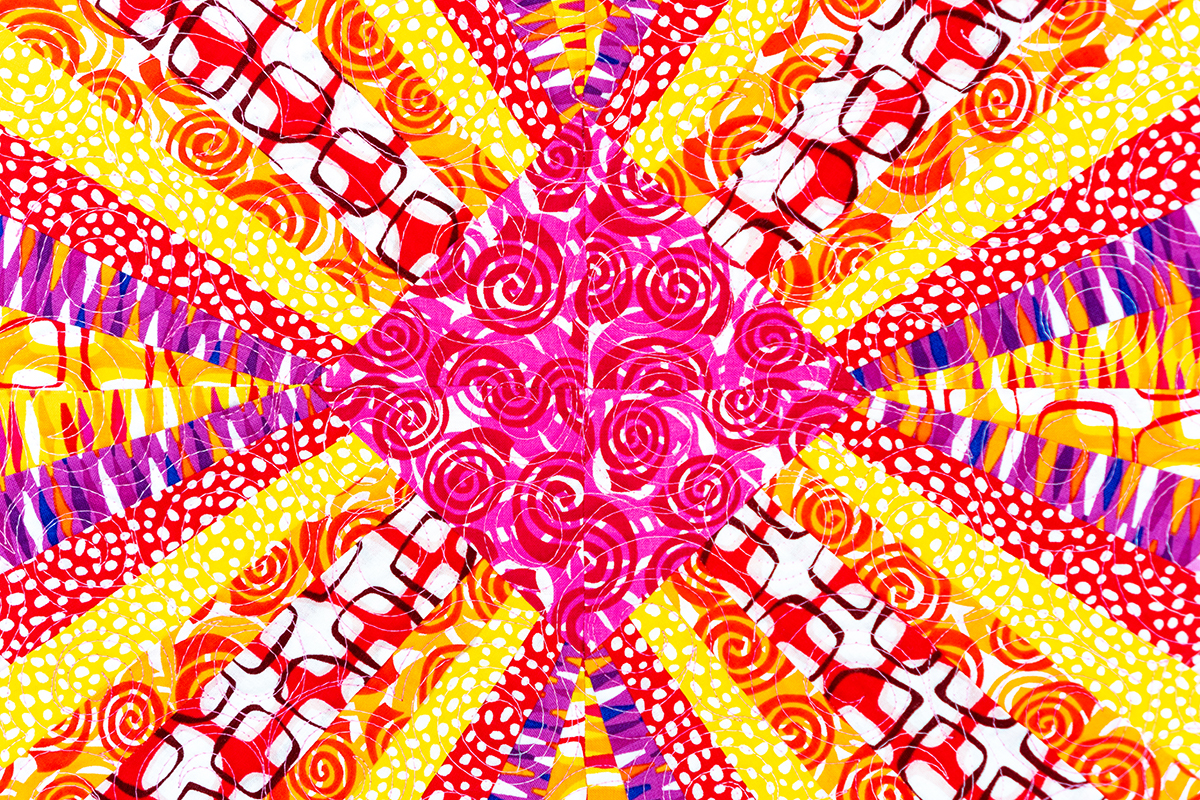
This is what “foundation” paper piecing looks like.
The other technique that we are NOT doing is called “English” paper piecing, which means that fabric shapes are cut out, wrapped around a paper template and then sewn together by hand along the edges. Think of those super popular hexie quilts or grandmother’s flower garden designs. It’s a great technique, just not what we are using during this quilt along.
Foundation Paper Piecing Pros and Cons
So back to foundation paper piecing (FPP for short)! FPP is super simple to achieve because all you have to do is sew on a marked line. You generally photocopy the FPP pattern (also known as a template) and make as many copies as you need for as many blocks as you are making. You can easily sew together wonky shapes because the paper basically does the work of matching everything together for you at the correct angle.
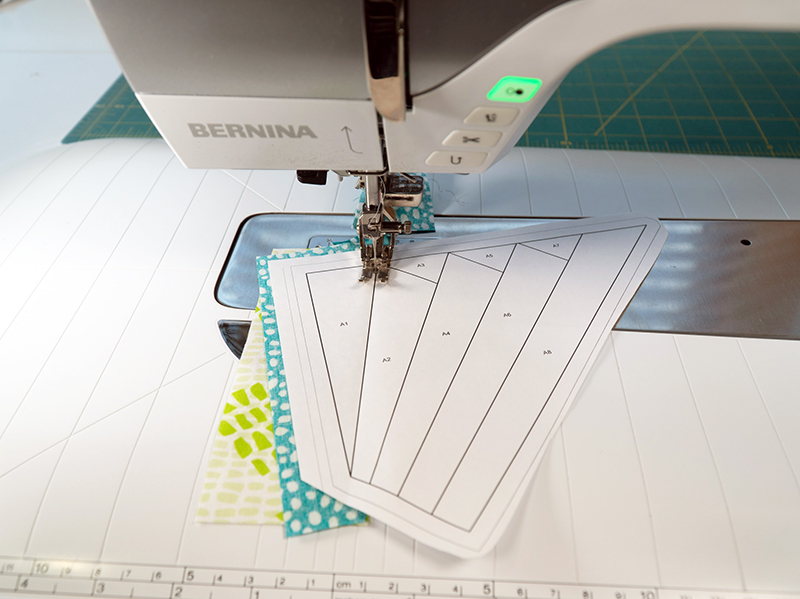
Below is an image of the foundation paper pieced template that’s included in my Pieced Primrose pattern. Please note that the image below is NOT to scale and can’t be used for purposes of this QAL. It’s an example only so you can see what’s included in the pattern. You’ll need to purchase a copy of the pattern itself to get a usable template to photocopy.

Click here to get the Pieced Primrose Pattern – PDF version
Click here to get the Pieced Primrose Pattern – Paper version
The downside of some paper pieced block patterns is that they are larger than what will fit on an 8 1/2″ x 11″ piece of paper. In that case you’ll need to tape multiple papers of the foundation template together. However, with Pieced Primrose, I purposefully designed the quilt block so that it ALL fits on one piece of paper as shown above. After all, I want to make things easy for you so you’ll actually enjoy the process!!
Printing the Block Template:
If you’ve purchased the paper version of my Pieced Primrose pattern, all you need to do is remove the staple in the middle of the pattern, then you’ll have an intact sheet of paper that you can photocopy as many times as needed.
If you’ve purchased the PDF version of Pieced Primrose, it’s even easier. All you need to do is print off the FPP template page from your computer as many times as you need. What could be easier?? But here’s the catch. Please, please, please REMEMBER to print off one copy first and make sure your printer settings are set to print ACTUAL SIZE. It’s formatted to print as a “spread” meaning that the full template will print horizontally on one 8 1/2″ x 11″ sheet of paper.
You can test it with the little 1″ square box that’s included in the pattern. Also, make sure you’ve saved the PDF download into a folder on your computer where you can find it again. In all cases when using PDF patterns, download the pattern, save it first, and then print it out if needed. You’ll have way fewer technical issues this way. Once you know you have an accurate template, then print off as many copies as you need for as many blocks as you are making.

Pieced Primrose Pattern Cover
A Word about FPP Paper
Honestly, I just print my templates on regular copy paper. It’s easy and cheap and readily available. However, feel free to use specialty paper if desired. The choice is yours and you are the boss of your quilt!
For reference, the smaller wall size is made from 16 blocks so you’ll need 16 copies of the FPP pattern template. The throw size is made from 80 blocks so print off 80 copies (plus an extra or two if you want to make a test block.) You can always adjust the size of your quilt by making more or fewer blocks, or adding borders.
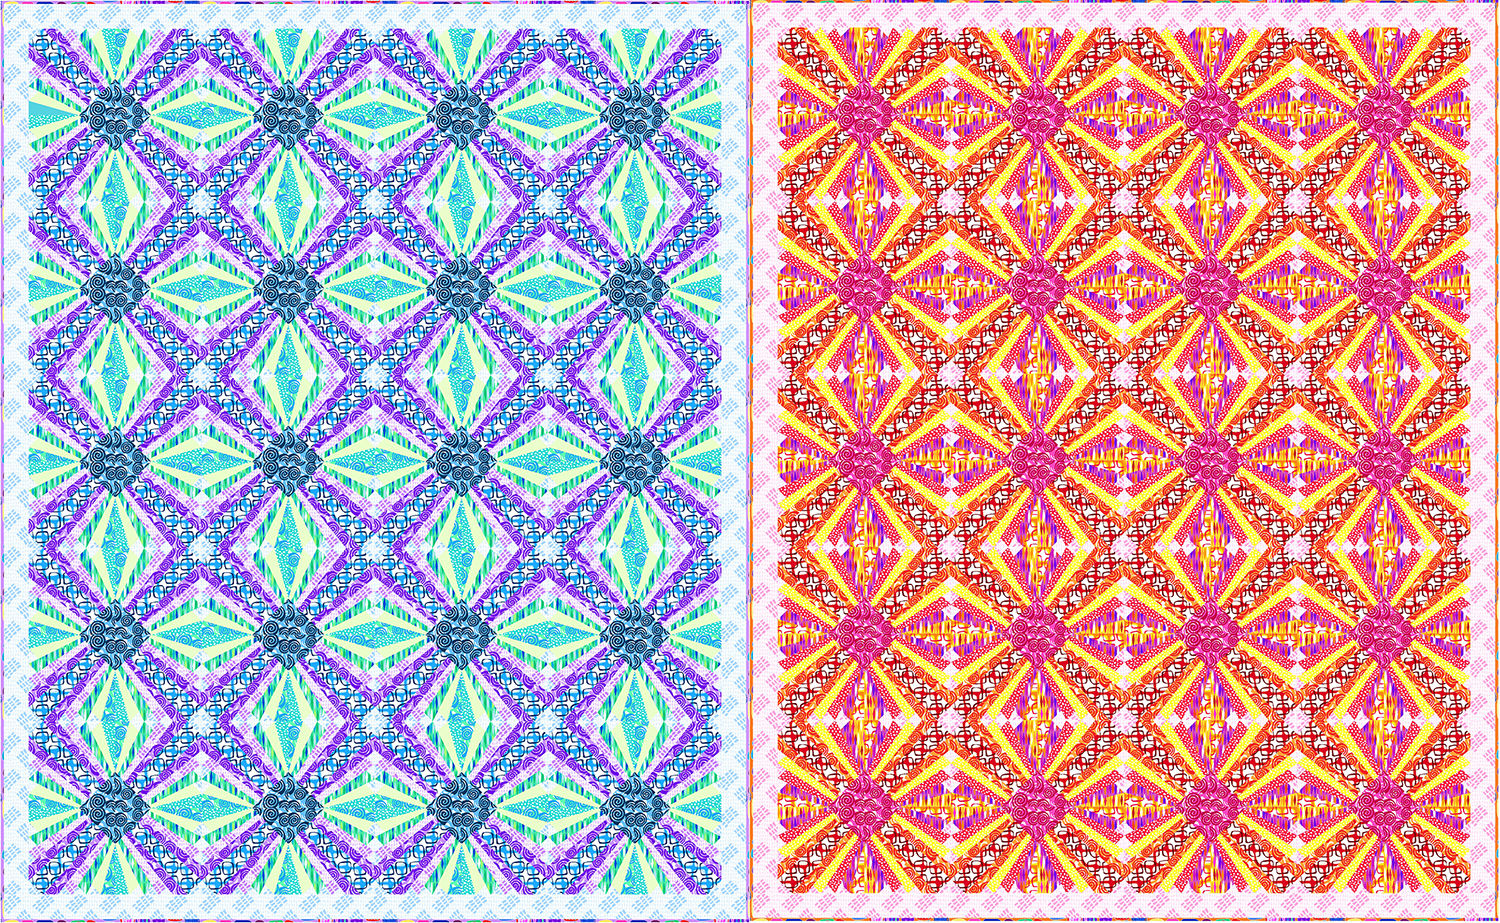
Click here to get the Pieced Primrose Quilt kit in Wall or Throw size, warm or cool colorway.
Foundation Paper Piecing Uses More Fabric
I put that in all caps and bold to remind you that you that Yes, FPP does use more fabric and you WILL have a large pile of scraps left over. But here’s my philosophy when it comes to FPP: you can either waste time or you can waste fabric.
You can “waste” time getting frustrated by trying to scrimp and save fabric by cutting all pieces exactly. But unless you are a FPP pro, what usually happens is that once you sew the snugly fitting piece, it doesn’t end up covering the entire area and you end up ripping it out and/or giving up. Or you ruin the fabric with too much “Frog” sewing (aka “rip-it! rip-it!”). So do yourself a favor and be ok with the fact that wasting a little fabric is justified in the pursuit of learning a new skill.

Use your FPP scraps for making pet beds for your favorite critters: throw the scraps into a pillowcase, then sew the end shut when it’s fully stuffed.
If the scraps really, really bother you, then I recommend making a test block out of scrap fabrics first. Cut enough for one block using the measurements given in the pattern. If you don’t like the amount of scraps it generates, then trim the pieces down smaller for the next practice block and see if that works out better for you.
Once you are comfortable with how much extra fabric you need for each piece, then cut out all the blocks that way. To figure out how big to cut a “snug” piece, measure the longest line of each sewn piece and then add 1/2″ for seam allowances. I was generous and added a full inch, just to be safe! Just remember, you can always cut away extra fabric, but you can never add more after it’s been cut.
I know that was a lot of words I just wrote. If it all sounds like gobbledy-gook at this point – don’t worry – I’m going to walk you through the cutting starting next week – so it will be all okay 🙂
Tools and Needles and Thread, Oh MY!!
These tools are not absolutely required, but they sure make the job easier! I’m going to show how to make the blocks using these tools so I highly recommend them.

Click here to get my favorite notions for foundation paper piecing.
Good quality needles: I really like the Superior needles – size 80/12. I use them with size 50 weight thread and they are nice and sharp to pierce the paper and make it easy to remove. The paper may dull the needle a bit so be sure to use a fresh needle when starting this project and plan to change your needle after sewing about 20 blocks. Then be sure to use another fresh needle when quilting, or change it if you get a loud clunking sound while sewing. That means your needle is getting dull.
I’ll probably mention this again when sewing, but use a shorter stitch length when sewing as that will make more holes in the paper to make it easier to remove.
Add a quarter ruler – this is the most important tool for FPP. It gives nice crisp lines when you are folding your paper back (more about that later) and ensures that you can cut the excess seam allowances without making a huge mess. I prefer the 12″ add a quarter ruler so that it will work with most sizes of paper pieced units.
Wooden seam roller: I recommend pressing each and every seam in your block as you go. With this design that is a LOT of pressing. So to make the job easier, you can keep a wooden seam roller right at your sewing table and use it instead of an iron for the individual pieced units. Then press the entire block when it’s finished.
My Aurifil thread collections: these are all 50 weight cotton in colors, neutrals or variegated. When piecing with colorful fabrics, I like to use colorful thread that will blend in so I don’t see the thread peeking out from the seams.
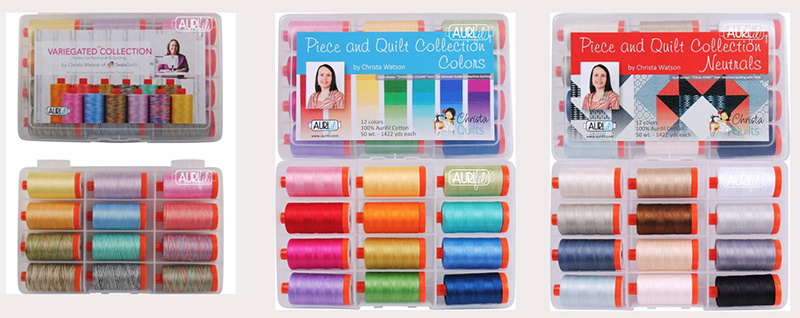
Click here to get my Aurifil thread kits – 12 large spools of premium 50 weight cotton.
I will usually piece with 1 spool of colorful thread, and then quilt with another 1-2 colors so that I can make sure I have enough for the whole project. The nice thing about using cotton for piecing AND quilting is that I can use up any leftover bobbins when making my next quilt!
Gather Your Materials and show off your pretties!
I know that not all of you follow me in all the places, but if you are on Facebook or Instagram, I’d love to see your progress and what fabrics you are using. Use the hashtag #piecedprimrosequilt on instagram, or share pics in my Facebook group ChristaQuilts. If you are the blogging sort, you can include a link to your blog in the comments, and of course you can always email me your pics, too. I love to see it all.
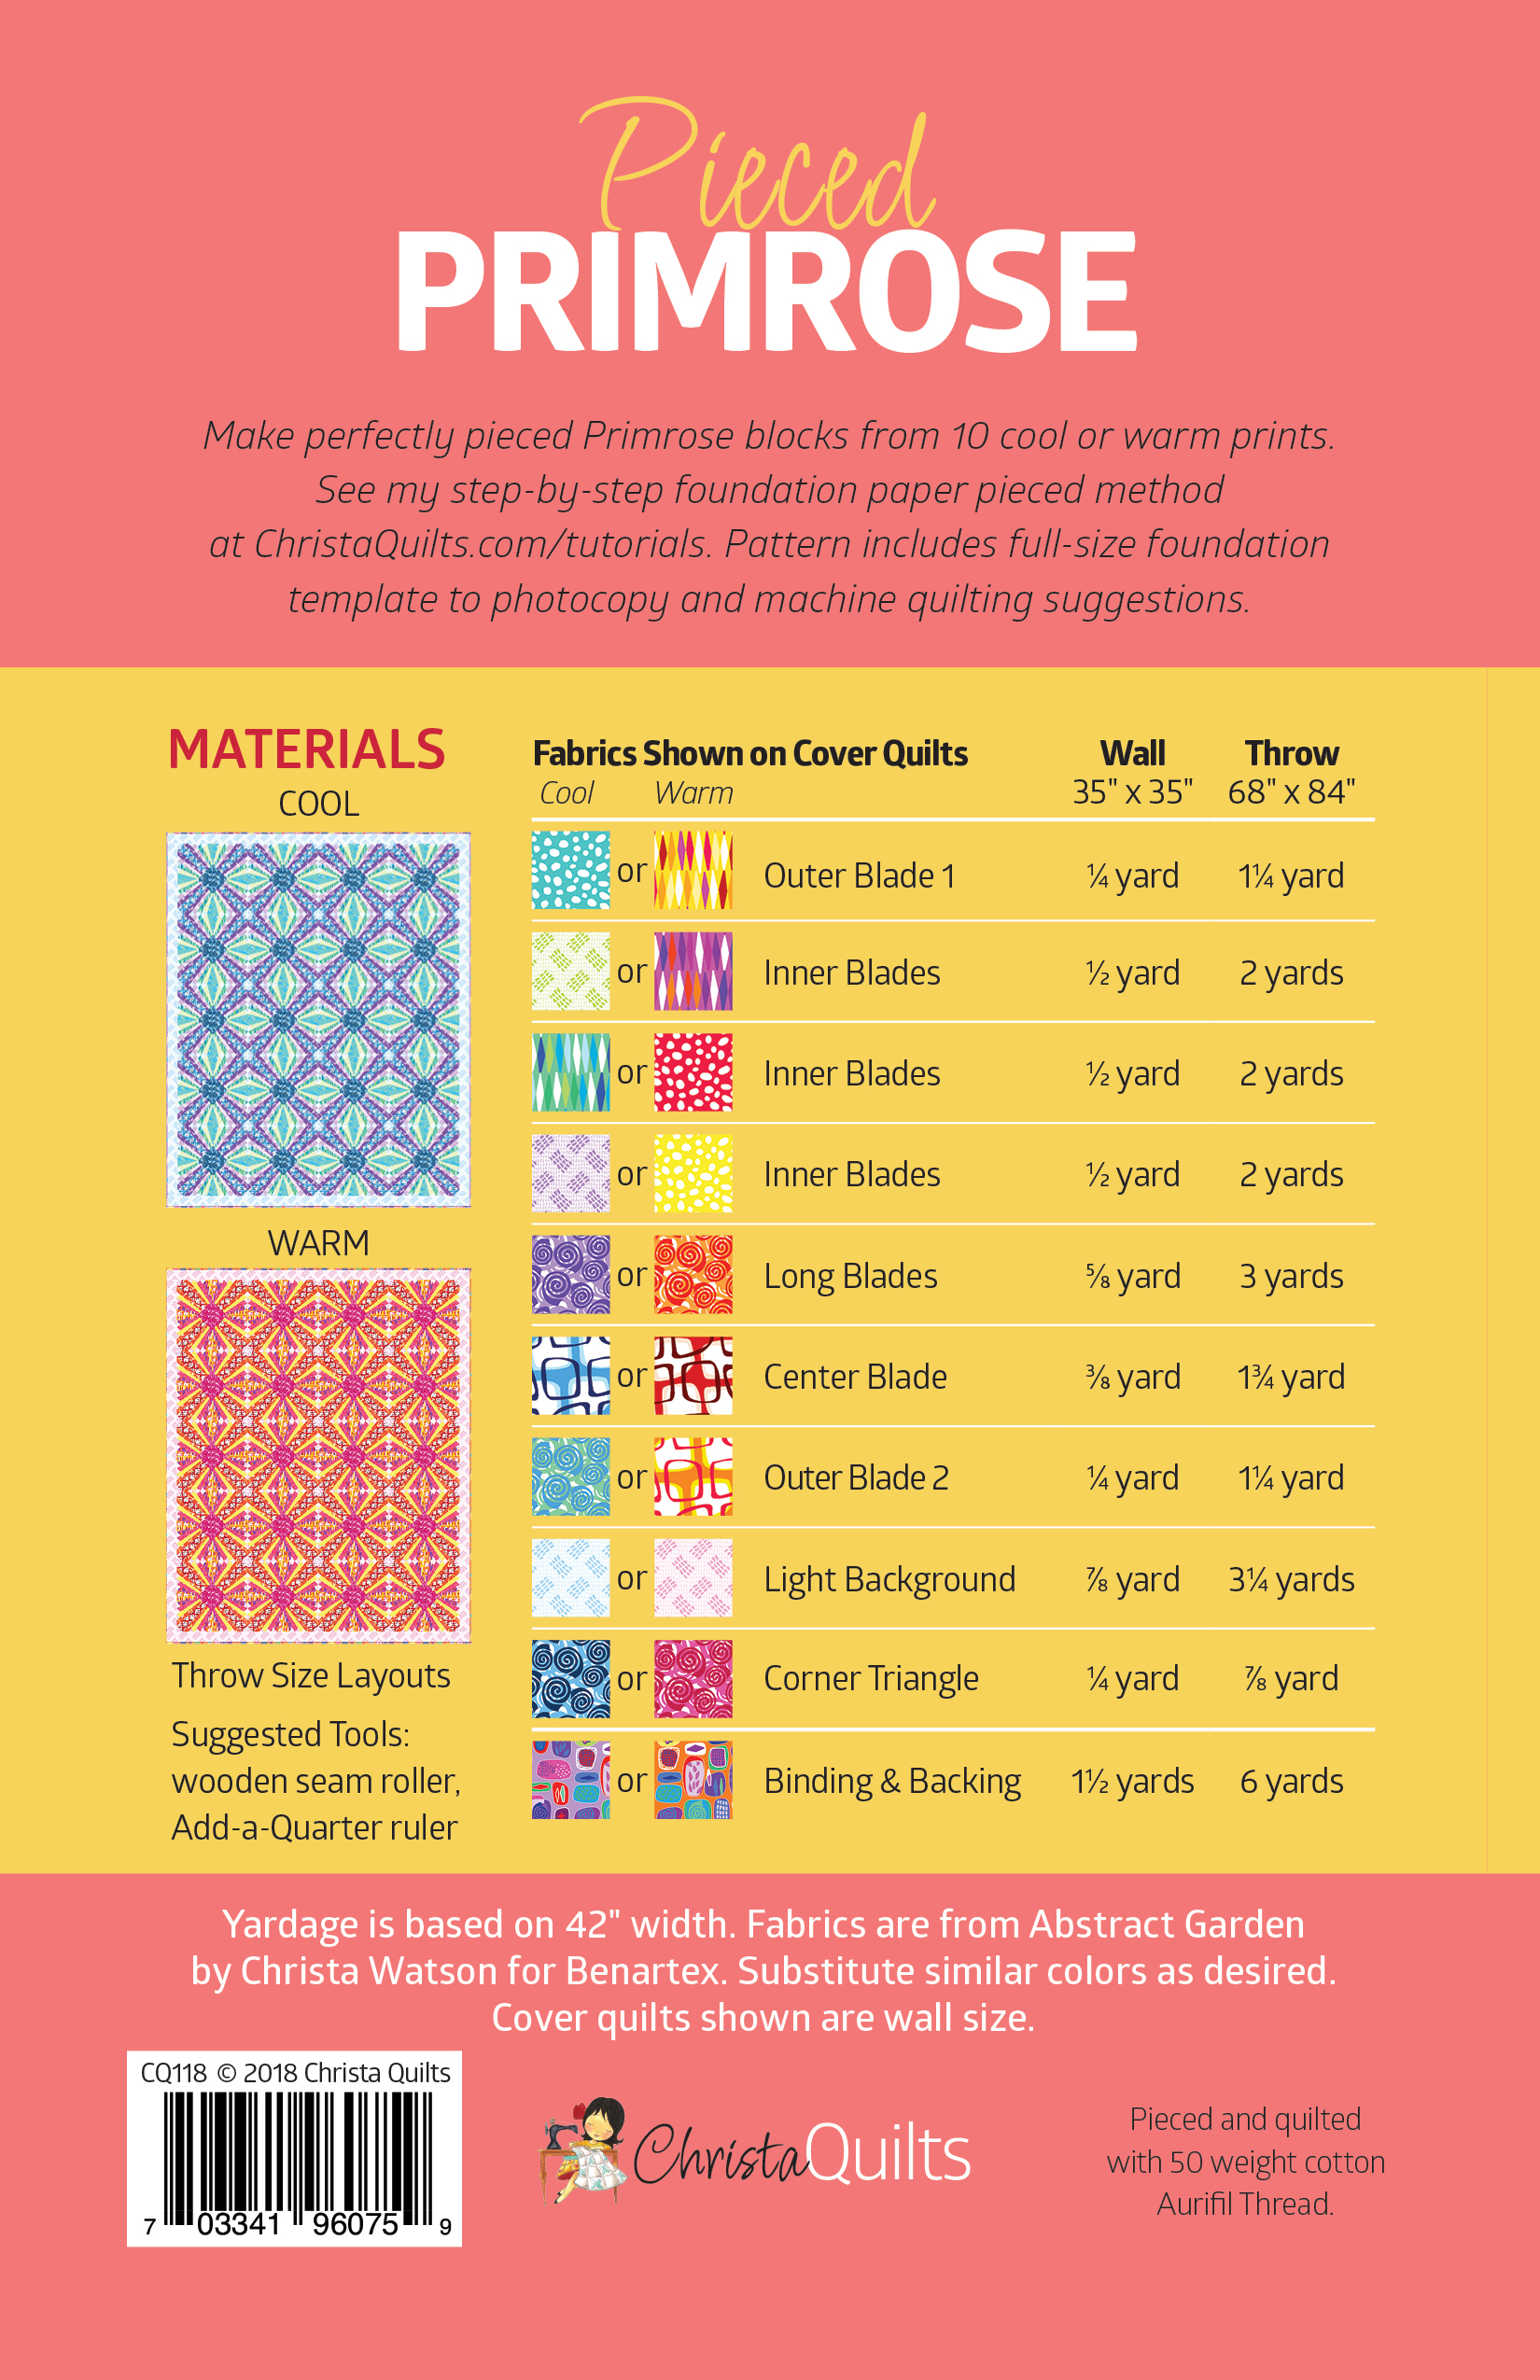
Feel free to use the yardage requirements as given in the pattern above, or bust your stash and use up a ton of scraps in similar colors. Remember – just because the pattern calls for one blue or pink, that doesn’t mean you can’t use 20 – right??
If you have any questions – feel free to leave a comment. This was a lot of info but I’m ready to get started. Meet me back here and the same time and place next week for the next step!!
Links at a Glance
Click the links below for supplies needed to make this quilt:
- Click here to get the Paper Pieced Primrose quilt pattern – PDF version
- Click here to get the Paper Pieced Primrose quilt pattern – Paper version
- Click here to get the optional Primrose kit in warm or cool
- Click here to get my favorite notions
- Click here for my Aurifil Thread kits
- Click here for the complete QAL supply list and schedule