When the quilting is finished on your Optical Illusion quilt, or whatever quilt you happen to be making, just the final step of binding is left. I’d like to show you in words, pictures and videos how to bind a quilt. Let’s dive right in.

Finished Optical Illusion Quilt, 67″ x 88″
If you’re still working on your Optical Illusion quilt, no worries! This will be here when you’re ready for it. You can scroll to the bottom for links to all of the steps.

The first thing to decide is whether you want to make the binding from just one fabric or you want to make it scrappy.

Which way you go is just a matter of personal preference, as there is not a right or wrong decision.
Step 1 – Calculate and cut your binding strips
A well-written quilt pattern will tell you how many binding strips to cut, but it’s handy to know how to figure it yourself. To determine the length of binding you’ll need, add up the length of the four sides (known as the perimeter) and then add 10″. The extra 10″ is for the seams and gives you a little insurance.
For example, Optical Illusion finishes at 67″ x 88″. This would be the math:
67+67+88+88+10 = 320″
You’ll need 320″ of binding. We use 40″ as the standard width of useable fabric from selvage to selvage, so from each cut across the fabric, we will get 40″ of binding. So we divide 320″ by 40″ to see how many strips to cut.
320″/40″= 8 strips
Just as a side note, if you ever divide by 40 and get something like 6.49, round up to get the number of strips. If you got 6.49, you’d round up to 7 because you’d need 7 strips.

How wide should your binding strips be cut? It’s a matter of personal preference. Most of my patterns, including Optical Illusion, give 2-1/4″ as the cut width for binding strips. But over the past few years, I often cut my strips 2″ wide and sew them to the quilt with a scant 1/4″ seam allowance. If you’re a beginner, it may be a little easier to cut binding strips at 2-1/4″ wide.
Step 2 – Sew the binding into a continuous length

To join the strips with mitered seams, place two strips right sides together at a 90 degree angle. Sew them together across the diagonal as shown. Join all of the binding strips into one long piece.
Trim the seam allowances to 1/4″ and press the seams open.

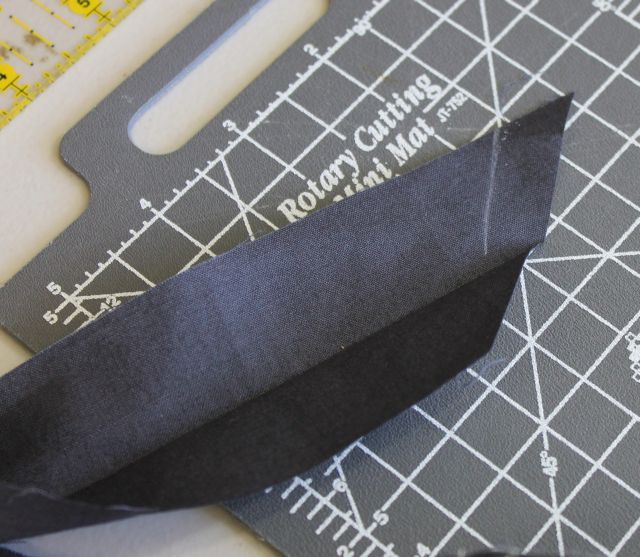
Trim one end of your binding at a 45 degree angle as shown above. This will be the starting end.
Step 3 – Press the binding

Press the binding wrong sides together along the entire length.
Step 4 – Trim the quilt and walk-around
Trim off the excess backing and batting before you attach your binding. I use a large square ruler for the corners, and a long straight ruler for the sides.

Note: the quilt above is Moder X – patern available here while supplies last.
Quickly do a “walk-around” by running your binding along the perimeter of your quilt to ensure you won’t have any seams falling in the corners. If you do – move the binding up or down a few inches to avoid seams at the corners.
Step 5 – Attach the binding to the quilt
Please note: These instructions are for sewing binding to the front of the quilt and then sewing it by hand on the back to finish. If you prefer to bind completely by machine, see this video. Or:
Click to see a blog post about binding by machine.
Now back to Step 5: Attach the binding to the quilt
Starting at least 6″ – 8″ away from any corner, place your binding on the front side of the quilt and leave a tail of about 6″ – 8″. Line up the raw edges of binding with the raw edges of your quilt. The fold should be toward the quilt.

Attach a walking foot or even-feed foot or use a dual-feed setting on your machine. Starting at the pin as shown, stitch the binding onto the front of the quilt with a 1/4″ seam allowance.

As you come to a corner, stop stitching 1/4″ before you reach the corner and sew off the corner at a 45º angle.
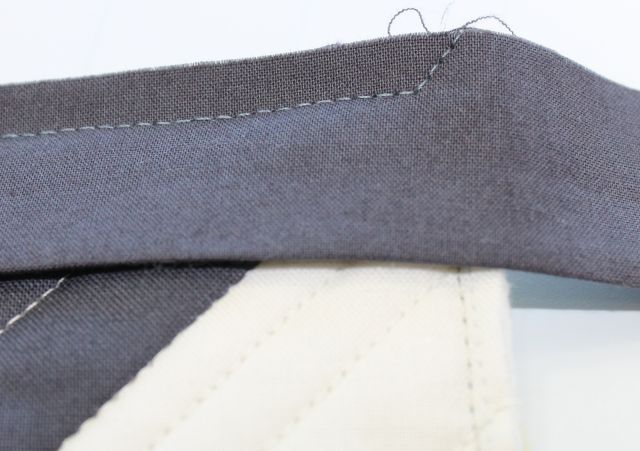
It will look like this. In order to miter the corner, fold the binding up and away from yourself. Keep the raw edges of the binding in line with the raw edges of the quilt as shown.
Next, fold the binding back down toward yourself, creating a tuck of fabric underneath.

The fold will form a little triangle that stands up off the quilt; later it will form the miter on the quilt front. Now the quilt goes back under the machine.
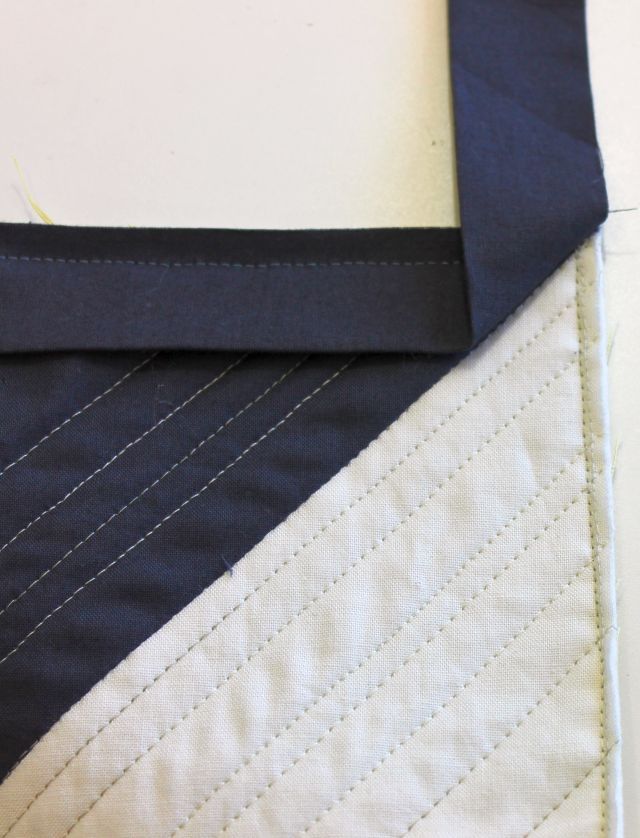
Starting from the edge of the quilt, stitch the next side of binding down until you reach the next corner. Repeat this process for all four corners until you approach your starting point. STOP when you’re about 8″ away from where you began.
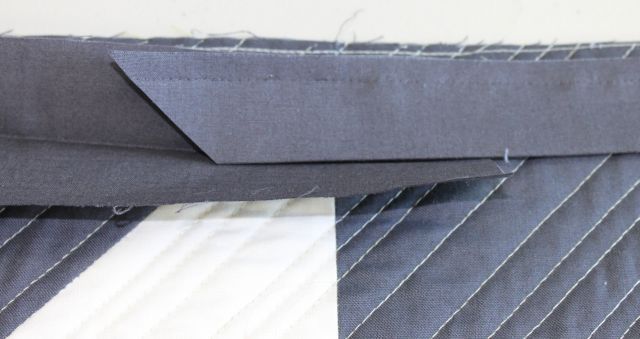
Trim off the excess, leaving a few inches of overlap to work with. Open up the end of binding and place the beginning tail inside it.
Using the cut angled end as a guide, lightly mark a line right up next to it. Then cut 1/2″ away from this measurement to account for seam allowances on both ends.

Put the two tail ends right sides together, and sew with 1/4″ seam to complete the continuous loop of binding. Finger press the seam open.

Sew that last part of the binding to the quilt. Now the binding is attached all the way around the quilt.
Step 6: Sew the binding down
The next step is to fold the binding to the back of the quilt and sew it down by hand. I love using binding clips all round the edges to hold it down. Here’s the only picture I got of my binding Optical Illusion:

Click here to see a video of how I sew my binding down by hand.
Congratulations on finishing strong! And thank you for quilting along with me!

Click here to get the Optical Illusion pattern in paper format.
Optical Illusion Quilt Along
Click on each part you’d like to see.
