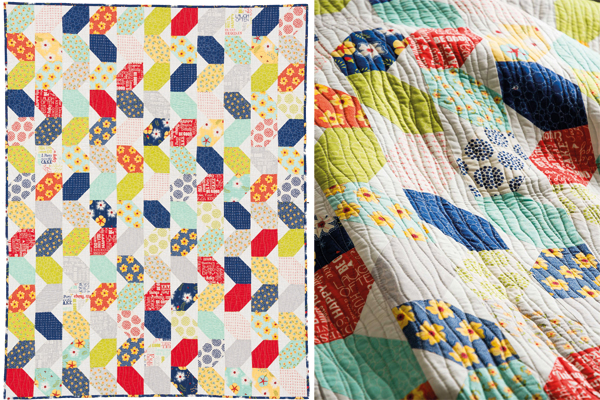
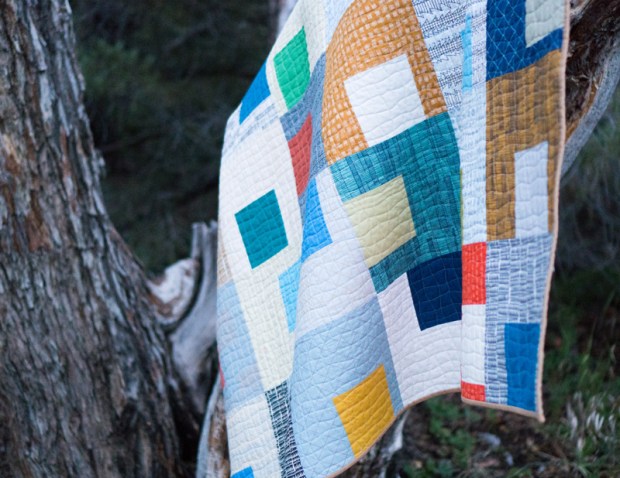
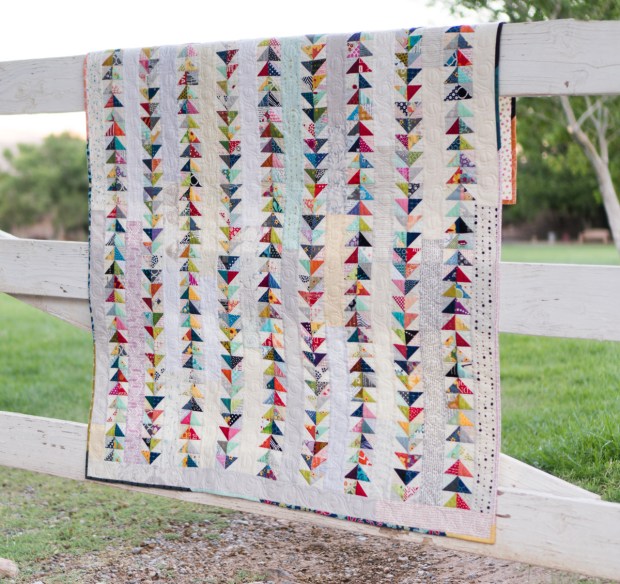
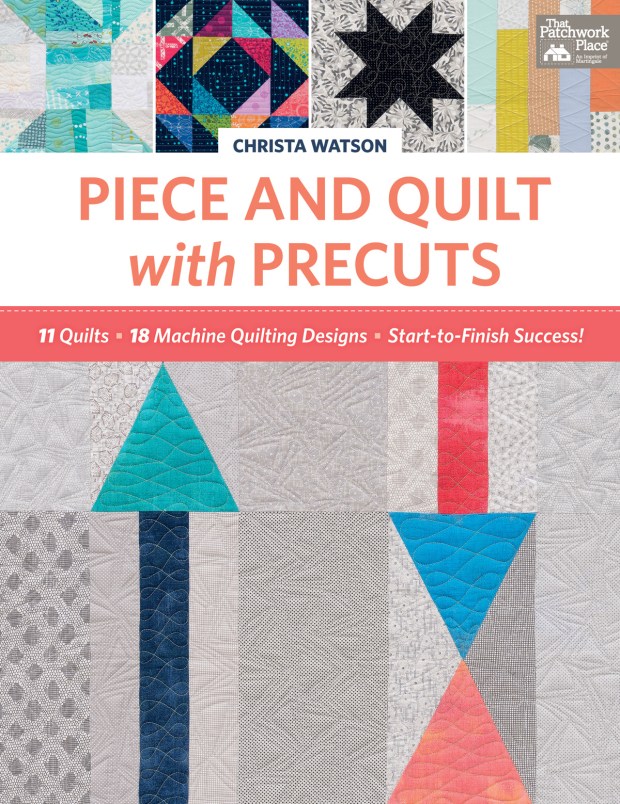
The second quilt featured in my book Piece and Quilt with Precuts is called “Gridwork.”

Gridwork Photography courtesy of Martingale/That Patchwork Place and Brent Kane.
Piece It
Gridwork is made from one set of 5″ squares and one set of 10″ squares. In traditional quilting, blocks are usually laid out in a “grid” format. However, modern quilters like to break up the grid or present blocks in an alternate grid layout. In this case, you can see that this quilt is arranged in a 6×7 traditional grid layout (6 blocks across by 7 blocks down). But the blocks themselves are rotated in a haphazard fashion to obscure the grid and make it a bit more interesting.
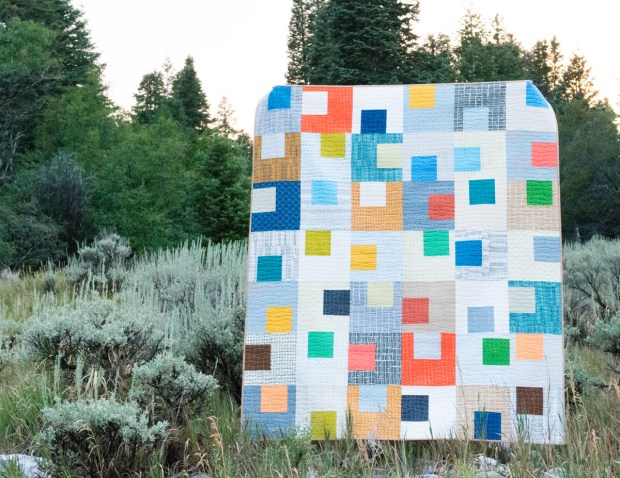
We took this quilt on a recent camping trip to get some pretty shots of it in nature.
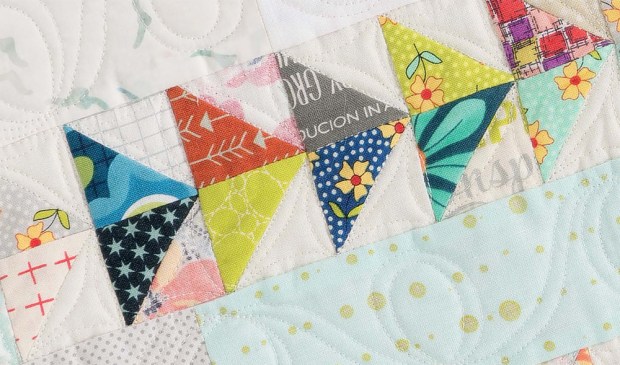
The secret is to piece the blocks in a few similar, but slightly different ways and then rotate them to trick the viewer into thinking there’s much more variation in the blocks. In my book, step by step instructions are given on how to create the different blocks. Plus, a full color layout is included with each quilt pattern so there’s no guesswork when it comes time to assemble the quilt!

Wavy Grid is one of my go-to machine quilting designs! I quilted this quilt in a light gray-blue thread from my Piece and Quilt collection with Aurifil.
Quilt It
The first four quilts in the book are quilted completely with a walking foot (or in my case, the BERNINA dual feed which performs the exact same function.) Each quilt build skills as you go, so you’ll be a machine quilting pro in no time! Plus, with my “divide and conquer” method, you can quilt a few lines to stabilize the quilt, then decide at any point how densely you want to quilt it, without locking yourself into an overwhelming task!
More Gridwork inspiration
Check out these alternate versions below. Head to each blogger’s site for more about their process, see their finishes, and enter their giveaways!
Sandy Maxfield – Sandy Star Designs
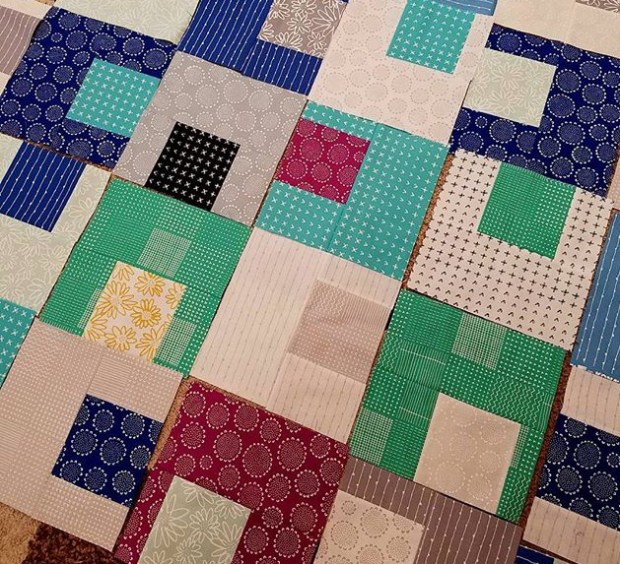
I’ve been hoarding my own bundles of Karen Lewis’ Blueberry Park line and I’m jealous at how easily Sandy from Sandy Star Designs was able to break into her precuts!! Here’s a hint – she actually cut the 10″ and 5″ prints from fat quarters, which is a great example of being able to use what you have on hand for successful results.
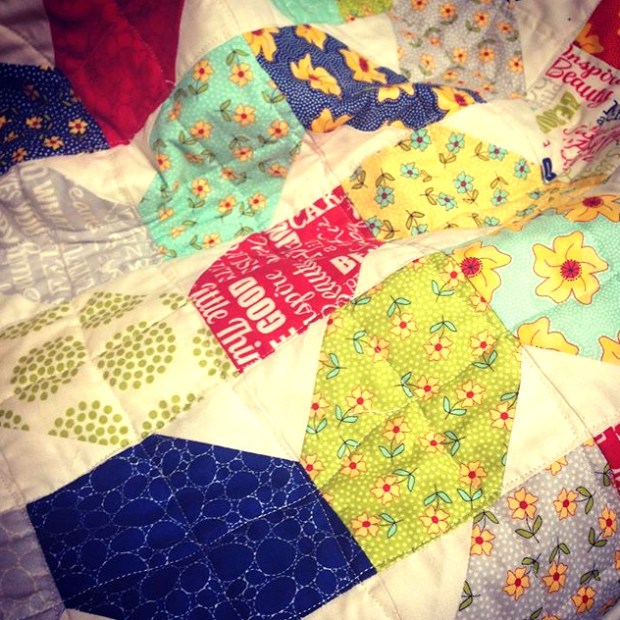
Don’t you think Sandy did a fantastic job combining the prints into a pleasing combination? The trick is to make sure there’s contrast in each block so none of them gets lost. You can do that by combing lights with darks, solids with prints or a myriad of other ways!

She did a fantastic job quilting wavy grid on her quilt. Don’t you just want to cuddle up with all that yummy texture? Be sure to pop over to Sandy’s blog to read more, and to enter her giveaway!
Joanne Harris – Quilts by Joanne
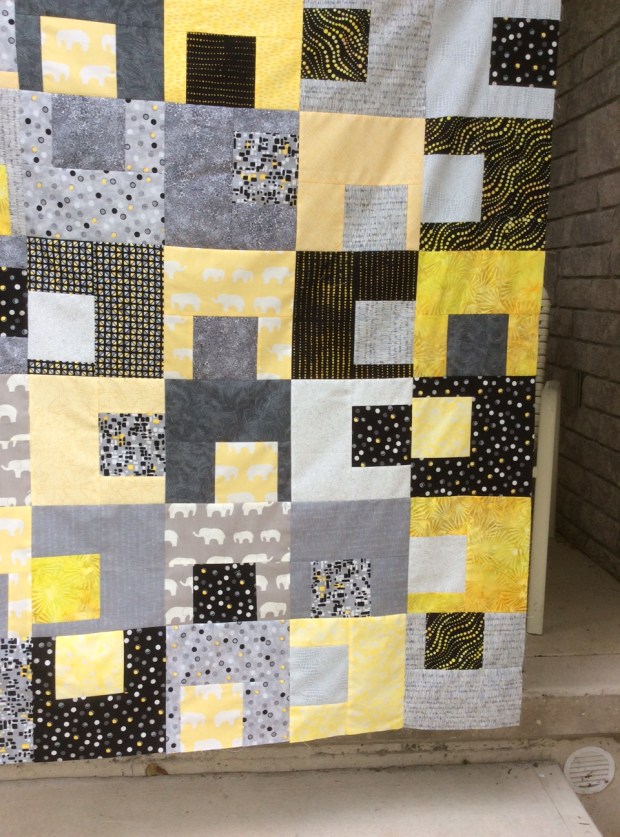
Joanne Harris from Quilts by Joanne really made this design look great with her fabulous yellow and gray color scheme. I once heard that the hallmark of a great quilt design is that it will look good in any fabric combination!
Don’t you just love that elephant print?? Now take a look at her blog to see how she decided to quilt it!
Teresa Mairal-Barreu – Sewn Up

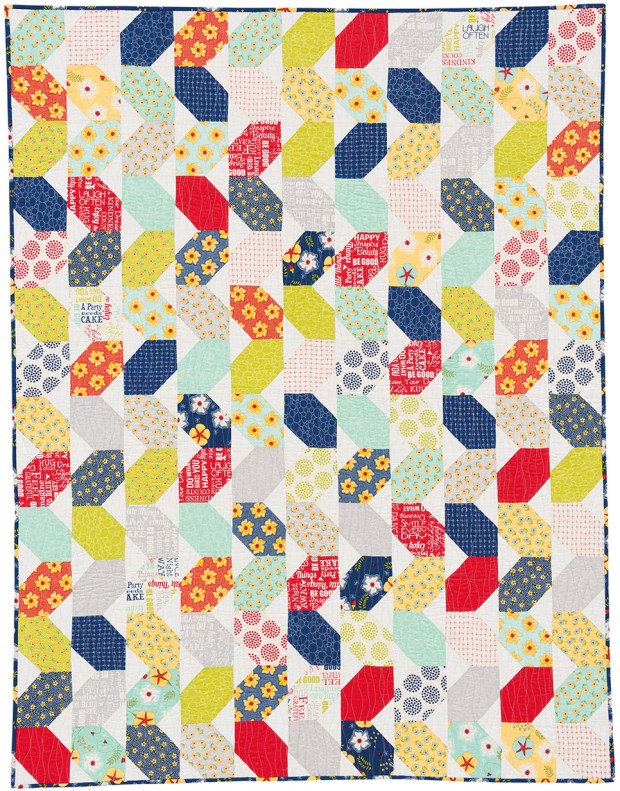
Teresa aka Teresa Down Under chose to make a smaller smaller version of Gridwork and I just love it! This goes to show that you don’t always have to use up an entire precut bundle, or make your quilt the exact same size.
Head over to Teresa’s blog to see a video of this “flimsy” (aka unquilted top) flapping beautifully in the breeze. Seriously, it will inspire you to want to make one right away!
Today’s Gift – Win a Bundle of 5″ or 10″ Squares
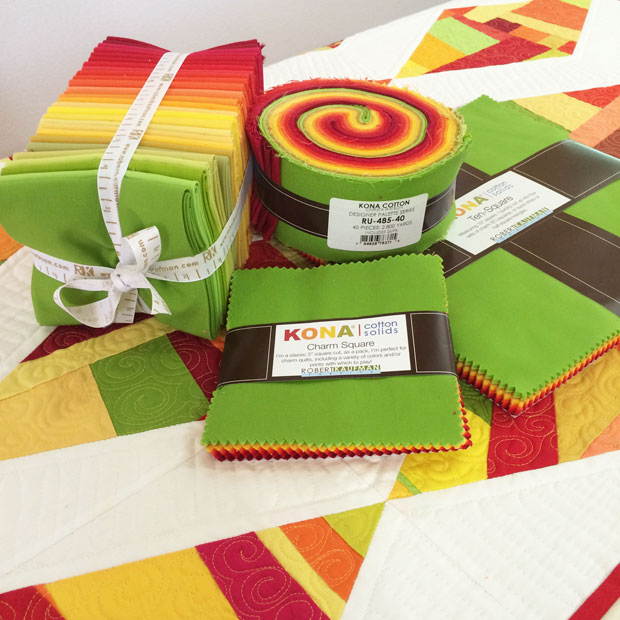
My designer palette was originally created for Facets, from Machine Quilting with Style.
I’ve now used it to create several colorful quilts!
Today I’m going to give 2 lucky winners a fun prize! One person will win a layer cake of my Christa Watson designer palette and a second person will win a charm pack of the same fabric. Now the trick will be for both winners to find another layer cake or charm pack to go with them to make their own version of Gridwork! But isn’t a challenge fun?? (And in reality of course the winner can do whatever they’d like to with their fabrics!!)
To enter, leave me a comment letting me know what’s your favorite precut to work with. Me personally – I love fat quarters because I think they are the most versatile. But as a designer, I love coming up with creative ways to use these fun fabric bundles!
The giveaway is open to all (int’l winners just pay shipping) and I’ll choose a winner on Aug 31 which is the last day of the hop. Be sure and check in again tomorrow for the next quilt I’ll share along with more fabulous color options!
If you make your own version of Gridwork, or any of the quilts from my book, please share your progress in my Facebook Group, Quilt with Christa. I’d love to see!
Click here to see all of the stops on the blog hop tour – you’re sure to be inspired!
Update: Winners Selected and Comments Closed
Congrats to Dian. H. and Hedy H. who have been contacted via email.


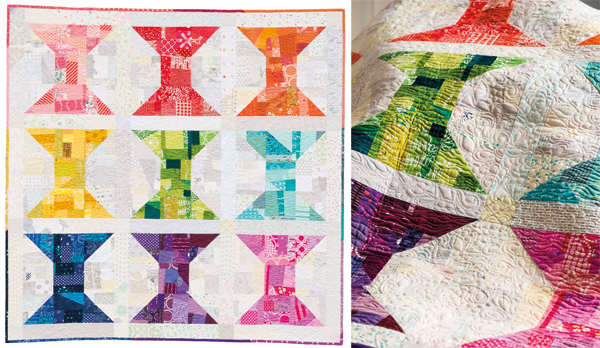
 I’m having fun trying out lots of different quilting motifs in the stars!


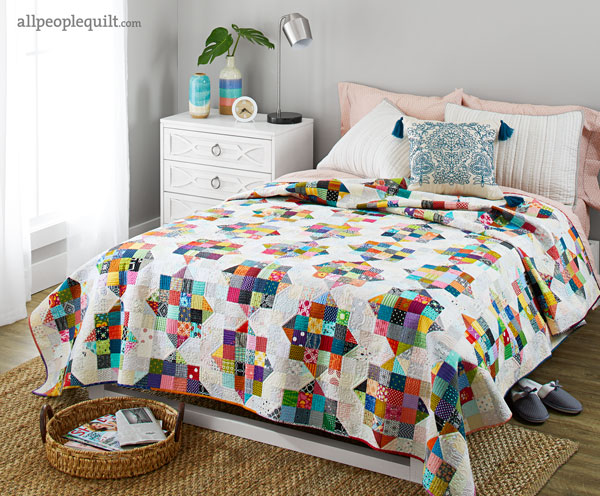


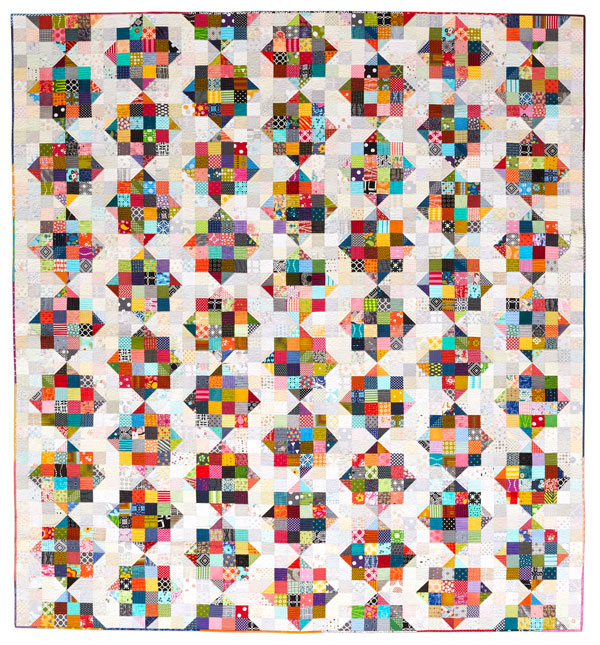 Photograph used with permission from American Patchwork & Quilting® magazine. ©2017 Meredith Corporation. All rights reserved.