It’s Book Launch Day for Machine Quilting With Style!!

Today is a special day for a couple of reasons. First of all, it’s my daughter’s birthday and she was able to have a great party yesterday with all her friends, since there was no school. Secondly, my book releases today! Yippee!!

I made sure to keep these very special events separate but let my daughter know how awesome it was that my first book came out on her birthday, so I would always remember the date! I have to admit that it’s been a source of pride when I’ve caught her on the couch reading it. 🙂

jenna_readingJenna made her first quilt with me when she was 8 years old. Now she loves to draw and write!

My family is super important to me, which is why I dedicated the book to them:

dedicationThe dedication is the first set words I composed for the book back in 2013.

I am in love with the photography, layout and graphic design in this book. Honestly, the main reason I decided to go with a publisher when writing a book is because of how awesome they are able to make everything look! I about cried, when I opened up the inside cover pages. And it just gets better from there…
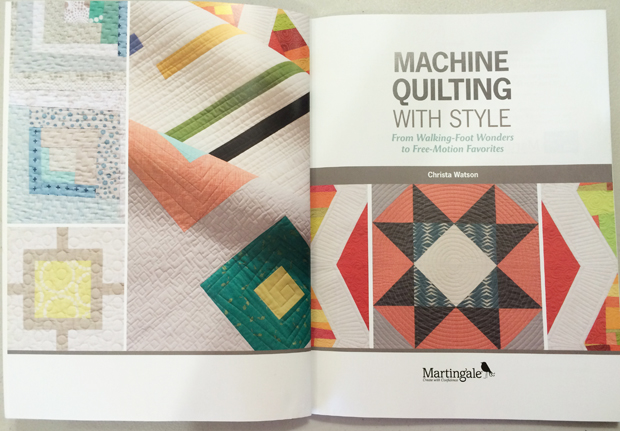
inside_coverInside cover pages from Machine Quilting With Style, photography by Brent Kane

Here are a few ways you can purchase your copy:

Blog Hop Coming Soon!

Save the date – I will be hosting a blog hop to showcase all of the quilts from September 14-26. Be sure to check my blog later in the week for details and the complete blog hop schedule.
MQWS_bloghop

As a first time author I was a little nervous with how the book writing process would go and I kept waiting for it to get hard or for something to go terribly wrong. However, everything went so smoothly and I’m so proud of the team at Martingale for the work they’ve done to produce this book. I’m happy to say that I enjoyed every step of the process and would gladly do it again!

Bonus Giveaway!

My publisher, Martingale, has been so amazing to work with throughout this whole process. Today, they are hosting a giveaway for an ecopy of the book. Pop on over to their blog to enter!

Four of My Quilt Patterns Are Now Available in Print

Thanks to those of you who have been with me for awhile, following along with my journey into pattern creation. It has literally taken me 10 years to finally make the plunge into pattern design. I began with 4 of what I thought would be my most popular designs, and started in January to take the necessary steps to get them into print.

4collage_patterns

I’ve also researched the best ways to get them to you all and here’s what I have come up with:

I chose these outlets to start as that’s what I feel I can manage right now. So far, so good. I’m already getting good traction and I’m sure I’ll add more distribution networks as I grow. I’ve received a nice re-order from Moda/United Notions, which means that local quilt shops are starting to carry them, which is super exciting! Of course, I don’t know which shops, so if you see them “out there in the wild” please let me know. Please feel free to recommend them to your favorite quilt shop, too!

Now, the next step is to start on the next batch of patterns. As always, stay tuned!

Paper Pieced Quilt Along #6 – Sewing the Top

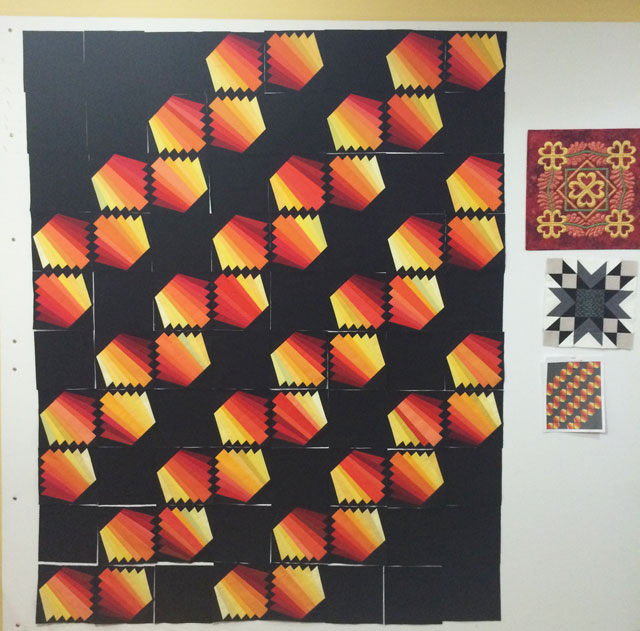
I have a simple method I employ when sewing nearly all of my quilt tops. I lay out my blocks on a design wall, join them into rows, and sew the rows together to complete the top. For this lesson, I’ll share a few tips on how I make that go more smoothly. (Visit my Paper Pieced QAL page for links to all previous tutorials.)

finished_blocks I chose to leave this picture uncropped so that you can see I usually have several things happening on my design wall at the same time.

Step 1

First I throw up the blocks on my design wall. Although I will place the blocks into position, I don’t care too much about the color balance yet. I constantly refer to a picture or printout of my design so I can lay the blocks out in the correct position.

Step 2 (not shown)

After I have laid out all the blocks and background squares, I will play around with the arrangement until it feels right. For this quilt, I had just a few pops of light green and a couple of darker colors purposely out of order to give a little interest. I made sure to balance those out a little when I chose my final layout.

Step 3

sewthexHere’s another thrifty hint: I tend to use up leftover colored cotton bobbins in my piecing.

I take a picture with my camera phone and then begin sewing individual rows, two blocks at a time. As I joined the blocks, I pressed all of the joining seams open. I also pressed each row of blocks open to reduce the bulk.

Tip: use the seam line intersections as a guideline when matching points. For the sides of the block, I sewed just a few thread widths narrow of the intersection between the two seams shown above. When matching up blocks point to point, I pinned generously and sewed through the “x’s” that were formed by intersecting seams.

Step 4

I sewed all of the block rows individually, pressed each open, and put it back into position on the design wall. Then I sewed together two rows, pressed them and put them back on the wall.

block_rowsI made 5 sets of 2 row pairs, then joined those into 2 sections of 4 rows and 6 rows. Finally I joined the rows together to complete the quilt top.

Step 5 – The “Victory Lap”

Once the top is complete, I will secure the perimeter edges by sewing 1/8″ in from the edge of the quilt top, around all 4 sides. Someone jokingly referred to this as the “victory lap” on instagram and I got a kick out of that!

edge_stitchingStay-stitch around the perimeter to secure the edges for basting and quilting.

Now, we are ready to baste! Remember to share your work-in-progress on my Facebook group: Quilt With Christa, or on Instagram #paperpiecedqal.

Copyright and Permission Granted

I am very happy to share my knowledge with you free of charge during this quilt along. However, this information is for your personal use as a loyal reader of my blog. Please do not make copies of any part of this quilt along to distribute it to your friends. If you’d like to tell them about it, simply share my QAL site link with them and encourage them to come on over and join us: ChristasQuiltAlong.com

If you’d like to share links to my site on Facebook or on your own blog, that is great, too!

At the conclusion of the quilt along, I will be happy to edit down all of the content and turn it into a pattern for sale, so that others can use my pattern as a teaching aid in the future. 🙂

Check Out Dear Quilty – and Some Pattern News

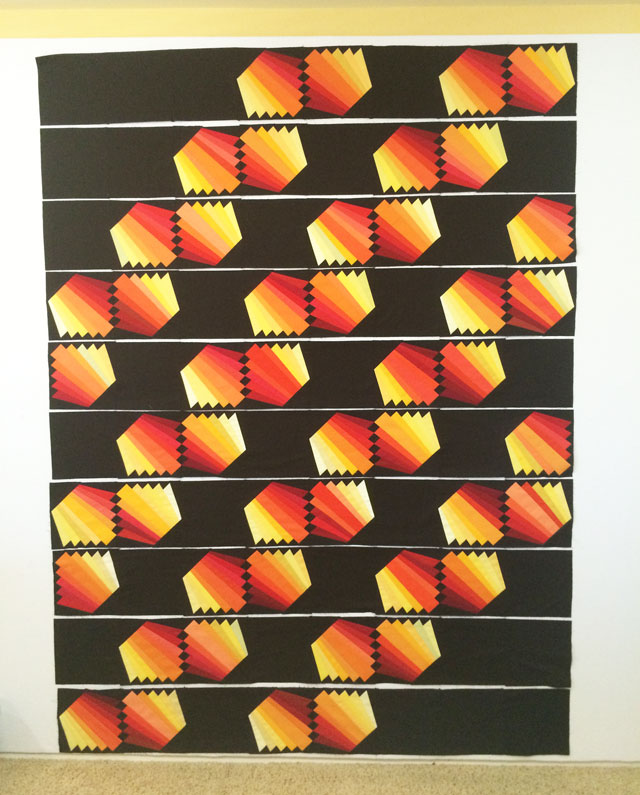
So this is kind of fun. Mary Fons has put together a new compilation book called Dear Quilty which is a collection of the best patterns from the now-defunct Quilty Magazine. She chose to include my Colorful Chevrons quilt in the book and they are even using it in their ad campaign.

Although I don’t get any royalties from the sale of this book, since they already paid me for the use of it when it was published in the magazine, it’s still pretty flattering to be included.

20150608_dear_quiltyColorful Chevrons, lower left, is featured in the ad campaign for Dear Quilty

I’ve had great success with this design, which was based on my original quilt of a similar name, Charming Chevrons. Once the rights to the design reverted back to me, I was able to create a PDF pattern for the quilt (in 4 sizes) and most recently I’ve started creating print versions, too!

I love it when I can get a lot of use out of my quilts and patterns and they can be shared with a wider audience!

Charming Chevrons Pattern Makeover – Now Available in 4 Sizes

Exciting news! I’m updating all of my patterns, and I just finished the first one! Charming Chevrons is now available in 4 sizes: Lap, Throw, Twin, and Queen.

CharmingChevronsCover

 Purchase the PDF version of Charming Chevrons here.

 Thanks to the fabulous graphic design work of Design by Lindsie, I’ve checked off something that has been on my to-do list for literally 10 years!!

Charming Chevrons is currently available as a PDF, but as we speak, I’m also getting them professionally printed so that quilt shops can carry them, too! (Just email me for wholesale pricing if you are a shop interested in carrying my patterns.)

I had a certain look I wanted for my patterns, and Lindsie knocked it out the park! She’s busy working on updating my other patterns, too, and I can’t wait! They will all be full-color with plenty of diagrams to help you out. After doing a little research on what others wanted in their patterns, I decided to offer each of my patterns in 4 different sizes. Where possible, I’ve also included extra tips for machine quilting or additional layouts.

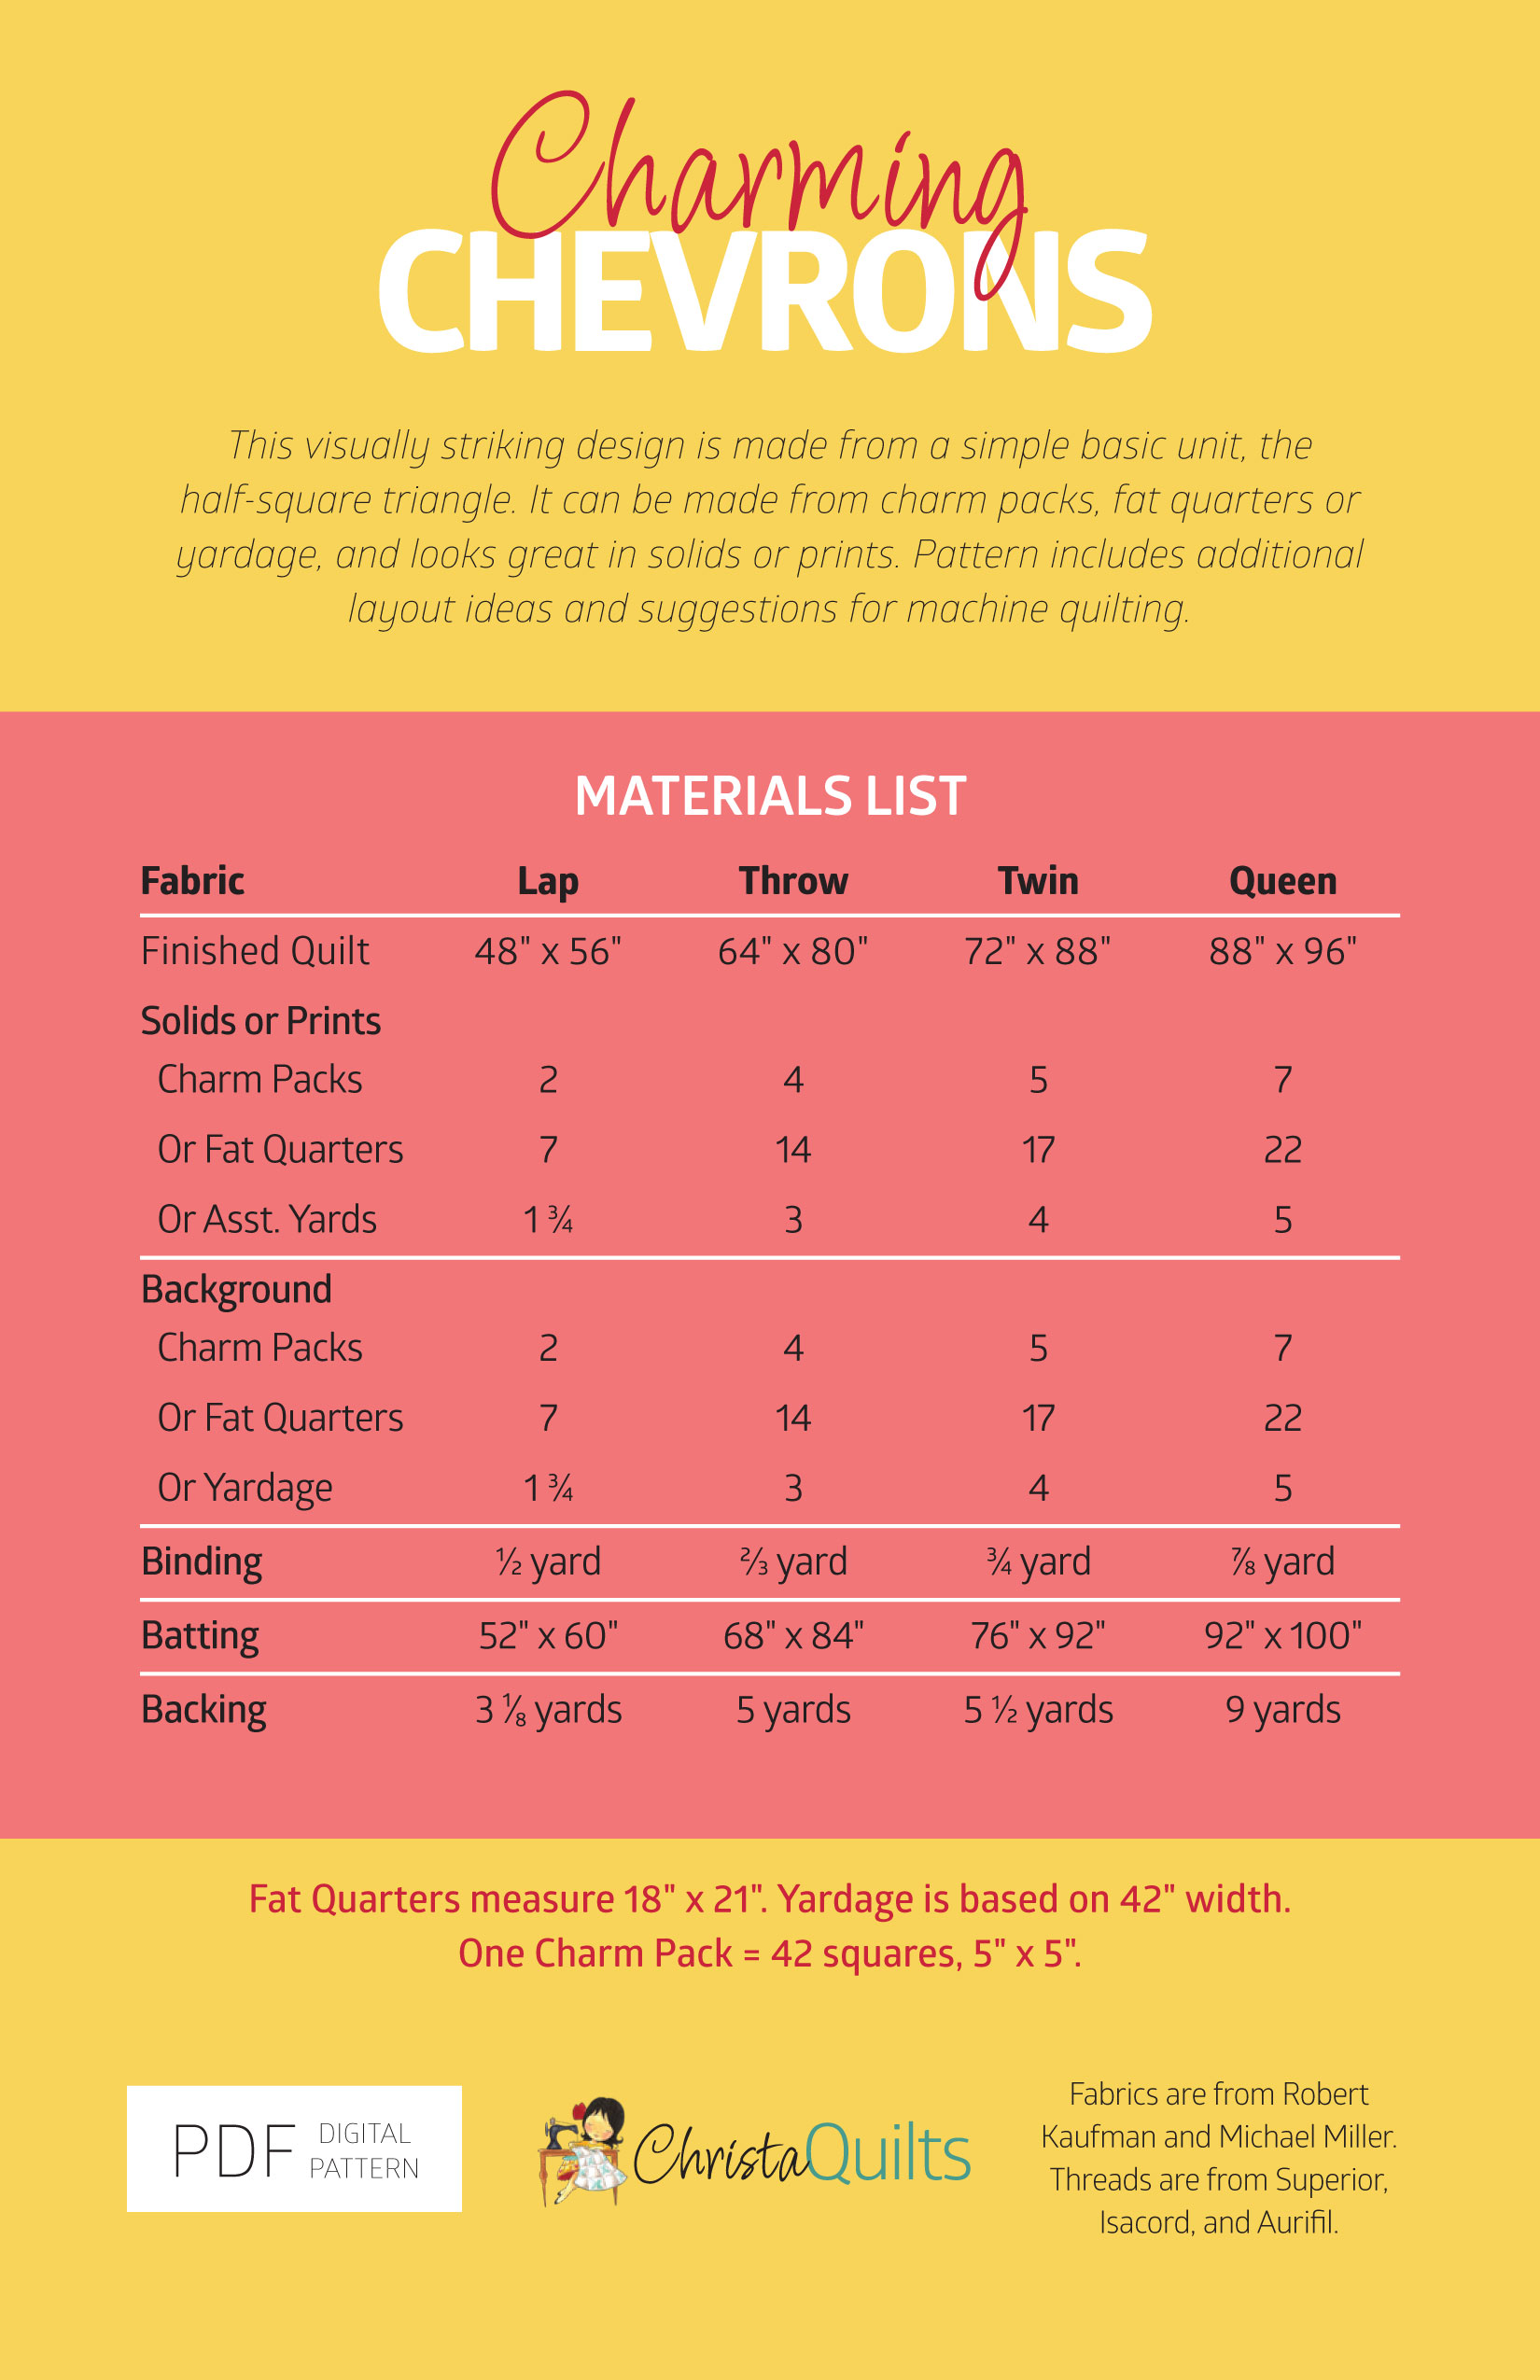
Here’s the back cover with the fabric requirements for Charming Chevrons:

CharmingChevronsDigital_back

So, what do you think of the new look?

Just for fun-sies, you compare the new pattern with all of my older ones here.

Modern Dresden Block – Paper Pieced Pattern

Pattern Update

I have now turned this block tutorial into a full-fledged foundation paper pieced pattern called Party Time. It includes multiple sizes, the foundation pattern to photocopy & quilting suggestions.

Click here to purchase the Paper Pieced PDF Download.

Original Design Idea – Modern Dresden

This my contemporary interpretation of a Dresden Plate block.

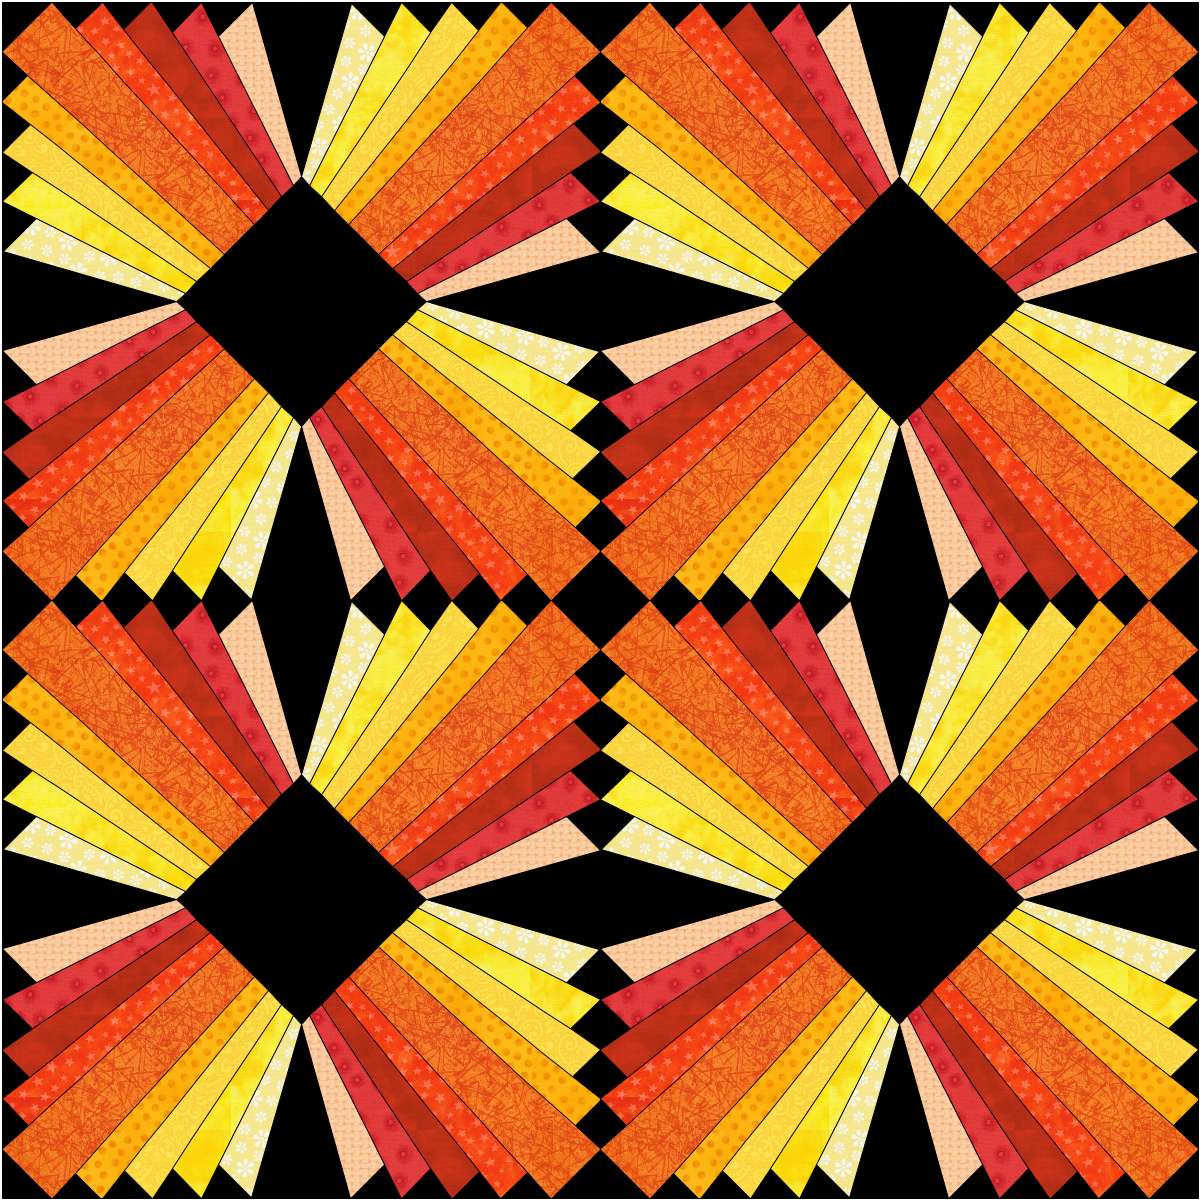
Modern Dresden in OrangeI started with the idea of “plates” or “wedges” radiating out from a center. But instead of classic curves, I wanted to keep my design straight and angular. So I played around with lines and angles in EQ and this is what I came up with.

And just for the fun of it, here’s the same design in purple. It really sparkles by using lighter hues of the same color at the edges of the blocks.

Modern Dresden in Purple