When we moved into our new home, the highest priority for me was getting my quilting studio up and running since quilting is my full-time job. I’ve had many people asking me how I built my design wall in my old house, so when we created it again in the new place, I took step by step pictures so I could tell you all about it in detail. So here goes:
My design wall does double duty – I also use it for flat quilt photography.
Materials to Build a 96″ x 96″ Quilt Design Wall
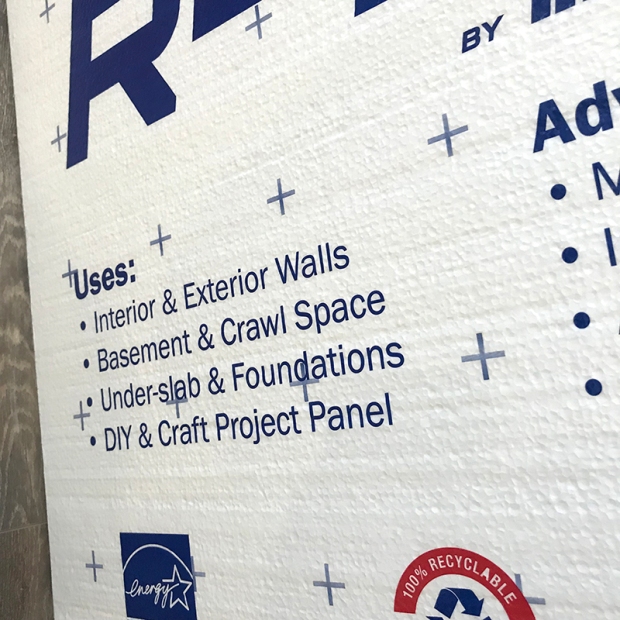
Two Foam Core Insulation boards, 4′ x 8′ each. You can always cut them down if it’s too big. These are available from Home Depot or other home improvement stores. Be careful handling them as they are very fragile and can dent and break easily. When Jason and I purchased them, we had to look through all of them on display to find the nicest, newest looking boards.

Getting the boards home in our SUV was the hardest part of the job! Fortunately they just barely fit in the back of the car with the seats down.
California King Size White flannel flat sheet. Because the design wall is square, you want as much extra room as possible to wrap around the edges. I found a 108″ x 108″ sheet set from Bed, Bath and Beyond. It was easier to purchase the whole sheet set rather than just the top sheet, so I just donated the fitted sheet and pillowcases. You’ll want to iron it ahead of time to get out all of the wrinkles. I did not prewash because I didn’t want it to shrink up.
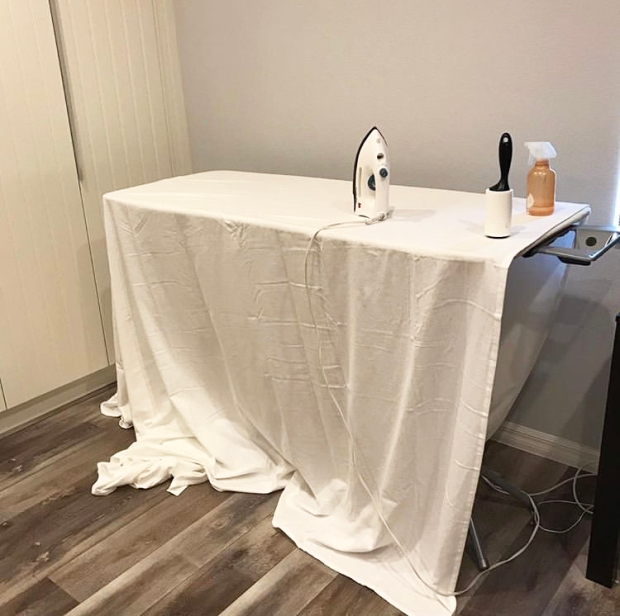
Be sure to iron out the wrinkles as much as you can.
Supplies: washers, screws, duct tape, screwdriver, level and a staple gun. This design wall is very light weight and attached directly to the wall so no crazy equipment is needed. We used regular 2″ long screws with washers to hold them in place. A level comes in handy, too.

Not pictured: duct tape, level, and a hand-held screwdriver.
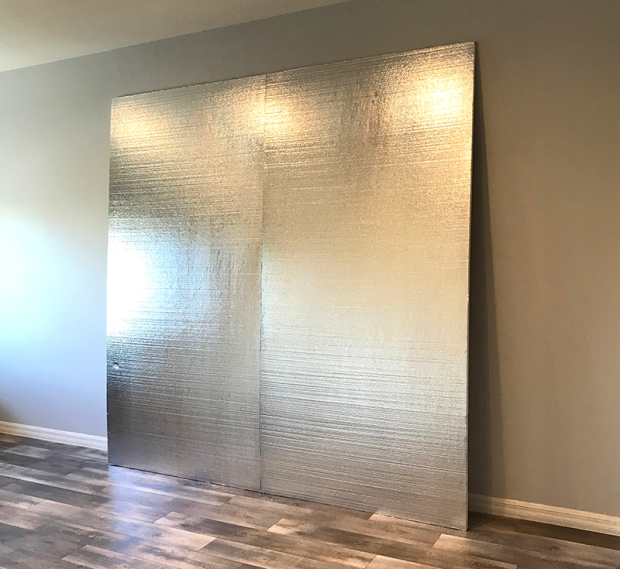
Step 1 – Tape the Insulation Boards together
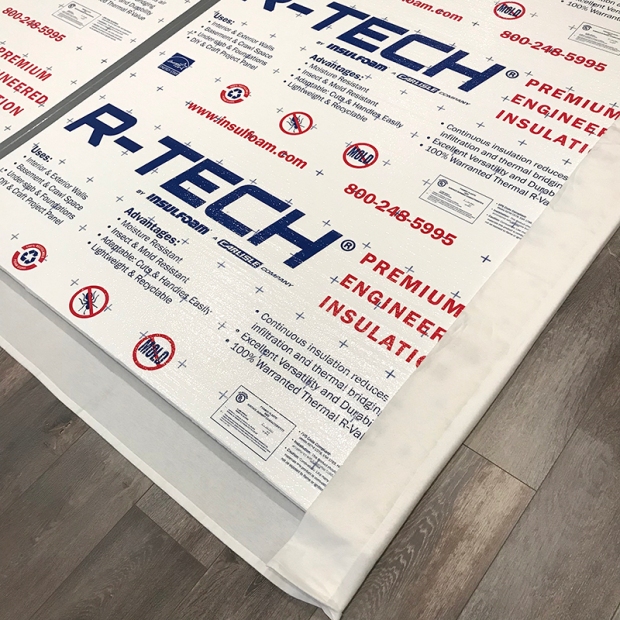
The boards we bought have writing on one side, and a silver reflective surface on the other side. We chose the silver side to be the front so that none of the writing would show through on the front. It’s also easy to pin into.
One of the boards had a small dent on the front which we didn’t see. Fortunately, it didn’t show up at all, once we covered them in flannel and attached to the wall.
I thought it was funny that the boards say they are specifically for craft projects. I don’t remember that writing the last time I made a design wall for my other house over 5 years ago.
We started off by taping the boards together on top of a couple of tables and barstools pushed together at the right height. But then we realized you could do this on a hard floor as well. My previous studio was carpeted so we needed to do everything on a flat table. This time around, the studio floor worked well for all of the other steps.
Jason taped the back middle seam with duct tape as far as he could reach. We had to be careful handling it because it wanted to fold along the seam. At this point, it’s not very stable, but big and awkward.

Step 2 – Cover the Boads with A Flannel Sheet
The reason I chose a flannel sheet is that it’s lightweight, gives an even surface, and fabric and quilts will stick to it. I also think it looks much nicer and cleaner than batting and I can still pin into it if needed. We laid the flannel sheet on the floor first, and then gently laid the taped boards wrong side up on top of it.
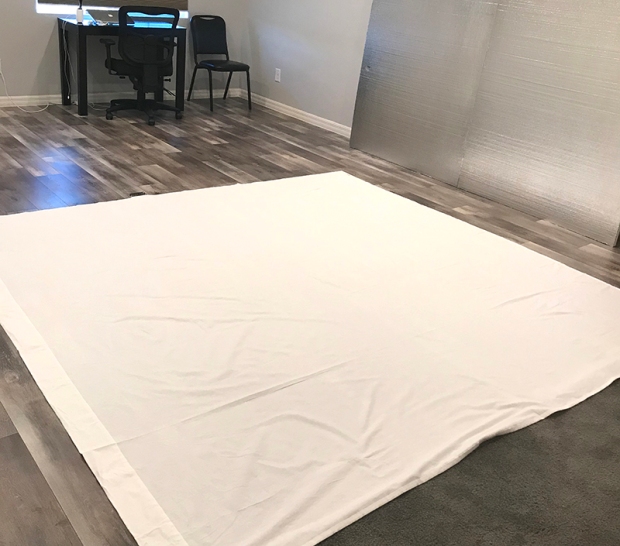
There was just barely enough width on the floor for the sheet and boards because we installed a floor plug in the middle of the room where my sewing machine goes. It’s important to have a flat work surface when doing this part so it doesn’t dent the foam. I didn’t worry about the top seam in the sheet since it would be wrapped around to the back side.
When this is hung, the seam will be horizontally in the middle so that one board basically sits on top of the other. That will make the seam on the front side less noticeable and will give the whole structure more stability once it’s attached to the wall.

Very smoothly and carefully, we wrapped the excess flannel around the boards, 2 sides at a time.
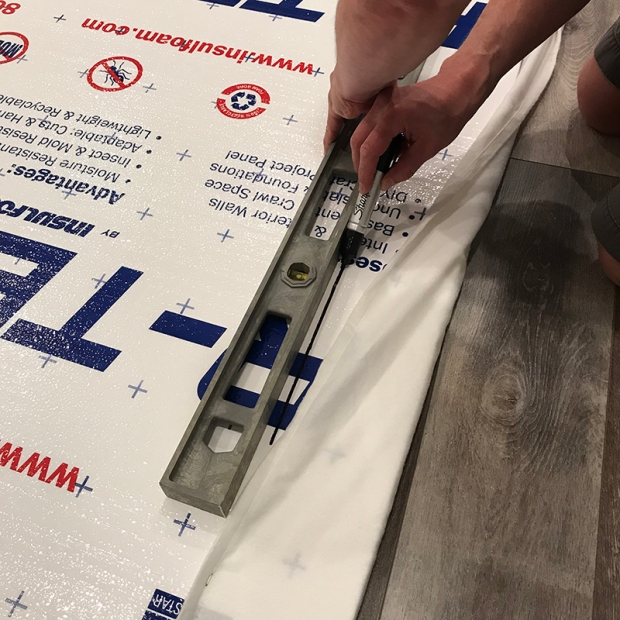
First we stapled the “top” and “bottom” sides and then the edges, very close together. Jason discovered that he had to put a little bit of pressure while using the gun and staple straight down, otherwise the staples would come out easily.

After a few staples, Jason drew a straight line so that he could pull the edges taught and even and line up the staples about 5″ or so from the edge. Keeping a little tension on the sheet was important so that it would be smooth and tight across the surface and not sag.
The corners were a bit bulky so I tried to fold them over as best as I could so that it was smooth and tight around the corners. We used lots more staples here. I probably could have cut some of the bulk from the corners, but didn’t want to risk it in case we had to redo something. Fortunately we didn’t and the bulk of the flannel was smooshed flat against the wall, once everything was attached.
On the sides with corners, Jason stapled a few in the middle, then the corners, then worked his way in sections to even out any of the stretch in the flannel.

We added lots and lots of staples to secure the flannel.
Step 3 – Attach the Design Boards to the Wall
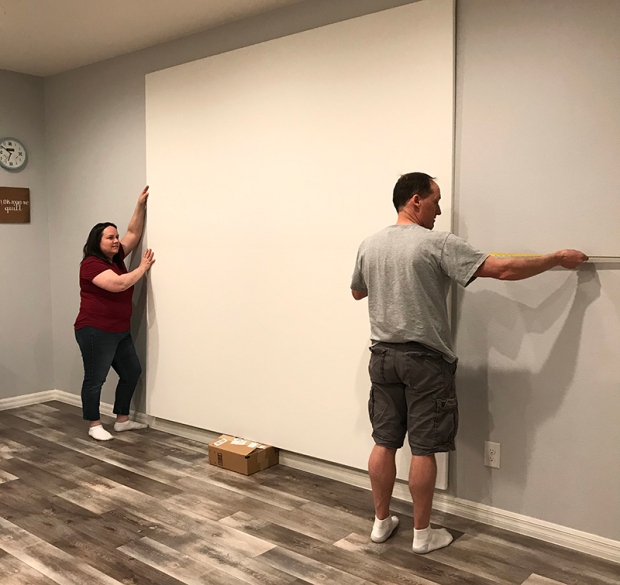
We measured where we wanted to hang the design wall – centered halfway across the room and in between two plugs on the wall. We wanted it 5″ from the floor so we found a box that height that we used to rest the design wall on while we gently nudged it into place.
My job was to carefully hold the design wall against the wall while Jason attached it into place with screws. He used a measuring tape and level to ensure that it stayed straight and square while attaching.
Jason measured 1 1/2″ away from the edges using a washable marking pen. Then he screwed the screws directly into the wall with a regular screwdriver, making a hole in the flannel that was covered by the washer. The washer gives a decorative element and also prevents the screw from digging into the foam.
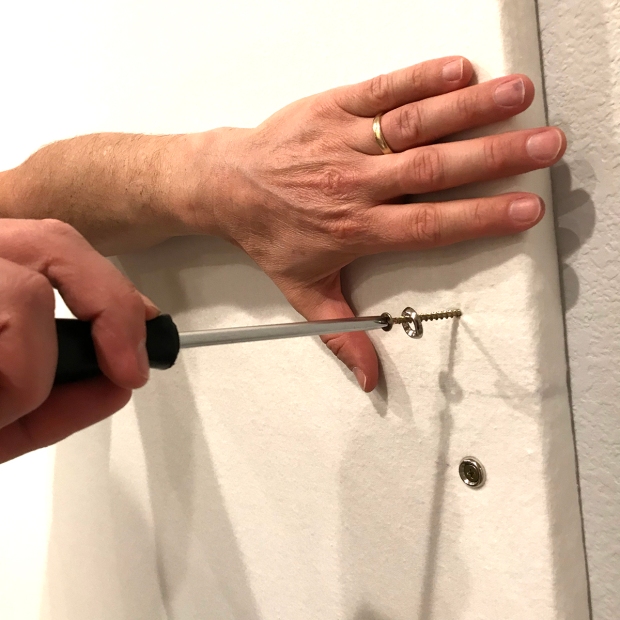
First Jason attached two screws on either side, where the boards meet up in the middle. This would be the two top corners of the bottom foam board. Then he attached screws in the upper corner of the design wall, and then in the lower corners.

Then he attached 2 more screws in the lower corners of the first design board – so 8 screws and washers to secure the boards to the wall, holding down all 4 corners of each foam board.

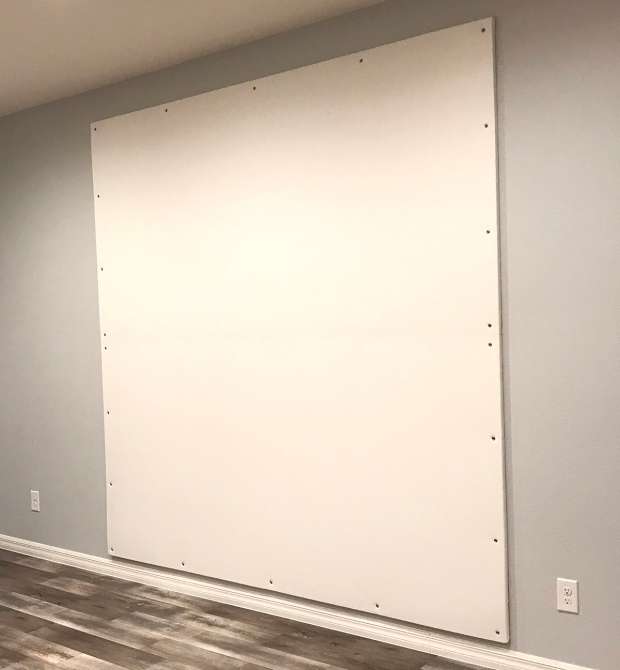
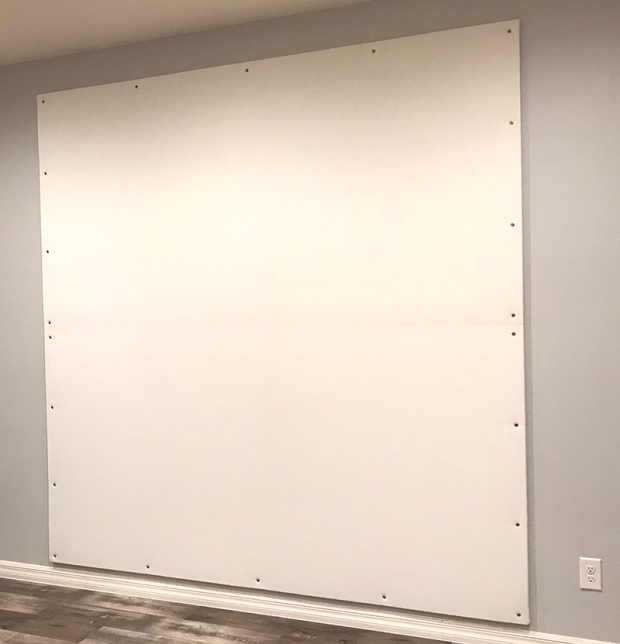
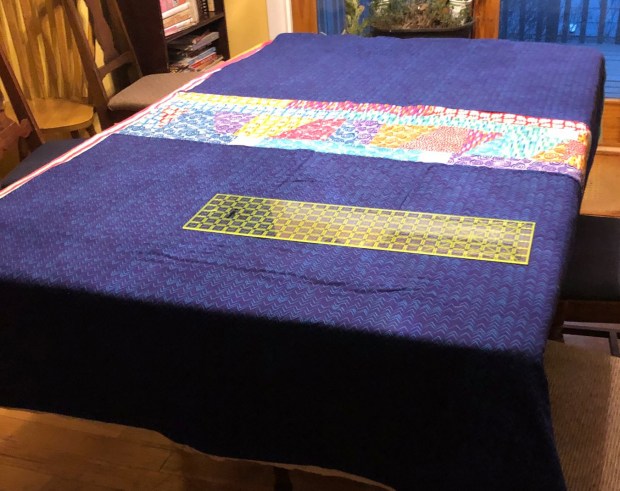
We attached a total of 14 screws and washers, evenly across the top and side edges. Here’s what it looks like with all screws attached. You can see the faint line where the boards meet up in the middle, but that softens up over time and will be mostly covered by quilts anyway.
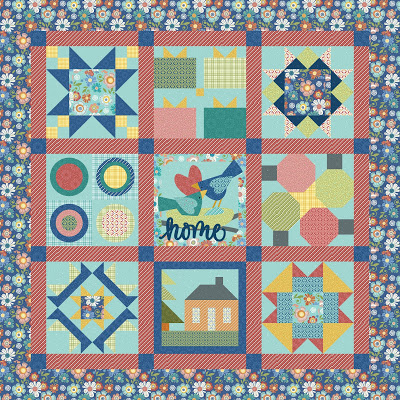
I added a recent quilt finish to the wall to give my room a pop of color that I really love! Now I’m ready to make and photograph more quilts for your viewing pleasure!!

The quilt on the wall is my Color Weave Quilt Pattern
I hope you enjoyed this tutorial and peek into my sewing room. Because I know you’ll ask – my sewing table is one I purchased from a dealer over 20 years ago. Sadly the dealer is no longer in business and I can’t remember the brand of table it was! But I’m in the process of finding a new table with a built-in side section that forms an L shape – giving me more room to hold up the quilt. So be on the lookout for more sewing room updates, and more fabulous quilts!


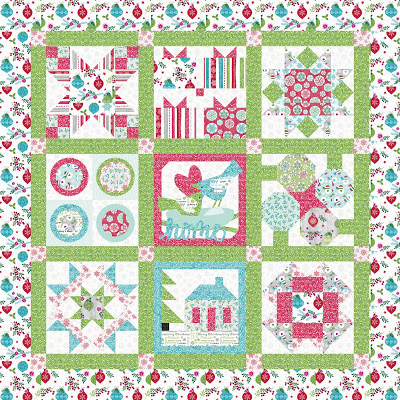


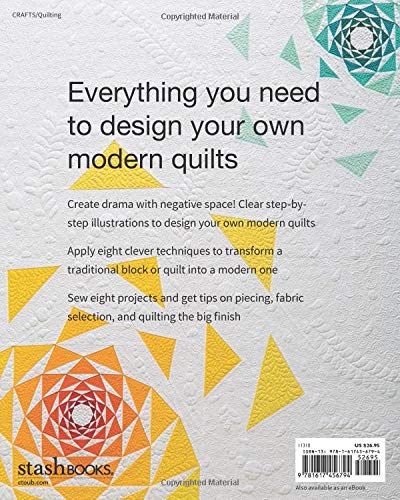
 Out of the Box by Christa Watson