I’ve been getting a lot of positive support for the idea of sharing more of my behind-the-scenes work, so thank you for the enthusiasm!
Today I thought it would be fun to share something I don’t think many designers do – my fabric rejects, or those that didn’t make the cut when I designed my first fabric line, Modern Marks with Benartex/Contempo. I’m sure the reason designers don’t do this is because they know people would be clamoring for it, and be sad that they can’t buy the rejects LOL!!

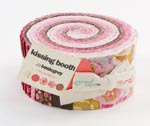
Modern Marks Swatches – It was hard to narrow it down to these final designs!
Contempo is Benartex’ modern/contemporary division.
Now before I get into it sharing some rejects, I’ll explain how I work with my fabric company since I’m sure many of you are curious about it. First – I create a mood board, with colors, ideas and styles I’m trying to achieve. I also draw out most of my designs by hand and select the colors I want to use.
Because I’m not computer savvy when it comes to creating repeats (the amount of distance between design elements so that a design can print continuously), I work with a fabric stylist and graphic designer at Benartex who help me with the technical work. Just as I utilize the services of a book publisher and graphic designer to make my books and patterns the best they can be, it’s been wonderful to collaborate with a fantastic company who has the same vision for fabric as I do.

I wanted Modern Marks precuts to be exciting and dynamic – and I love the results!
Since everything is finalized in the computer, it’s very easy to produce a LOT of different variations of the design in nearly unlimited colorways and print them out in color on paper before they go to the fabric mill for printing. However, because a fabric company is producing dozens of different lines each season, any particular designer is limited in the number of final designs that can actually be printed.
Hence the problem of narrowing things down. My rejects vastly outnumber those that I chose. Not only did several designs not make the cut, but I also had to narrow down which prints would be offered in what colorways. Those were some tough decisions to make, but I was pleased with the final result.
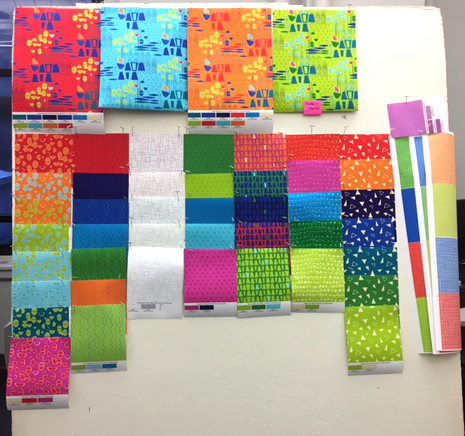
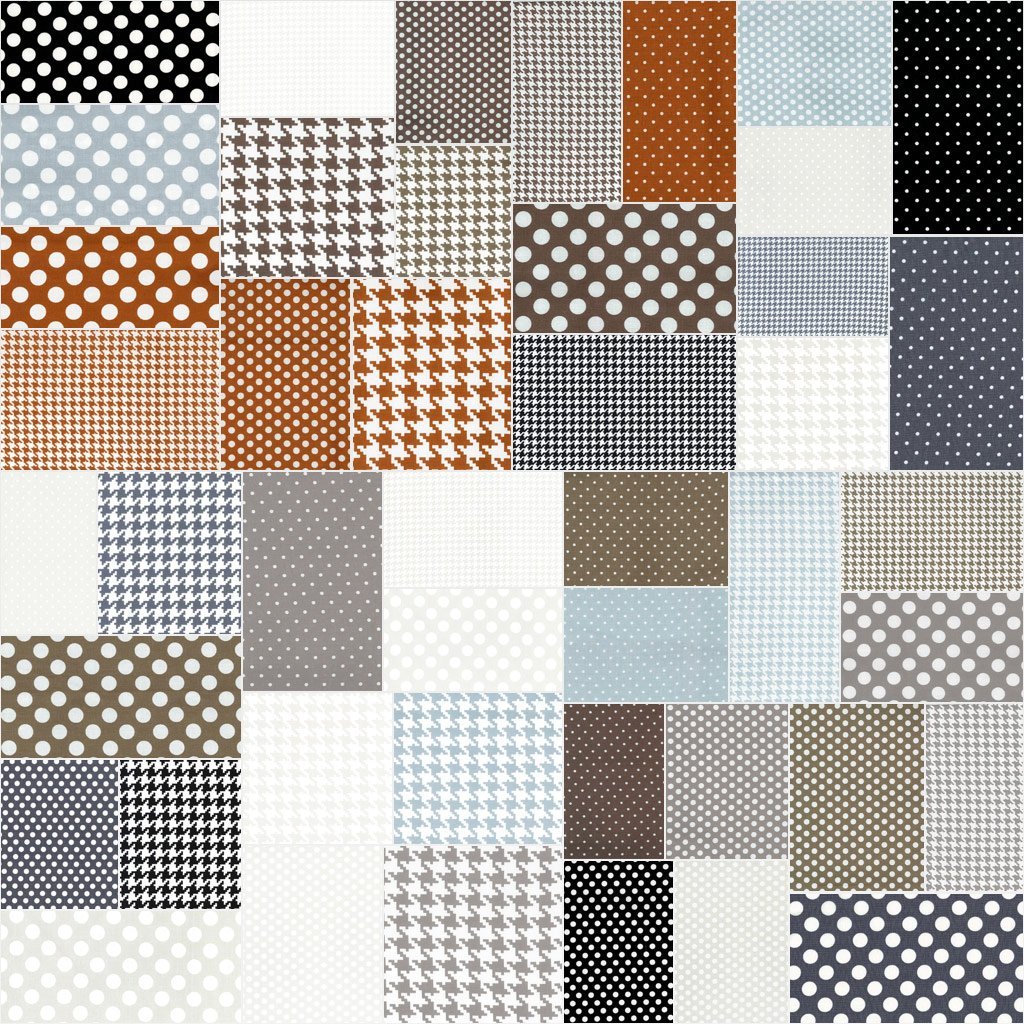
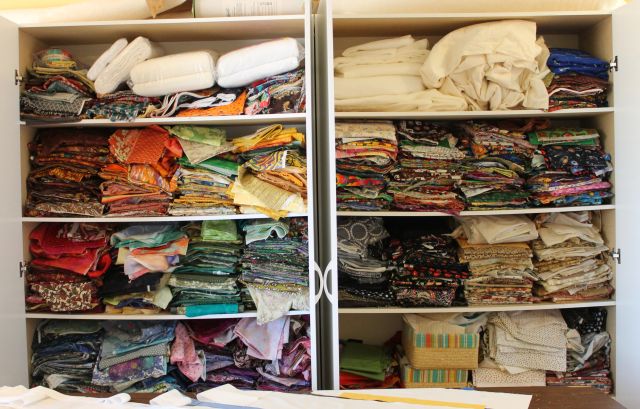
Modern Marks fabric design in process – this group included too many lights, not enough mediums and several prints and colorways that I ultimately had to reject. You may see some of these ideas revisited in future fabric lines in a different way… so stay tuned!
You’ll notice many designs in the photo above that didn’t make the cut – including those super light boxes prints and the tossed triangles on the right. Although I loved the boxes, these versions were too light for the rest of the group. I ended up adding color to the backgrounds to make them read as a light-medium so that they could mix better with the other prints when using them all in the same quilt. But not to worry, I’ll be re-visiting the idea of adding more background prints in future fabric lines.
Although the triangles above were very close to my original vision for them, once I saw them in repeat, the style didn’t fit with the rest of the group. They were a bit too whimsical and not quite the retro-modern look I was going for. Fortunately, since then I’ve been able to tweak the triangles into something I like better, and they’ll be appearing in a totally different way in my next fabric line coming out later this summer. So it just goes to show an idea is never wasted!!

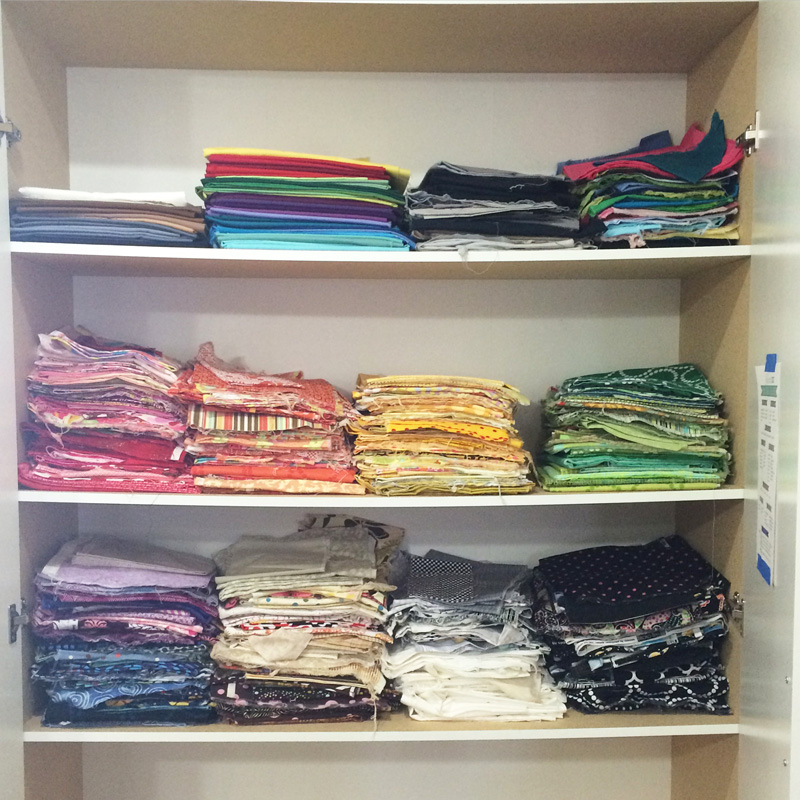
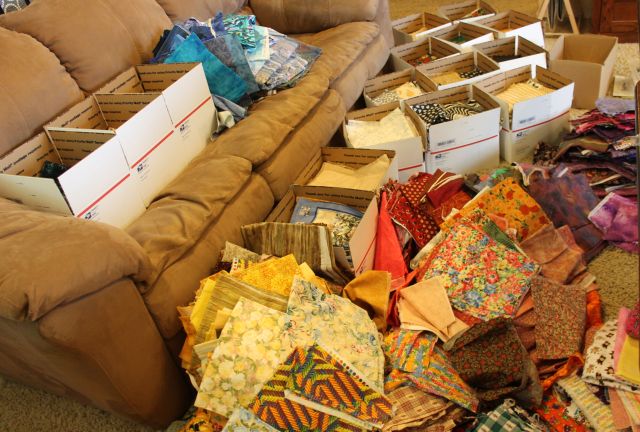
Finalizing the Modern Marks print selections on my design wall and grouping them by colorway. I numbered them and made a bunch of notes for the fabric company so we’d both be on the same page when it came time to print them. Needless to say, I was thrilled with the end result.
So now that you’ve had a bit of a sneak peek into my process, here are a few more examples of certain prints that I loved and why I ultimately rejected them. I’ve grouped the images below into the “reject” and the final versions and explained why I made each decision.

Heartbeat vs. Herringbone
I really, really liked both of these – Heartbeat and Herringbone. They both started from the same original concept – a zig-zag line on a saturated background. However, I felt that the image on the right was more versatile and dynamic.
I design fabric in much the same way that I design quilt patterns – I start with one basic idea (zig zags, triangles, lines, etc.) and then brainstorm all the different ways that I can explore that concept. It’s a fun way to work and it ensures I’ll never run out of ideas!!

Plus vs. X
The two designs above were the hardest to finalize. If I’d had room in the collection I would have included them both. While I actually like the Plus design more than the X design, I ultimately decided to go with the simpler and more versatile X design, which I named “Crossmarks.” By this point, I already have enough directional prints and needed something that could act as more of a blender print. So Crossmarks it is!
In a well-rounded collection, you need a good ratio of dynamic vs simple designs; directional versus allover/tossed prints, with a nice variety of color and scale. Although each fabric line is limited to about 18-25 prints and has to stand on its own, I’m actually taking the long view and making sure that each fabric line that comes next will still work with the one before.

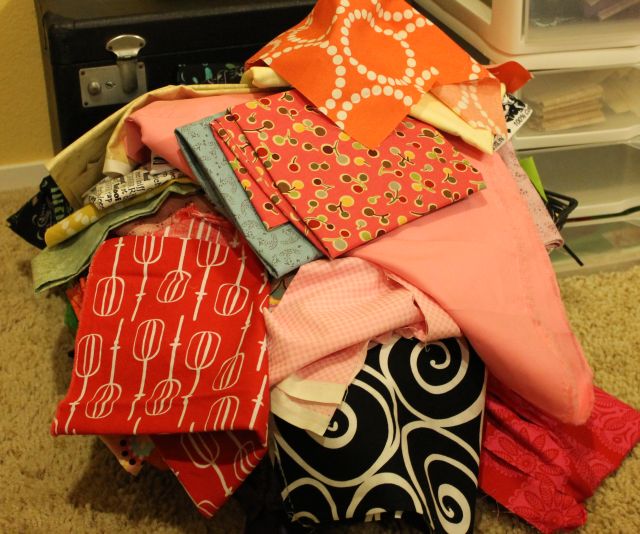
Half Ovals – Reject colorways on top, final versions underneath.
The Half Ovals is probably my favorite print of the group. I knew I wanted to include a circle or dot print and so we mocked up this design in All. The. Colors! It was very difficult to narrow them down to the final 4 above.
Although I really really loved the lime green/blue versions on top, this is another case where less is more. Besides, by this point I knew that the one of the colorways of the main print would use similar colors, so I chose the more tone-downed blue on blue half-ovals to round out the collection and add another “blender” print to the mix.

Donuts vs. Quirky Triangles
When trying to brainstorm the “dot” or “circle” print for the line, I also came up with “donuts” above, left. I may or may not have been hungry when it came time to name this design, LOL!!
But… since I knew that I wanted to include the half-ovals instead, this one had to get the axe. However, I kept the color combo of orange and fuchsia and applied it to one of the Quirky Triangles prints instead.
I hope you’ve enjoyed this behind the scenes look at how I made some of these decisions to design Modern Marks. With this being my first fabric line, it was a huge learning curve but a fun and educational experience for sure!

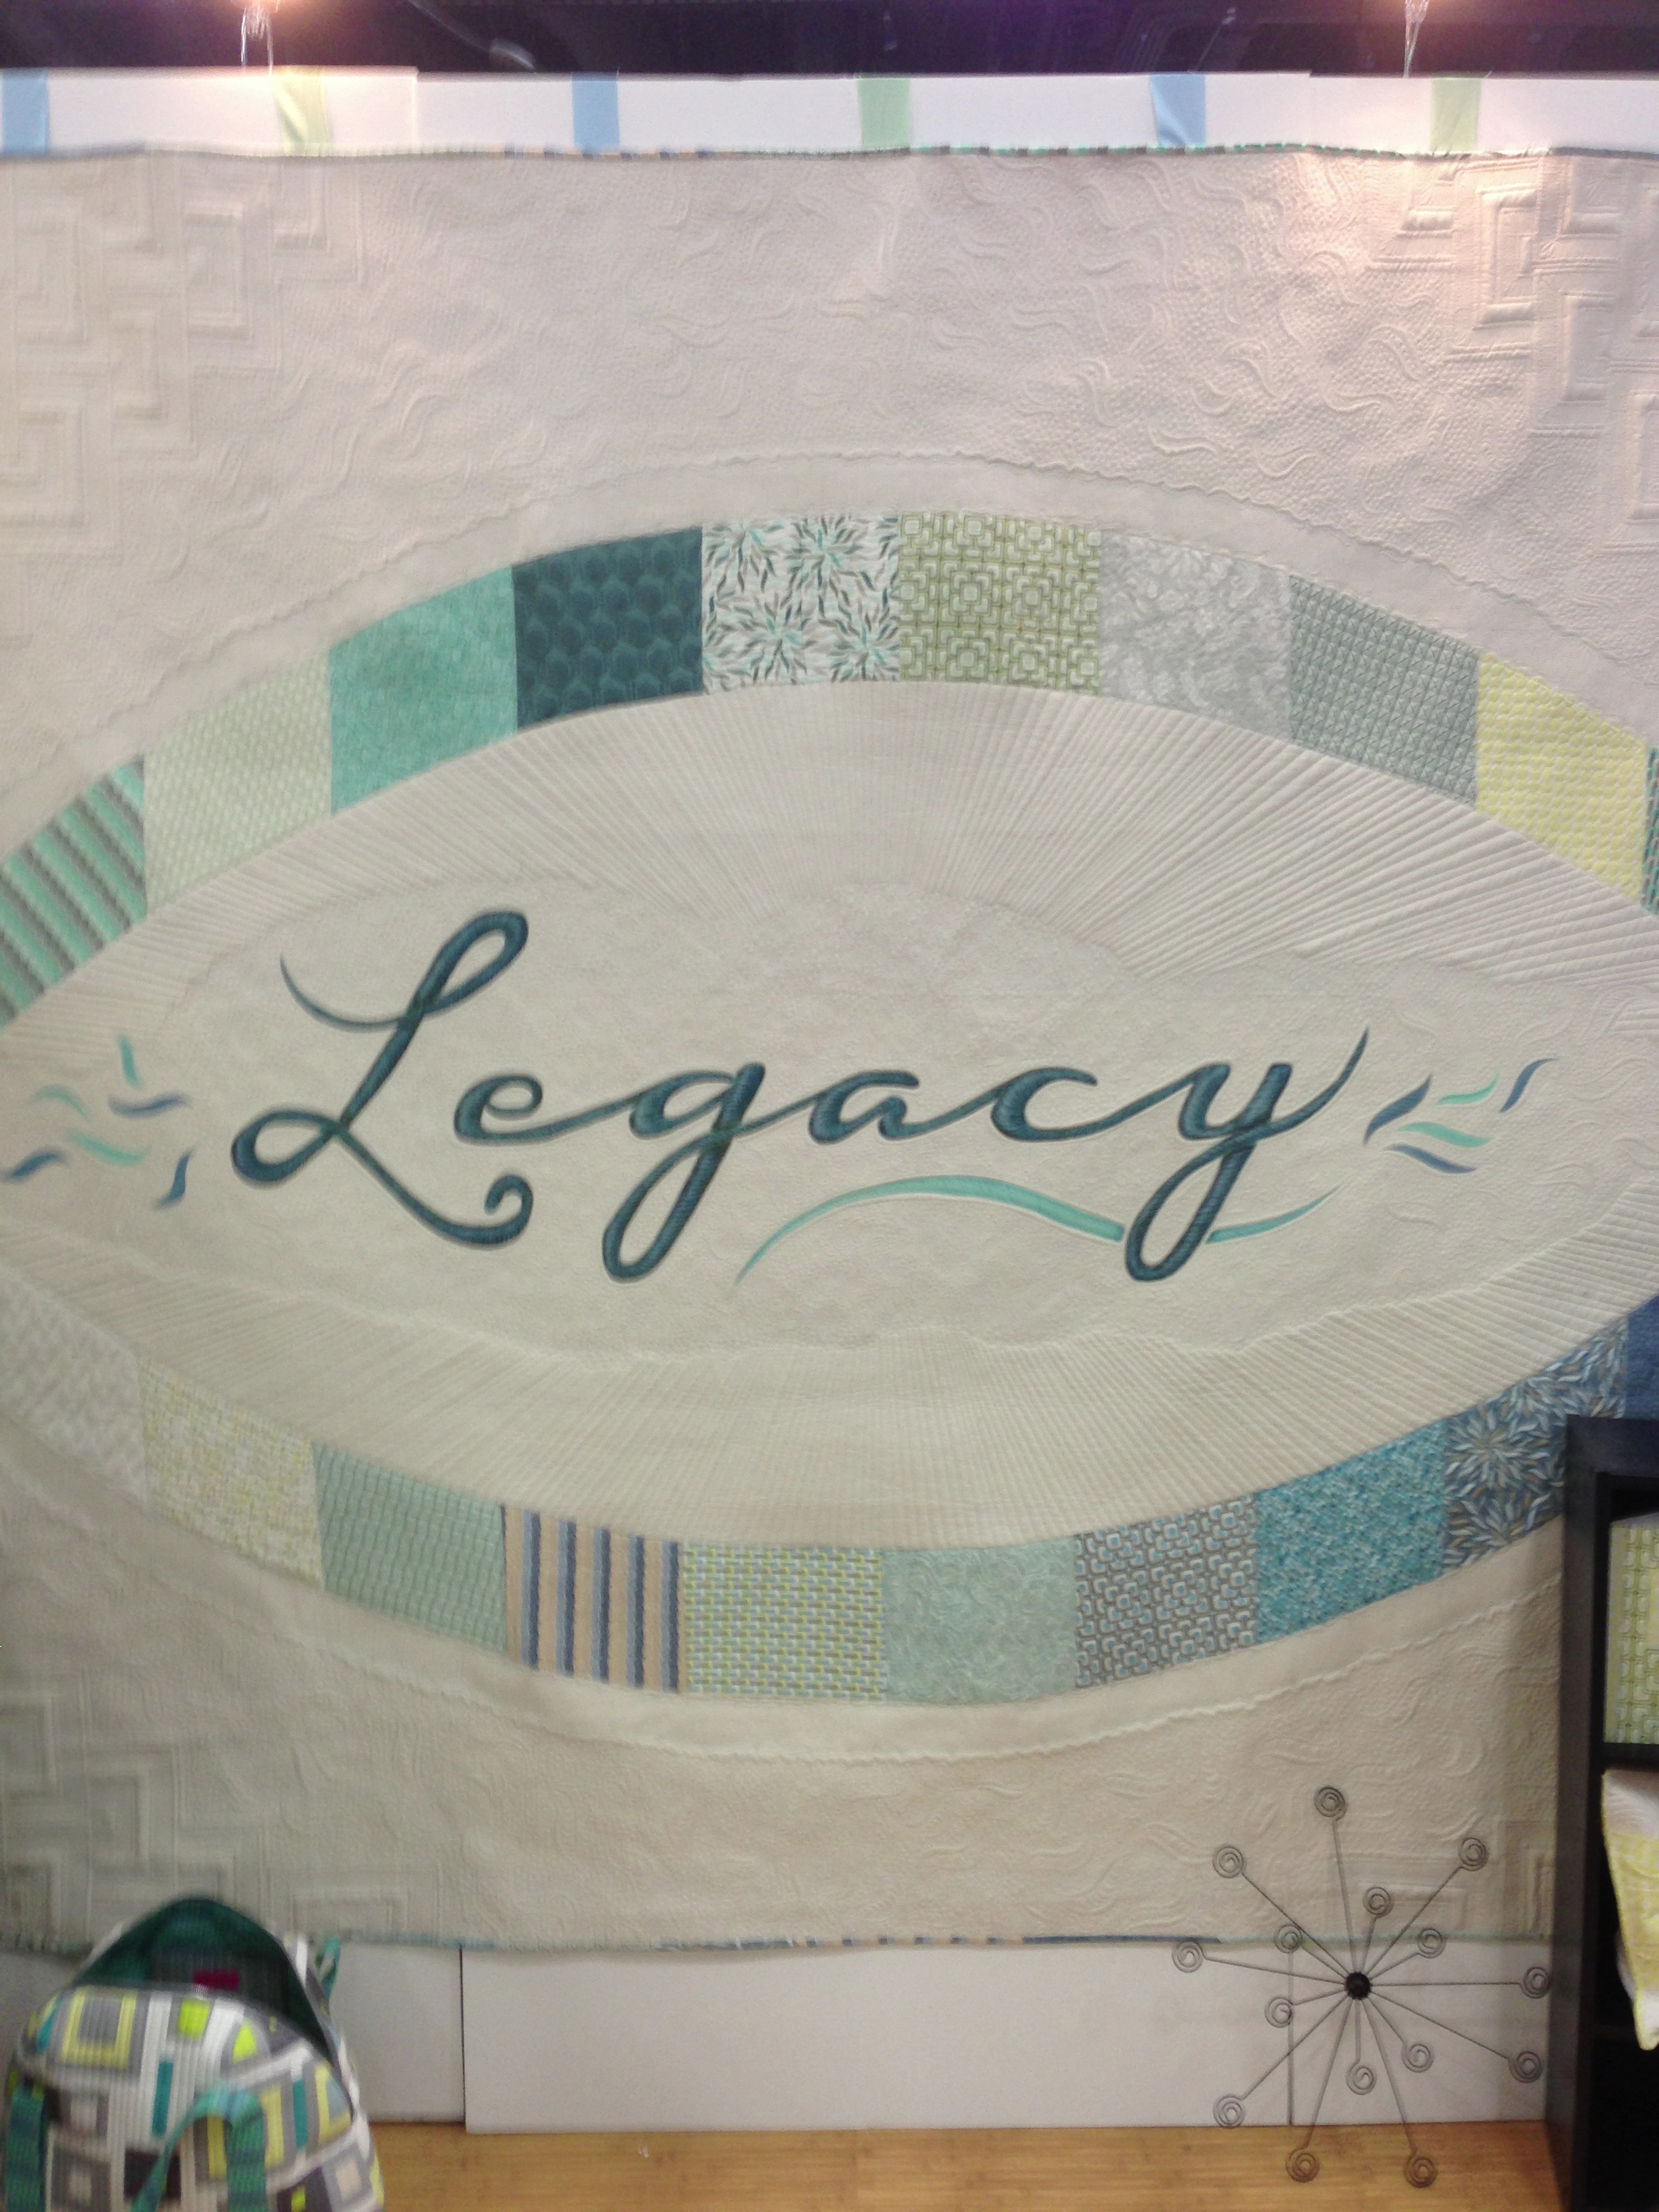
I so enjoyed having my first booth at Quilt Market last fall.
If you can’t find Modern Marks in your local quilt shop, click here for a list of shops that also sell it online. Please leave a comment if you know of any other stores that carry it. My list is very small so far, but based on the sales data, it’s in many more stores than I know about, so please help me update my list.
I’m excited that Modern Marks has been well received so far, and that I get to design more collections for Benartex. In fact, as soon as I returned from Fall Quilt Market last year, I got right to work on the next fabric line that comes out this summer. My sample yardage should be here soon, and then I’ll get right to work making quilts and finalzing patterns in time for Spring Market. Based on the kind feedback you all have been sending me, I’ll be happy to share more about that too – so stay tuned!