I finished my pieced backing from last week and now it’s time to baste Sea of Squares!
The backing took me 2 hours to cut, piece and starch. The basting also took 2 hours, so it was a very pleasant way to spend my day today. 🙂

Sea of Squares Pieced Backing
I follow these four steps whenever I baste a quilt:
(1) Completely secure the backing to a large flat surface. I use two heavy duty utility tables that I got from an office supply store. They are 8′ long and I keep them up all the time. It’s my work surface and my cutting area, plus the kids use them for art projects and homework. So they get a lot of use!
- You can also use just one table if space is limited and move your quilt around as needed. I use office binder clips to secure the two edges of my backing to the edge of the table.
- Then I use a generous amount of tape to secure the other edges. You want to make sure that your backing extends past your batting and quilt top by at least a couple of inches.
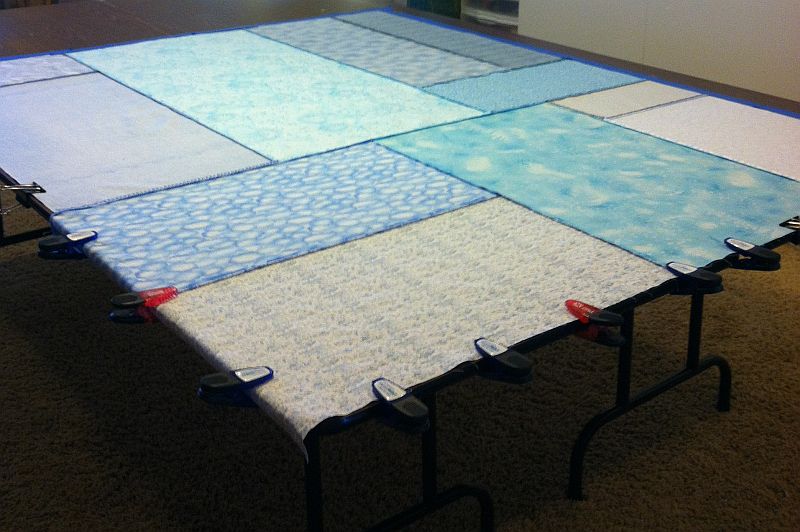
 (2) Next, layer your batting on top of your backing and smooth it out nicely.
I am using 1 layer of cotton batting with 1/2 layer of wool – yes, it actually pulls apart. (For my previous quilt, Charming Chevrons, I used a layer of cotton and a full layer of wool. I loved the “heft” of it but it was a bit thick to quilt through. I’ll let you know I like it.)
- Notice that there is no need to secure the batting layer.
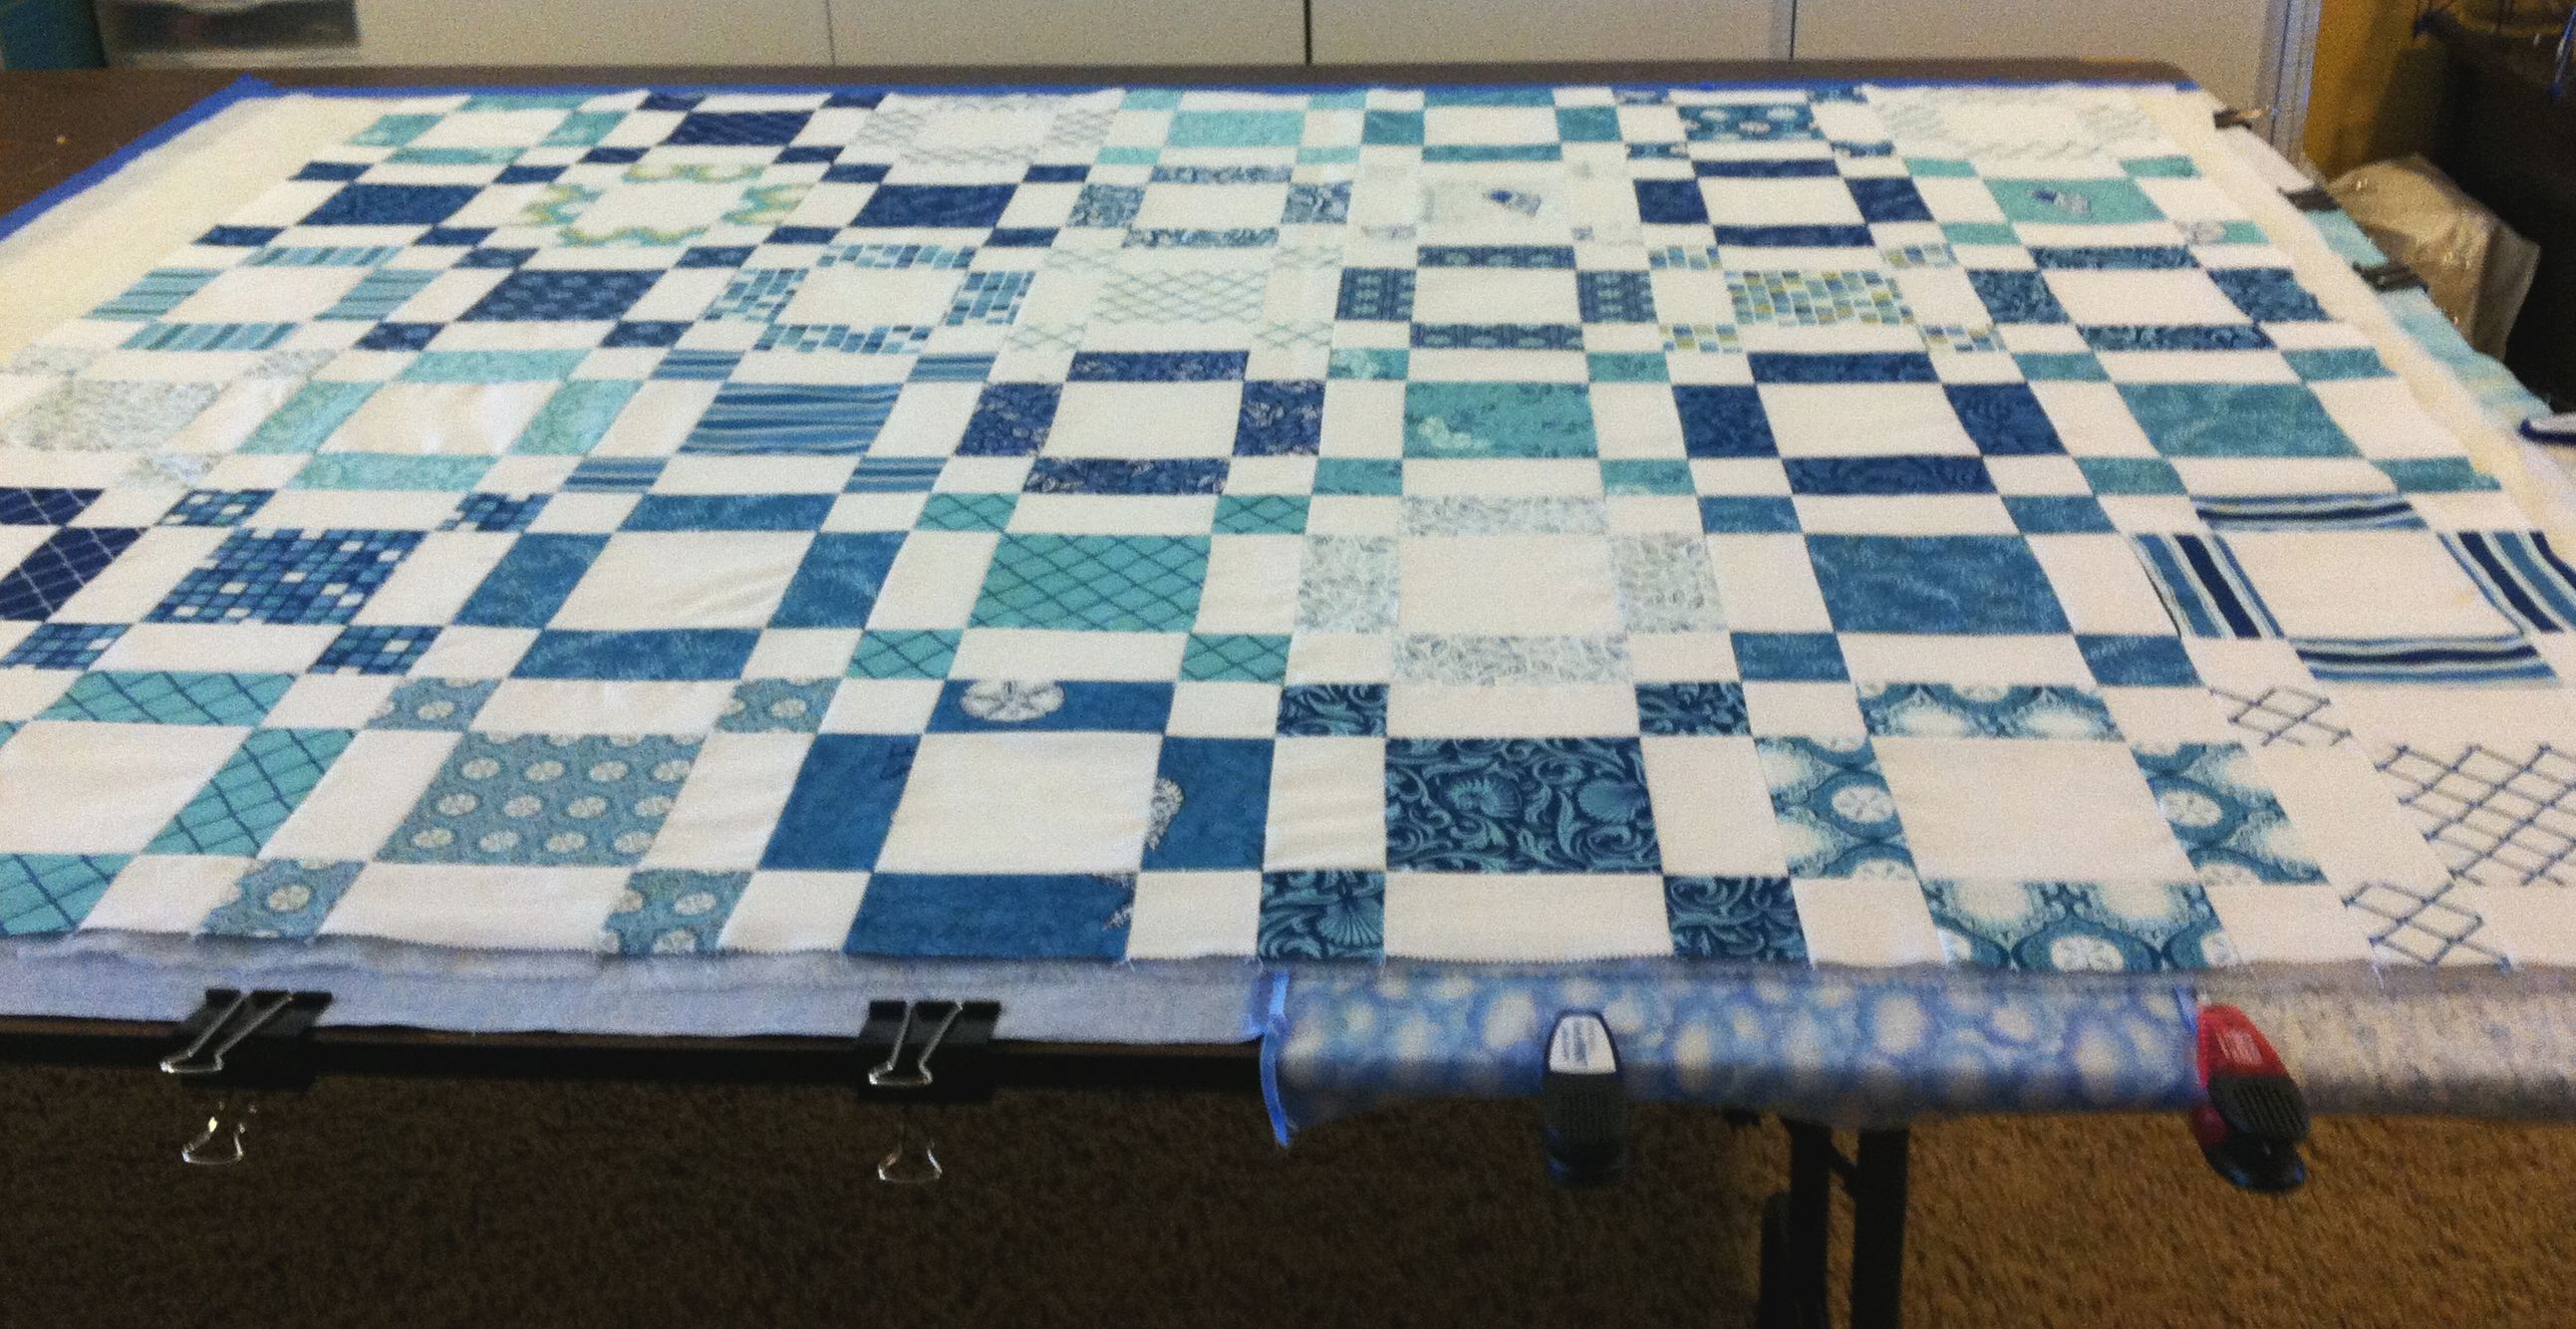
(3) Grab a helper to gently lay your quilt top onto the center of your batting/backing layer.
If you are doing this solo, you can quarter your quilt instead and unfold it one quarter of a time. But I prefer a helper if I can manage it! If either your top or backing are directional, don’t forget to check to make sure your quilt is oriented correctly before you begin.


(4) Finally, let the basting begin! I prefer to use flat flower pins and pinmoors to baste. I insert the pins in the quilt first, one section at a time. Then I cap them all with pinmoors.
- With my table, I can reach all the way to the center of the quilt, so I can baste half of the quilt from one side; then I finish up on the other side.

A note about Pinmoors…
Pinmoors are a bit pricey but are well worth the investment. If you’d like to try them, I suggest buying one package and baste as much area as you can. Then, baste the rest of the quilt with regular safety pins.
When you are done quilting, take note of how much quicker and easier the pins and pinmoors were to remove versus regular safety pins!
One note of caution – if you move and scrunch your quilt under your machine like I do, watch for any pinmoors that accidentally fall off so you don’t get poked! Be sure to push the pins in far enough so that they are secure.
Now the quilt is ready for quilting next week. Be sure to post pictures of your quilt top, pieced backing or quilting on my flickr group: Christa’s Quilt Along.
You can also share pictures of any of my previous quilt-alongs that you are working on!
Quilt-Along Schedule – Links are Active at the Completion of Each Step:
- Week 1 – Supply List
- Week 2 – Sorting and Cutting the Charms
- Week 3 – Sewing the Blocks
- Week 4 – Completing the Quilt Top
- Week 5 – Piecing the Backing
- Week 6 – Basting
- Week 7 – Machine Quilting
- Week 8 – Optional Extra Quilting
- Week 9 – Machine Binding to Finish
Quilt Kits are available for a limited time in these two colorways:

Apple Jacks

Sea of Squares

Hi Christa. I would like to know where you purchased your tables and what height they are? Also what type of surface do they have? I am shopping for tables now!
Thank you!
You can find them in any office supply store 🙂
That was very clear. The first picture showed a different kind of large clip. I’ve never seen those. What are they?
I use binder clips and also some freebie chip clips or fridge magnets that I got from my health provider, LOL!!
Nice post, Christa. I like the safety pins, but they are not sharp enough or thin enough, and can sometimes be tough to get through the layers without damaging the fabric. Thanks for the info!
I need to get some pinmoors. Just basted a quilt and I hate safety pins. Thanks!
Thank you for the very clear tutorial. It’s always good to see the processes that other quilters use.