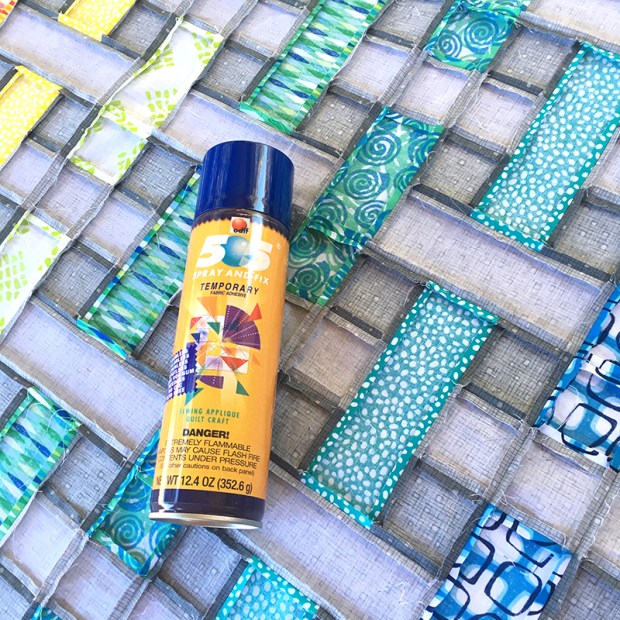
One of the secrets to successful machine quilting is basting your quilts properly. So today I will share with you my favorite way to baste a quilt using 505 basting spray and my design wall. You can definitely modify this technique and baste your quilts on a table, but I prefer the design wall because I can get up close to the quilt and make sure it’s nice and flat.

Click here for my bonus tutorial – how to build a design wall.
Click here to get the Color Weave pattern shown on the wall.
Pieced Quilt Backing
Before we get to the basting tutorial, let me share how I pieced the backing, from leftover Abstract Garden strips, and 5 yards of Abstract Garden Tracks in pink. (The quilt pattern calls for 5 1/2 yards of backing if it’s all one fabric.)

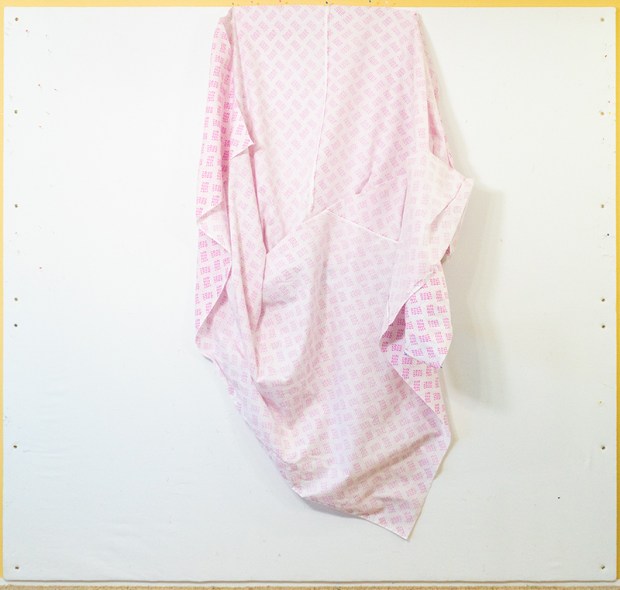
First I put up the finished quilt top on the design wall so I can see how much area to cover. I cut my 5 yards into 2 pieces that are NOT equal because I knew the strips would take up some of the room. One piece was about 94″ and the other piece was about 80″. Then I cut the shorter piece in half to create to rectangles, roughly 40″ x 40″ each. I placed the strips in the center gap between the two pink squares and sewed them together to create a strip set, then joined the two pink pieces on either side.

Once the left half of the backing was sewn, I attached it to the long piece, parallel to the selvage to create the finished backing. The important thing is to ensure that the backing is a few inches larger on all four sides for basting.

Because my name was on the selvage, I allowed the selvage to show instead of cutting it off first. And I wrote more info on the white part of the selvage to create a built-in label for the quilt.
WALL BASTING TUTORIAL
Ensure that all 3 layers of your quilt (top, batting, and backing) are nice and flat. The batting and backing should be a few inches larger than the quilt top on all sides.
Give the top and backing a final press and clip any stray threads. Relax the wrinkles in your batting by throwing it in a dryer with a wet towel for a few minutes, unrolling it from the package to “rest” for a few days, or pressing the batting with a hot dry iron. (For delicate batting, use a piece of fabric to cover it while you press.)

I’m using Hobbs Cotton/Wool batting and I have a roll of it, so to measure how much I need, I keep the quilt top on the design wall and unroll enough of it so there’s extra around all 4 sides. I cut it with specialty batting shears.
STEP 1 – APPLY ADHESIVE TO BACKING AND QUILT TOP SEPARATELY
Lay a sheet on the ground or a table to protect your quilt and catch any over-spray. Outdoors is best so that the fumes can dissipate, but you can do it inside in a well ventilated room while wearing a dust mask. Be sure to shake the can and spray a few squirts on the sheet to ensure the nozzle is clean and the spray comes out evenly before you start.
Lay out the quilt backing wrong side up and apply a thin coat of 505 spray adhesive evenly across the surface of the quilt. Walk around the quilt backing as needed to reach all areas.
Repeat the process for the quilt top, using the design of the quilt to help you keep track of which areas you’ve already covered. Don’t worry if the quilt top and backing have some give or are a bit wrinkly from movement. You will smooth it all out later.
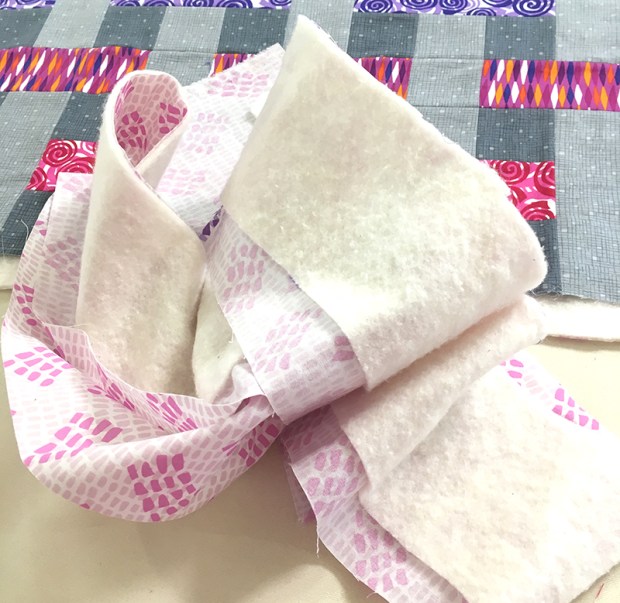
Once the backing and quilt top are sprayed, fold them up and bring indoors to assemble the layers on a design wall. It doesn’t matter if you fold them right sides in or out. They will be sticky, but not stuck and you can easily unfold and the layers and peel them apart. You don’t need to baste right away, but I wouldn’t wait more than a few days to prevent the spray from drying out.
STEP 2 – ASSEMBLE THE LAYERS INDOORS
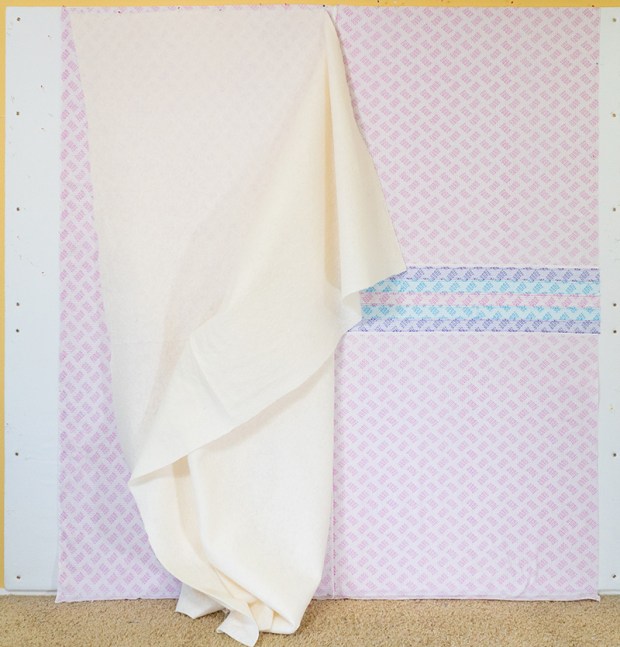
Pin the quilt backing wrong side up to the top of the design wall (mine is made from foam insulation board covered with a white flannel sheet). Let gravity pull the weight of the fabric down.
Gently un-stick any of the fabric sticking to itself and spend some time smoothing it all out with your hands or a long acrylic ruler. Your hands will get a bit sticky, but the residue easily washes off with soap and water. Spend as much time as you need to straighten the backing so that it’s nice and smooth and flat on the design wall.

Repeat the process above with the batting. It can take awhile to smooth out all of the lumps and bumps so give yourself time and don’t rush the process.
Notice that I didn’t cut my batting perfectly straight on one edge and that’s okay. As long as the batting is larger than the quilt top, it’s easy to trim off any excess.

Add the quilt top right side up in the same manner as the backing and batting. Pin generously and let gravity pull on the weight of the quilt top to get it to hang straight. This is why it’s so important for the batting and backing to be larger than the quilt top. Then you don’t have to make sure it’s lined up perfectly in the middle – you’ll have a bit of “wiggle room” to maneuver.

Spend a lot of time smoothing out the top layer once it’s on the wall. Use the acrylic ruler to help you work out any bubbles and ensure that the seam lines are nice and straight. Once your basted quilt is flat, smooth and straight, machine quilting it will be a breeze!

After the layers are nice and smooth, I trim off much of the excess batting and batting, leaving only about an inch all the way around. I don’t want a ton of excess around the edges that could flip and get caught under the machine as I quilt. I use the leftover fabric/batting pieces when I’m practicing my machine quilting.
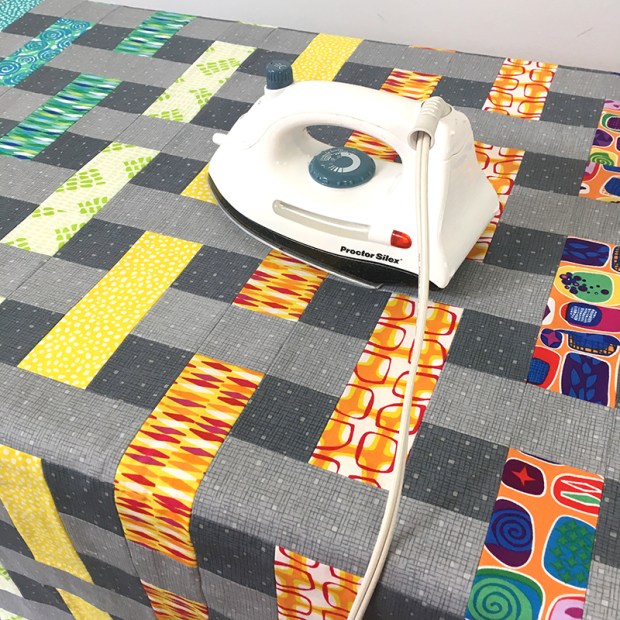
STEP 3 – IRON THE BASTED QUILT
Here’s where the magic happens! Once the quilt is basted, I take it to the ironing board and press both sides of the quilt. This does two things: (1) it’s a final chance to press out any wrinkles and work out any fullness in the quilt. (2) It sets the glue and ensures that all 3 layers will stay together without shifting, eliminating the need to add any pins. You can still pull apart the layers if needed, but this process will ensure that every inch of the quilt is sticking to every other inch of the quilt.
I use a “big board” which sits on top of my regular ironing board and gives me more room!
If you prefer to use a table, check out my table basting tutorial here, using similar steps.
IMPORTANT LINKS
Click here to get the Color Weave Quilt Pattern – paper version
Click here to get the Color Weave Quilt Pattern – PDF version
Click here to purchase the Abstract Garden Strip Roll
Click here for links to the previous quilt along posts
Click here to share your progress in my Facebook group

OMG! This was a “why didn’t I think of that?!” moment. I’ve just started back to quilting again after many years of being away. The thought of getting down onto the floor to pin was just something I did not want to do. I have a large wall hanging all ready to be basted and was dreading it! I just did exactly what you did and wow, it worked great! No more achy bones! Thanks so much for this great tip!