Now it’s time to take those yummy cut up pieces from Geo Pop and sew them together into a quilt! Although I’m making two versions of Bling at the same time, it’s really not that much extra effort to do double the amount of sewing! This is a quick overview of my process – please purchase a copy of the Bling quilt pattern for more detailed instructions.
Geo Pop Cutting in Progress


Cutting in progress for both version of Bling – in black or white

Click here to get Geo Pop fabrics, kits, precuts and coordinating patterns.
Thread Tips
When choosing thread for piecing, I prefer to use Aurifil 50 weight cotton from one of my 3 thread collections. When sewing with lots of colorful prints like Geo Pop, I’ll choose a lighter color when sewing with the light background, and darker colors when sewing with the dark background. I’ll use the same color in top and bobbin or similar shades.

Because these quilts were so colorful, I was able to use up some leftover spools and bobbins while piecing. I sew with a shorter stitch length (2.0 instead of 2.5) and I press my seams open so that everything will lie flat. The shorter stitch length also prevents the stitches from showing through the seams.

Click here to checkout my Aurifil thread collections – Colors, Neutrals and Variegated.
Sewing the Blocks
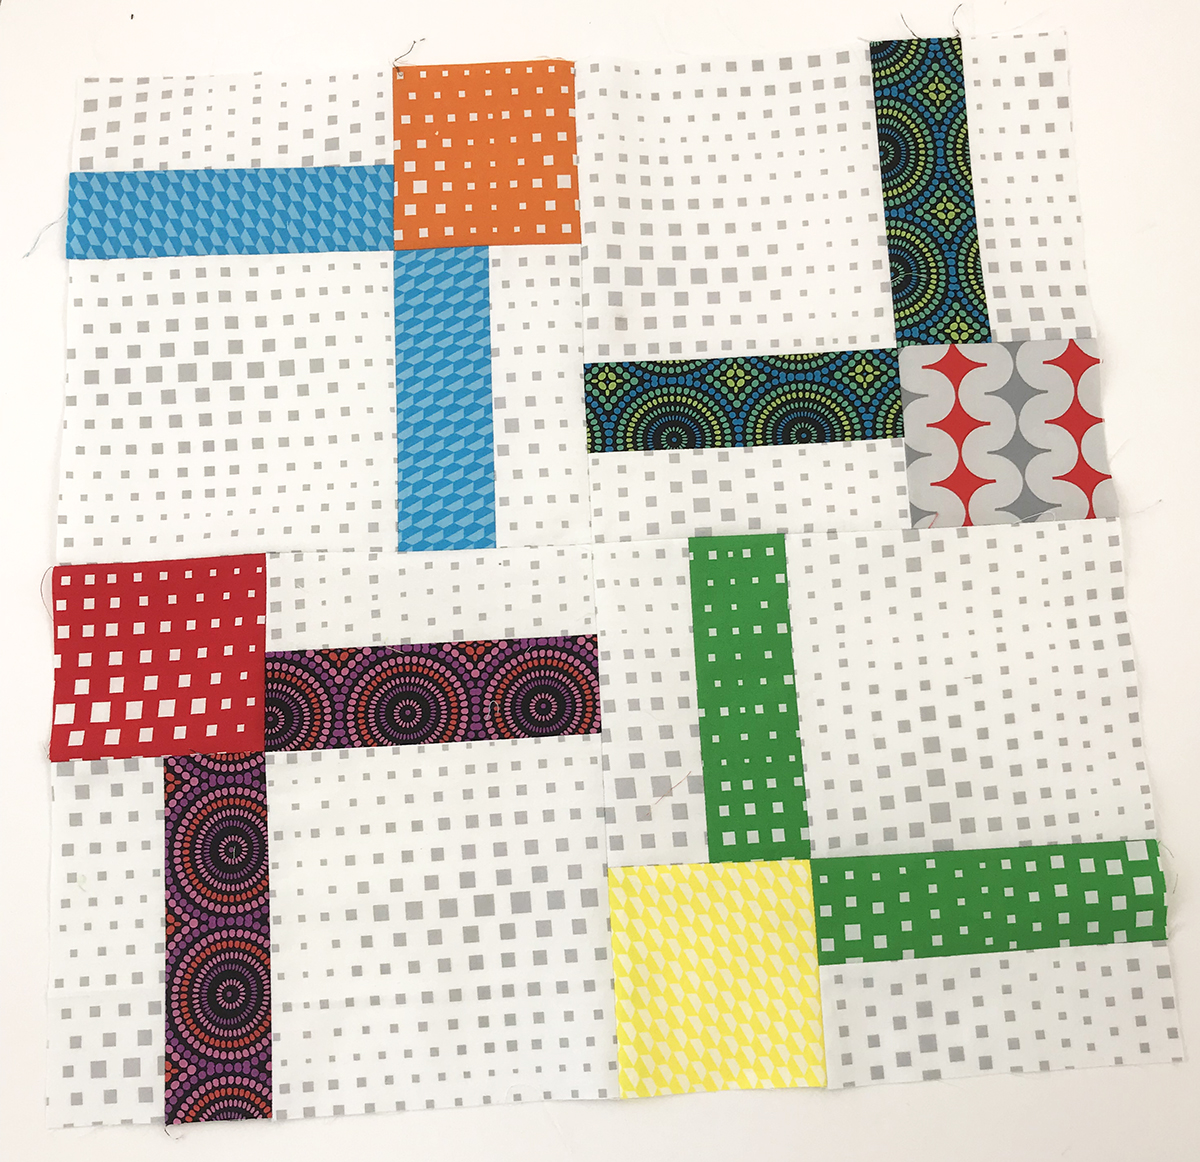
The block that forms the Bling quilt is actually very versatile. First take a look at the finished sewn blocks using both background colors below.

Look at those beautiful seams pressed open!!

Each block in the quilt pattern uses the same background fabric and then two fun colorful prints.But look at the other options you could try! You could rotate the unit placement to create a slightly different block:

Or you could make the block a bit scrappier if desired.

However, you make it is it up to you – because you are the boss of your quilt!!
Piecing the top
Although my usual method is to sew blocks into rows, you can actually sew groups of 4 into larger blocks for easier handling.

Once the blocks are all sewn, the quilt top goes together very quickly. The pattern even includes several alternate layouts for you to try. I use my design wall to help me keep the blocks arranged just how I want them. You could also take a picture with your phone to refer to!
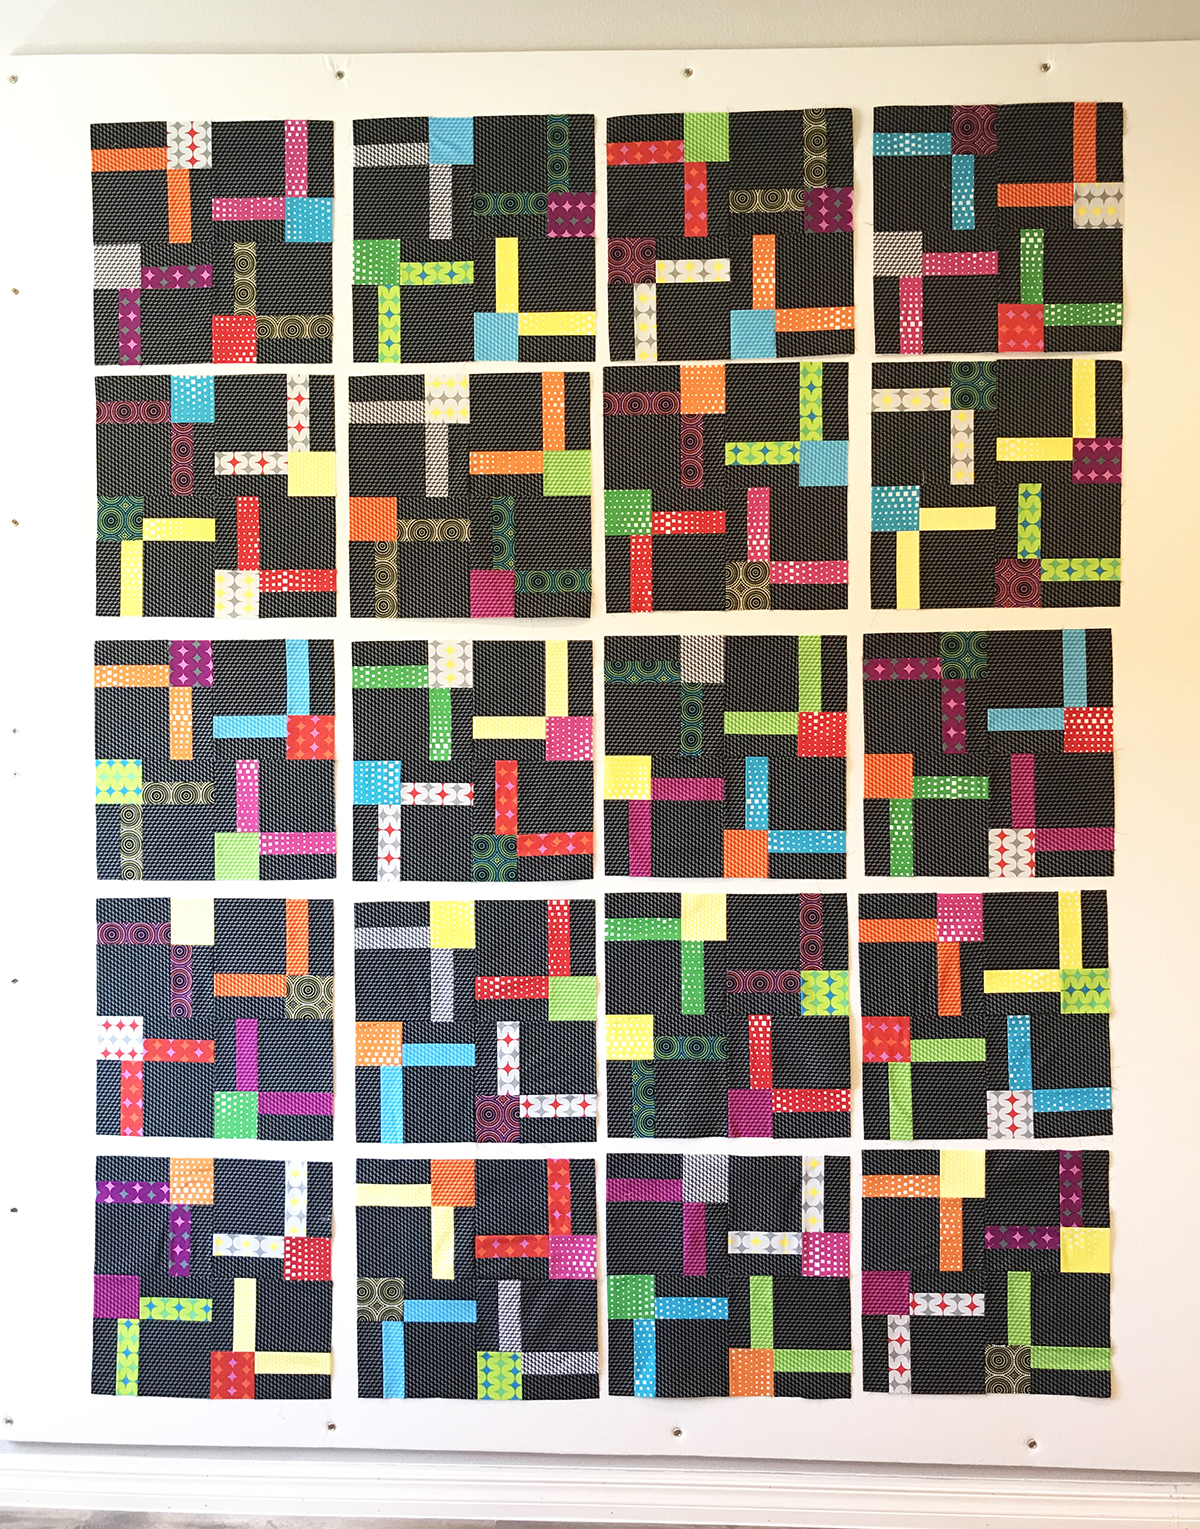
Click here for my design wall tutorial.

I love quilts that show off the fabrics, and Bling was sooo fun to make! Stay tuned for the last segment where I talk about the machine quilting (my favorite part!!)
RELEVANT LINKS:
If you’ve enjoyed these helpful tips and tricks, pleas consider supporting me by purchasing my quilt patterns, fabrics, and other supplies.
- Click here to purchase Bling quilt pattern – print version.
- Click here to purchase Bling quilt pattern – digital version.
- Click here to purchase the Geo Pop fat quarter bundle.
- Click here to purchase the Bling quilt kit in white or black.
- Click here to purchase any of my fabrics by the yard.
- Click here for the making of Bling part 1
- Click here for the making of Bling part 2

I love how you write about your process and give such great instructions and pics! Keep up the good work. I’m going to do the Bling quilt soon