Now it’s time to get down to the nitty gritty of making this amazing quilt design by my talented friend Heather Black! Scroll to the end for links to her version of the quilt as well as links to all of the quilt along posts.

Click here to get the Geo Pop quilt kit, while supplies last.
If you’d like to work ahead and cut everything at once you are welcome to do that. However, I’ll be cutting and piecing each section, one week at a time. Today’s task is to make Row 1, below, shown on page 3 of the Infrastructure Quilt Pattern. Refer to cutting on page 4 of the pattern and sewing on page 8. If you would like to fussy cut your squares like I did, it will take a little more time, but it can give really cool results!
What is Fussy Cutting?
“Fussy” cutting means cutting your fabric in such a way that you are getting the exact part of the print that you want. You can do this by marking lines on your fabric where you will cut, or line up your ruler in the exact same spot when cutting. Usually, I don’t worry about the design of the print or the direction and all of the pieces end up looking random. However, with this quilt I thought it would be fun to take advantage of the strong geometrics in Geo Pop and cut around specific shapes to create a really cool effect.
Here’s a fast 4 minute video I created, showing how to fussy cut the Diamond Pop squares. Where you decided to fussy cut is up to you!
Important note: If you are fussy cutting the black/gray squares from exactly 1/3 yard of Mosaic Dots, you’ll need to first cut the strips to create row 3 (see pattern page 4). Then you’ll have just enough leftover to fussy cut the bullseye squares below.
Here’s what my fussy cut squares look like when they are all done. Remember, you can cut different areas of the fabric for less waste.
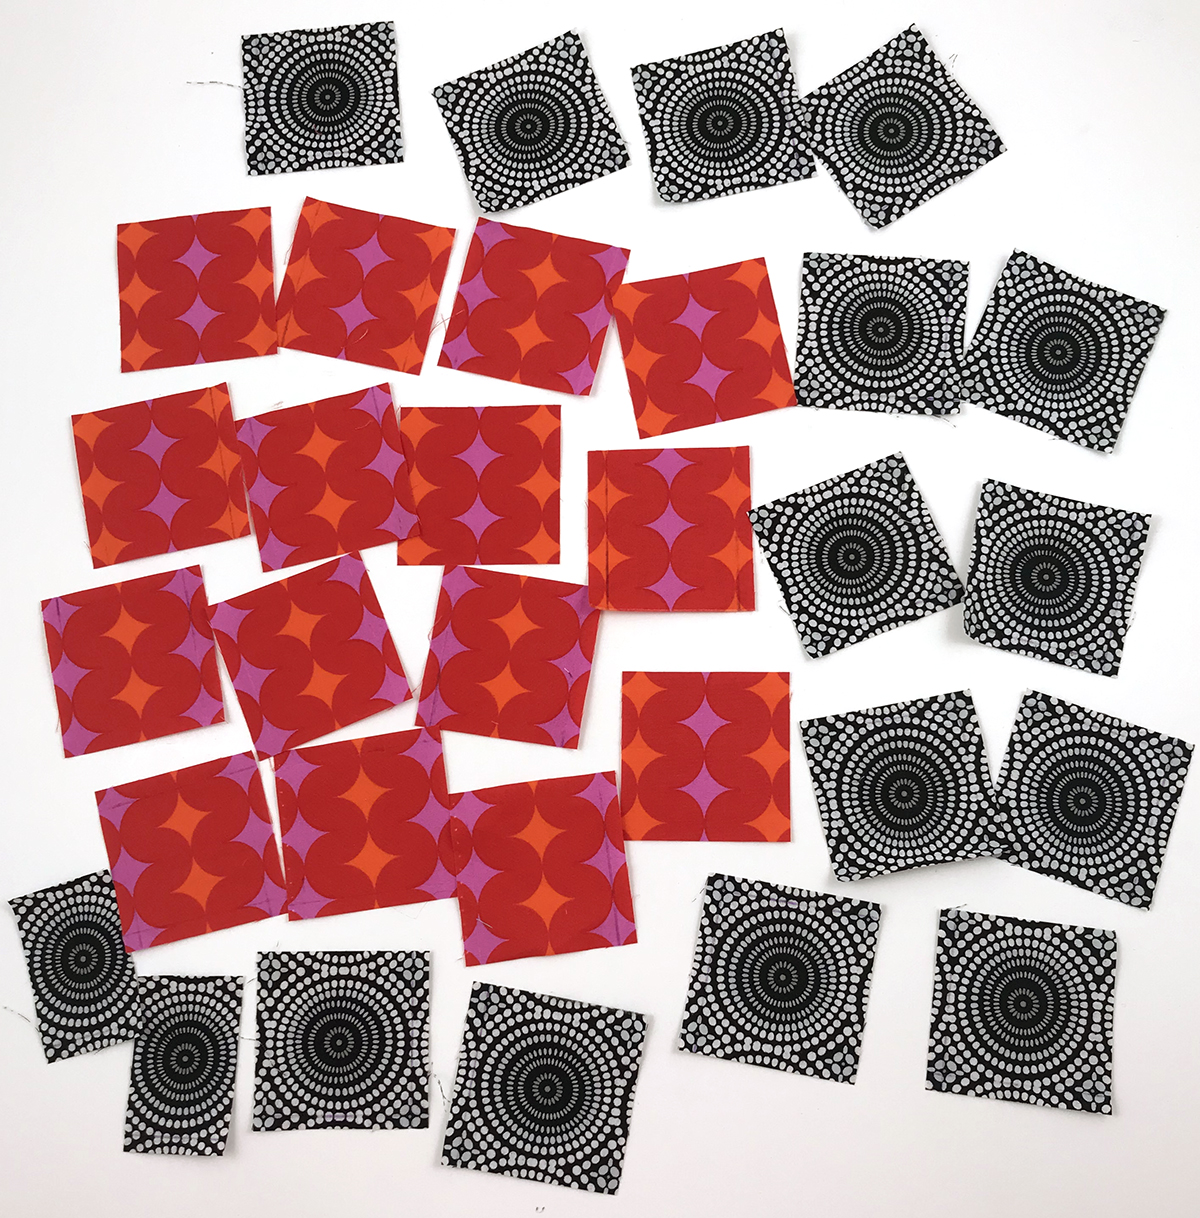
You can rotate the diamonds so they are all going the same way, or let them go in different directions for a more whimsical look! The bulls-eyes were cut from the Mosaic Dots print in black.
Sewing Row 1
The sewing is pretty straight forward and instructions are given in the pattern, but here are a few bonus tips:
![]()
- I’m using a shorter stitch length to piece (2.0 on my BERNINA instead of 2.5). This will make the seams a little stronger and will help prevent the thread from showing through the seam. I’m also using a 1/4″ patchwork foot for precise seams and sewing slowly at the ends so that my seams don’t veer off as I come to the end of the unit.
- I’m “chain piecing” which means I’ll sew two pieces together and then the next two without breaking thread in between. I recommend starting and ending a sewing session with a scrap of fabric to catch any stray threads.
- I use a straight stitch plate when piecing. It seems to make a better stitch and prevents the fabric edges from getting sucked into the machine.
- I’m using 100% cotton, 50 weight thread from my Aurifil Neutrals collection for piecing. It blends into most of the fabrics and is thin but strong.
- I’m pressing ALL of my seams open. It takes a little longer to do, but the results are nice flat blocks which will create a nice flat quilt.
- When sewing the block units together, I’m keeping the dark gray fabric on top at all times. This will automatically ensure that each of the seams is sewn in opposite directions so the row doesn’t warp out of shape.
- I’m using lots of pins as I sew the top and bottom strips to the center section. Pin at the ends and then along the middle so that everything matches up. The number one cause of distortion in your quilt is when you ease in extra fabric when joining long pieced sections with strips.
Here’s another quick 2 minute video tutorial showing how I press my seams open:
Once the row is complete, I’ll give it a quick final press again from the back and also from the front. Then I’ll set it aside where I can keep it nice and flat. My design wall works great for this, but you can also hang it up on a hanger in your closet folded in half over a thick rounded clothes hanger.
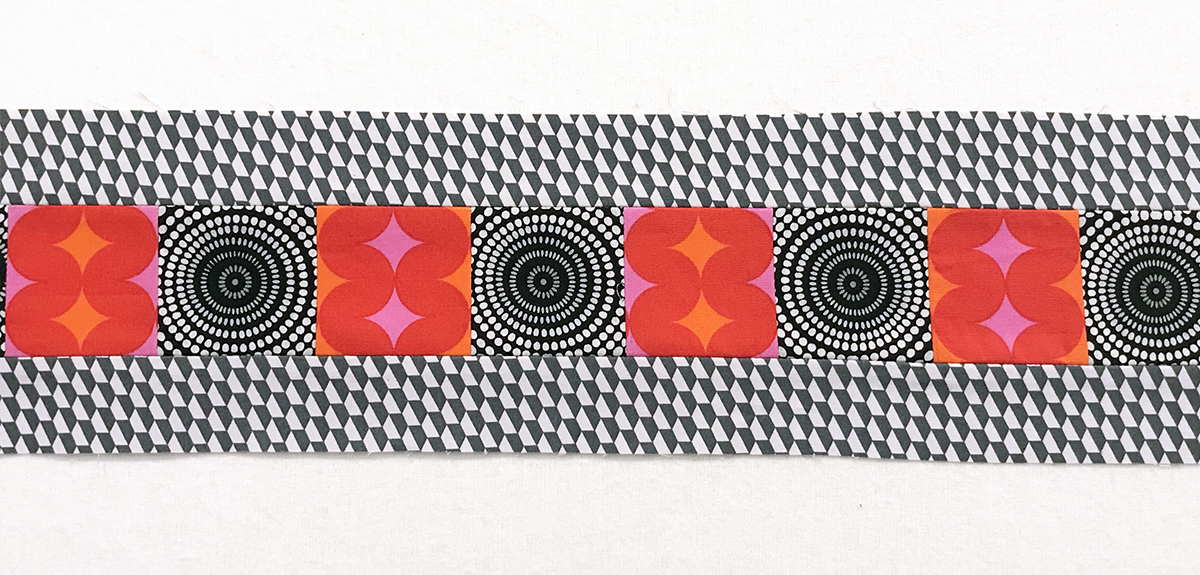
Here’s a closeup of Row 1 so you can see how fun it looks when the fussy cut squares are all sewn together!
Giveaway Time & Heather’s Version!
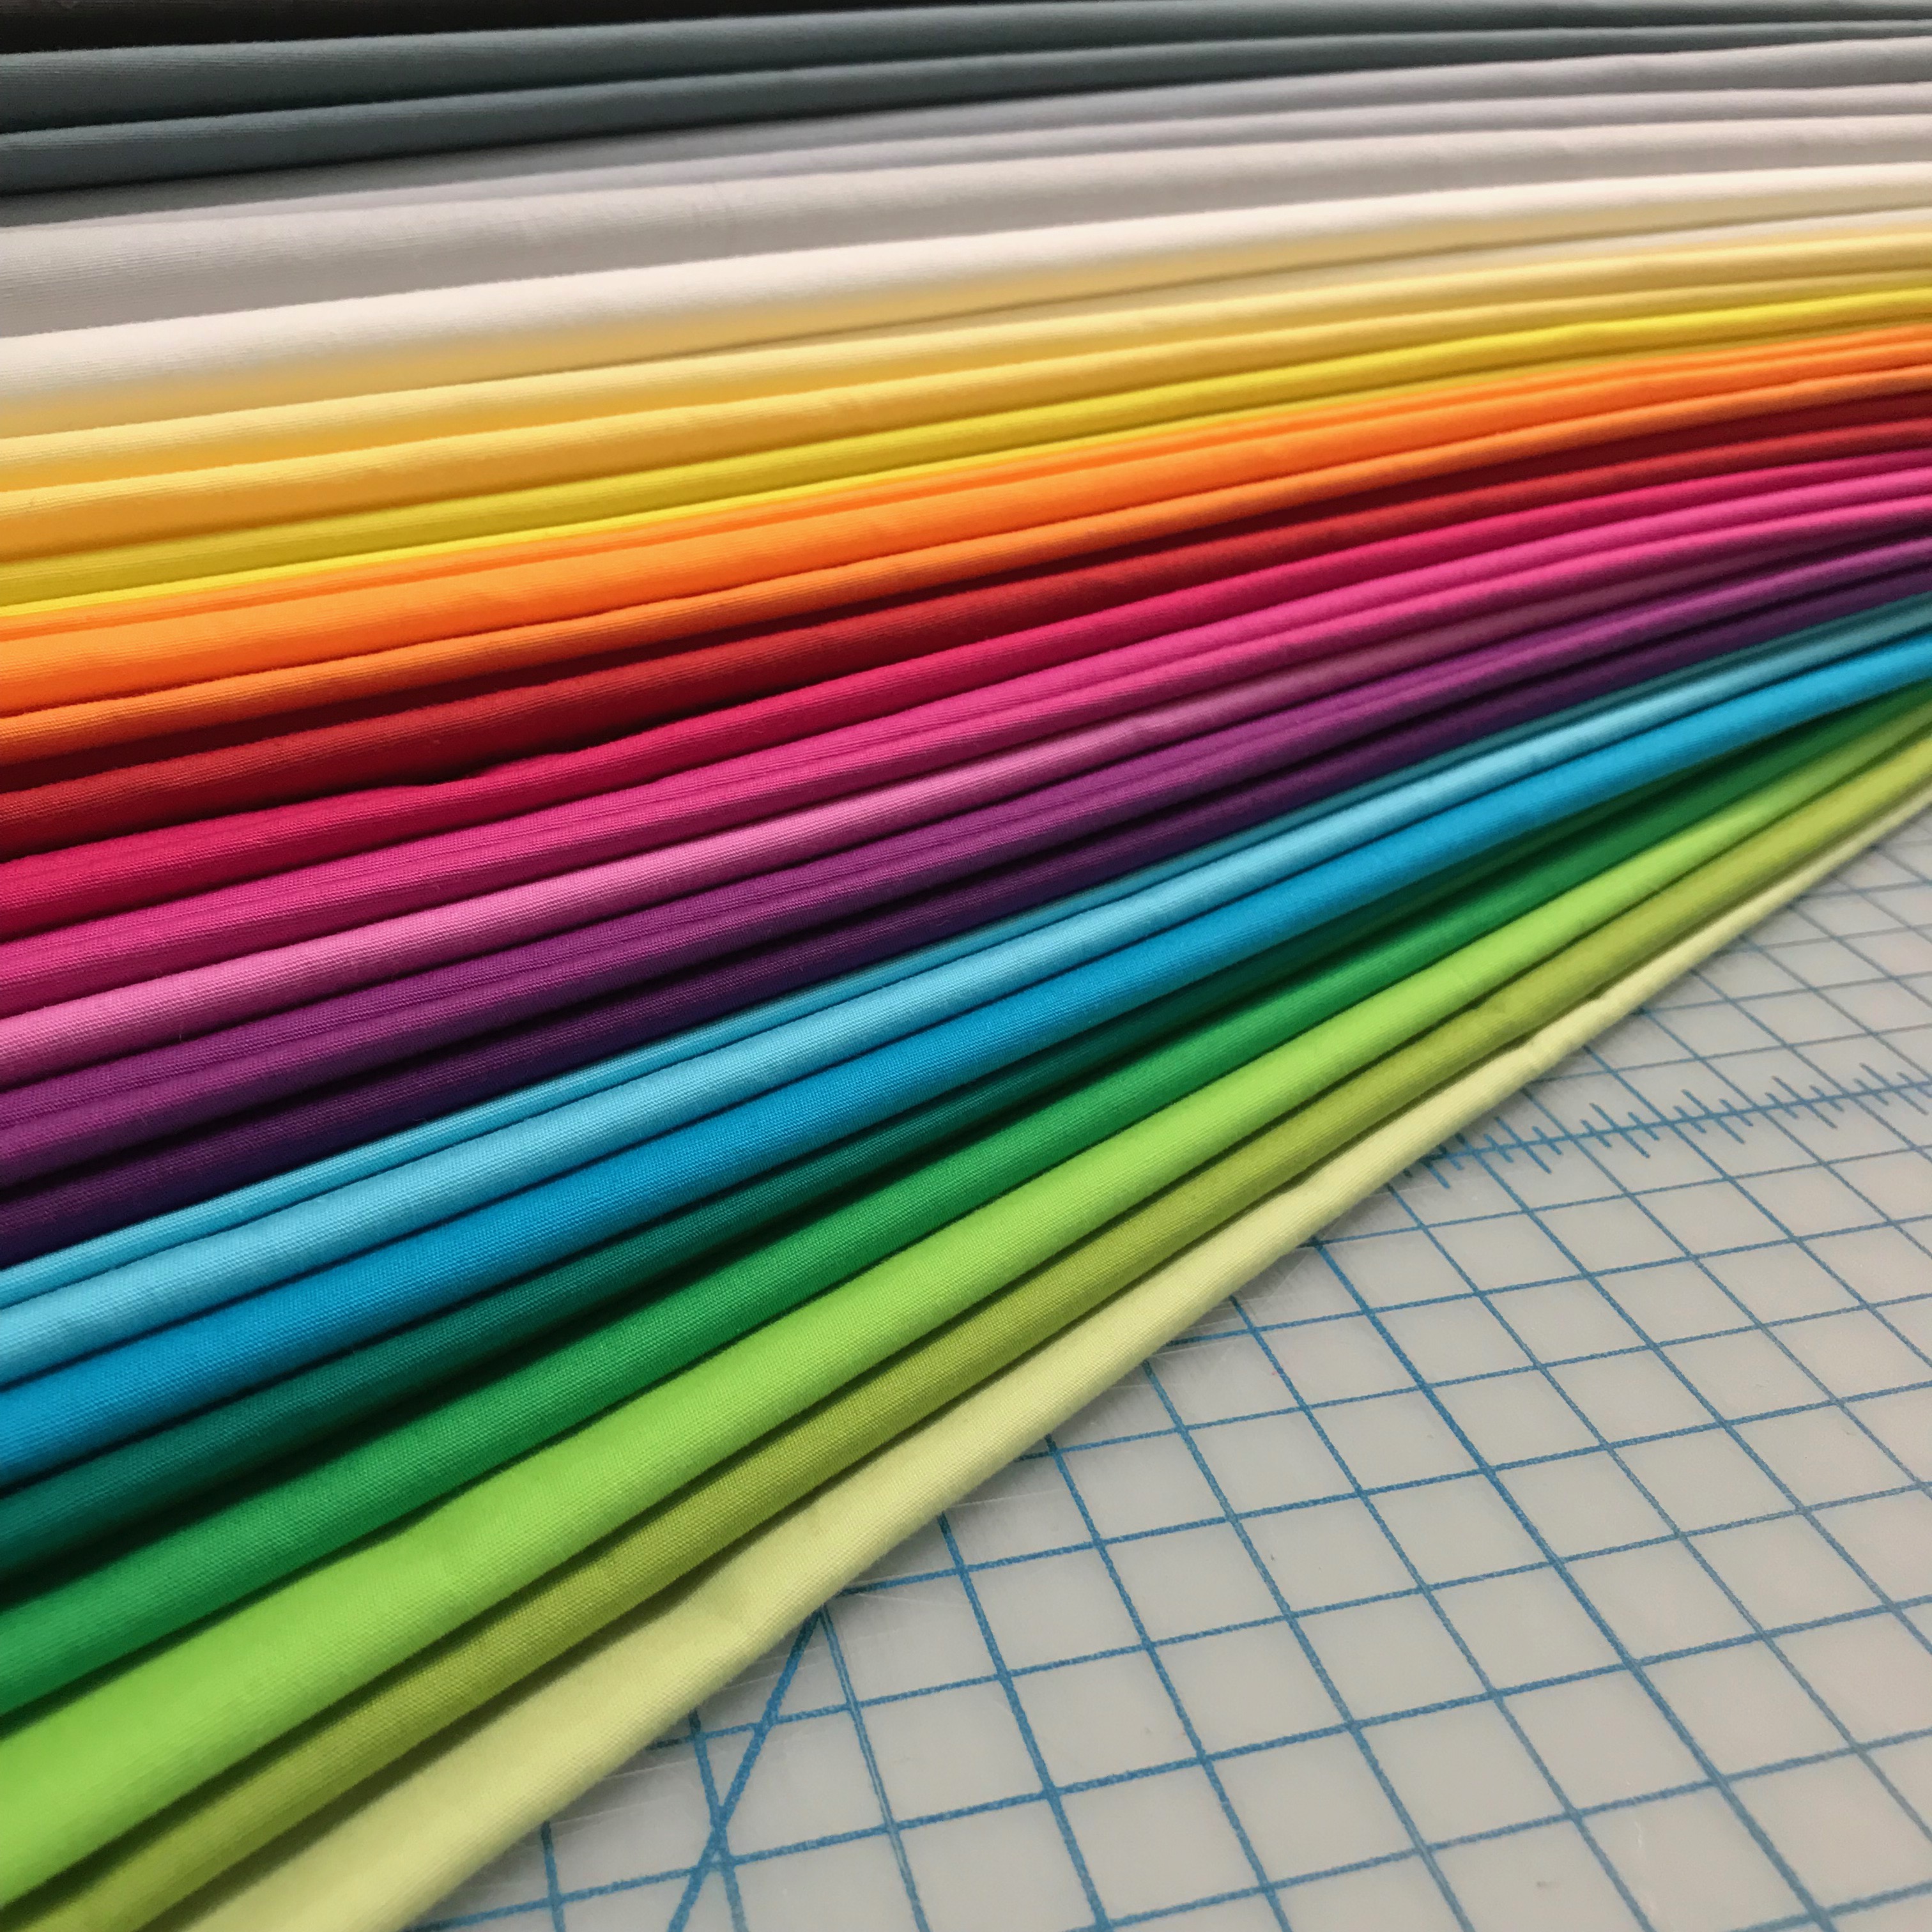
This week’s giveaway is sponsored by Benartex. They are giving a way a few bundles of their brand new Superior Solids. These are the fabrics that Heather is using in her version of the quilt. So pop over to her blog to see what her version Row 1 looks like in solids. While you are there, be sure to enter the giveaway and see who won last week’s prize!
Share Your Work
Be sure to share pics of your progress on instagram by tagging us @christaquilts and @quiltachusetts and use the search hashtag #infrastructurequilt in your post so others can see, too!
You can also share pics and ask questions in my Facebook group (whether or not you are making the quilt!)
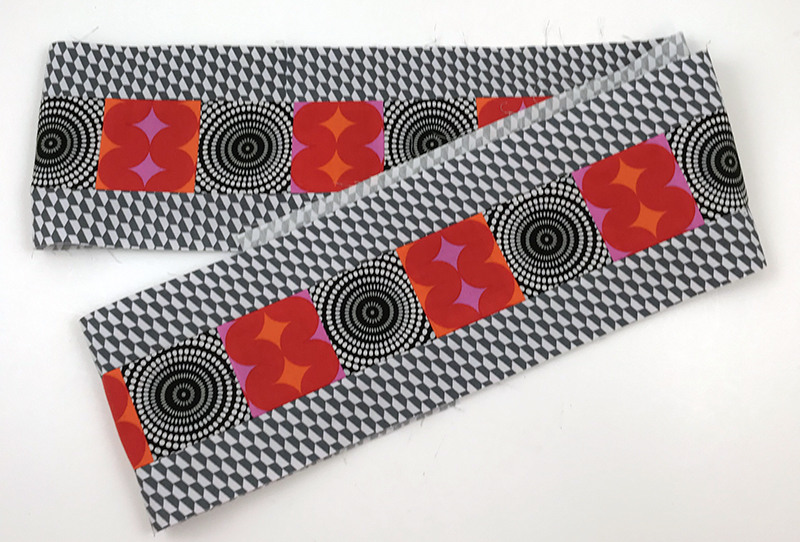
Finished Row 1 made from Geo Pop fabric.
Other Important Links
- Click here for the complete Infrastructure supply List and QAL links.
- Click here for Heather’s week 2 blog post.
- Click here to get the Infrastructure Quilt Pattern – PDF version
- Click here to get the Infrastructure Quilt Pattern – Paper version
Next week we will make Row 2 – I can’t wait!
