Welcome back to part 2 of Terrace Tiles quilts from my Gridwork fabric line. I’m excited to let you know that I’m now offering kits to make all 3 colorways of this quilt in two different sizes each!

Click here to get Terrace Tiles kits in Amethyst, Breeze, and Citron
Click here to catch up on part 1 and think of this as a shortened version of my quilt alongs. You can bookmark this post and come back to it when you are ready to make YOUR version of Terrace Tiles.

Amethyst Colorway of Gridwork Fabric.
Click here to get it by the FQ, 1/2 Yard or Full Yard Bundles
The quilt blocks for Terrace Tiles sew up really fast! This is by far one of the quickest quilts you can make, which was good for me since I sewed all 3 of them in a hurry for quilt market last fall. I could have just made one version of the quilt, but I really wanted to showcase all 3 colorways of my Gridwork fabric line. So 3 quilts it is!!

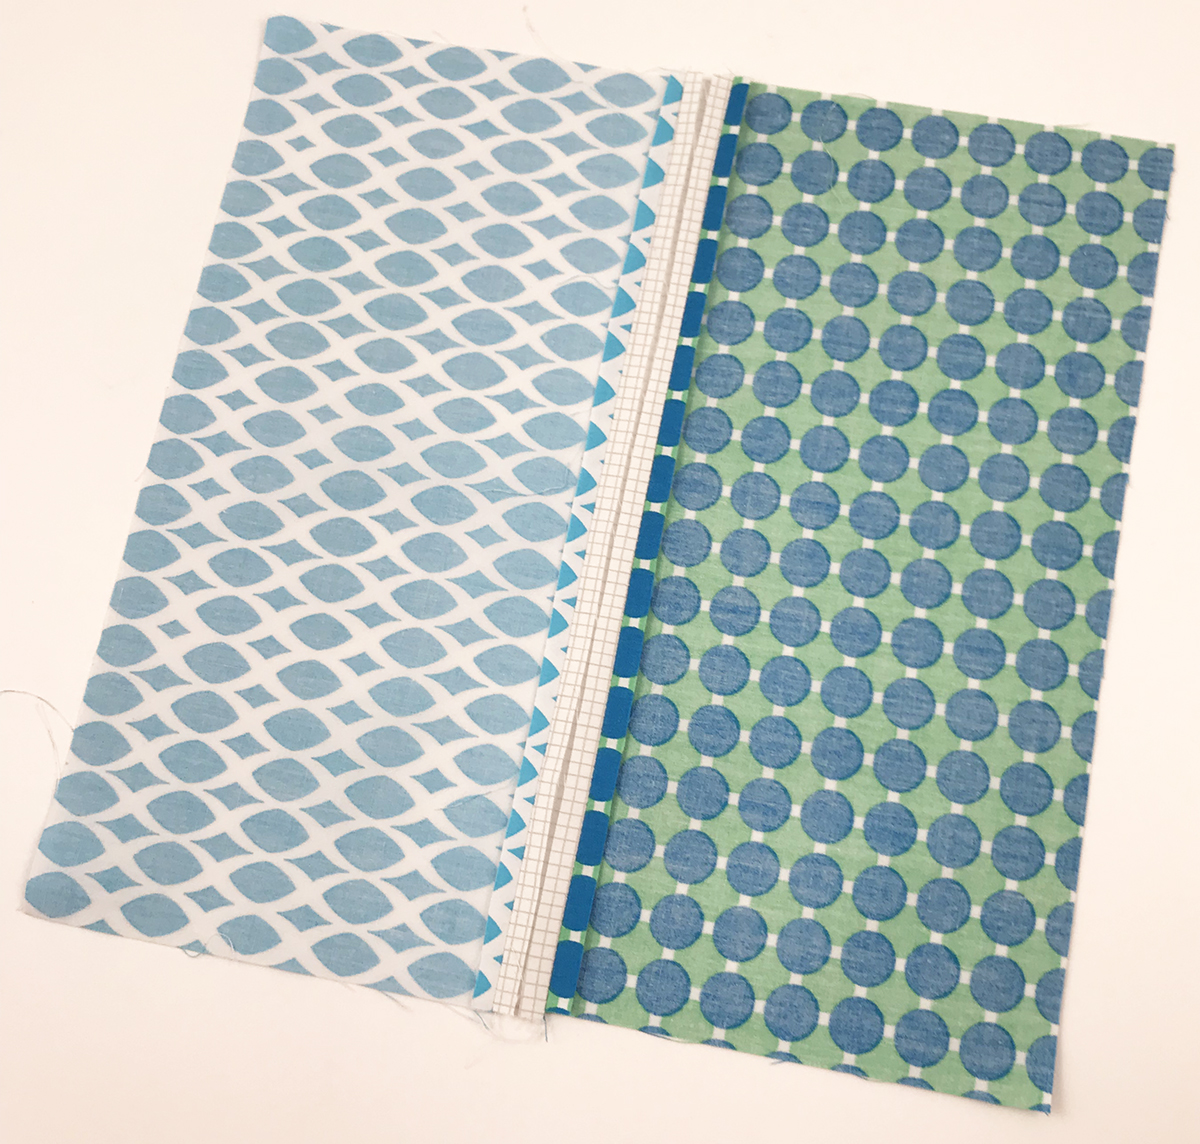
Breeze Colorway of Gridwork Fabric
Click here to get it by the FQ, 1/2 Yard or Full Yard Bundles
For the making of this quilt I wanted to share piecing tips just as much as quilting tips. Because I make all of my own quits from start to finish, the piecing can really impact the quilting and I like to make things as easy as possible so I can enjoy the entire process from start to finish.

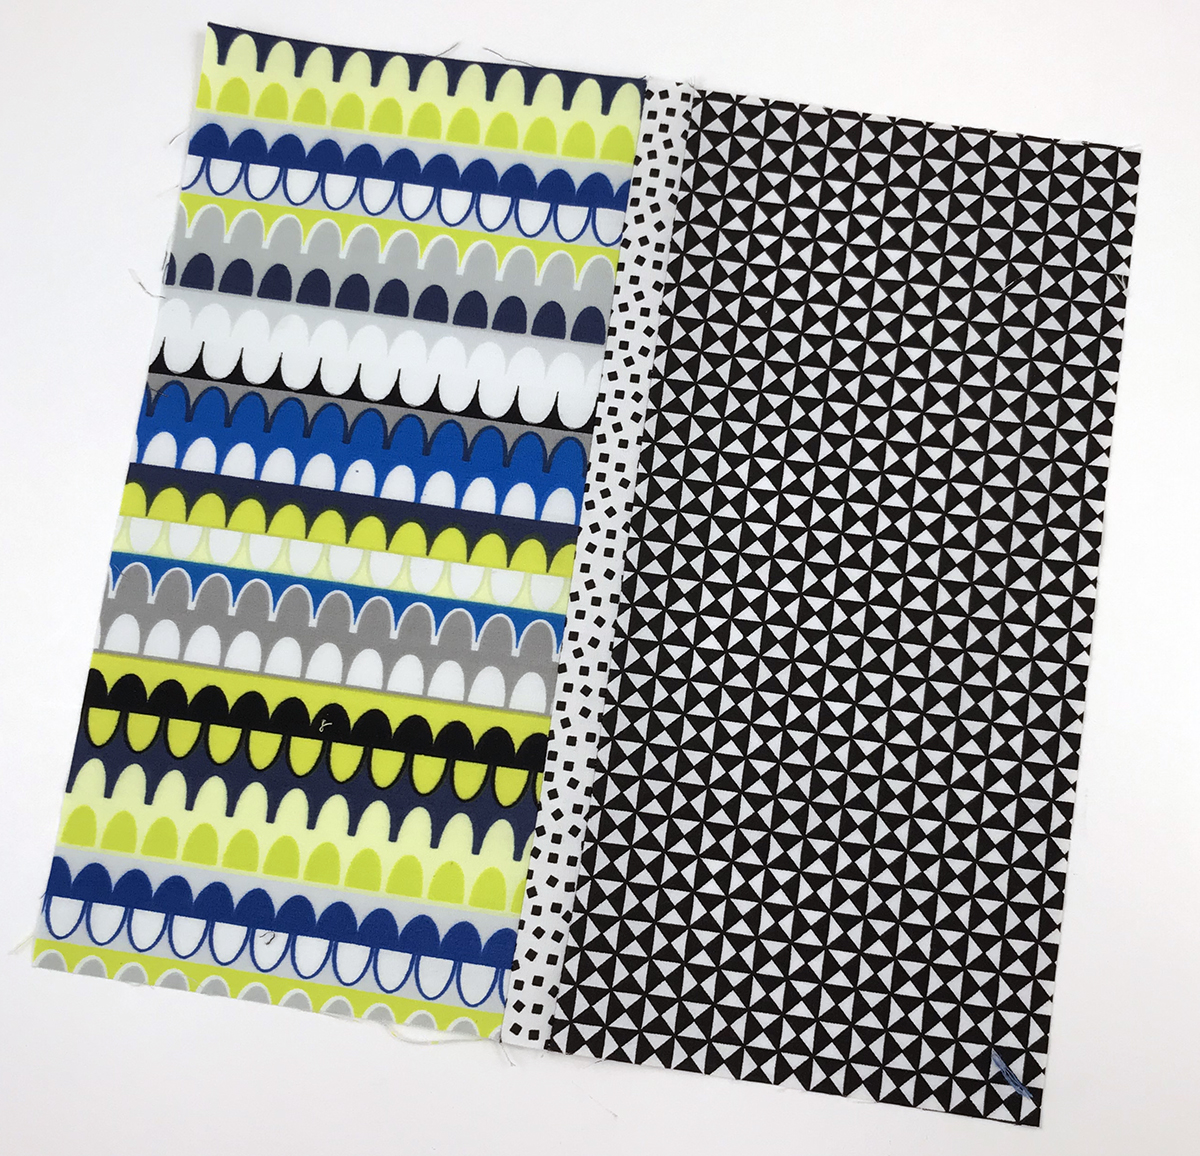
Citron Colorway of Gridwork Fabric
Click here to get it by the FQ, 1/2 Yard or Full Yard Bundles
Tip #1 Sew with a shorter stitch length
When you use a smaller stitch length it does two things: (1) It secures the seams so that there’s less of a chance that the edges will split apart while handling. (2) It also helps hide the thread so that you don’t see it poking through the seams. The default stitch length on my BERNINA is 2.5 so I turn the stitch length down to 2.0 whenever I’m piecing blocks for a quilt.

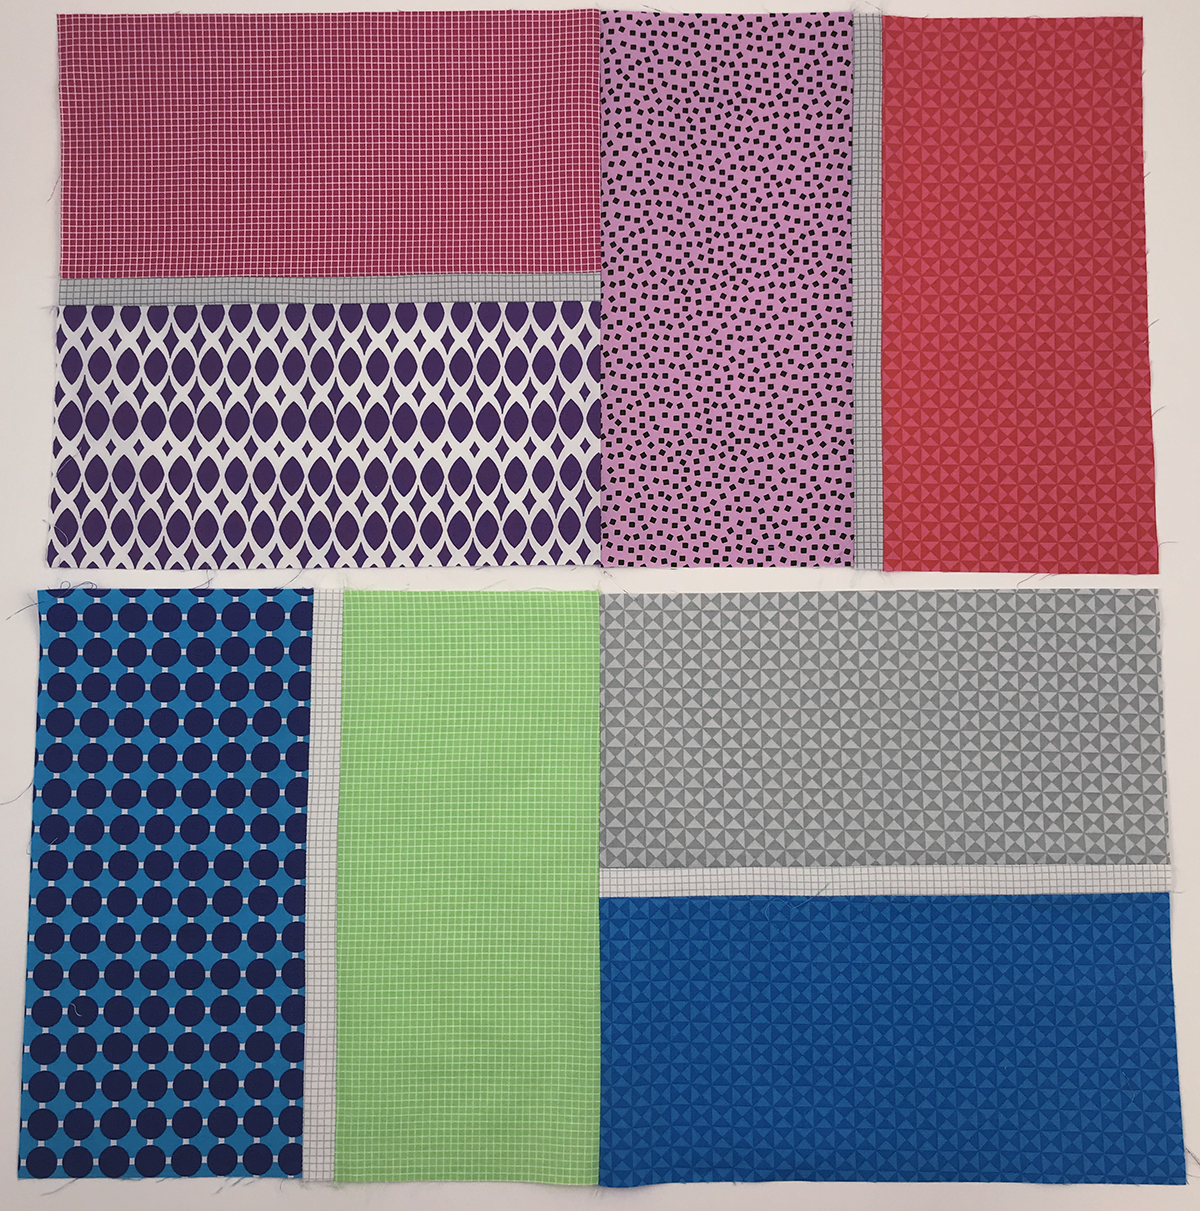
Pairing up fabrics in each block is half the fun!!
Tip #2 Sew with the Long Skinny Strip on Top
Any time you are working with pieces that are longer than a few inches, they have a chance to bow or warp out of shape as you stitch because of the action of your sewing machine and the feed dogs. So if you can sew each set of units in opposite directions, this will help compensate and ensure that your blocks stay nice and square.
An easy way to automatically switch sewing directions is to sew with the skinny center rectangle on top when you are making the Terrace Tiles blocks. It’s also easier to handle the cut pieces this way, too.
Seams pressed open = flatter blocks!!
Tip #3 Press Seams Open
I press the seams open so that the blocks will lie as flat as possible. This is super important especially when quilting on a home sewing machine because it will help eliminate friction and drag on the quilt while shoving it through the machine.
The less bulky you make your seam joins, the easier time you’ll have when your machine easily glides over the block intersections. And contrary to popular myth, you CAN still stitch in the ditch. In fact, it’s much easier to actually stay in the ditch and see what you are doing when your seams are pressed open.
The more fun prints, the better!!
Tip #4 Sew Blocks into Larger Chunks
To keep things random, I like to sew all of the blocks together into pairs and chain piece as I go. The only rule is I try to make sure each pair has 4 different fabrics. I like to press my seams as I sew each pair, so there’s less to press later and everything stays nice, flat and square.
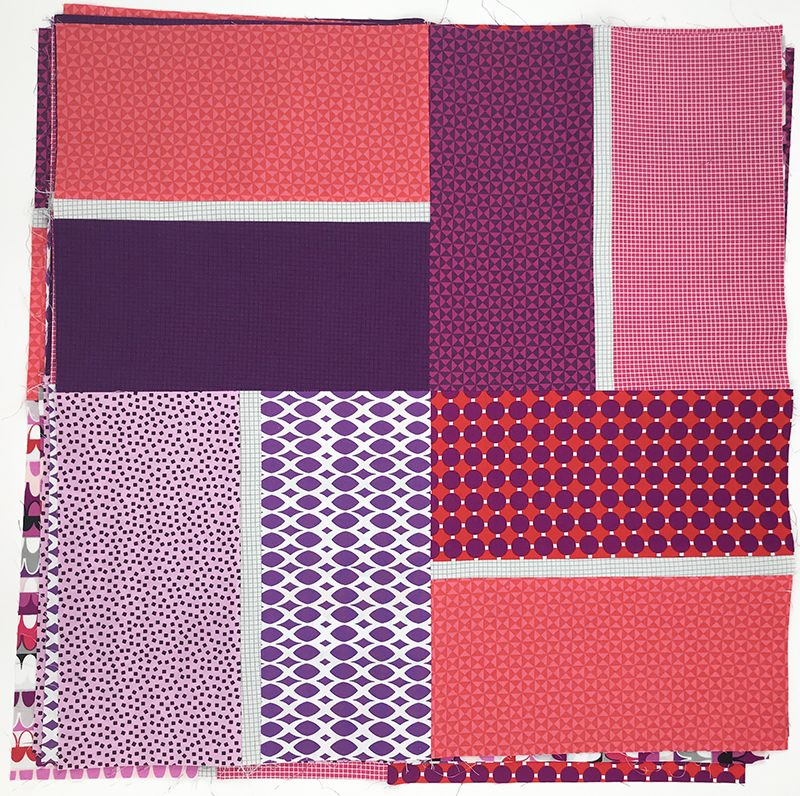
Pairs of blocks from the Amethyst and Breeze colorways.
Once all the pairs are sewn, you can choose to sew them into rows, or sew together into sets of 4 and then into larger rows. Because this is supposed to be a scrappy looking quilt, I don’t overthink it. I try to not have the same fabrics touch each other, but there will usually be a repeat of the print in the larger 4 patch design and that’s ok with me.

Citron Terrace Tiles Blocks
Tip #5 Pin and press for success!
I press every seam as I go, and pin generously whenever I’m sewing together two pieces of fabric. It helps prevent the pieces from stretching and I especially pin where the seams come together. I get better joins this way, and of course I remove the pins as I sew.
Below is how I pin: with the pins perpendicular to the fabric. I pin next to each intersection on both sides rather than right where it’s sewn (so it doesn’t split apart). This is also the orientation in which I feed the blocks under the machine:

In the next post, I’ll show how I assembled these finished blocks into the quilt tops and prepped the quilts for machine quilting, so stay tuned! And honestly, it’s not much more work to make 3 quilts than it is to make 1 and I enjoy every step of it!

Breeze Terrace Tiles Blocks
Links at a Glance:
Click here for the making of Terrace Tiles, Part 1
Click here to get the Terrace Tiles quilt pattern – paper version
Click here to get the Terrace Tiles quilt pattern – PDF version
Click here to get the Terrace Tiles quilt kits + Gridwork by the yard
 Amethyst Terrace Tiles Blocks
