I know that last week’s foundation paper pieced tutorial was quite intense, so this week I wanted to give you some extra time to finish sewing your blocks. Last week I shared the steps using the cool colorway of my Abstract Garden fabric. Now here are more pics of the warm colorway:

Remember to piece as many blocks as you need for the size you are making. The primrose block is constructed from 3 units per block: the A & B foundation sections (full sized paper template to photocopy is included in the quilt pattern), and the corner triangle unit:

Once all 3 pieces are sewn, then you can trim up the block to the proper size, including the seam allowances. When you tear off the paper is up to you. Some people like to tear off the paper once each block is sewn; others like to wait until the entire quilt top is sewn before removing the paper. But if you use a shorter stitch length while sewing, that will perforate the paper, making it easier to remove.

Design Layout
Due to space constraints, the Pieced Primrose quilt pattern includes one basic layout, made by sewing 4 blocks together into one larger Primrose block. If you choose to make this layout, be sure to rotate 4 blocks so that they look like this, then make the number of larger blocks listed in the pattern:

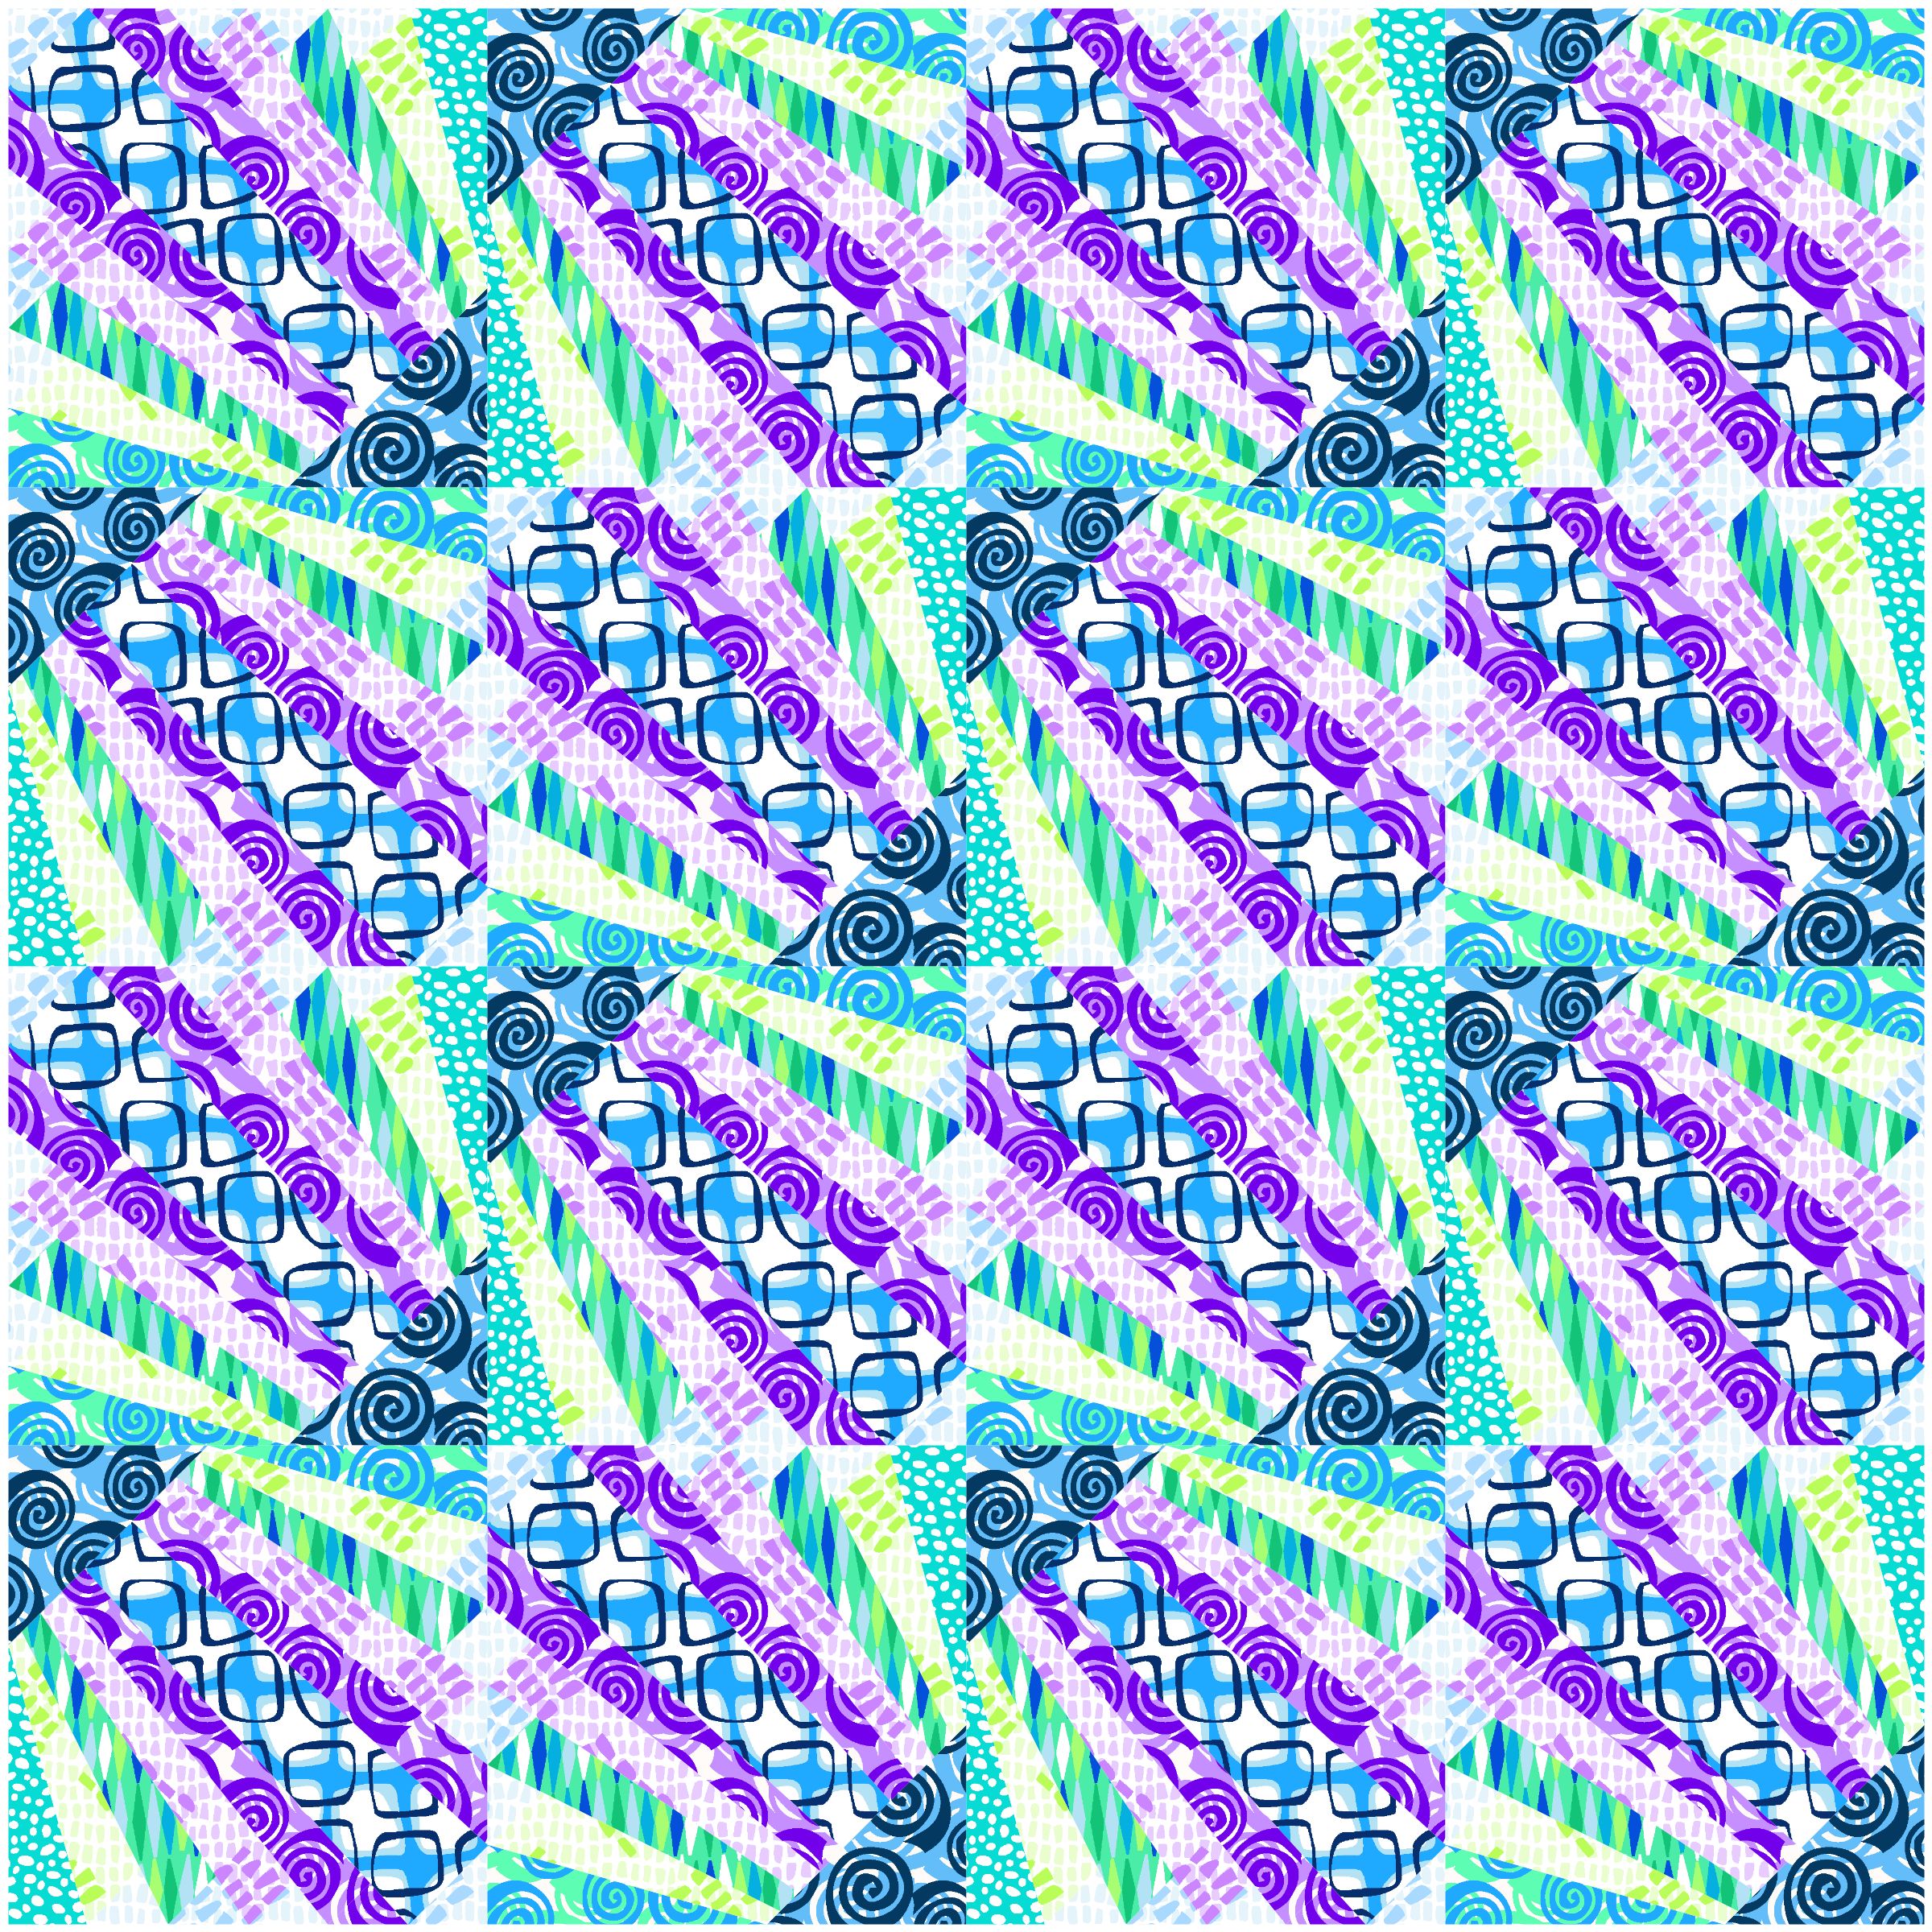
Here’s the same layout for the cool colorway blocks:

Alternate Layouts
I had fun rotating the blocks in EQ8 software and coming up with these different layouts. They are all based on the smaller throw size, but can be adapted to the larger size, too:


To make any of the layouts above, simple rotate each individual block to create the new design. This is just a small sampling of what you can do, and some designs read busier than others. But once you blocks are finished, spend time playin around with different rotations of the blocks and take pictures with your phone when you find one or two that you like!
This Week’s Homework:
Finish sewing all of your blocks and then assemble them into larger 4 block units if you get that far. Next week will sew all the blocks together and add borders to complete the quilt top. Just remember, work at your own pace and come back to any of the blog posts you need for a refresher as you make your quilt.

Larger Primrose Blocks in the Warm and Cool Colorways of Abstract Garden
Kits are available in both colorways.
LINKS AT A GLANCE
Click the links below for supplies needed to make this quilt:
- Click here to get the Paper Pieced Primrose quilt pattern – PDF version
- Click here to get the Paper Pieced Primrose quilt pattern – Paper version
- Click here to get the optional Primrose kit in warm or cool
- Click here to get my favorite notions
- Click here for my Aurifil Thread kits
- Click here for the complete QAL supply list and schedule

Thank you for writiing this
Couple thoughts- this is my first quilt along and first paper pieced quilt. This has been a fantastic beginner project. The kit is vibrant! Instructions are well laid out and thought out and have been the key to success. The extra allowance in the fabric piece sizing has been a gift. I’d much rather have scraps than be ripping out tiny stitches because I’ve lined up the piece incorrectly and not covered an edge when pressed over. Especially for a first project, thus extra allowance has really been beneficial. Folding the paper on the stitch lines before even starting was very helpful. The first block was very slow going but successful. Day 2 went better and so I thought I had it down. It’s so easy to make a mistake and out came the stitch ripper. Kiss of death was thinking I could relax! I’m playing with layout today. You’ve provided several great options! Thanks for that and thanks for this project. Not finished quite yet but I have enjoyed every step. So happy to finally learn paper piecing and work with such beautiful fabric.
I was out of town for a week and now I’m sick: ugh!
I’m a bit behind. But, I’m getting there.