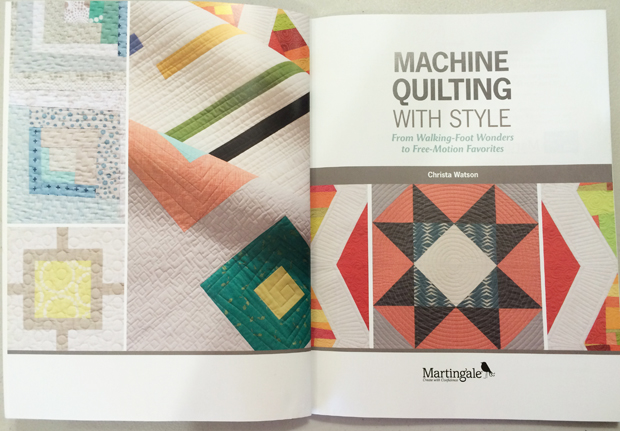
Good news for those of you who wish to purchase Machine Quilting With Style on Amazon – it’s now back in stock on their site with plenty of additional copies on the way!
Square in a Square – The Background Story
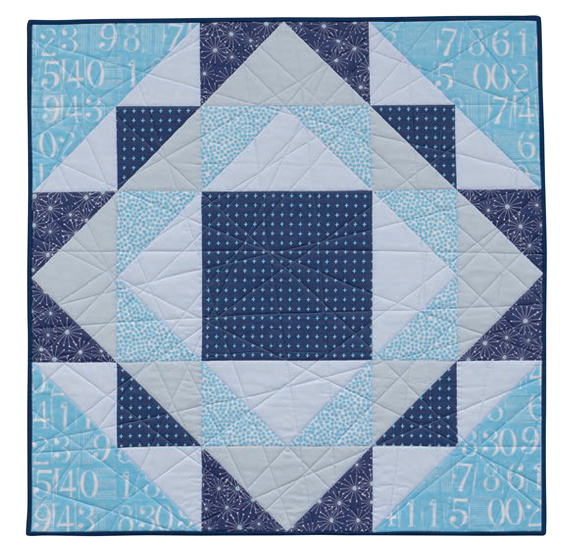
The title of Square in a Square is my nod to tradition. Although I would consider this quilt very modern in design, the title comes from a very traditional block of the same name. I like the play on design – this quilt features several squares inside of bigger squares, all contained in one large, gigantic square.
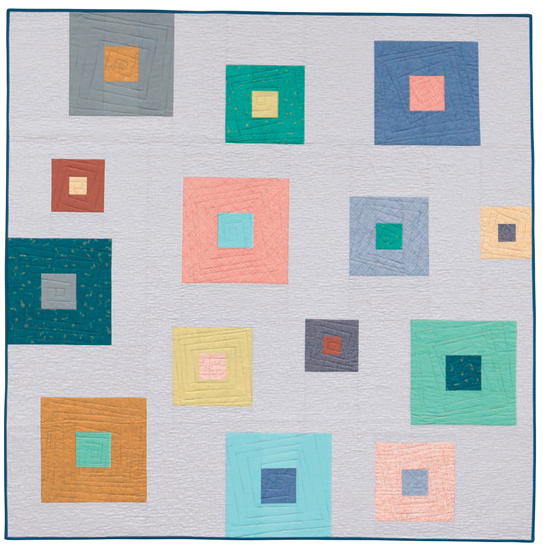 Square in a Square 60″ x 60″ by Christa Watson. Photography by Brent Kane.
In addition to piecing a whole bunch of squares, I wanted to carry over the square theme into the machine quilting, too. The blocks are all quilted in a wonky square spiral, using a walking foot. I chose a variegated thread for the square spirals to give it a little extra punch of color.
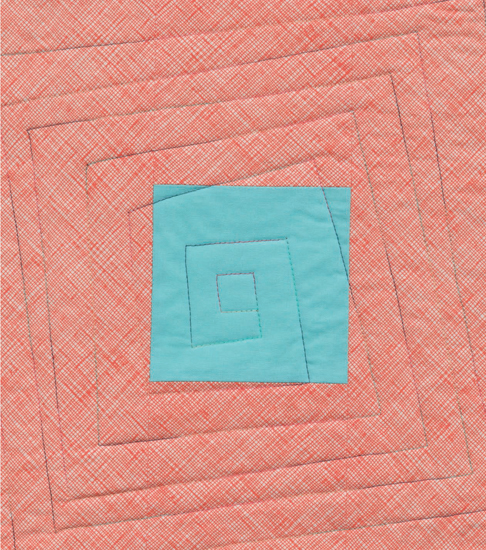 Quilting Square Spirals is So. Much. Fun!!
The background is quilted using one of my favorite modern textures – boxes. In the book I remind my readers, that not all of the boxes are perfectly square. Crushed boxes happen in life and a few wonky ones on the quilt are okay.

Detail quilting on Square in a Square
A Bit More
Modern elements – asymmetrical alternate grid structure, oversized blocks, simple repetitive shapes, minimalism, bold colors, expansive negative space, modern geometric quilting.
Time to complete – 20 hours from start to finish.
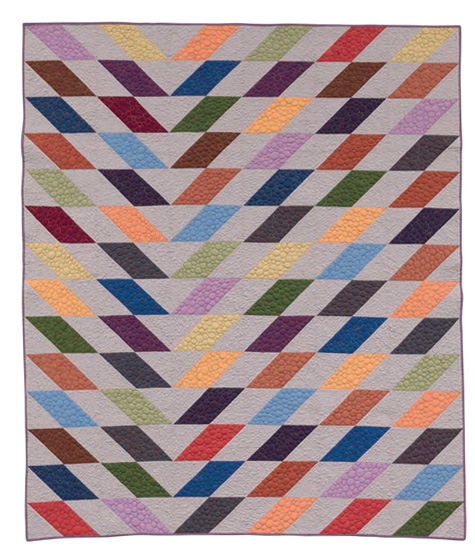
Stacy’s Version – A Modern Halloween Quilt

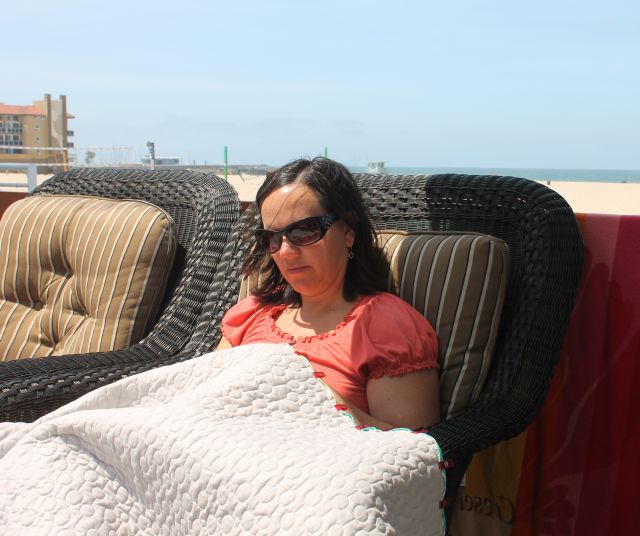
Stacy Cooper from Farm Road Quilts is my original BQF (Best Quilting Friend). We met at a quilting retreat about 15 years ago and have been returning to the same event together year after year (Check out my recent Instagram feed @christaquilts for pictures from the event this weekend.) In fact, as a true friend, she let me “borrow” her quilt to cuddle up while sewing, when the retreat room got a bit chilly. (Another friend let me borrow her quilted sweatshirt jacket so I stayed nice and toasty while I sewed.)
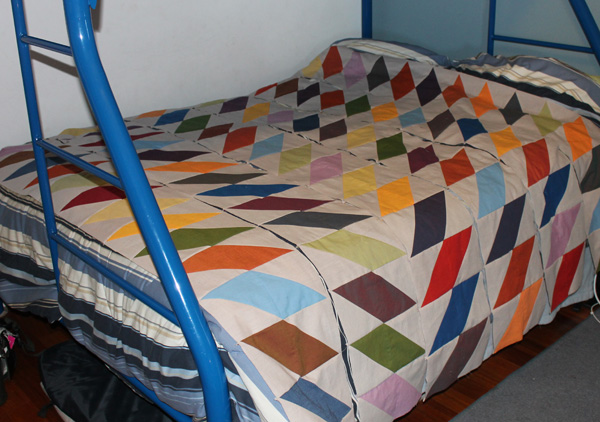
 Here’s a sneak peek of Stacy’s quilt in action!
Stacy created her version as a Halloween quilt. However, when you see it, at first glance, you wouldn’t even know it’s a holiday quilt! She threw in pops of turquoise along with gray, black and orange for a very sophisticated take on a whimsical idea.
Pop on over to Stacy’s blog to see her version, and be sure to enter her giveaway!
The Littlest Thistle (With a Big Heart)
Katy Cameron from the Littlest Thistle and I have yet to meet in person, although we are friends online. However, I hope we’ll get a chance to one day soon, because she’s from the UK which means I bet she’ll have a killer accent!! Not only is Katy a quilter and instructor, she’s also an amazing bag maker and is hosting a really cool event – the Sew Brit Bag Camp in rural England next year. Doesn’t that sound lovely?

Katy also has a big heart when she agreed to review my book on her blog. Head over there to see what she has to say and while you are there, check out her other projects. You just may be inspired!
But Wait, There’s More!
I’ve mentioned throughout the book how much I enjoy using Aurifil thread for both piecing and quilting, so I thought I’d throw in a bonus giveaway! One of you luck readers can win this collection of 10 spools of Angela Walter’s Drift colorway and try it out for yourself.

(Unless you’ve been quilting under a rock – I’m sure you know what an amazing machine quilter Angela is. Don’t be surprised if you hear more from both of us in the near future….)
To enter simply leave a comment on this post, letting me know which quilt has been your favorite so far. I’ll draw a random winner at the end of the day on September 26th – the last day of the hop! And yes, EVERYONE is eligible to win!
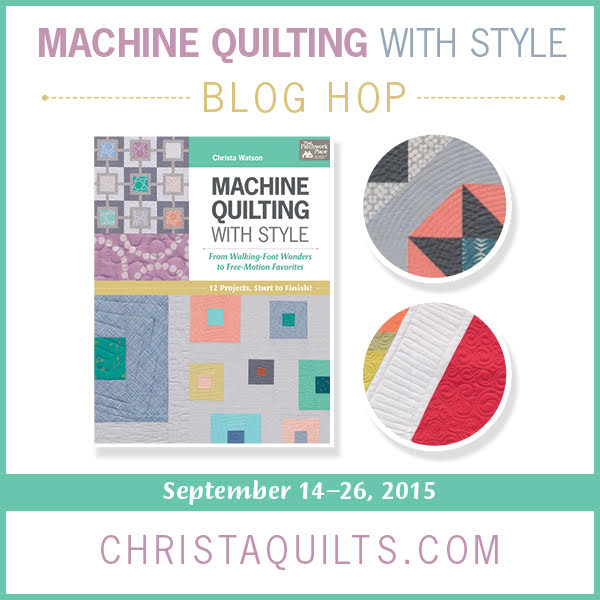
Click here for the complete blog hop schedule.
Click here purchase your autographed copy of Machine Quilting With Style.