Have you been enjoying following along to make Bling? Scroll to the end for links to the entire quilt along. This week we will be binding our Bling to finish it up!

Roundup of binding tutorials
Because I pretty much bind my quilts all the same way (either by hand or machine), I have a LOT of binding tutorials that I’ve shared over the years. So here are 3 for you to try – use whichever method you like best!
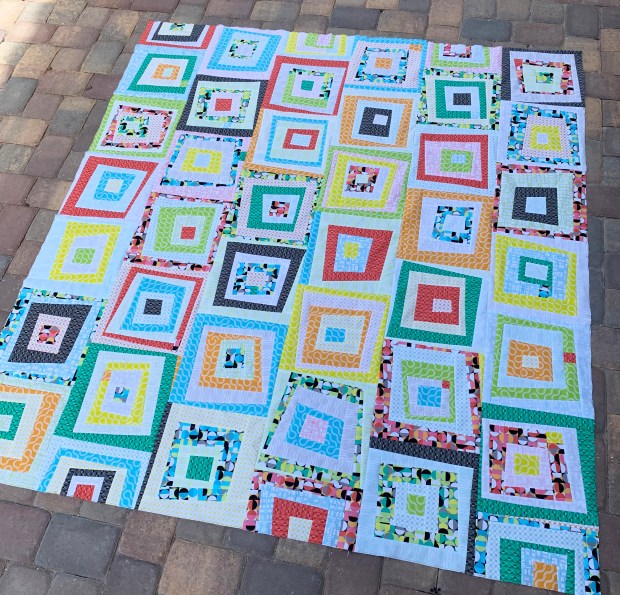
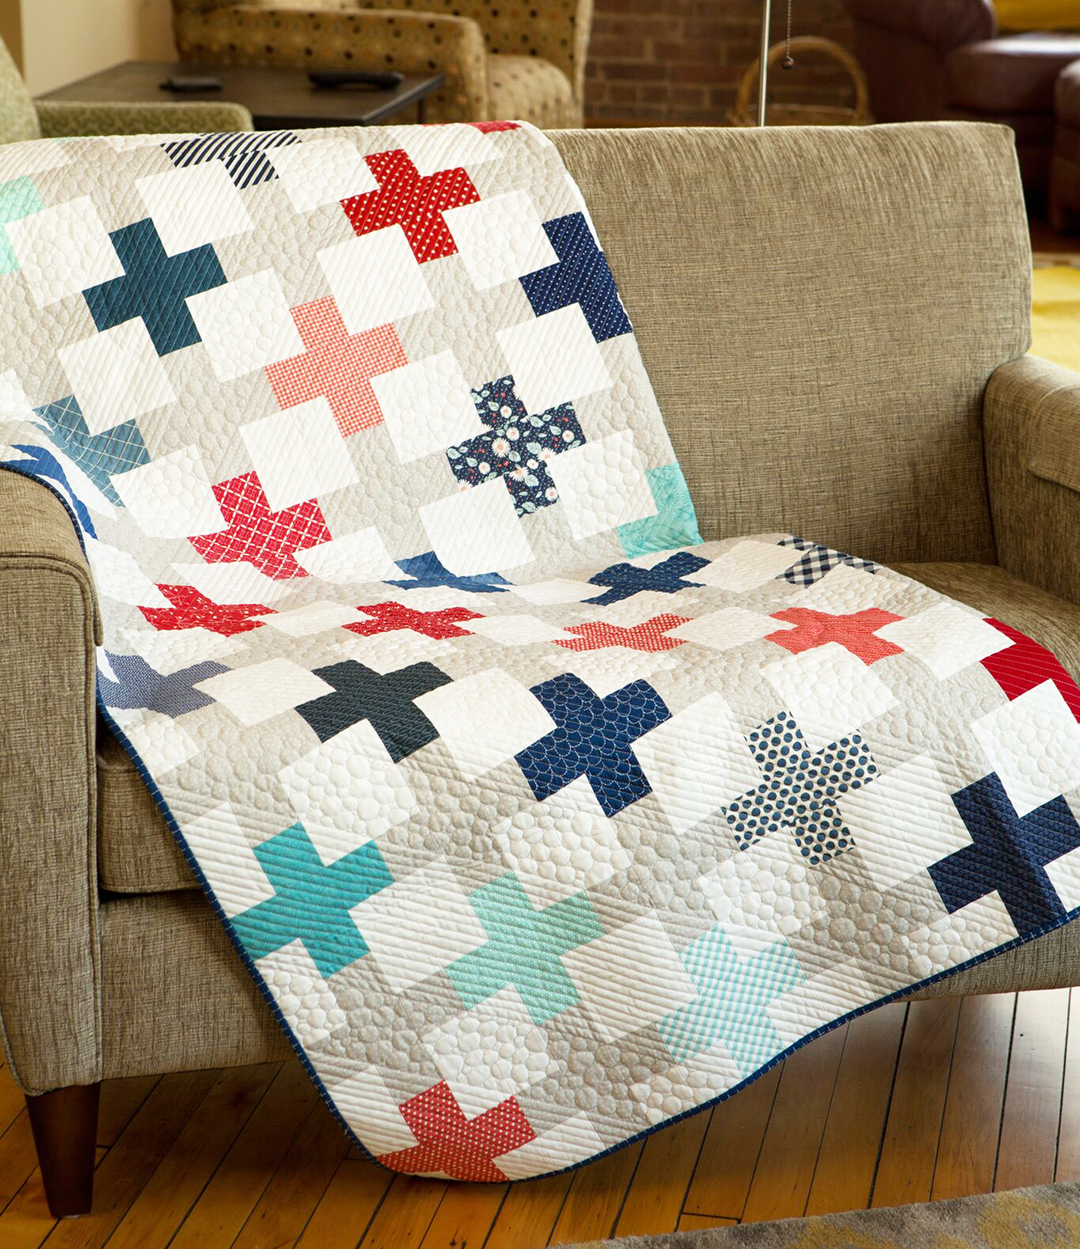
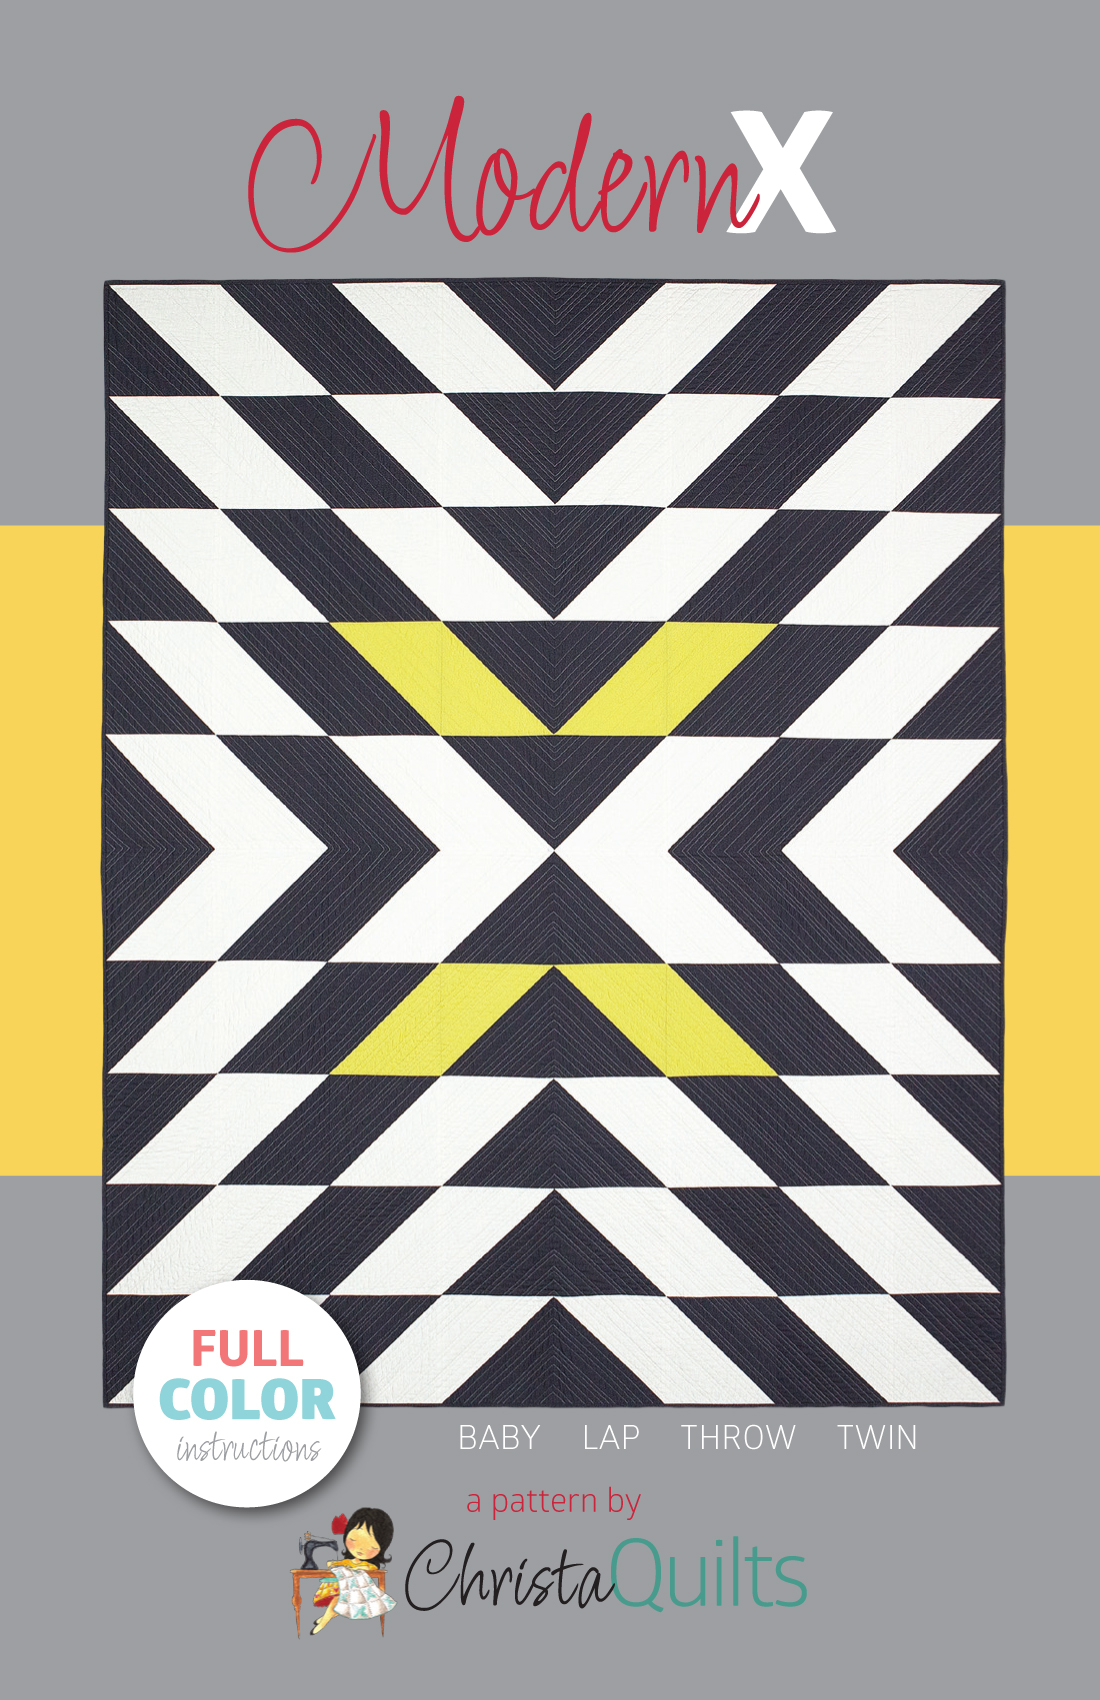
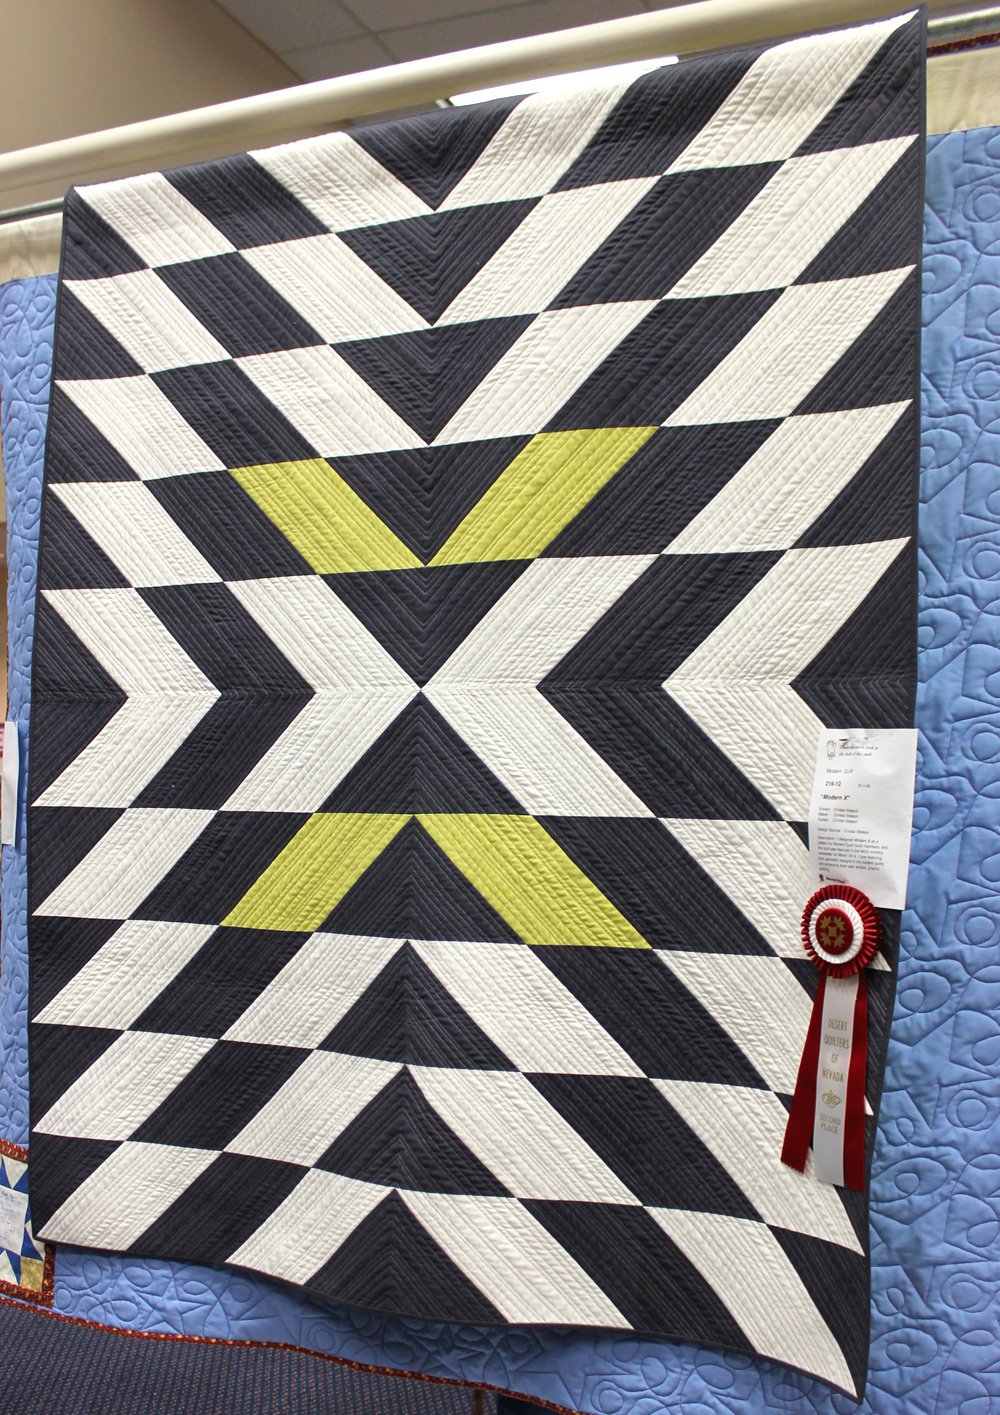
- My basic binding tutorial (shown on Modern x)
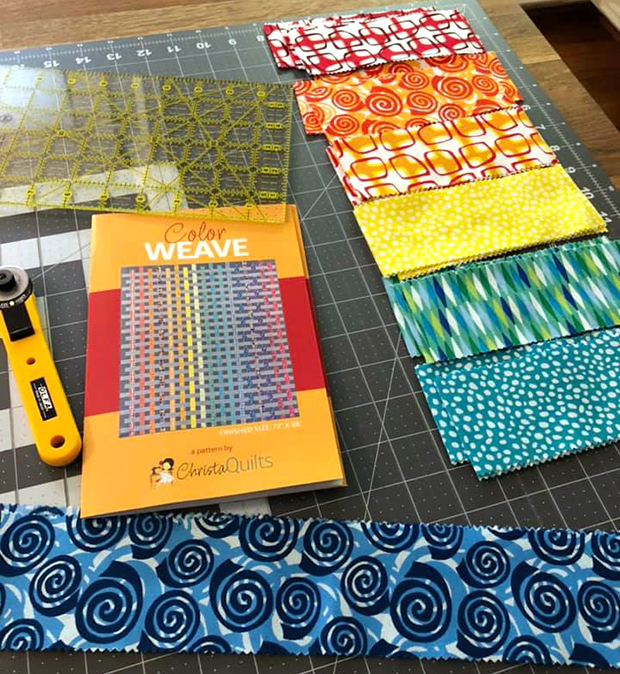
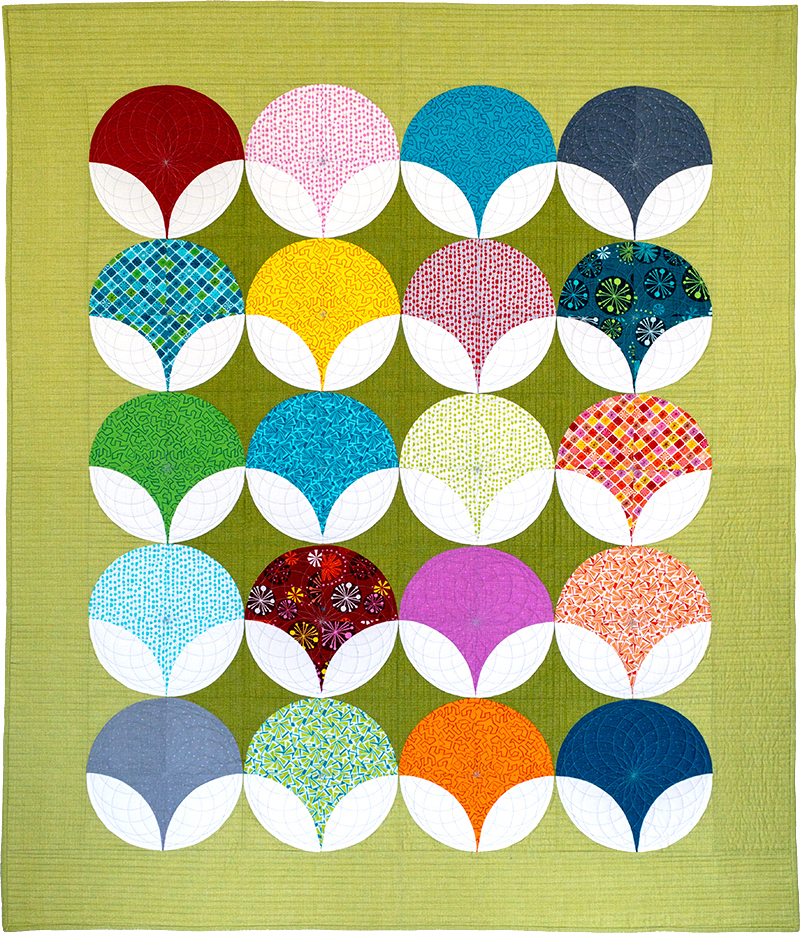
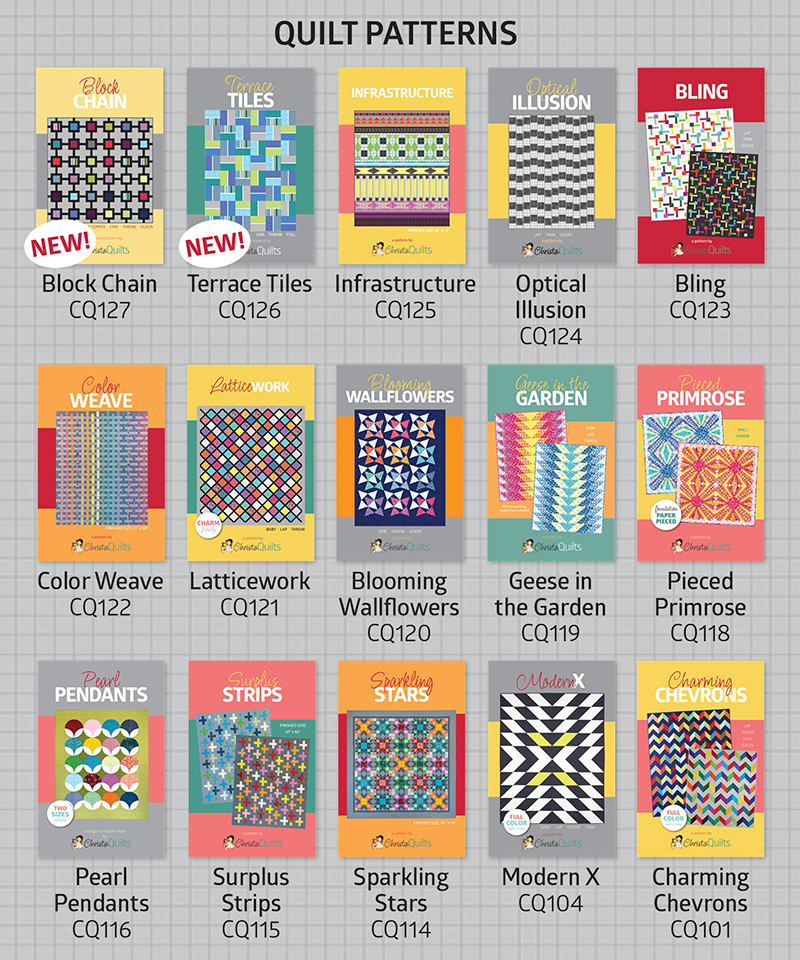
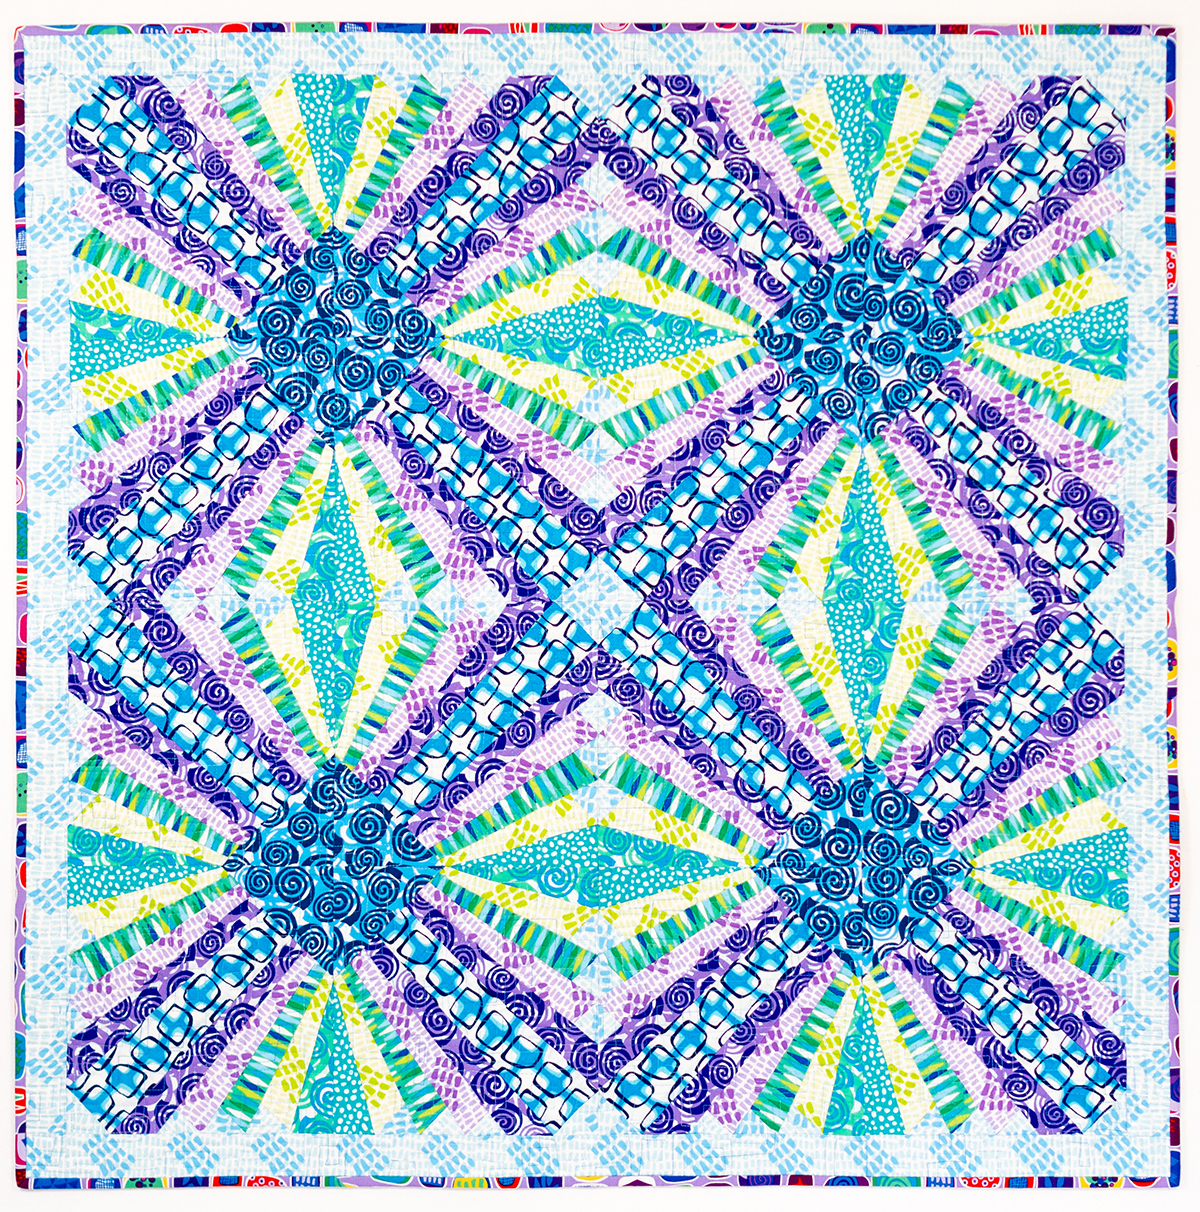
- Binding by machine – straight stitch (shown on ColorWeave)
- Binding by machine video – decorative stitch (shown on Infrastructure)
Bonus Binding Tips
When I first began my binding adventures, I cut my strips 2 1/4″ wide. However, that meant that if I attached my binding with 1/4″ seams, it would be bigger on the back than the front. So over the last couple of years, I’ve started cutting my strips 2″ wide and that gives me a more even finish on both sides.

To avoid ending up with a seam in the corner, I will roughly “walk” my binding around the quilt and if any seams fall in the corners, I will adjust the whole binding by and inch or two before I start sewing. If worse comes to worse and I STILL get a seam on the corner, I’ll simply cut off part of the binding and sew a new seam to move it!
Homework
Finish quilting and binding your version of Bling and share it in my ChristaQuilts Facebook Group. I can’t wait to see your fabulous finish!
QUILT ALONG LINKS
- Click here for the Bling quilt along supply list and schedule.
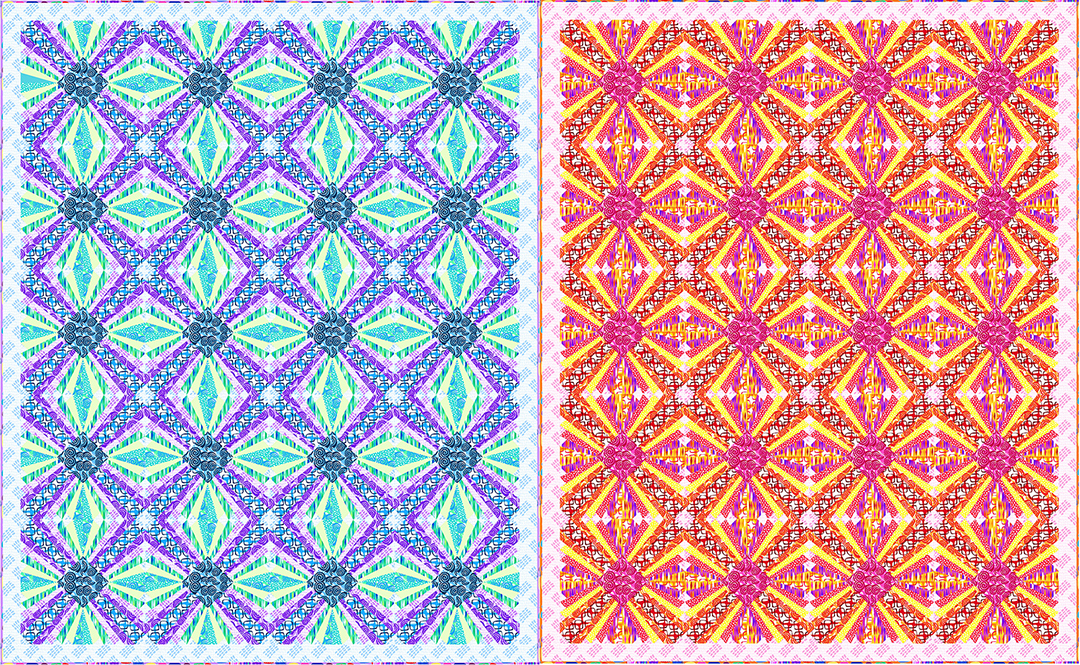
- Click here to get the Bling quilt pattern – PDF download version.
- Click here to get the Bling quilt pattern – printed paper version.
- Click here to purchase the optional kit to make this quilt.
- Click here for links ALL of my quilt alongs.
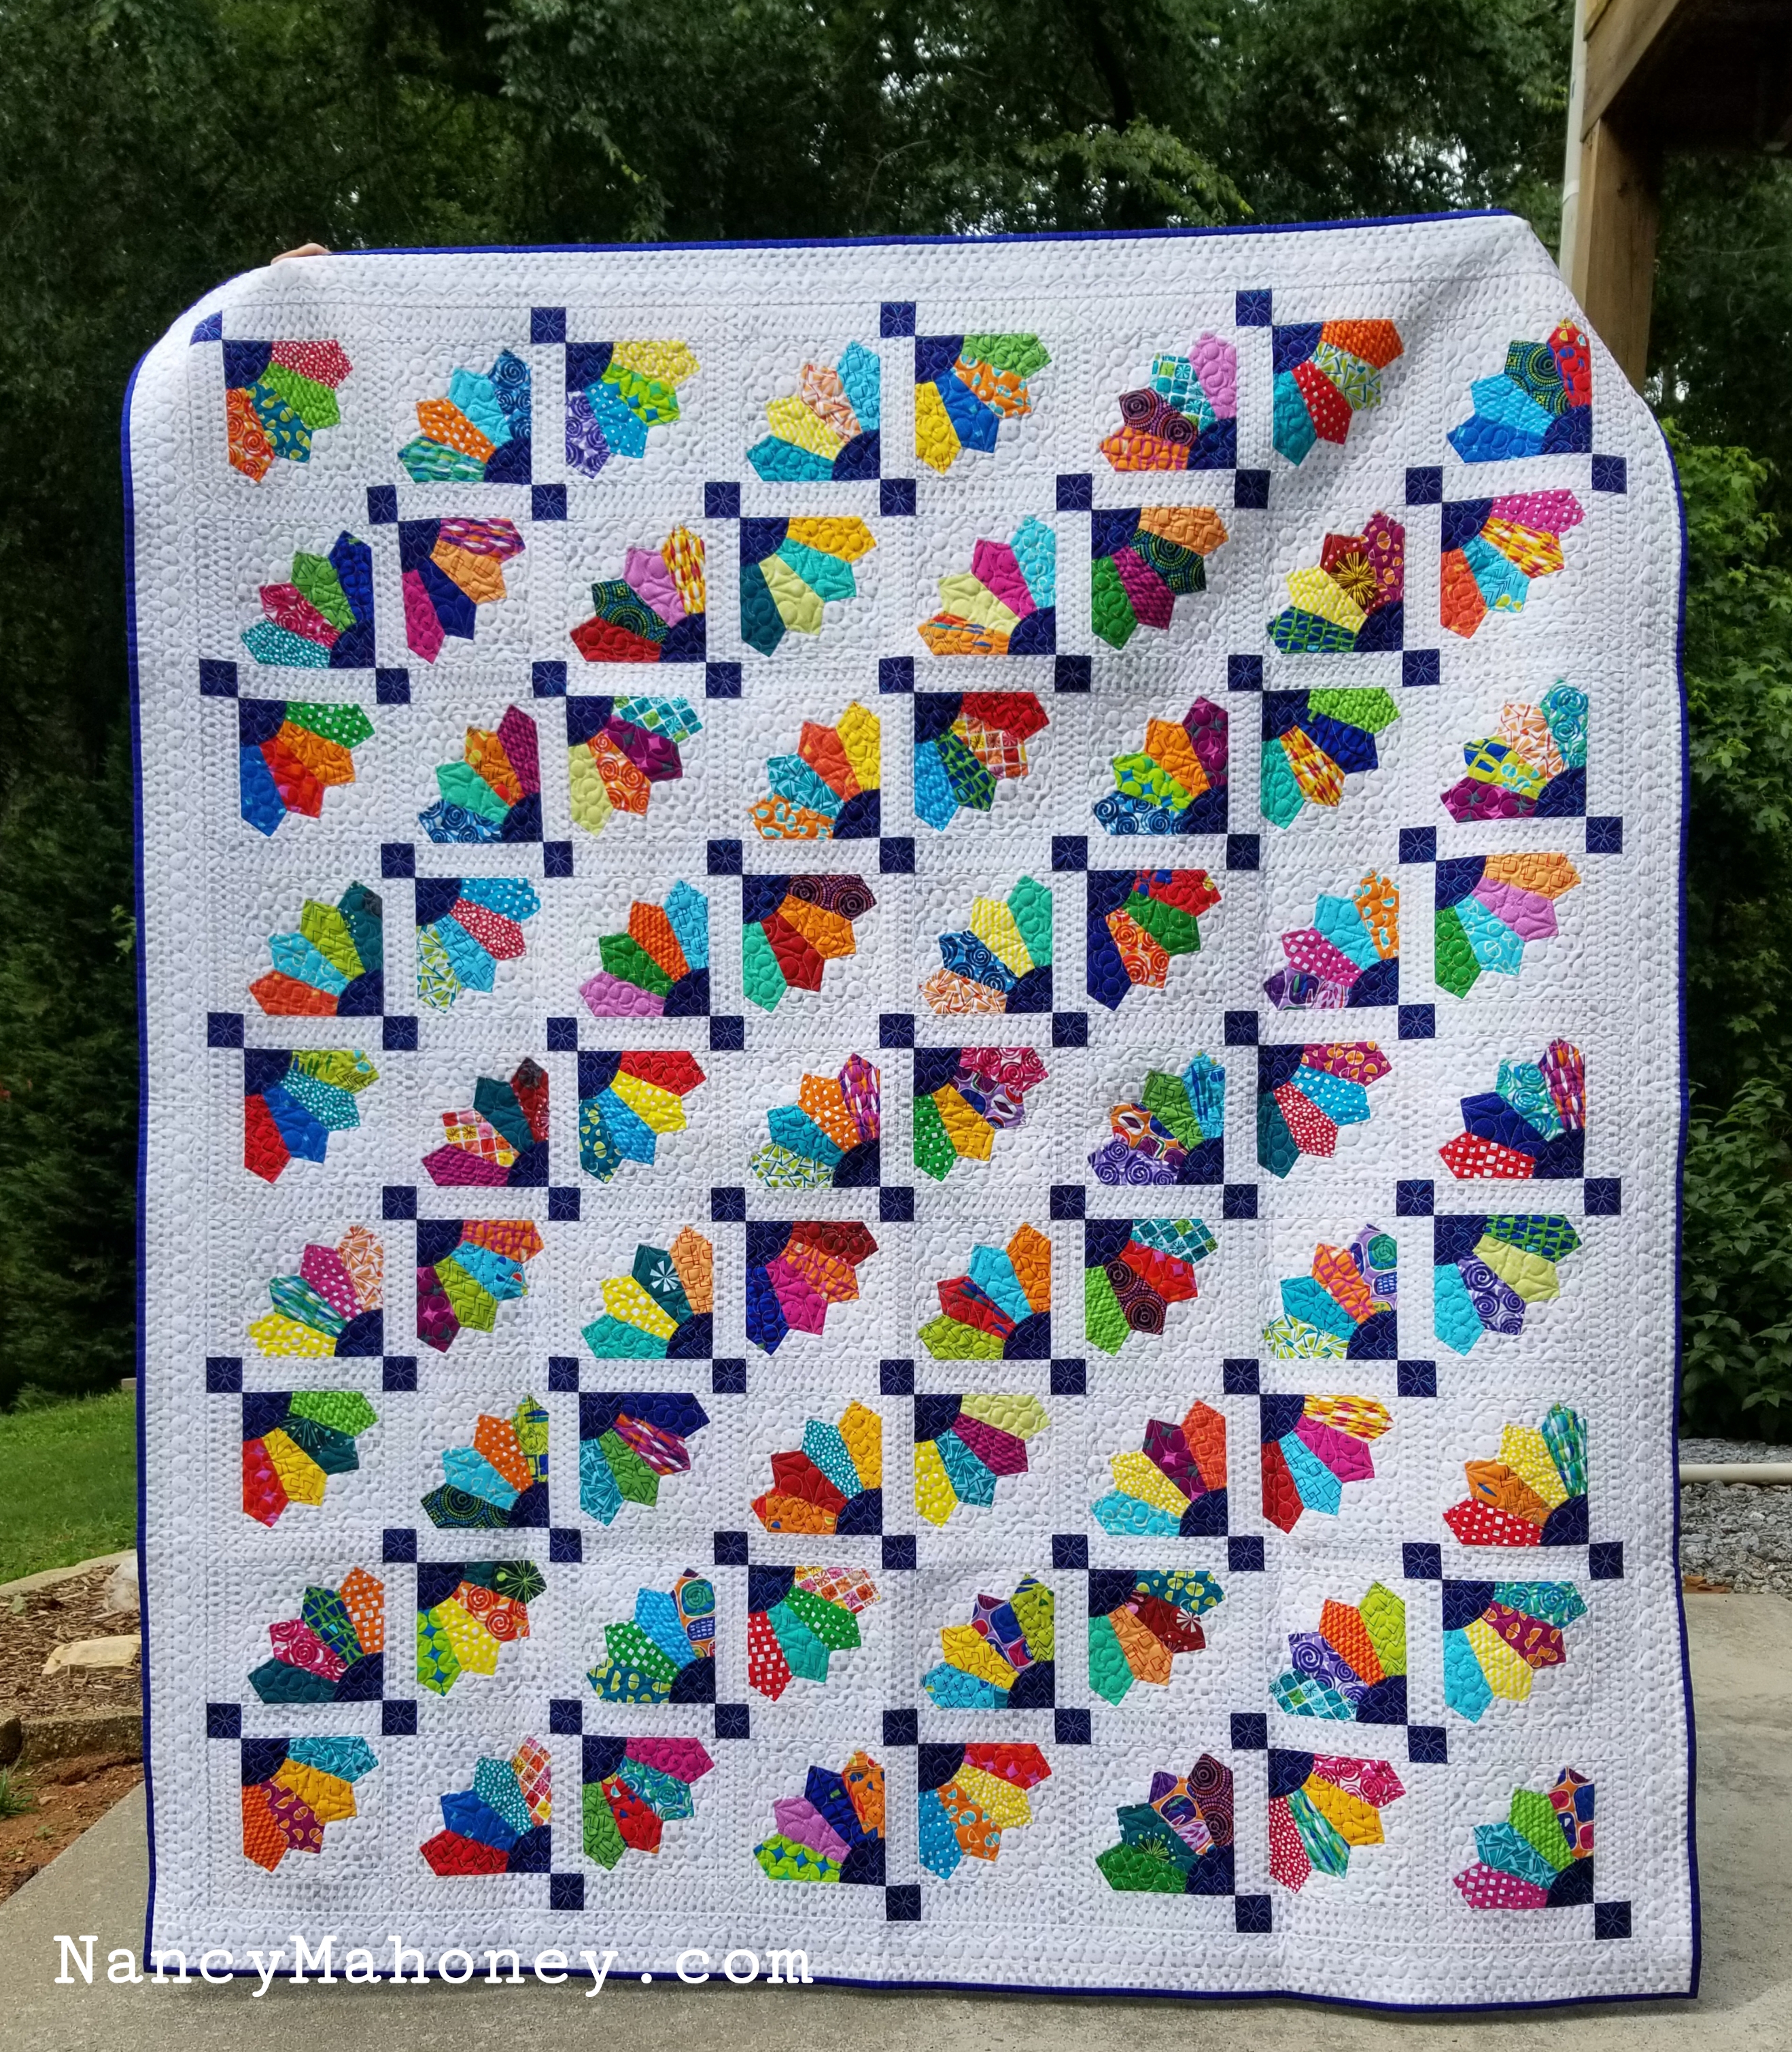
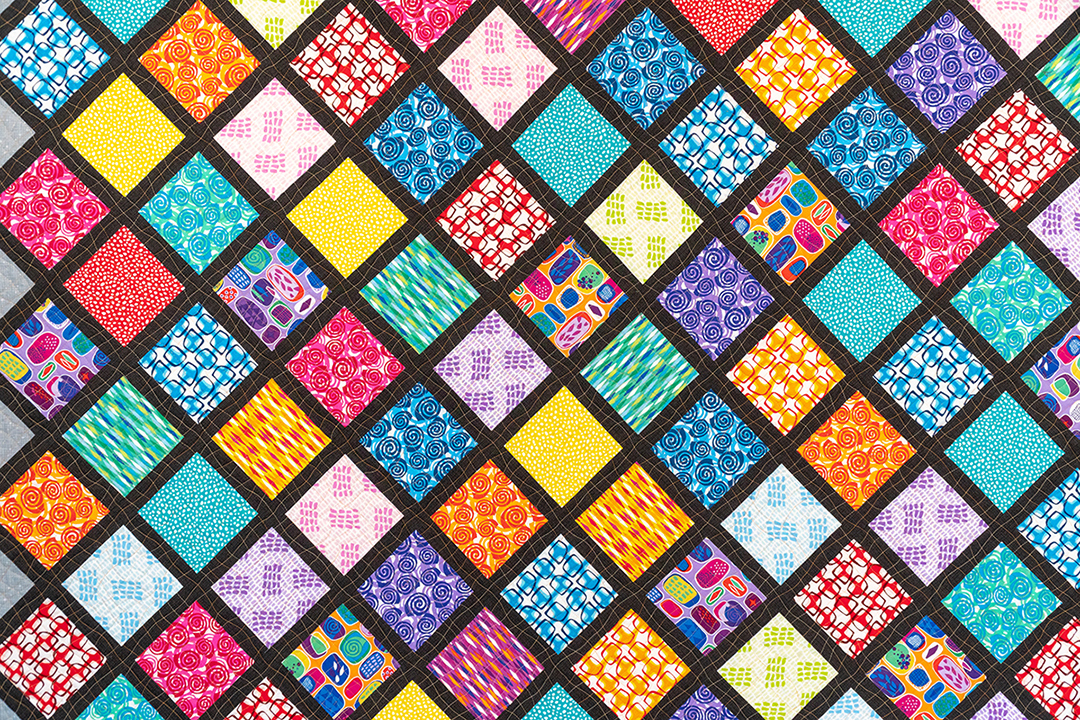
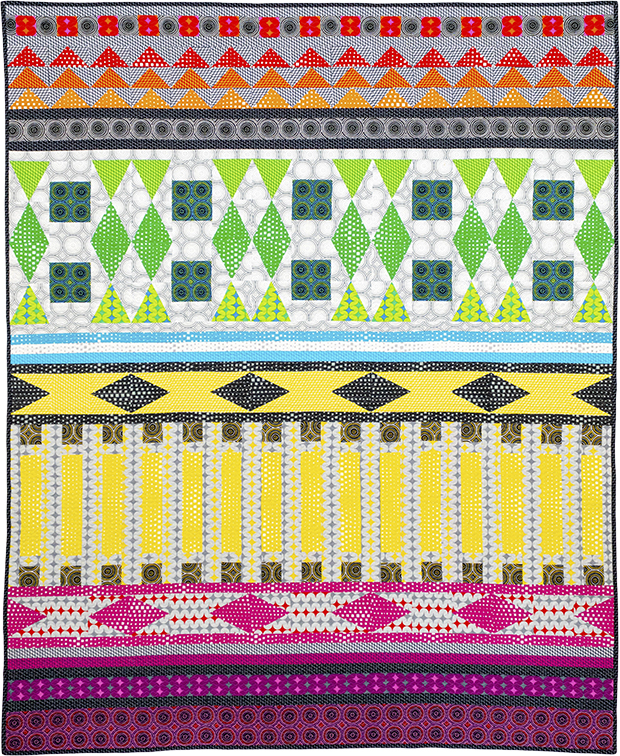
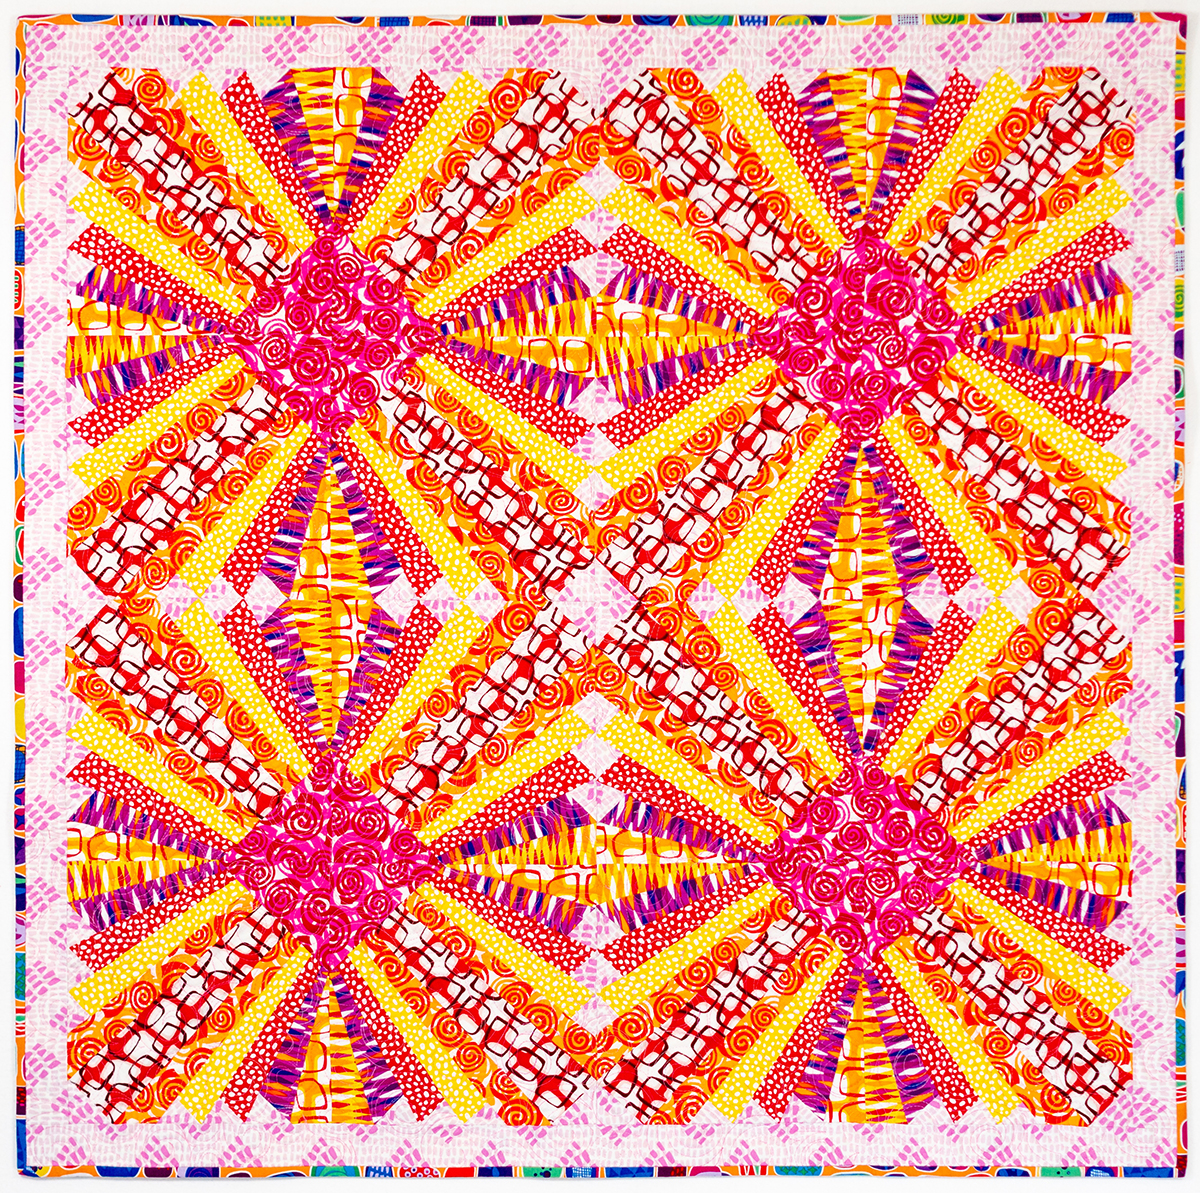
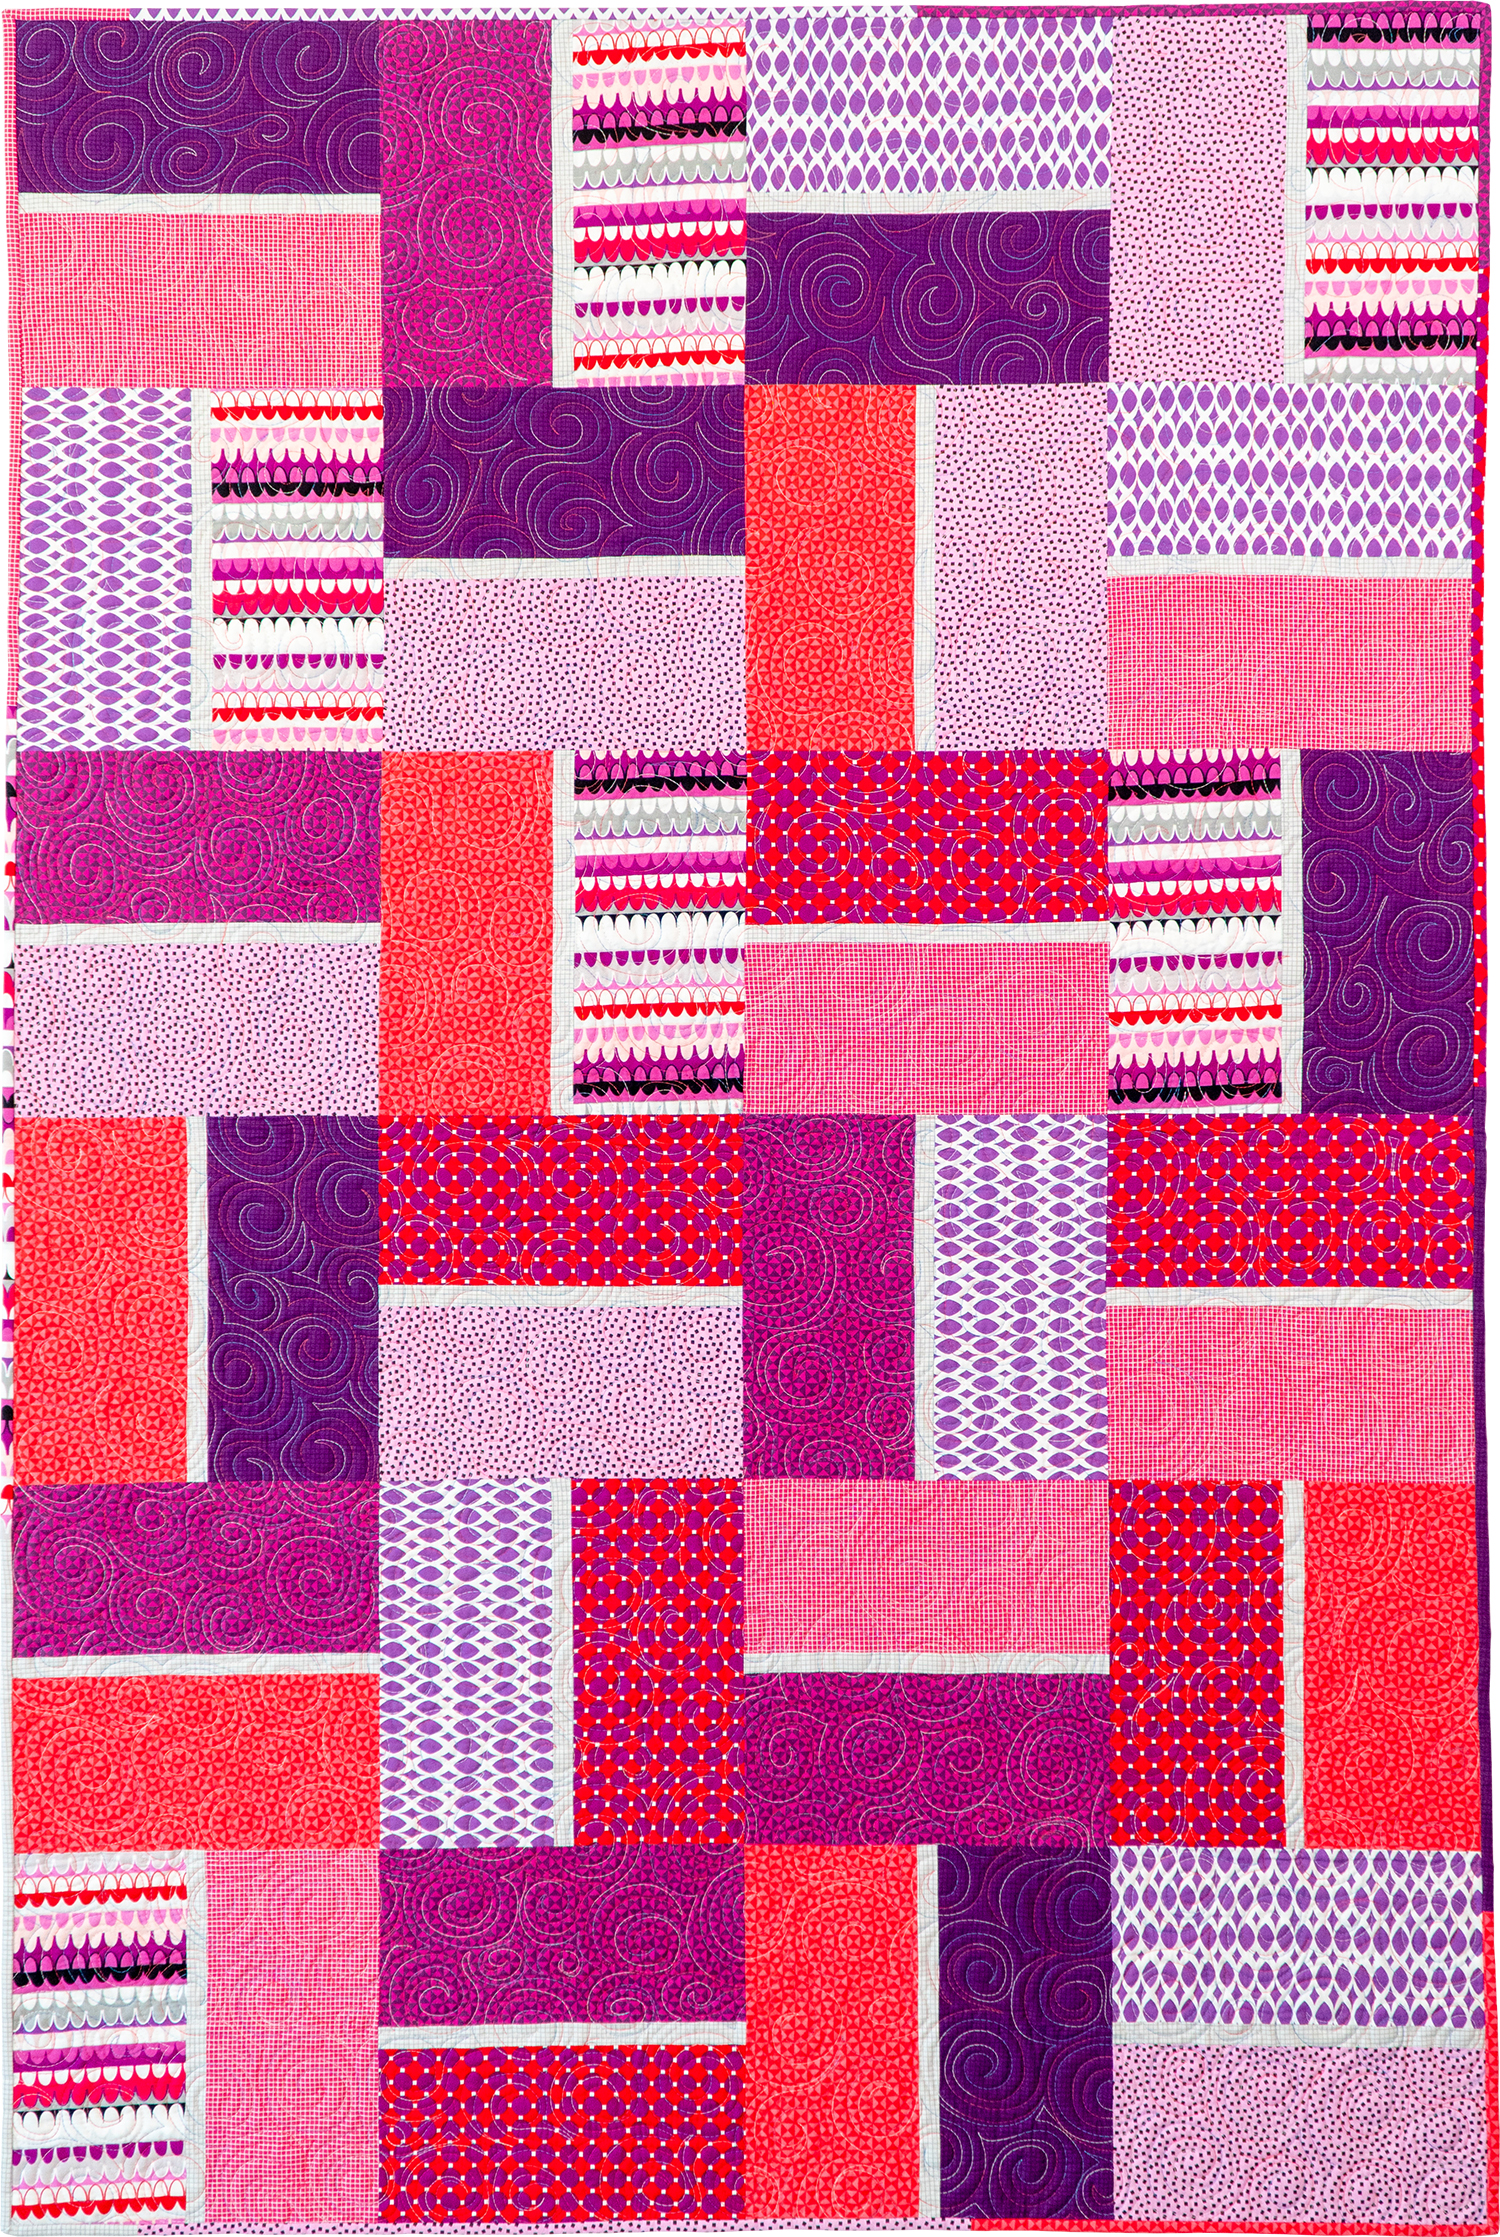
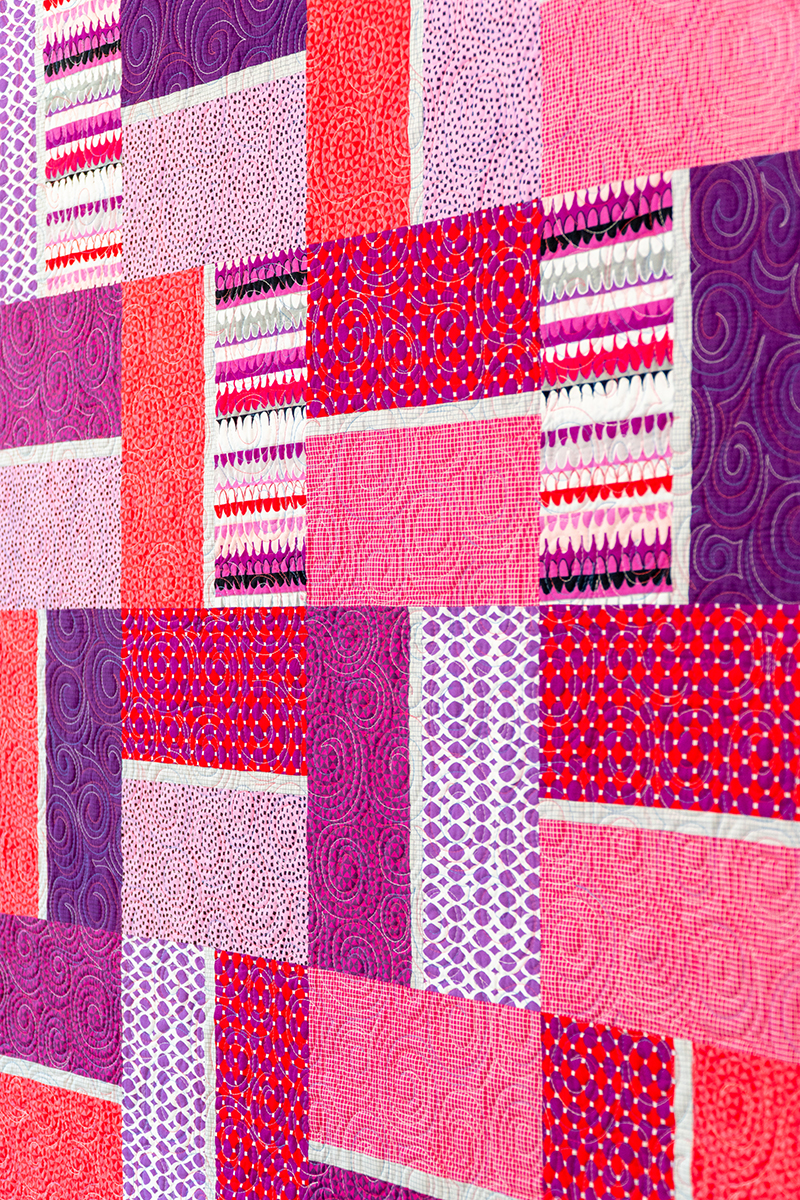
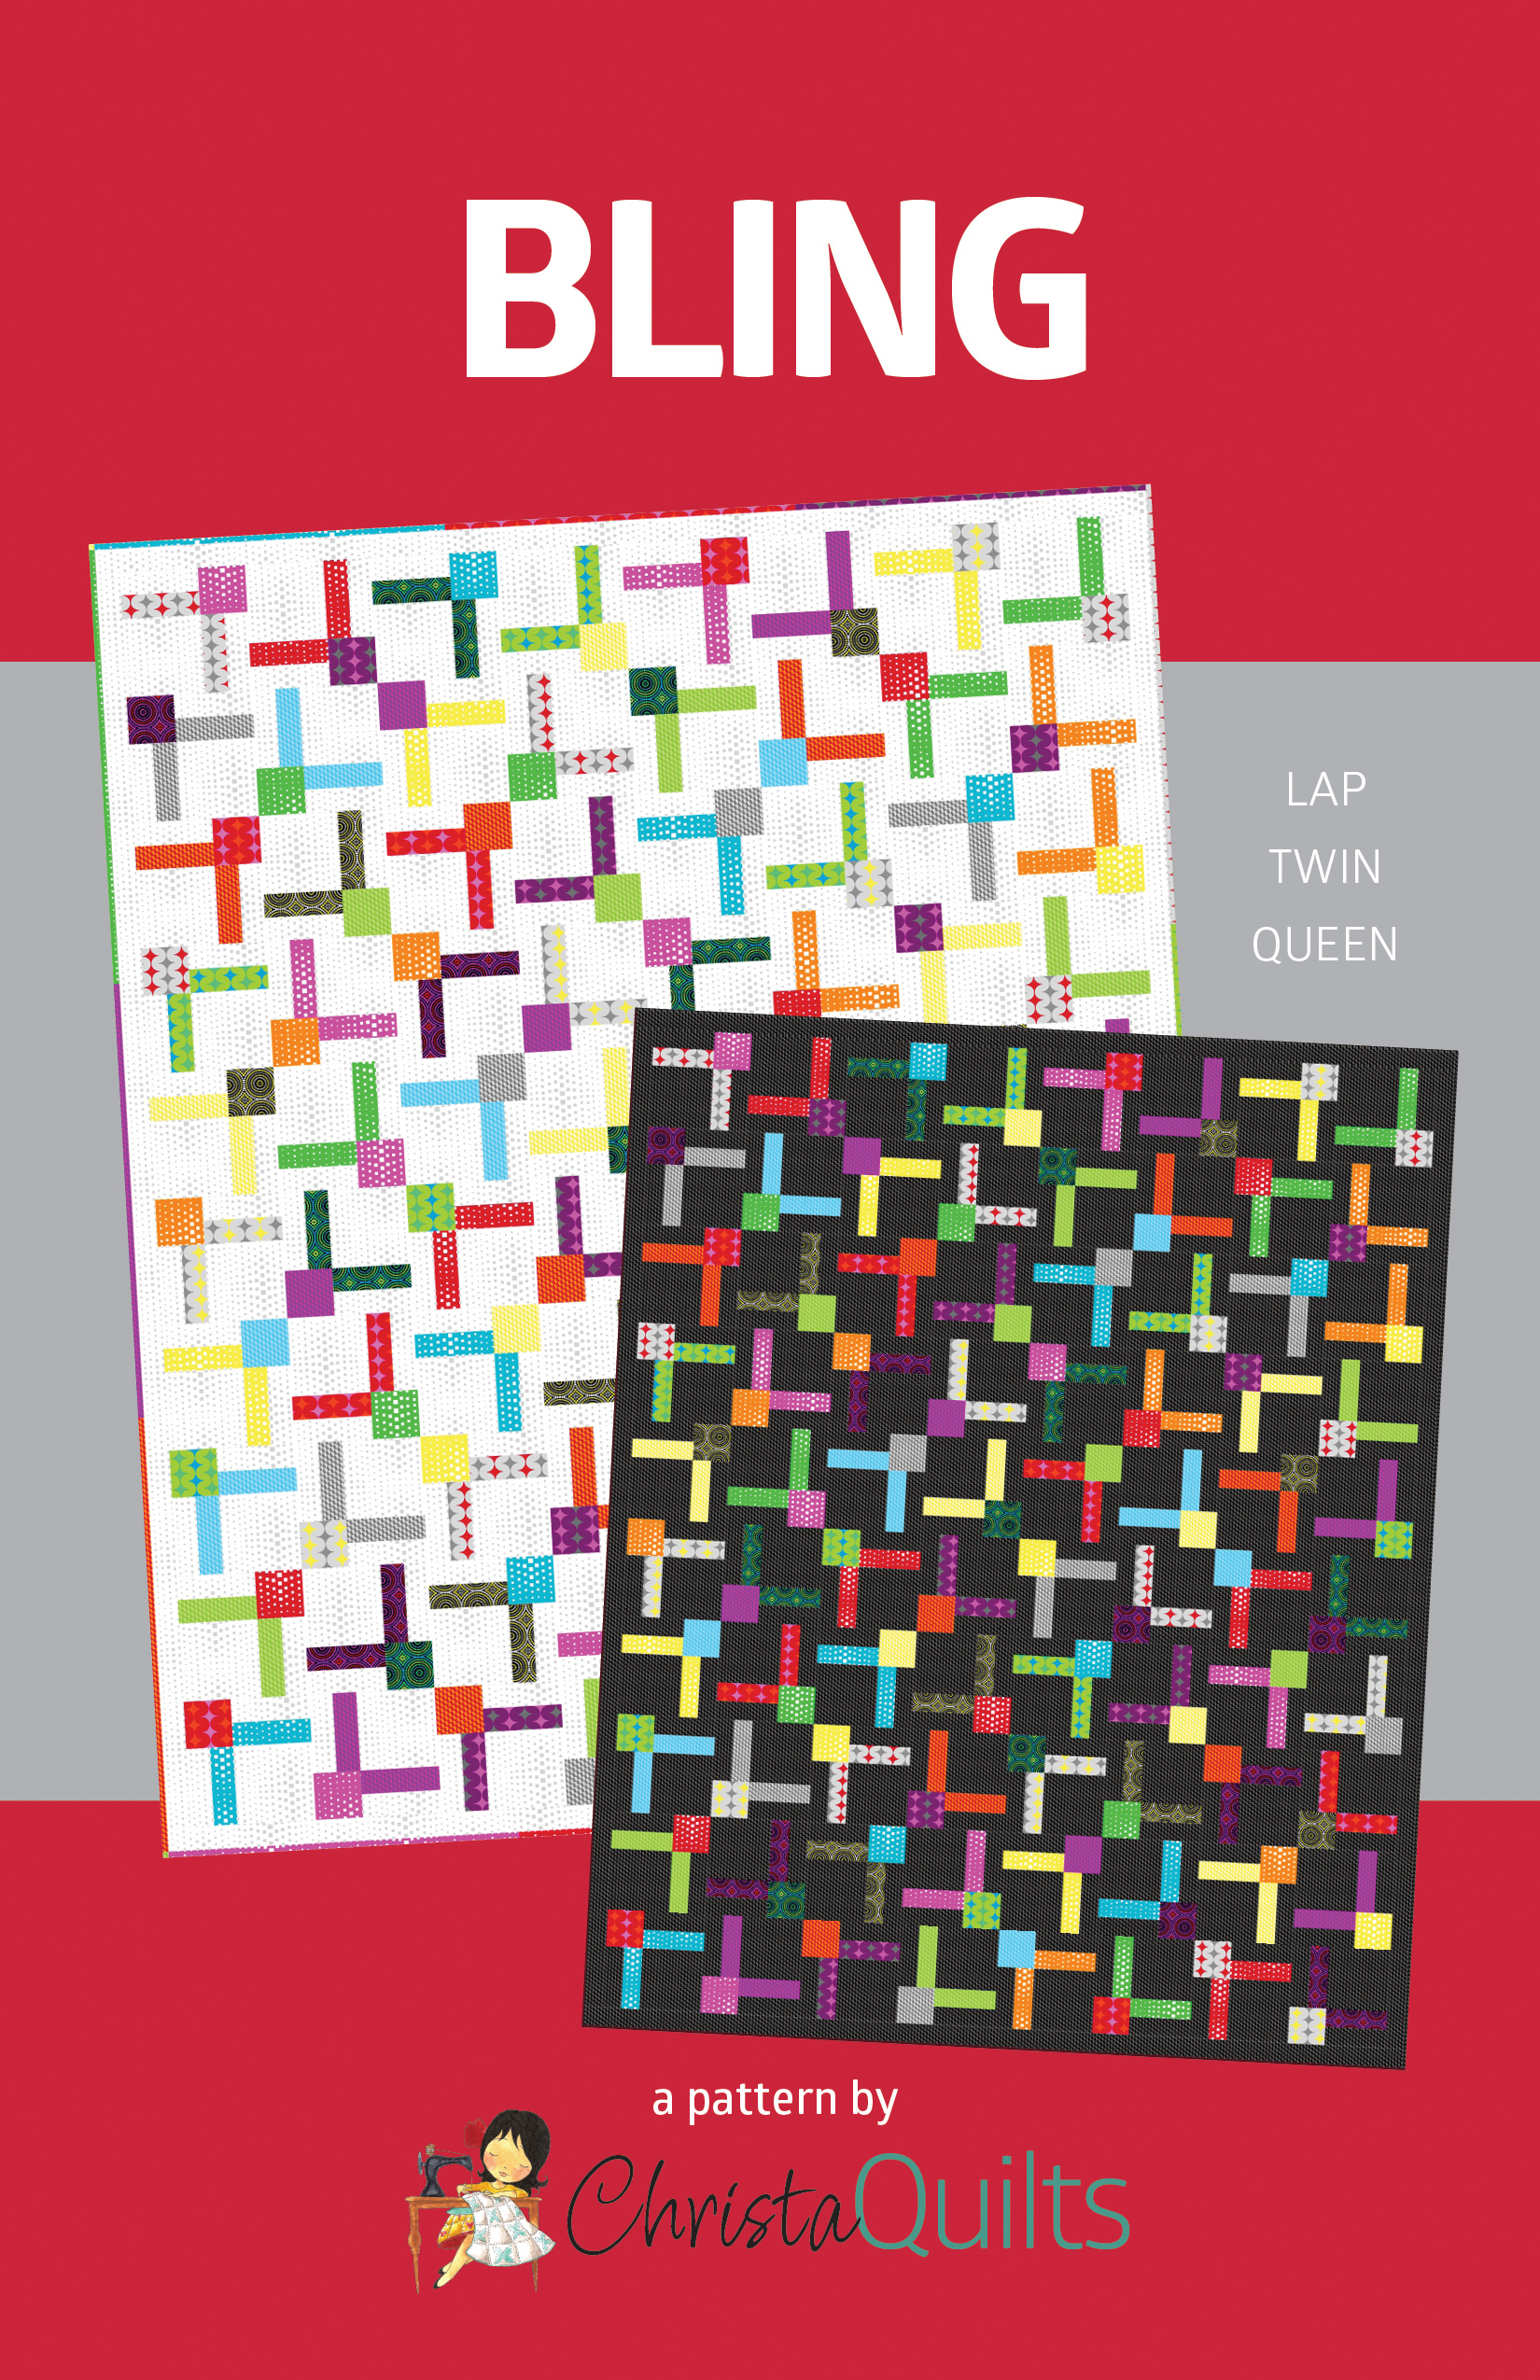
Bling Finished Stats
- Finished size: 67″ x 83″
- Designed using Electric Quilt 8 software
- Pieced and quilted by Christa Watson on my Bernina 770QE
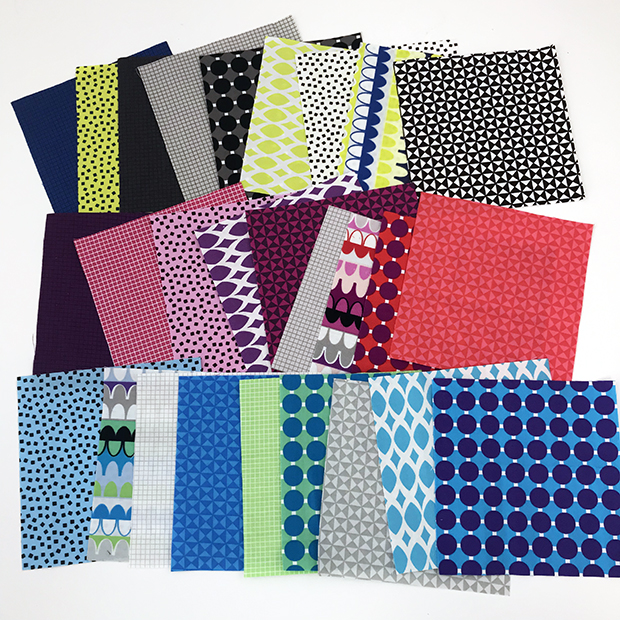
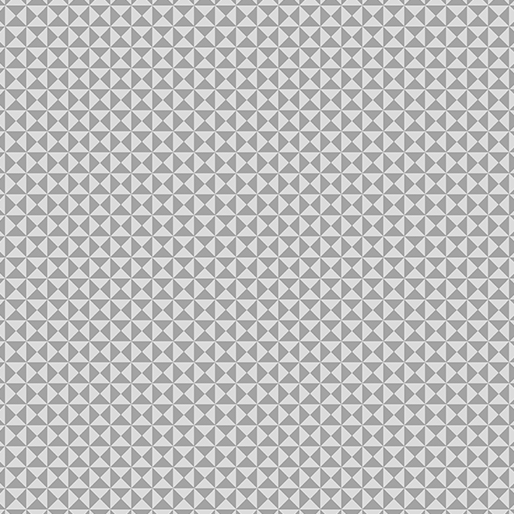
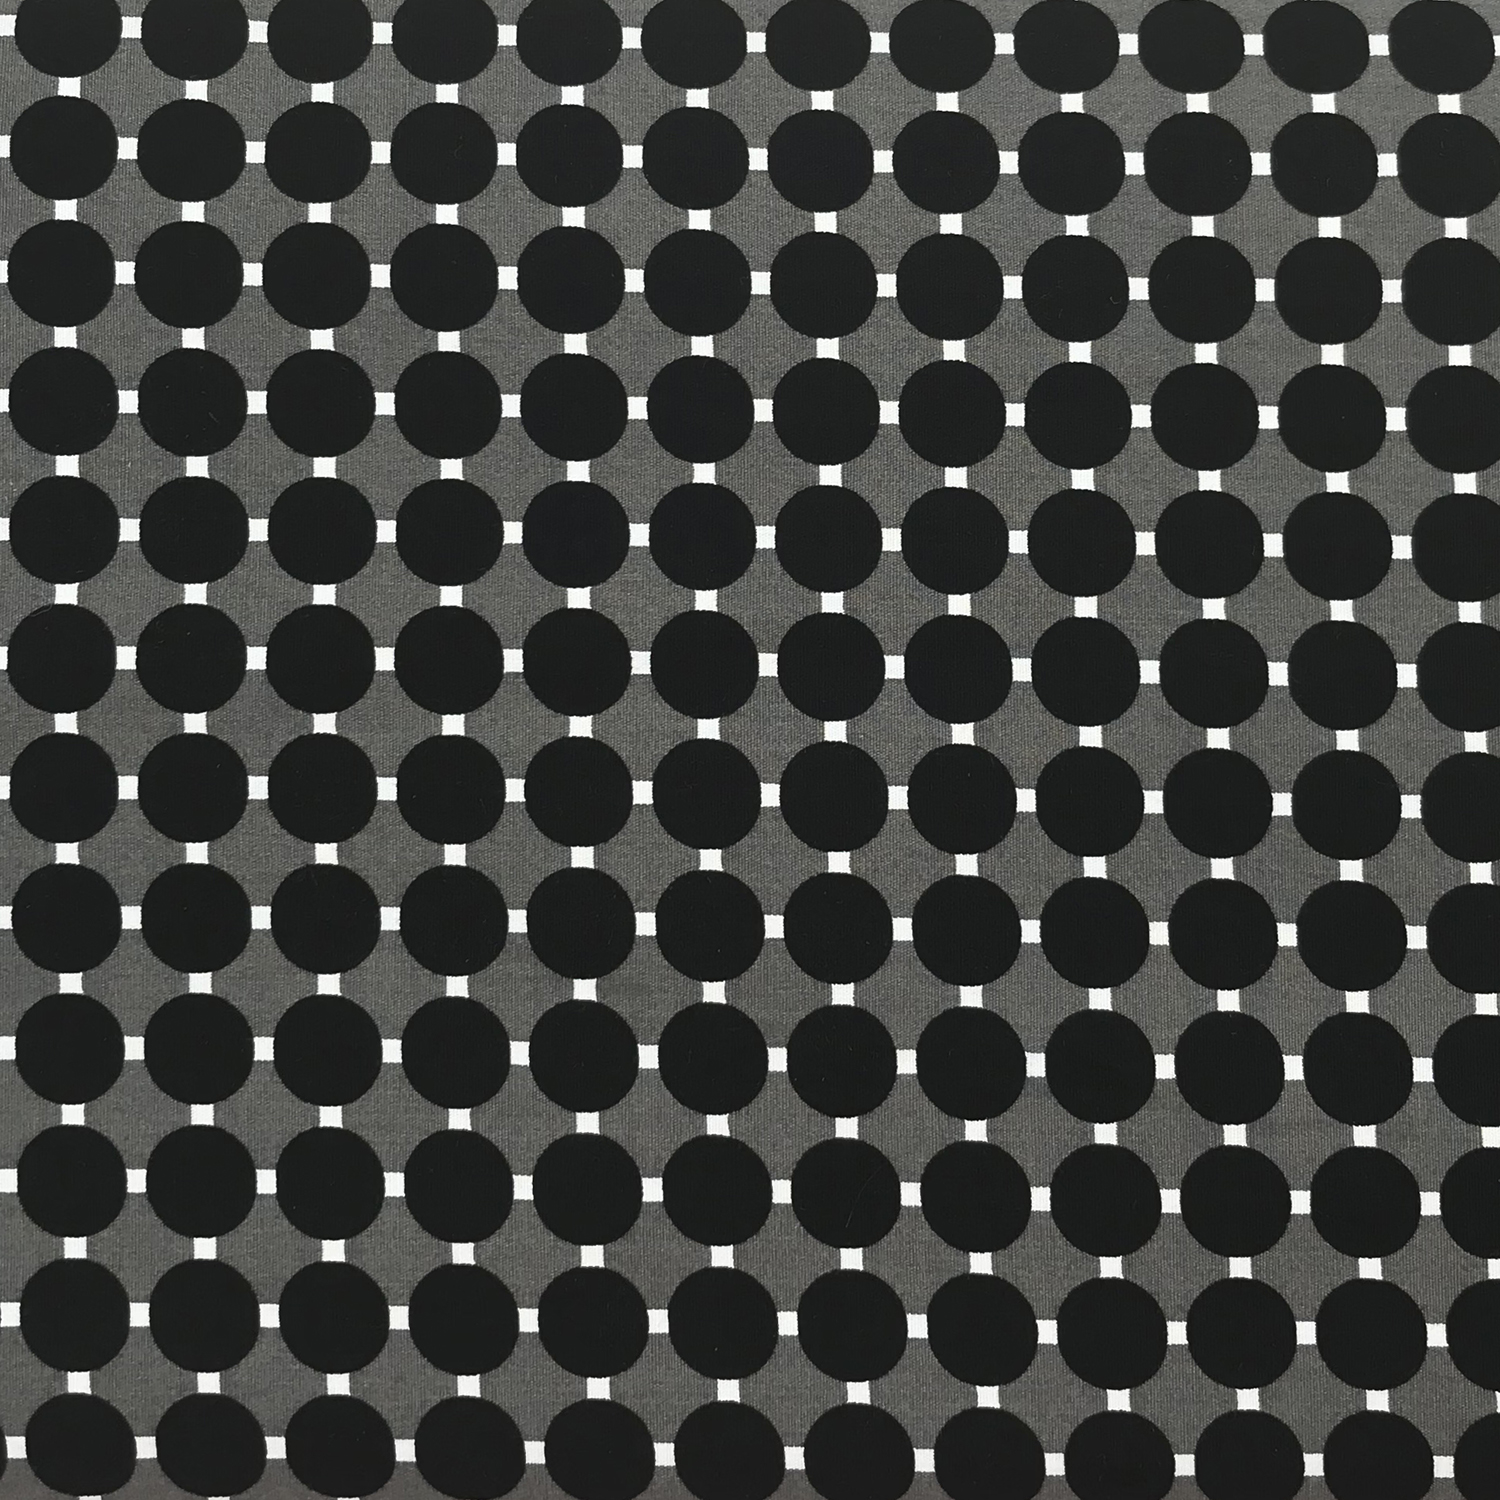
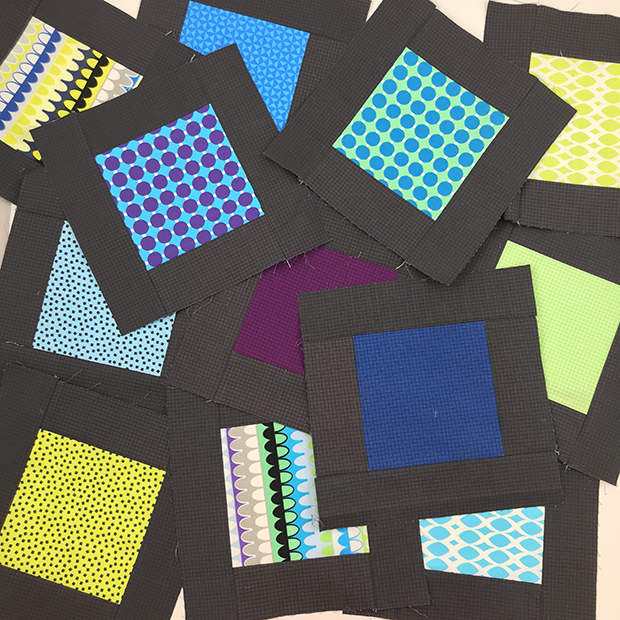
- Fabric collection: Geo Pop by Christa Watson for Benartex
- Pattern: Bling by Christa Watson
- Batting used: Hobbs Cotton/Wool
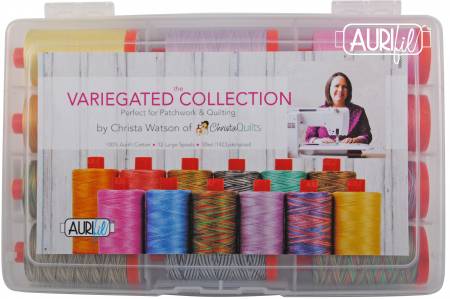
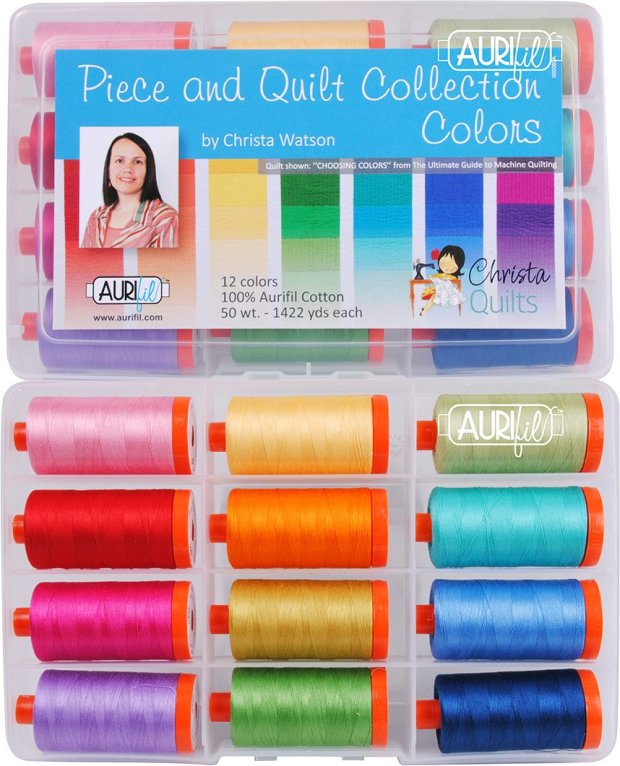
- Thread used: Aurifil 50 weight cotton in black/white variegated and bright pink
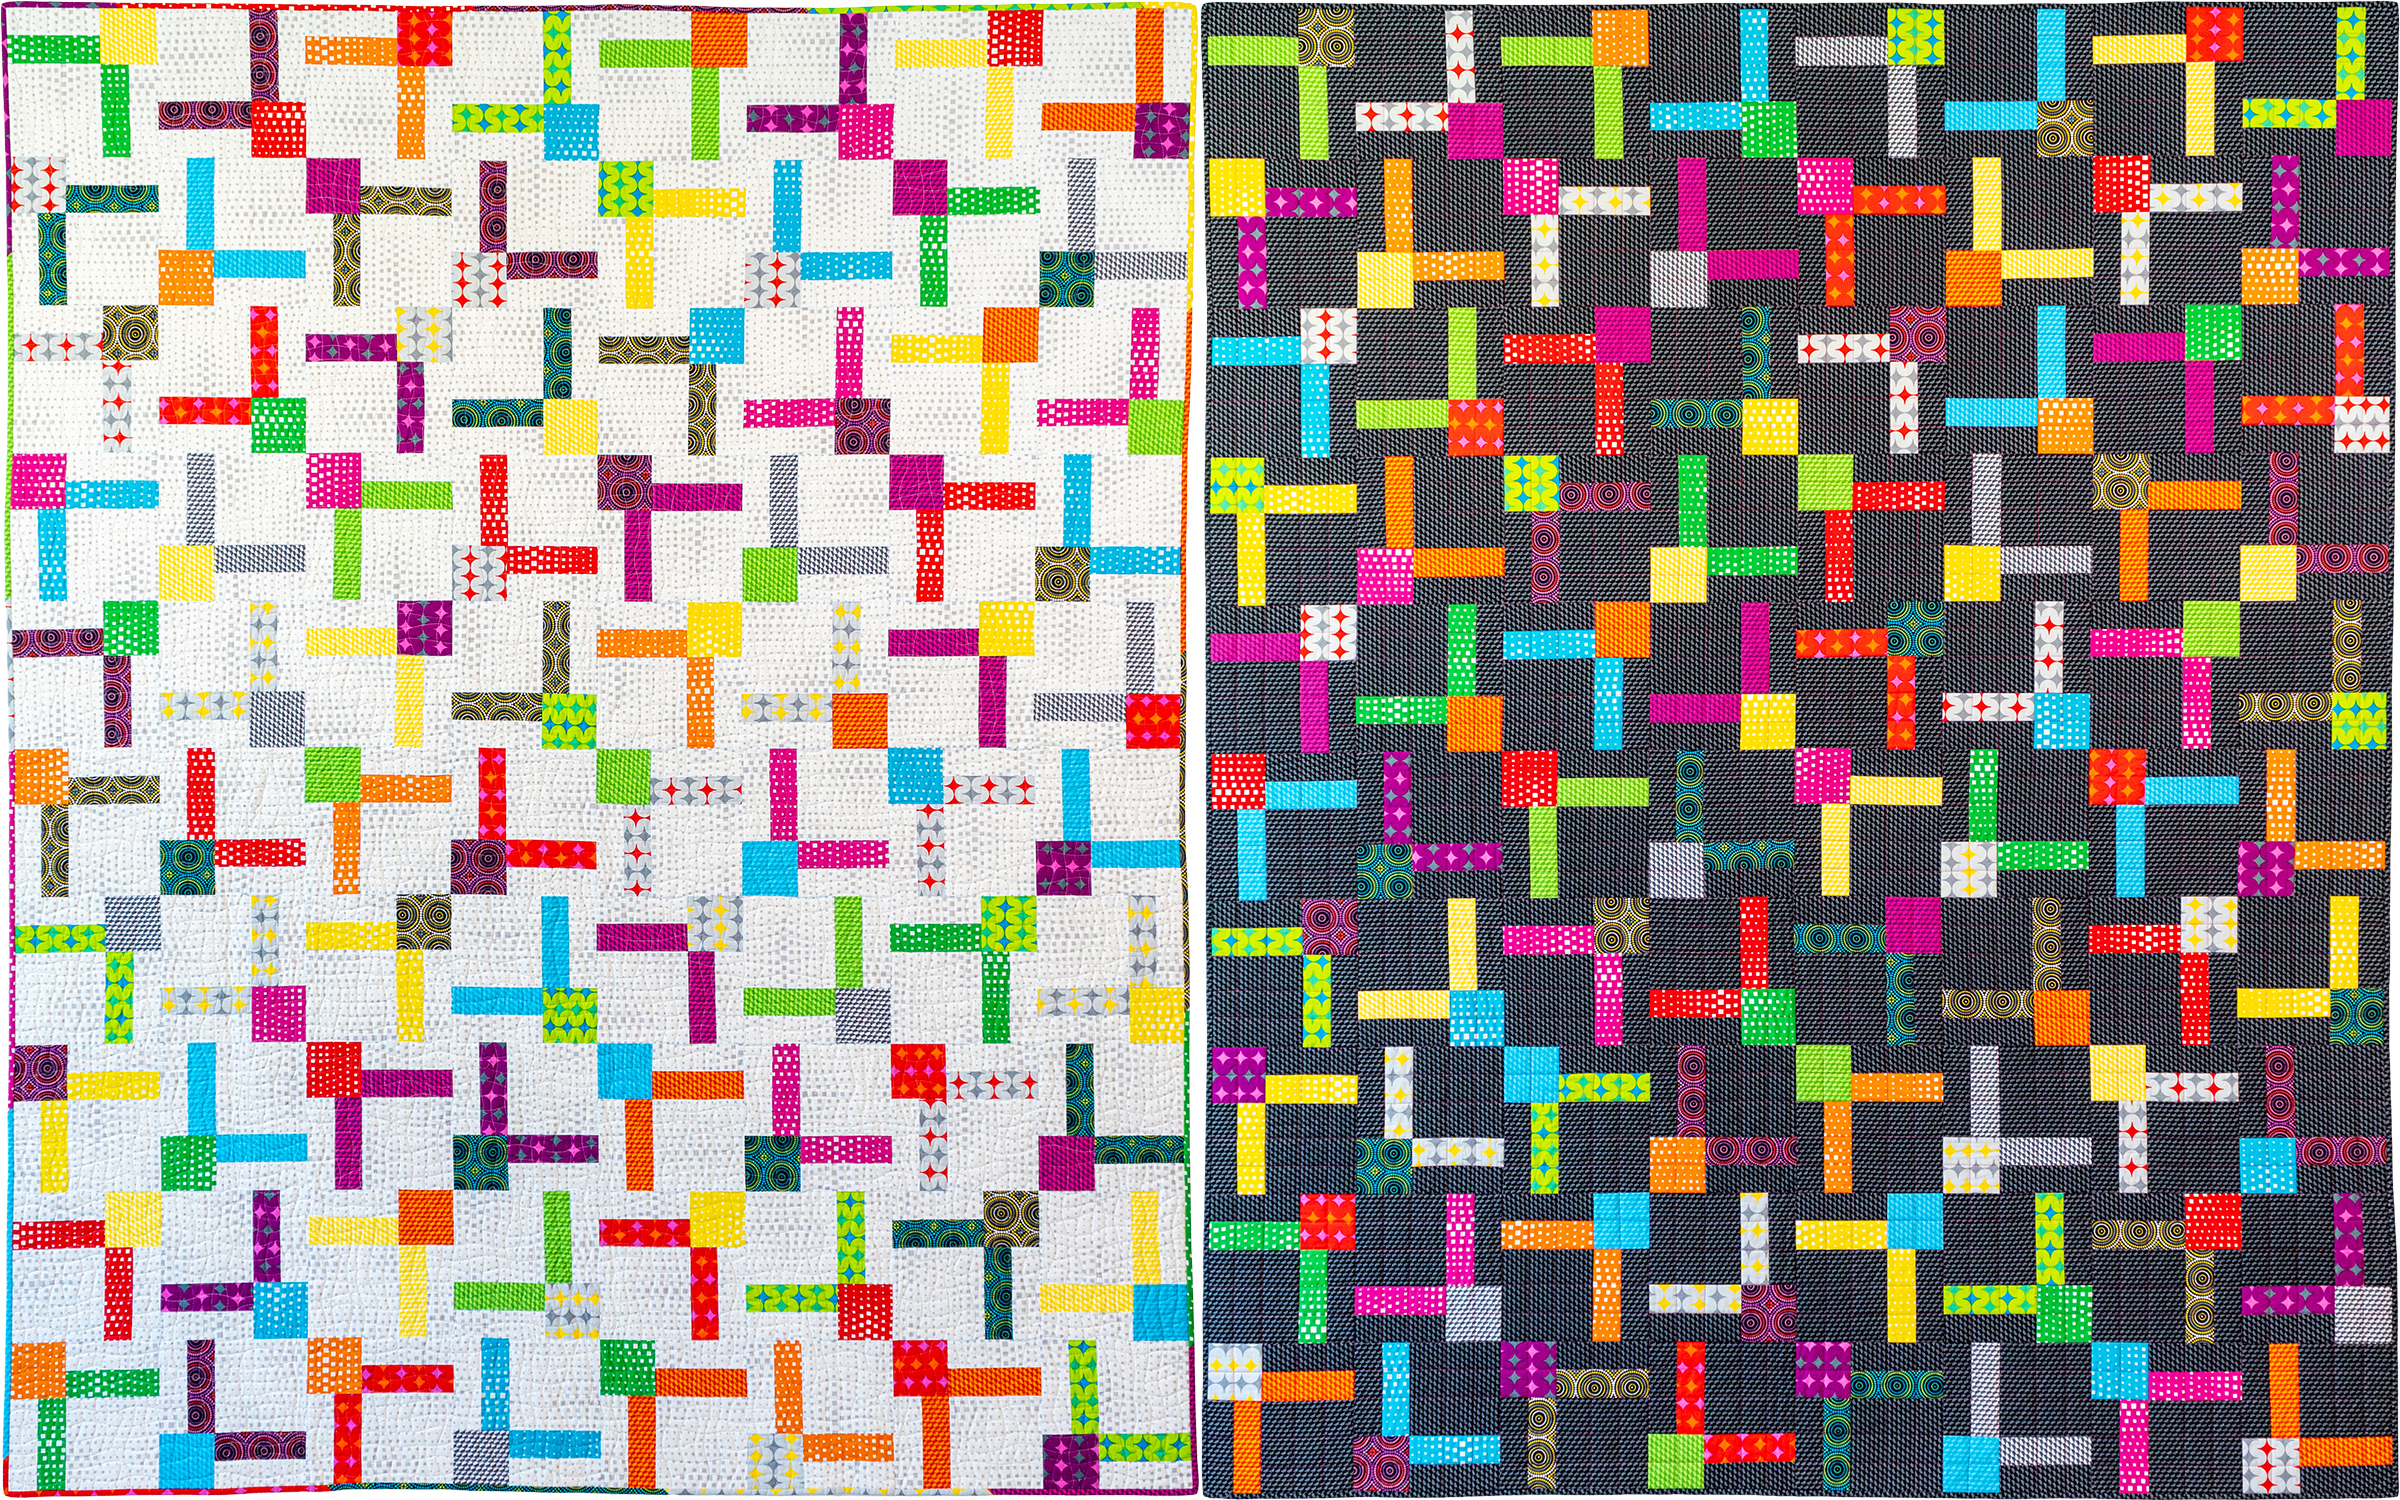
- Quilting designs: wavy grid (white) and straight line grid (black)
- Completed: May of 2019


 Basting in process on my design wall.


 Kathleen Hetzler Riordan on Smith Mountain Lake, Virginia