My Terrace Tiles quilt pattern is quickly becoming a favorite because it is so fast and fun to make!! Last week I shared some tips on piecing the quilt blocks. Now it’s time to finish the quilt tops and get them ready for quilting.
Terrace Tiles in Gridwork Citron Colorway

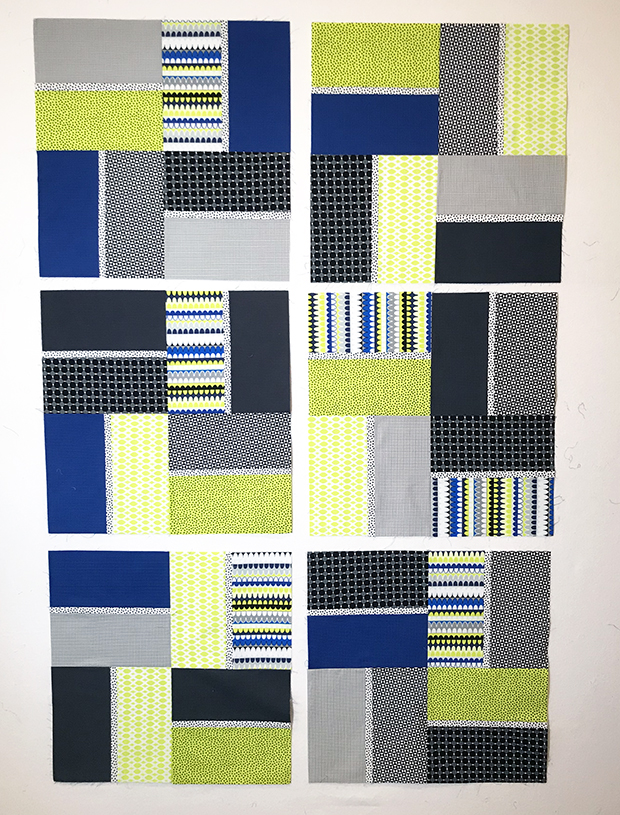
You can either arrange all the blocks on a design wall or other flat space; or you can sew them together into larger sets of 4 blocks like I did to speed up the process. I’m not worrying about block placement at this point. The more random the better!
I’ll take a little bit of time to arrange them in a pleasing order, but I won’t overthink it.
Terrace Tiles in Gridwork Amethyst Colorway
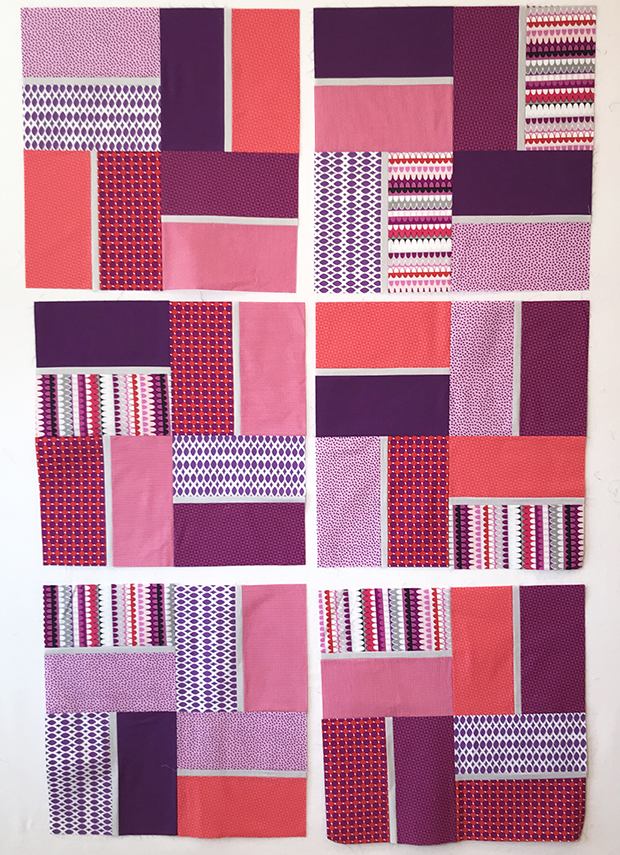
I don’t worry too much if the blocks get a little wrinkly at this point. I’ve used spray starch on the fabric before I cut it which gives the blocks a tendency to wrinkle when handled. But that’s ok – once the top is sewn up and basted they won’t be as flimsy or prone to wrinkling. I also press each seam as I go to keep my blocks as flat as possible.
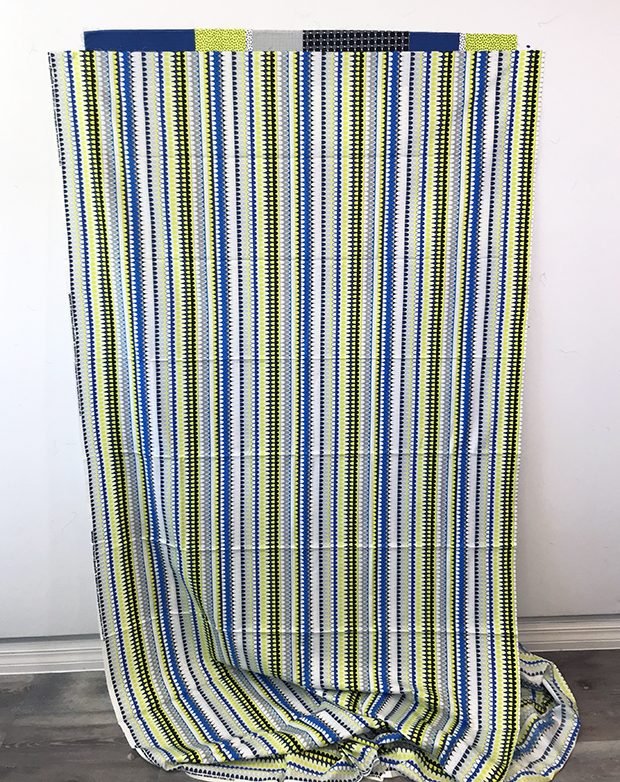
Terrace Tiles in Gridwork Breeze Colorway

I made the Amethyst and Citron quilts in the smaller crib size. For the Breeze colorway, I wanted to make it in the bigger throw size with more blocks.
Once the blocks are assembled into the quilt top, I take what’s called a “Victory lap:” I sew about 1/8″ around the edges with a longer stitch length to secure the edge seams from splitting open. If the quilt has borders, then you don’t need to worry about that step.
Prepping the Backing
The crib size calls for 2 yards of backing so that you can piece part of it if needed. However, you can get away with less fabric if you measure and baste carefully. As long as the backing is a couple of inches bigger than the quilt top on all sides, you’ll be ok. Below the backing just barely covers the finished quilt top on the left and right, but it’s still enough, thank goodness!
Click here to get coordinating Arches Stripe fabric for backing.
I’ll make sure to pull up the backing from the floor so that it covers the entire quilt top; then I’ll trim off the extra fabric, and press it with starch before I baste.
I also like to take a picture of the batting with the quilt I so I can remember which one I used.

Basting the Quilt
I like to set up a table in my back yard and apply 505 basting spray to the wrong side of the top and backing. It’s much easier to spray the top and backing separately and it uses less spray than spraying the batting instead. Below I’m basting the throw sized quilt so it requires a larger backing.

After spraying outside, I bring the top and backing inside and assemble them on my design wall, one layer at a time.
Below, you can see how I pieced the backing for the throw size in the Breeze Colorway: two 2-yard pieces of the blue Hourglass fabric with a horizontal seam in the middle. Don’t worry too much about the small wrinkles – those will get ironed out at the end once the layers are assembled.

Click here to get the blue Hourglass fabric for backing of the Breeze Terrace Tiles quilt.
I prefer to work with Hobbs batting on a roll so I’ll roll out just enough batting to cover the top plus a few inches, then cut if off the roll and trim off the extra after it’s all basted. I smooth out one layer at a time on my design wall: backing, then batting, then quilt top.
A long acrylic ruler is handy to smooth out each layer. I use a separate one just for basting, since it tends to get sticky from the basting spray.

Click here to get the Circle Grid fabric in purple/red for the backing of the Amethyst quilt.
Above is the Amethyst quilt after basting. I’ll trim off the extra batting and backing fabric so that there’s only about 1″ sticking out on all sides for quilting. That way the excess won’t accidentally get tucked under itself while quilting!!
The final step (not shown) is to iron the front and back of the basted quilt with a hot dry iron. This presses out any wrinkles and helps set the glue so things don’t shift while quilting.
Next week I’ll share some pics and videos the machine quilting I did for each quilt, so stay tuned!

LINKS AT A GLANCE:
Click here for the making of Terrace Tiles, Part 2
Click here to get the Terrace Tiles quilt pattern – paper version
Click here to get the Terrace Tiles quilt pattern – PDF version
Click here to get the Terrace Tiles quilt kits + Gridwork by the yard

Is that Hobbs batting a 30 yard roll or the smaller 15 yard roll? I met Mr Bear of P&B by chance when he happen to be at the warehouse that day during the shut down of the satellite office in Orange County California. So since they were my main resource of Hobbs batting, I bought all 10 of the 30 yard roll that were available. He looked at my 2 seat Honda CRX and said that I couldn’t fit all of them in. Well, I proved him wrong and he gifted me a P&B Color Spectrum which included a color wheel. Was sad to hear that he finally retired selling the company and closing the San Fransisco and Texas offices.