Guess what today is? It’s my birthday!! Whoo hoo! I’m of the opinion that things just get better with age, and each passing year is cause for celebration. So I thought, what better day to kick off my epic blog hop for Piece and Quilt with Precuts than today??

So to get us started, today I want to share links to each of the 30 fantastic bloggers that are joining me on this fun and inspiring journey, plus give a couple of sneak peeks of what’s coming up on the hop!
Inspiring Quilts From Me and My Friends
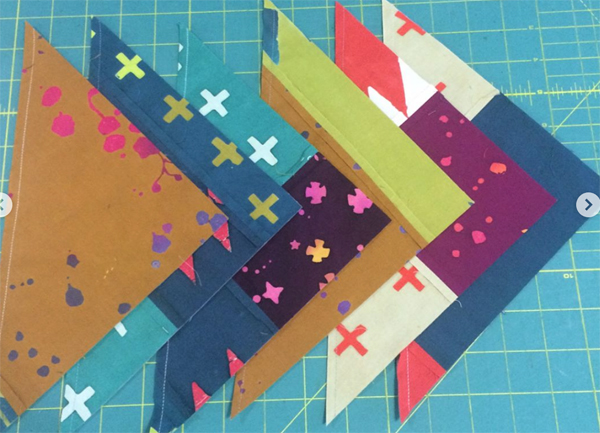
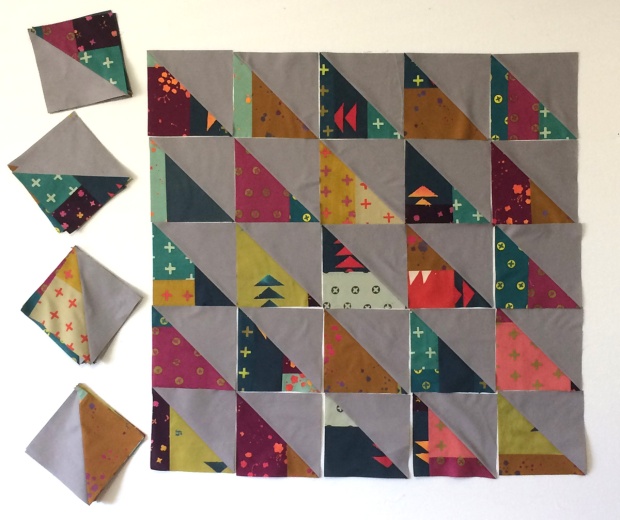
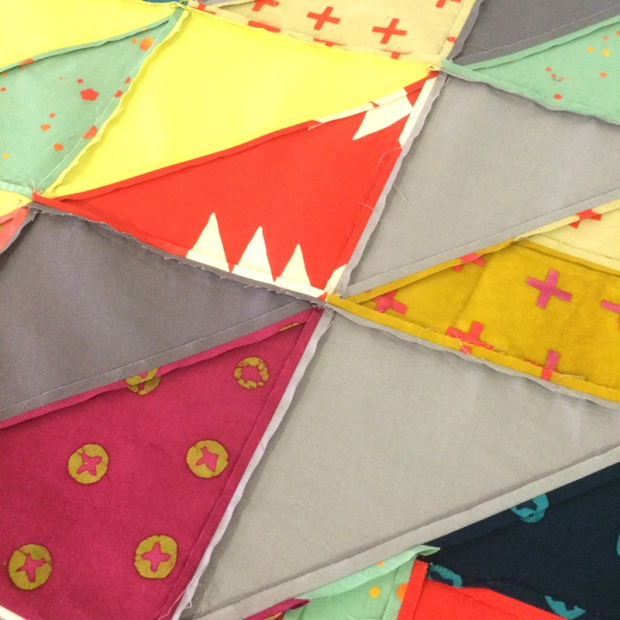
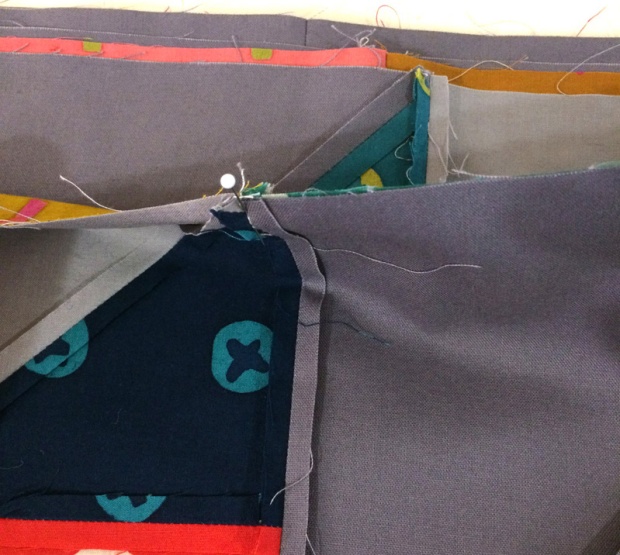
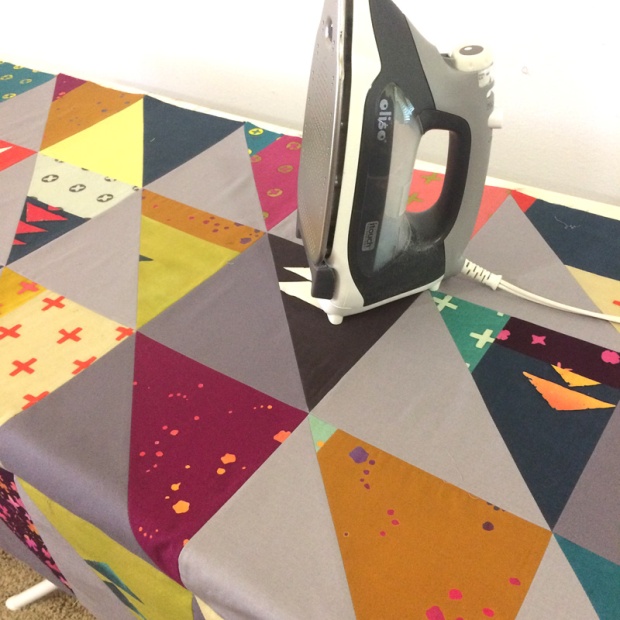
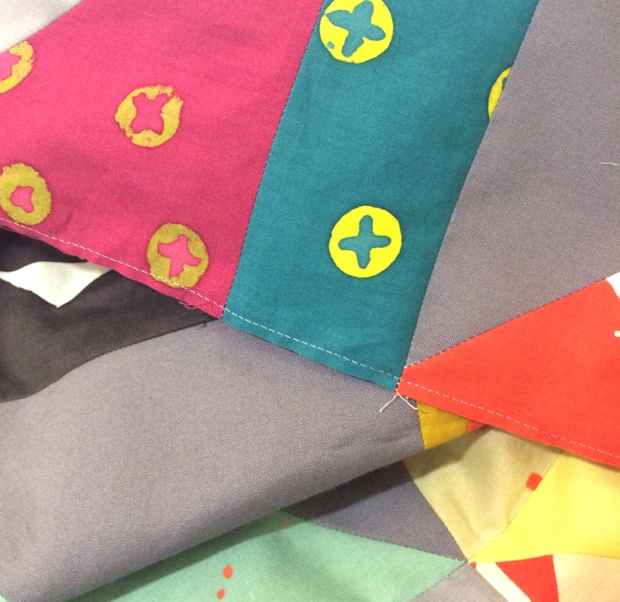
Each day starting tomorrow, I’ll share more details about each of the quilts in the book, and you can see how others interpreted the designs to make them their own. For example, check out this sneak peek of the beautiful quilts in progress from (clockwise) Sherri, Teresa, Nancy, and Jen.
You just may end up liking their versions better than the originals, and that’s totally ok!! Hopefully once you see the versatility and variety of looks that can be made from my fun designs and your favorite precuts, you’ll be inspired to make them, too!
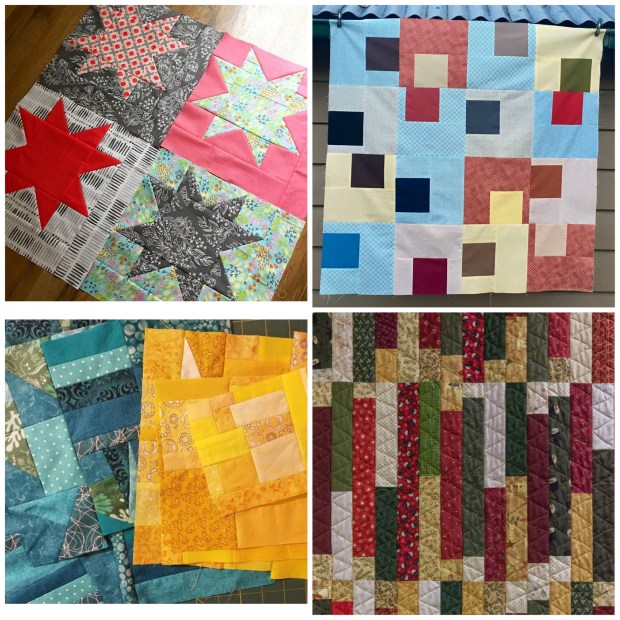
Stay tuned for the “final reveal” from 30 talented bloggers including these shown above!!
(The list of participating bloggers is at the end of this post.)
Gifts and Giveaways Galore!
Throughout the hop, we’ll celebrate by giving away tons of gifts! After all, what fun is a party without presents?? Some of the giveaways will be hosted here on my blog while others will be given away by the participating bloggers or other industry friends. So be sure and check back here each day as I send you on a fun scavenger hunt to score prizes and get inspired!

Just a few of the many “gifts” that will be given away during the hop!! Yes, it even includes a quilt – so check here every day for your chance to win some fabulous prizes!
A Present From me – Baby Geese Quilt Pattern
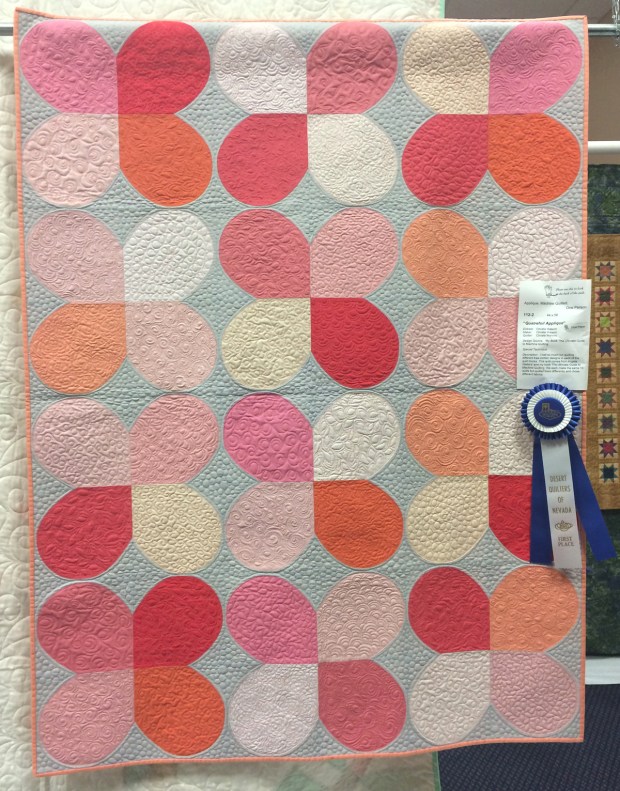
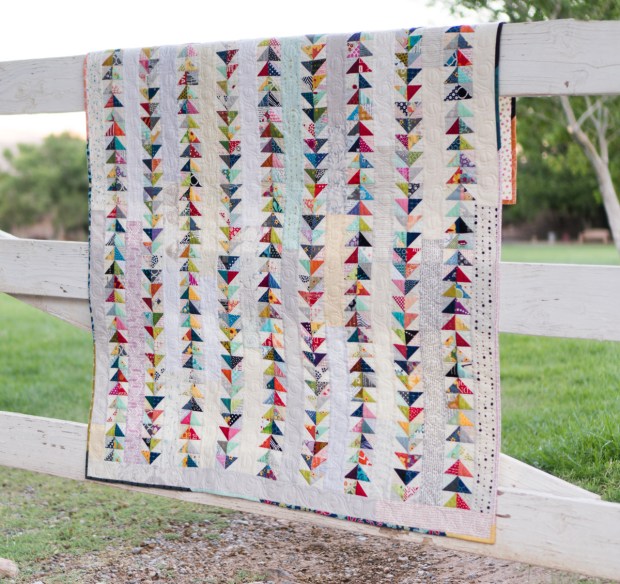
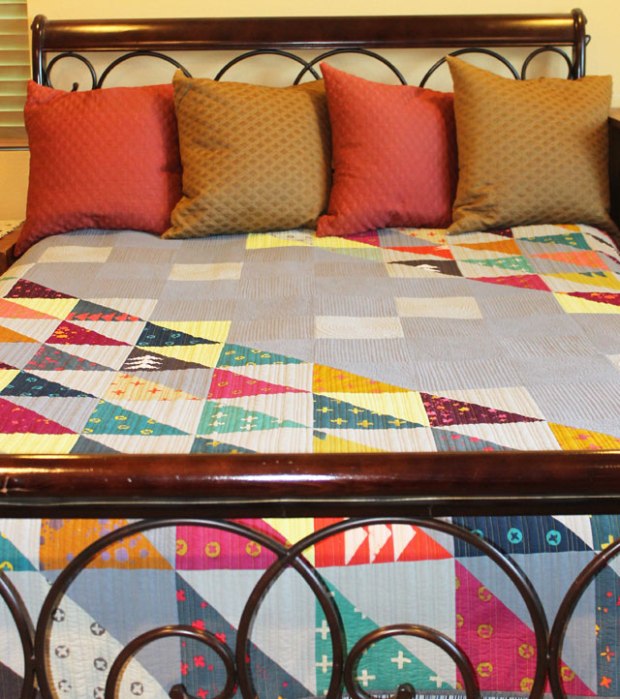
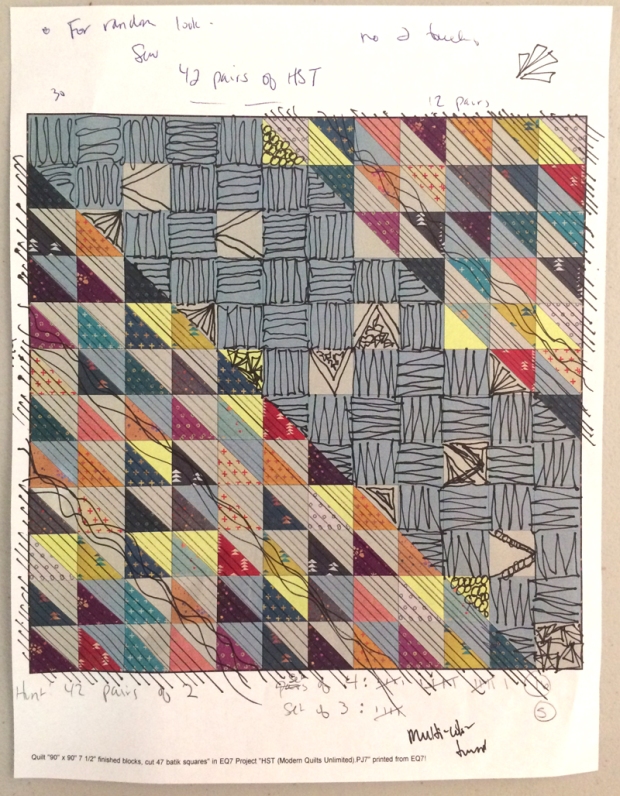
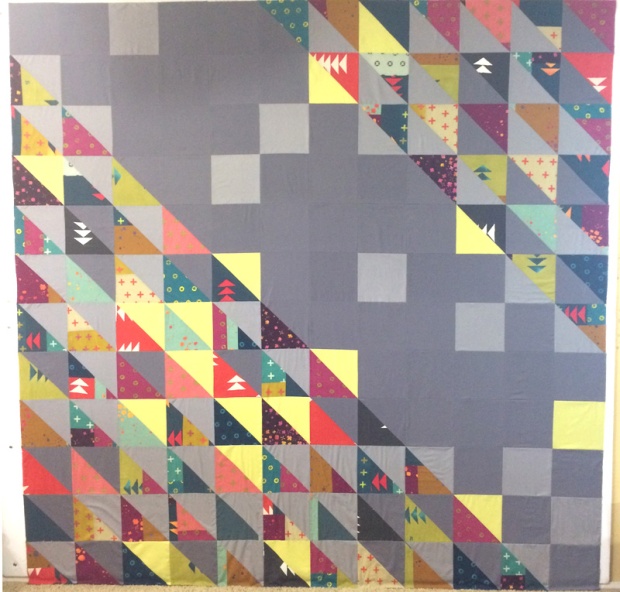
Let’s kick off this party with a present for all of you, since since you are ALL winners in my book!! The quilt shown below is called “Baby Geese” and it was made from scraps and leftovers of many of the other quilts in the book.
Click here to get the Baby Geese quilt pattern.
Because I included so many detailed instructions for each of the 11 quilts in the book, we didn’t have room to include this one. So think of it as bonus quilt pattern #12, just for you!!
If you’ve been on the fence about purchasing Piece and Quilt with Precuts, take a look at the layout and instructions given for Baby Geese. Just like all of the quilts in the book, the instructions are clear and easy to understand, with plenty of machine quilting eye-candy and step by step diagrams for you to follow. Chances are if you like this one, you’ll love the rest!
Click here to download the bonus pattern for Baby Geese.
I’ll be giving this quilt away at the end of the hop so stay tuned!
Blog Hop Schedule
Here’s the schedule of bloggers to follow with their names, links to their blogs, plus their Instagram handles so you can follow them there. After all, this is a talented bunch who you will want to get to know better!
Friday August 18 – Squiggles
Kathy Bruckman Blog: Kathy’s Kwilts and More IG: @kathyskwiltsandmore
Kate Colleran Blog: Seams Like a Dream IG: @seamslikeadreamquilts
Sharon Parcel Blog: Yellow Cat Quilt Designs IG: @punkydoodle53
Click here to see Christa’s version of Squiggles.
Saturday August 19 – Gridwork
Sandy Maxfield Blog: Sandy Star Designs IG: @sandystardesigns
Joanne Harris Blog: Quilts by Joanne IG: @turtlequilterjo
Teresa Mairal-Barreu Blog Sewn Up: IG: @teresadownunder
Click here to see Christa’s version of Gridwork
Monday August 21 – Frequency
Nancy Scott Blog: Masterpiece Quilting IG: @masterpiecequilting
Martingale’s Blog: Stitch This! IG: @martingaletpp
Lorinda Davis Blog: Laurel Poppy & Pine IG: @laurelpoppyandpine
Click here to see Christa’s version of Frequency
Tuesday August 22 – S.W.A.K.
Sherry Shish Blog: Powered by Quilting IG: @poweredbyquilting
Michelle Bartholomew Blog: Michelle Bartholomew IG: @michellebartholomew
Allison Dutton Blog: Allison Sews IG: @allisonsews
Click here to see Christa’s version of S.W.A.K.
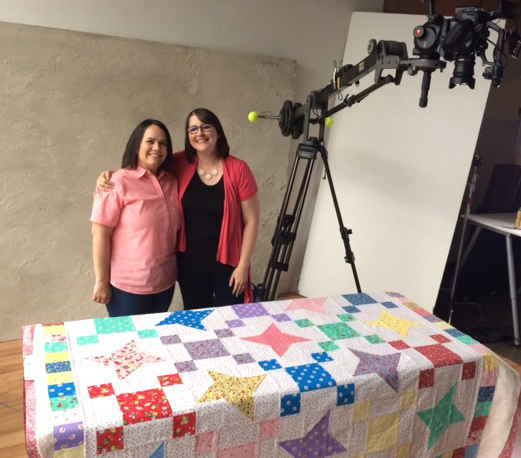
Wednesday August 23 – Starstruck
Lissa LaGreca Blog: Lovingly Lissa IG: @lovinglylissa
Sherri Noel Blog: Rebecca Mae Designs IG: @rebeccamaedesigns
Sandra Healy Blog: Sandra Healy Designs IG: @sandrahealydesigns
Click here to see Christa’s version of Starstruck
Thursday August 24 – Dot’n’Dash
Laura Piland Blog: Slice of Pi Quilts IG: @sliceofpiquilts
Cheryl Brickey Blog: Meadow Mist Designs IG: @meadowmistdesigns
Jen Frost Blog: Faith and Fabric IG: @faithandfabric
Click here to see Christa’s version of Dot’n’Dash
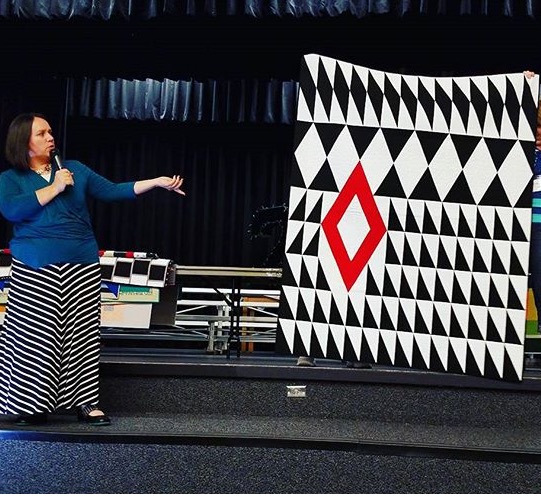
Friday August 25 – Twinkling Diamonds
Jessee Maloney Blog: Art School Dropout IG: @jessee_artschooldropout
Jessica Caldwell Blog: Desert Bloom Quilting IG: @desertbloomquilting
Anjeanette Klinder Blog: Anjeanette Klinder IG: @anjeanetteklinder
Click here to see Christa’s version of Twinkling Diamonds
Saturday August 26 – Windows
Terri Vanden Bosch Blog: Meanderings Along Lizard Creek IG: @lizardcreekquilter
Suzy Webster Blog: Webster Quilt IG: @websterquilt
Katie Joy Church Blog: Wild Prairie Studio IG: @katie_joyquilts
Click here to see Christa’s version of Windows
Monday August 28 – Kites
Pam Cobb Blog: The Stitch TV Show IG: @thestitchtvshow
Jen Rosin Blog: A Dream and a Stitch: IG: @adreamandastitch
Rashida Khanbhai Blog: No. 3 Quilt Studio IG: @no3quiltstudio
Click here to see Christa’s version of Kites
Tuesday August 29 – Arrows
Lynn Kline Blog: Monkey Needle IG: @monkeyneedle
Kathy Bruckman Blog: Kathy’s Kwilts and More IG: @kathyskwiltsandmore
Click here to see Christa’s version of Arrows
Wednesday Aug 30 – Spools
Jen Shaffer Blog: Patterns by Jen IG: @patternsbyjen
Sandra Starley Blog: Textile Time Travels IG: @textiletimetravels
Click here to see Christa’s version of Spools
Whew! That’s a whole lot of great people who will be participating! Be sure to follow their blogs and Instagram accounts. After all, part of the fun of quilt-making is the community behind it. And when you join us on this blog hop journey, you’ll get to know more fun quilting friends!!
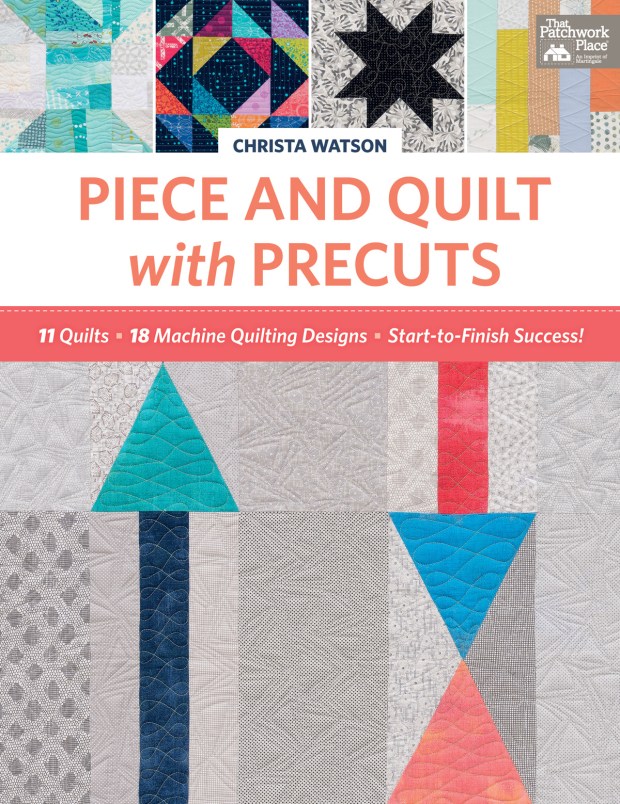
Click here to purchase your signed copy of Piece and Quilt with Precuts


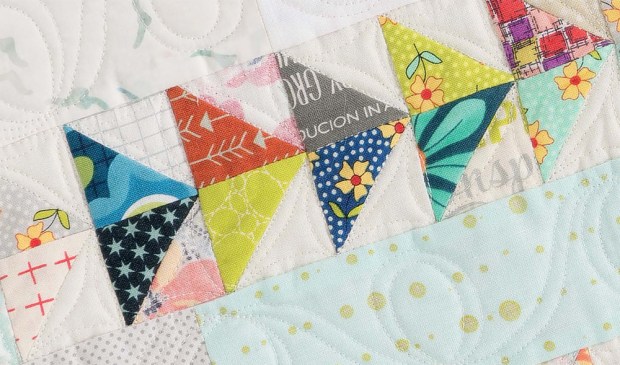
 I’m having fun trying out lots of different quilting motifs in the stars!


 A block from my quilt made the cover of