Christa’s Quilt Along 2.3 – Sewing Your Baby Bricks Together

This week we will sew together the complete Baby Bricks quilt top. Kits are available if you would like to quilt-along, or scroll down to the end for a link to the supply list.

I am making two quilts at the same time so it’s double the fun! I finished the boy version just before we left on our vacation and it literally took me 2 hours to sew the whole top. We were just in time to catch our flight! (I’ll finish the girl version when I get back!)
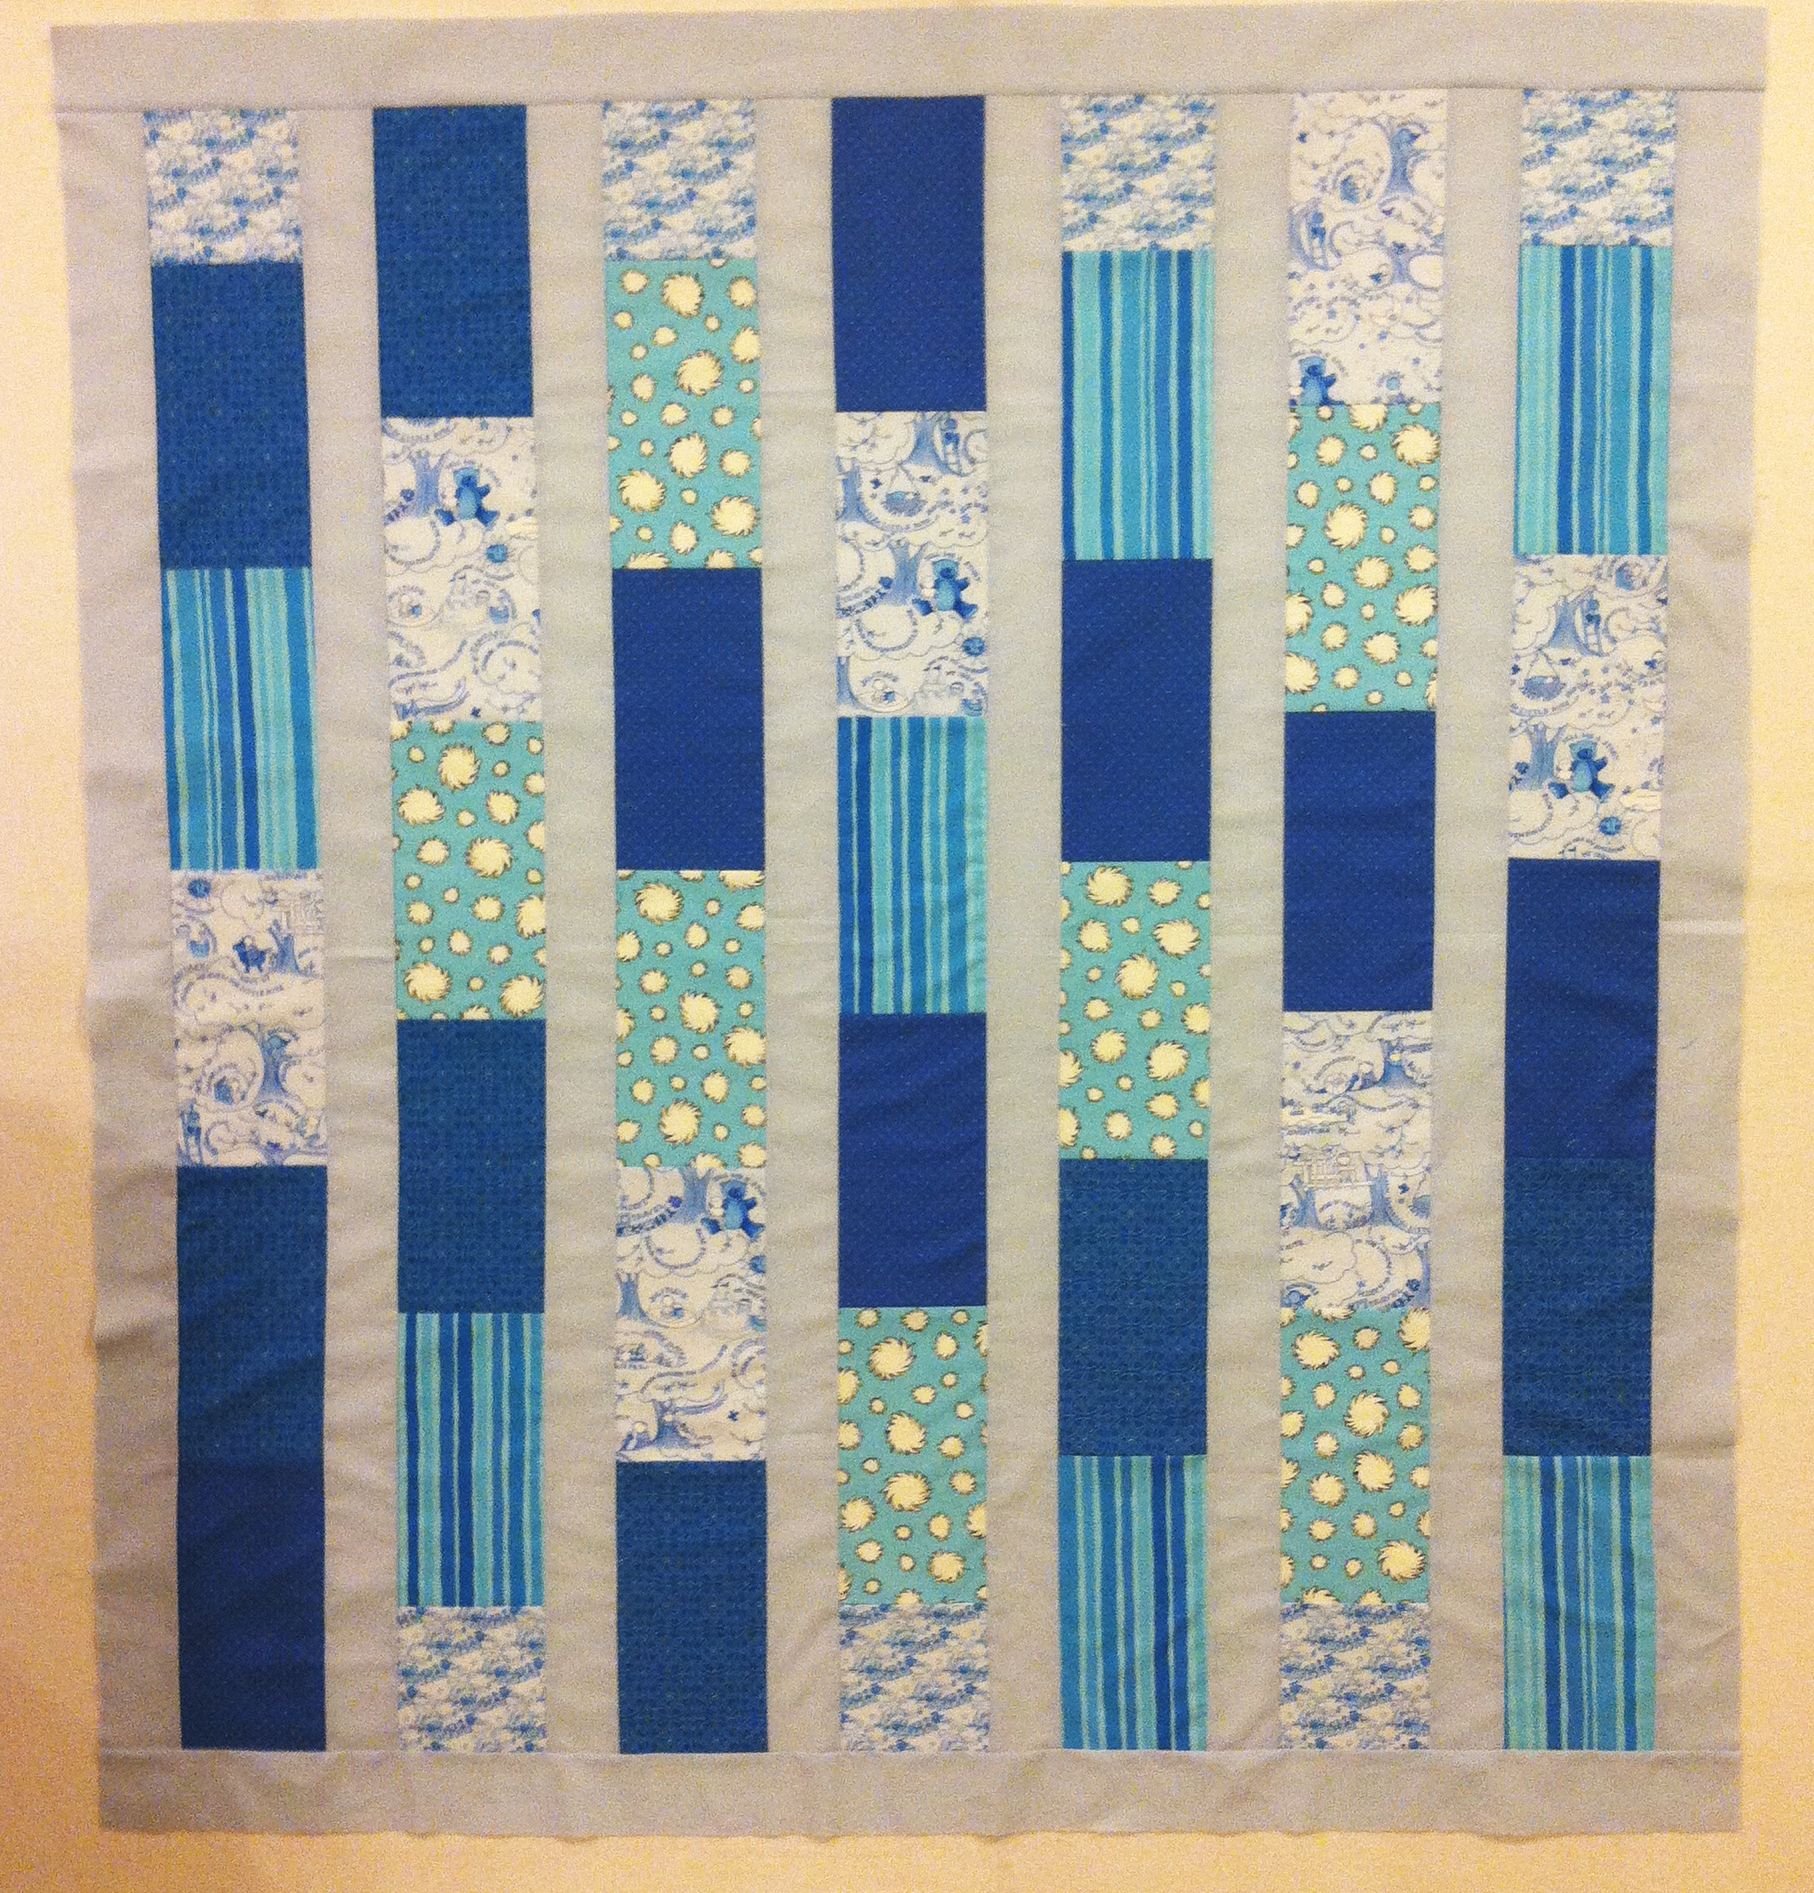
Baby Bricks Quilt Top

Step 1 – Sewing the Rows

The quilt consists of 7 rows of bricks with alternating 1/2 bricks at either end. There are solid strips in between each of the rows. Watch your fabric placement if you are using directional fabrics. I used cotton thread, size 50 and a new needle, size 80/12 for piecing.

It’s easiest to sew together 14 pairs of two bricks first. I grabbed them at random.
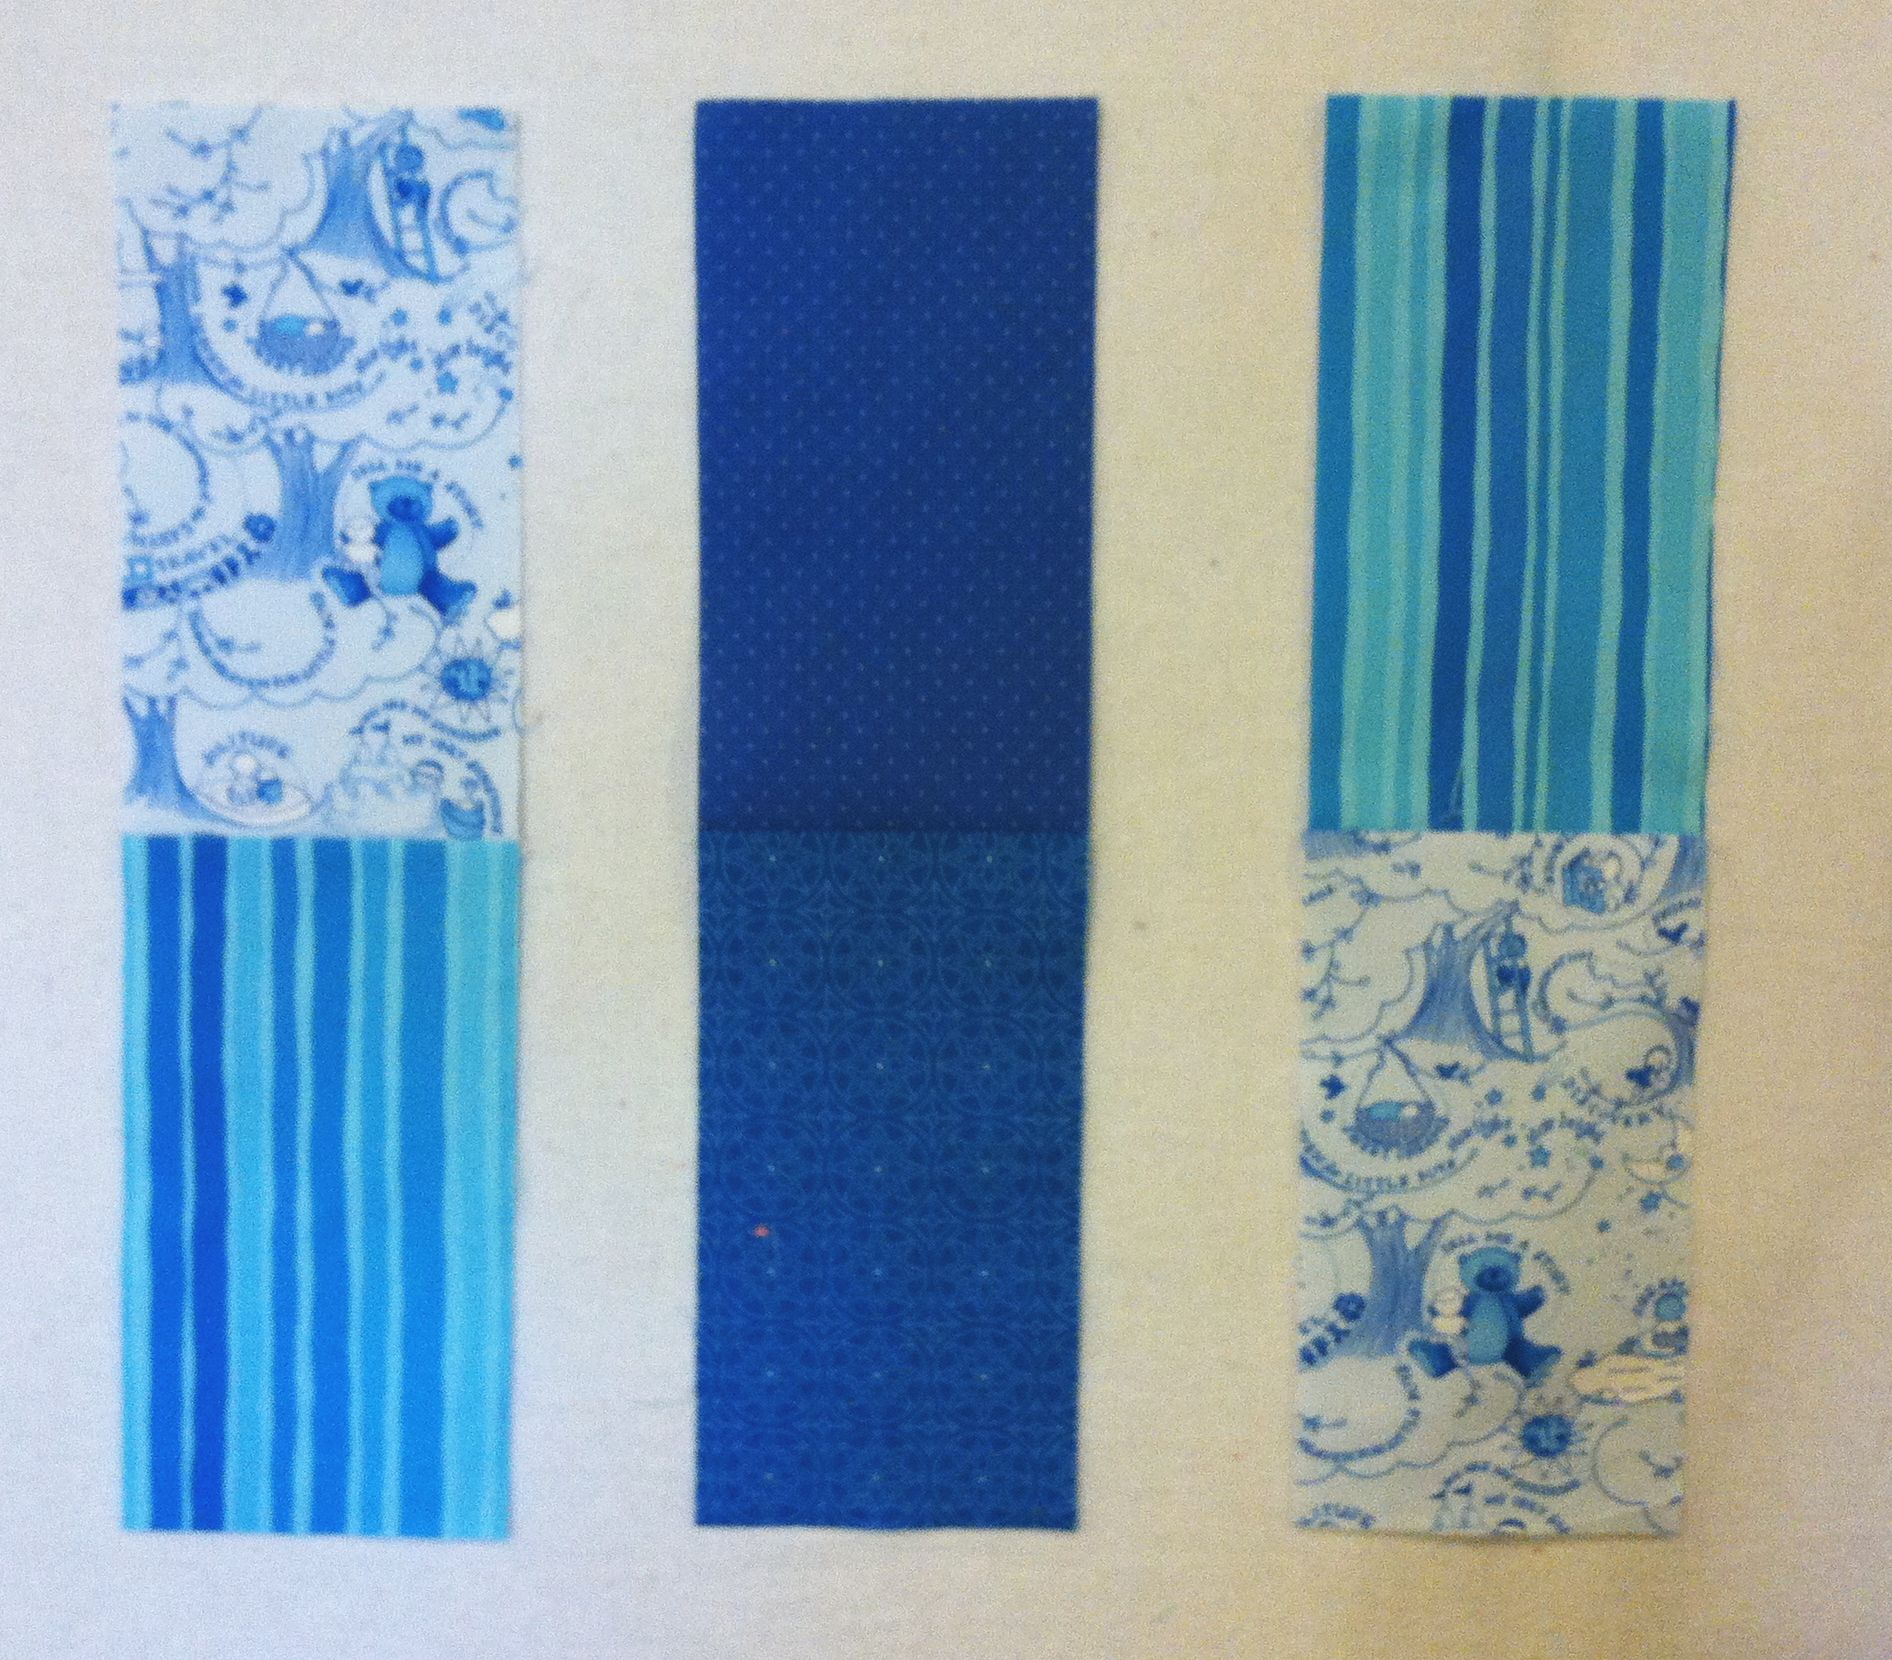
Brick PairsNext, double up your pairs so that you have 7 rows of 4 bricks each.
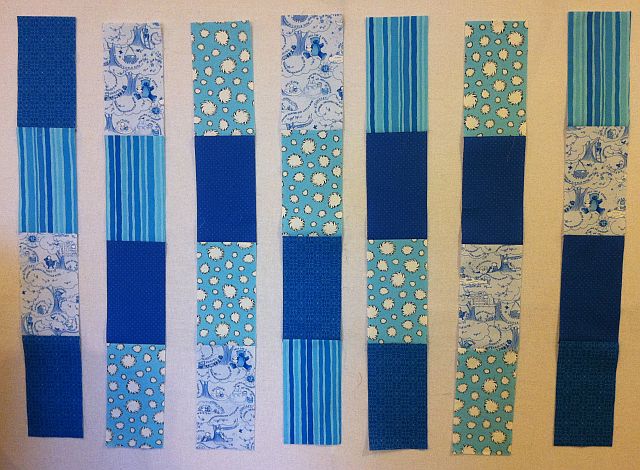
Sets of 4 BricksAdd 1 full brick and 1/2 brick to the top and bottom of each row, alternating placement. (The half bricks are slightly longer than 1/2 of a brick to account for seam allowances.)
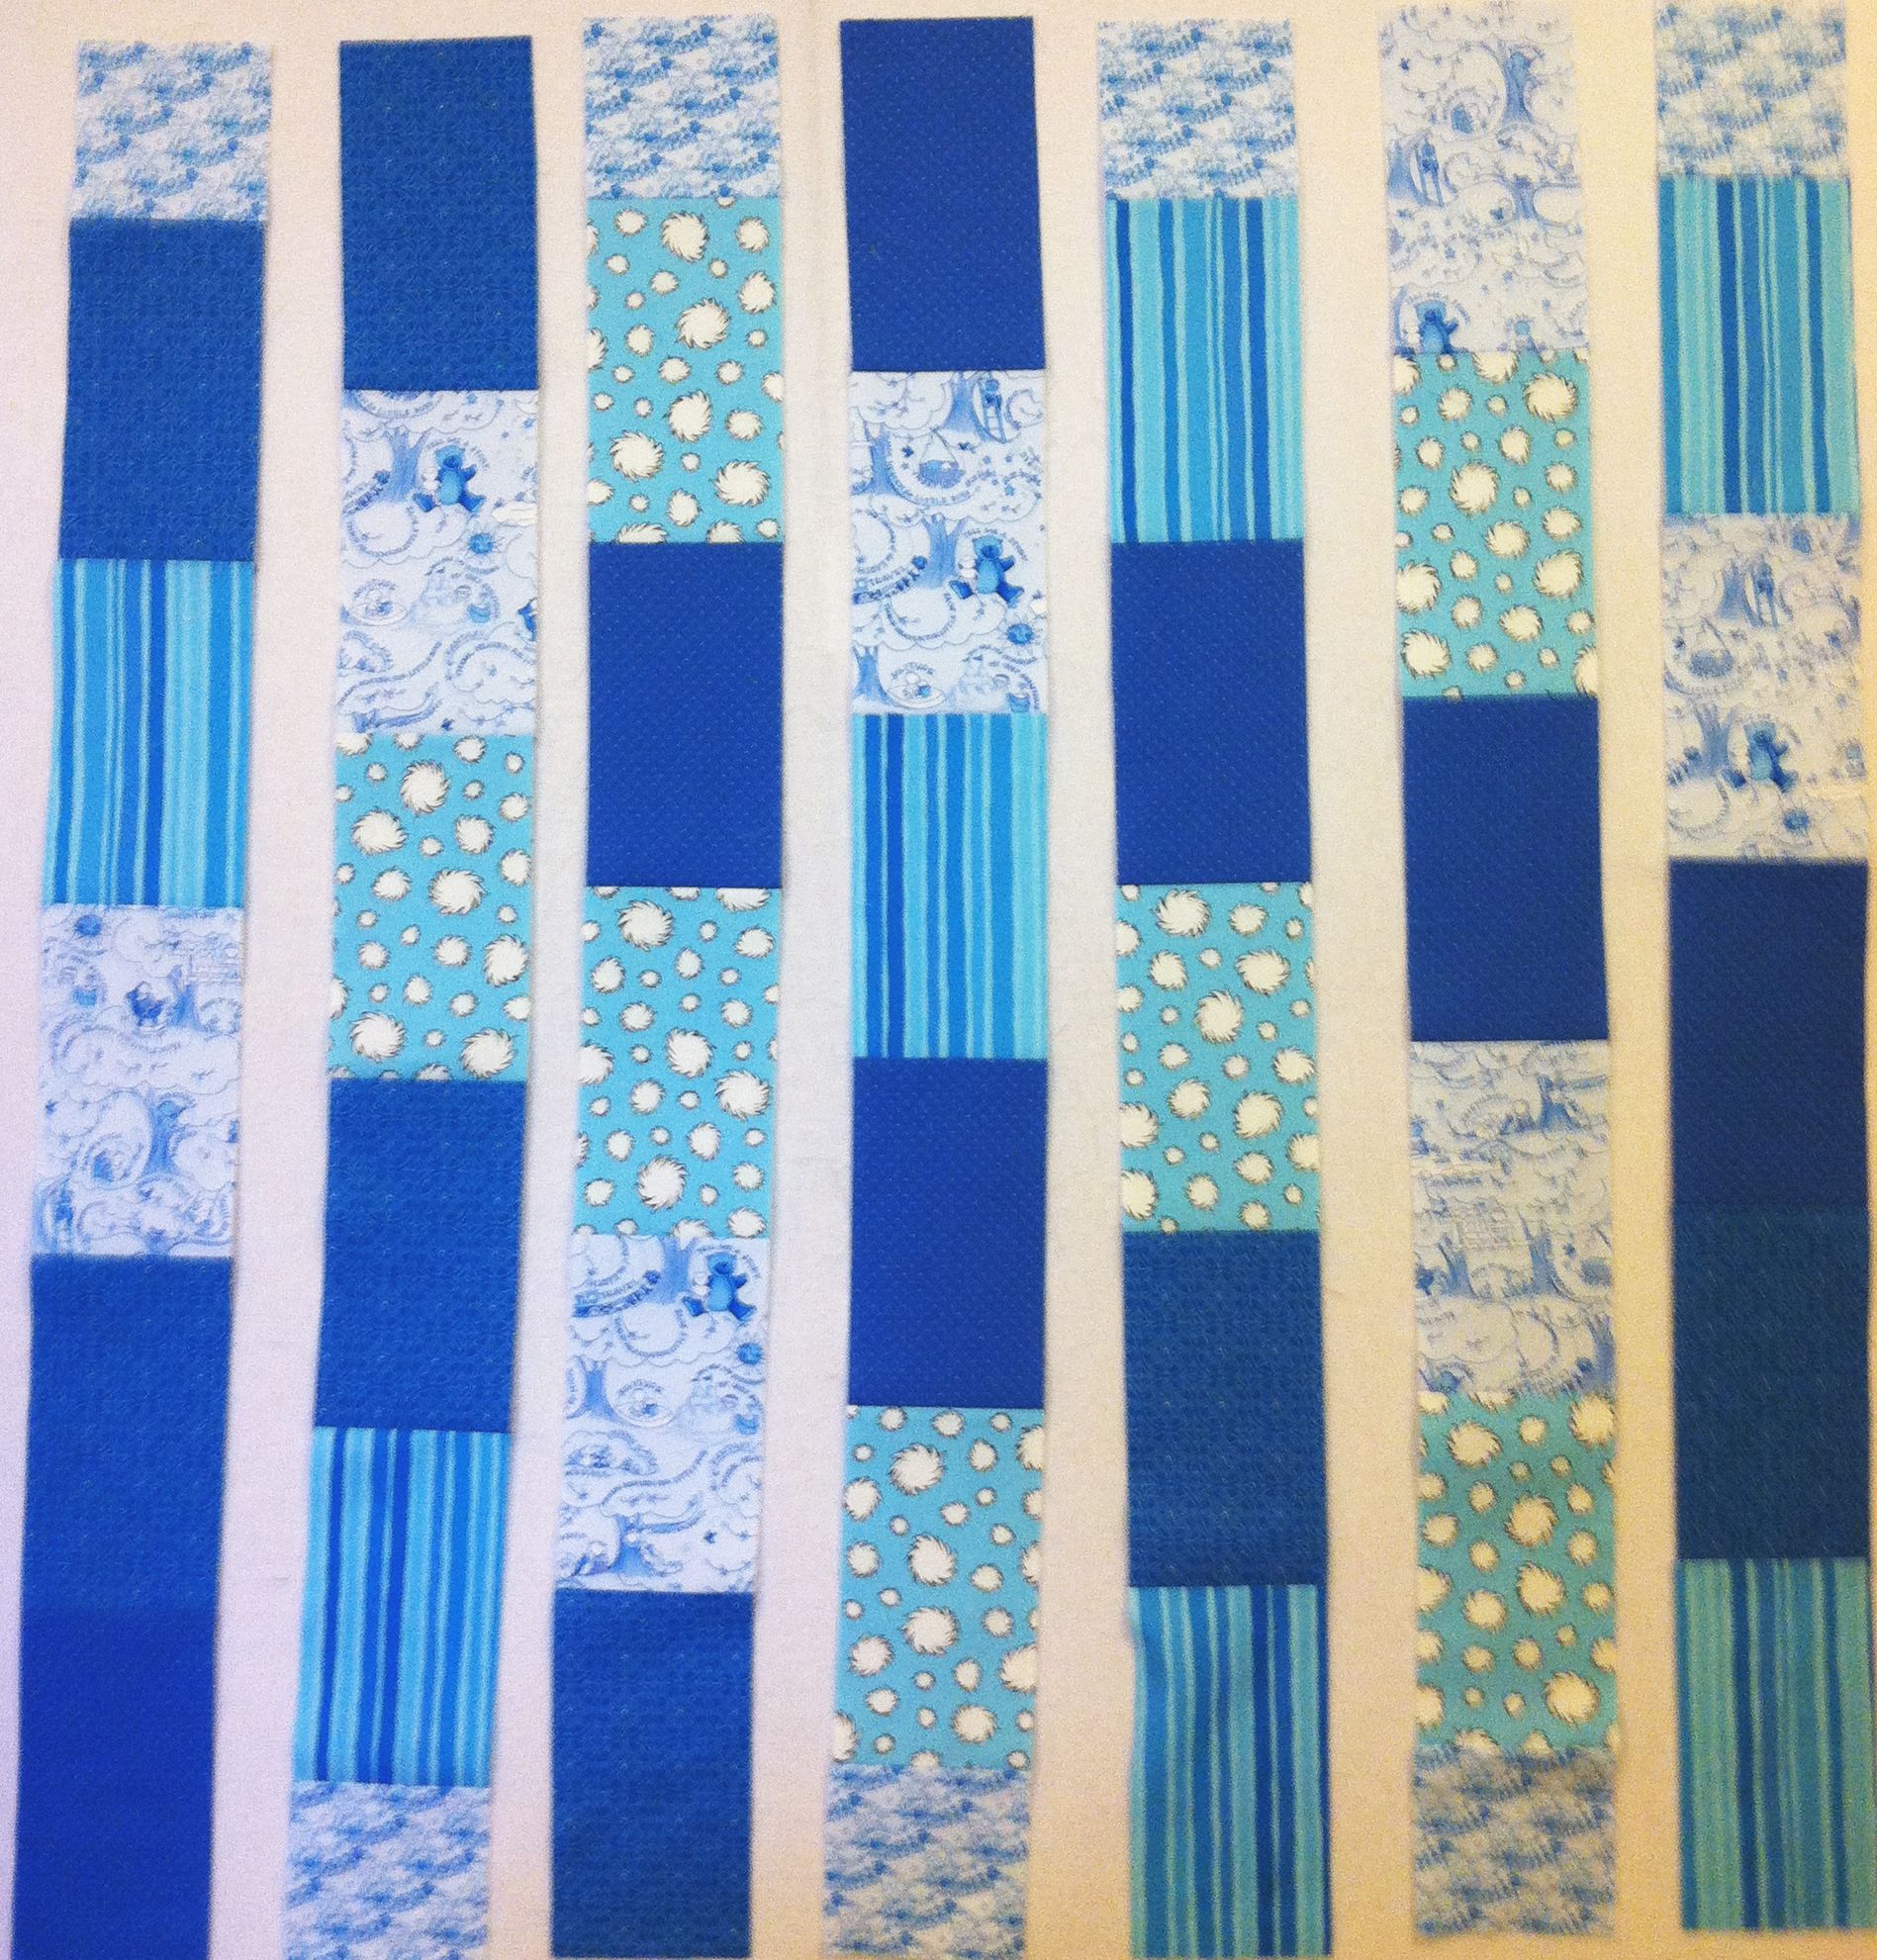
Finished RowsEach row has a total of 6 pieces.

Step 2 – Adding the Background Strips

Measure the length of your rows. Mathematically they should measure 44 1/2″ at this point.
Fold a row in half to make it easier to measure. The half-measurement is 22 1/4.”
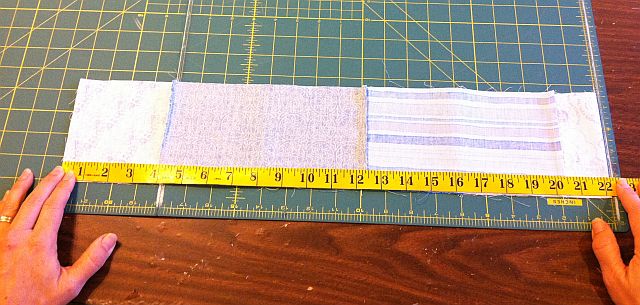
Measure Each RowTrim up 8 of your background strips to this measurement. Pin one strip to the right side of each row and sew. The first row will have a strip on the left side, too. Because the strips were cut parallel to the selvedge, they will have less give and there is less chance for distortion.
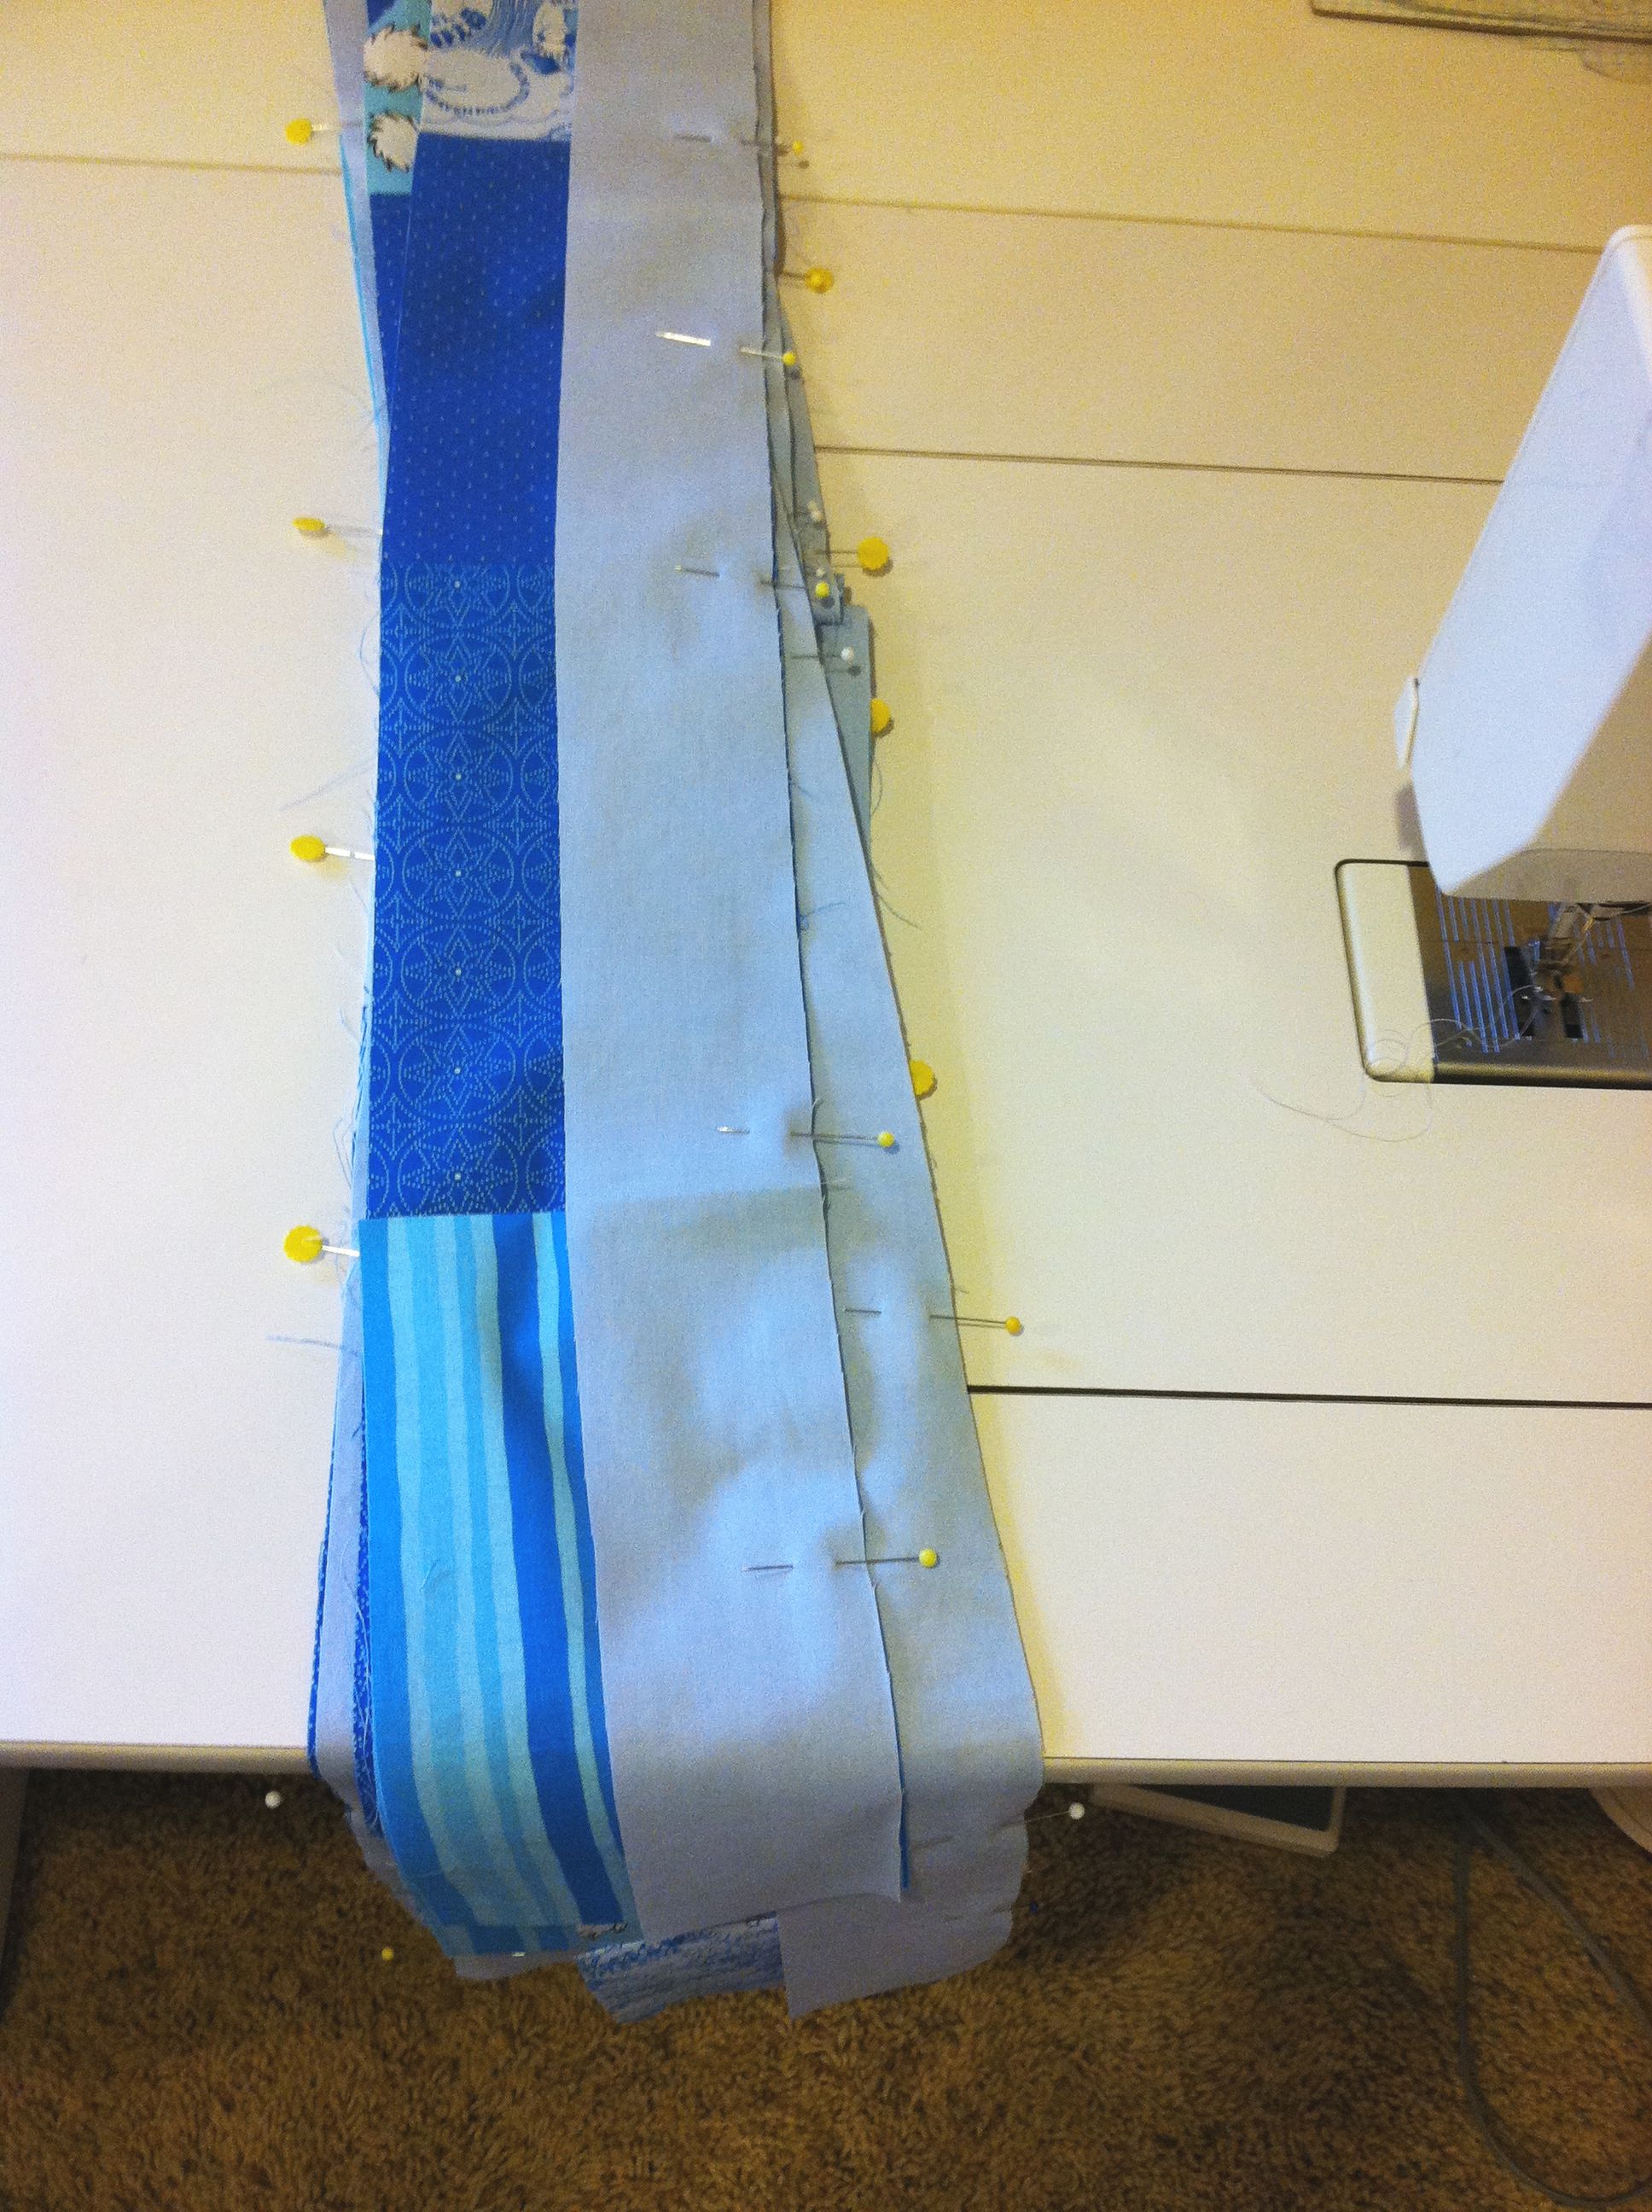
Pin the Background StripsAfter the background strips are sewn on, sew the top into wider rows, joining 2 at a time. This time, sew with the bricks on the top side and the background strips underneath. This will help ease any distortion that occurs when sewing long strips together. Again, pin well.
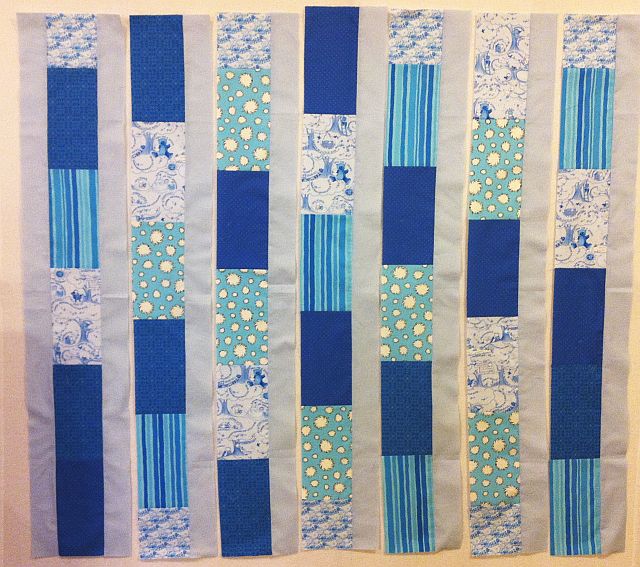
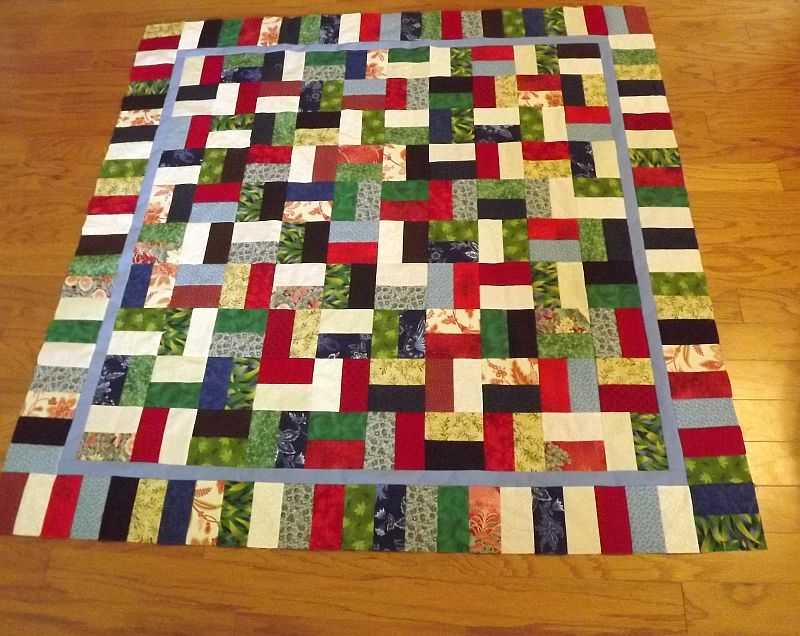
Bricks and BackgroundOnce all the rows are joined, measure across the width of your quilt.  Finished Quilt Top
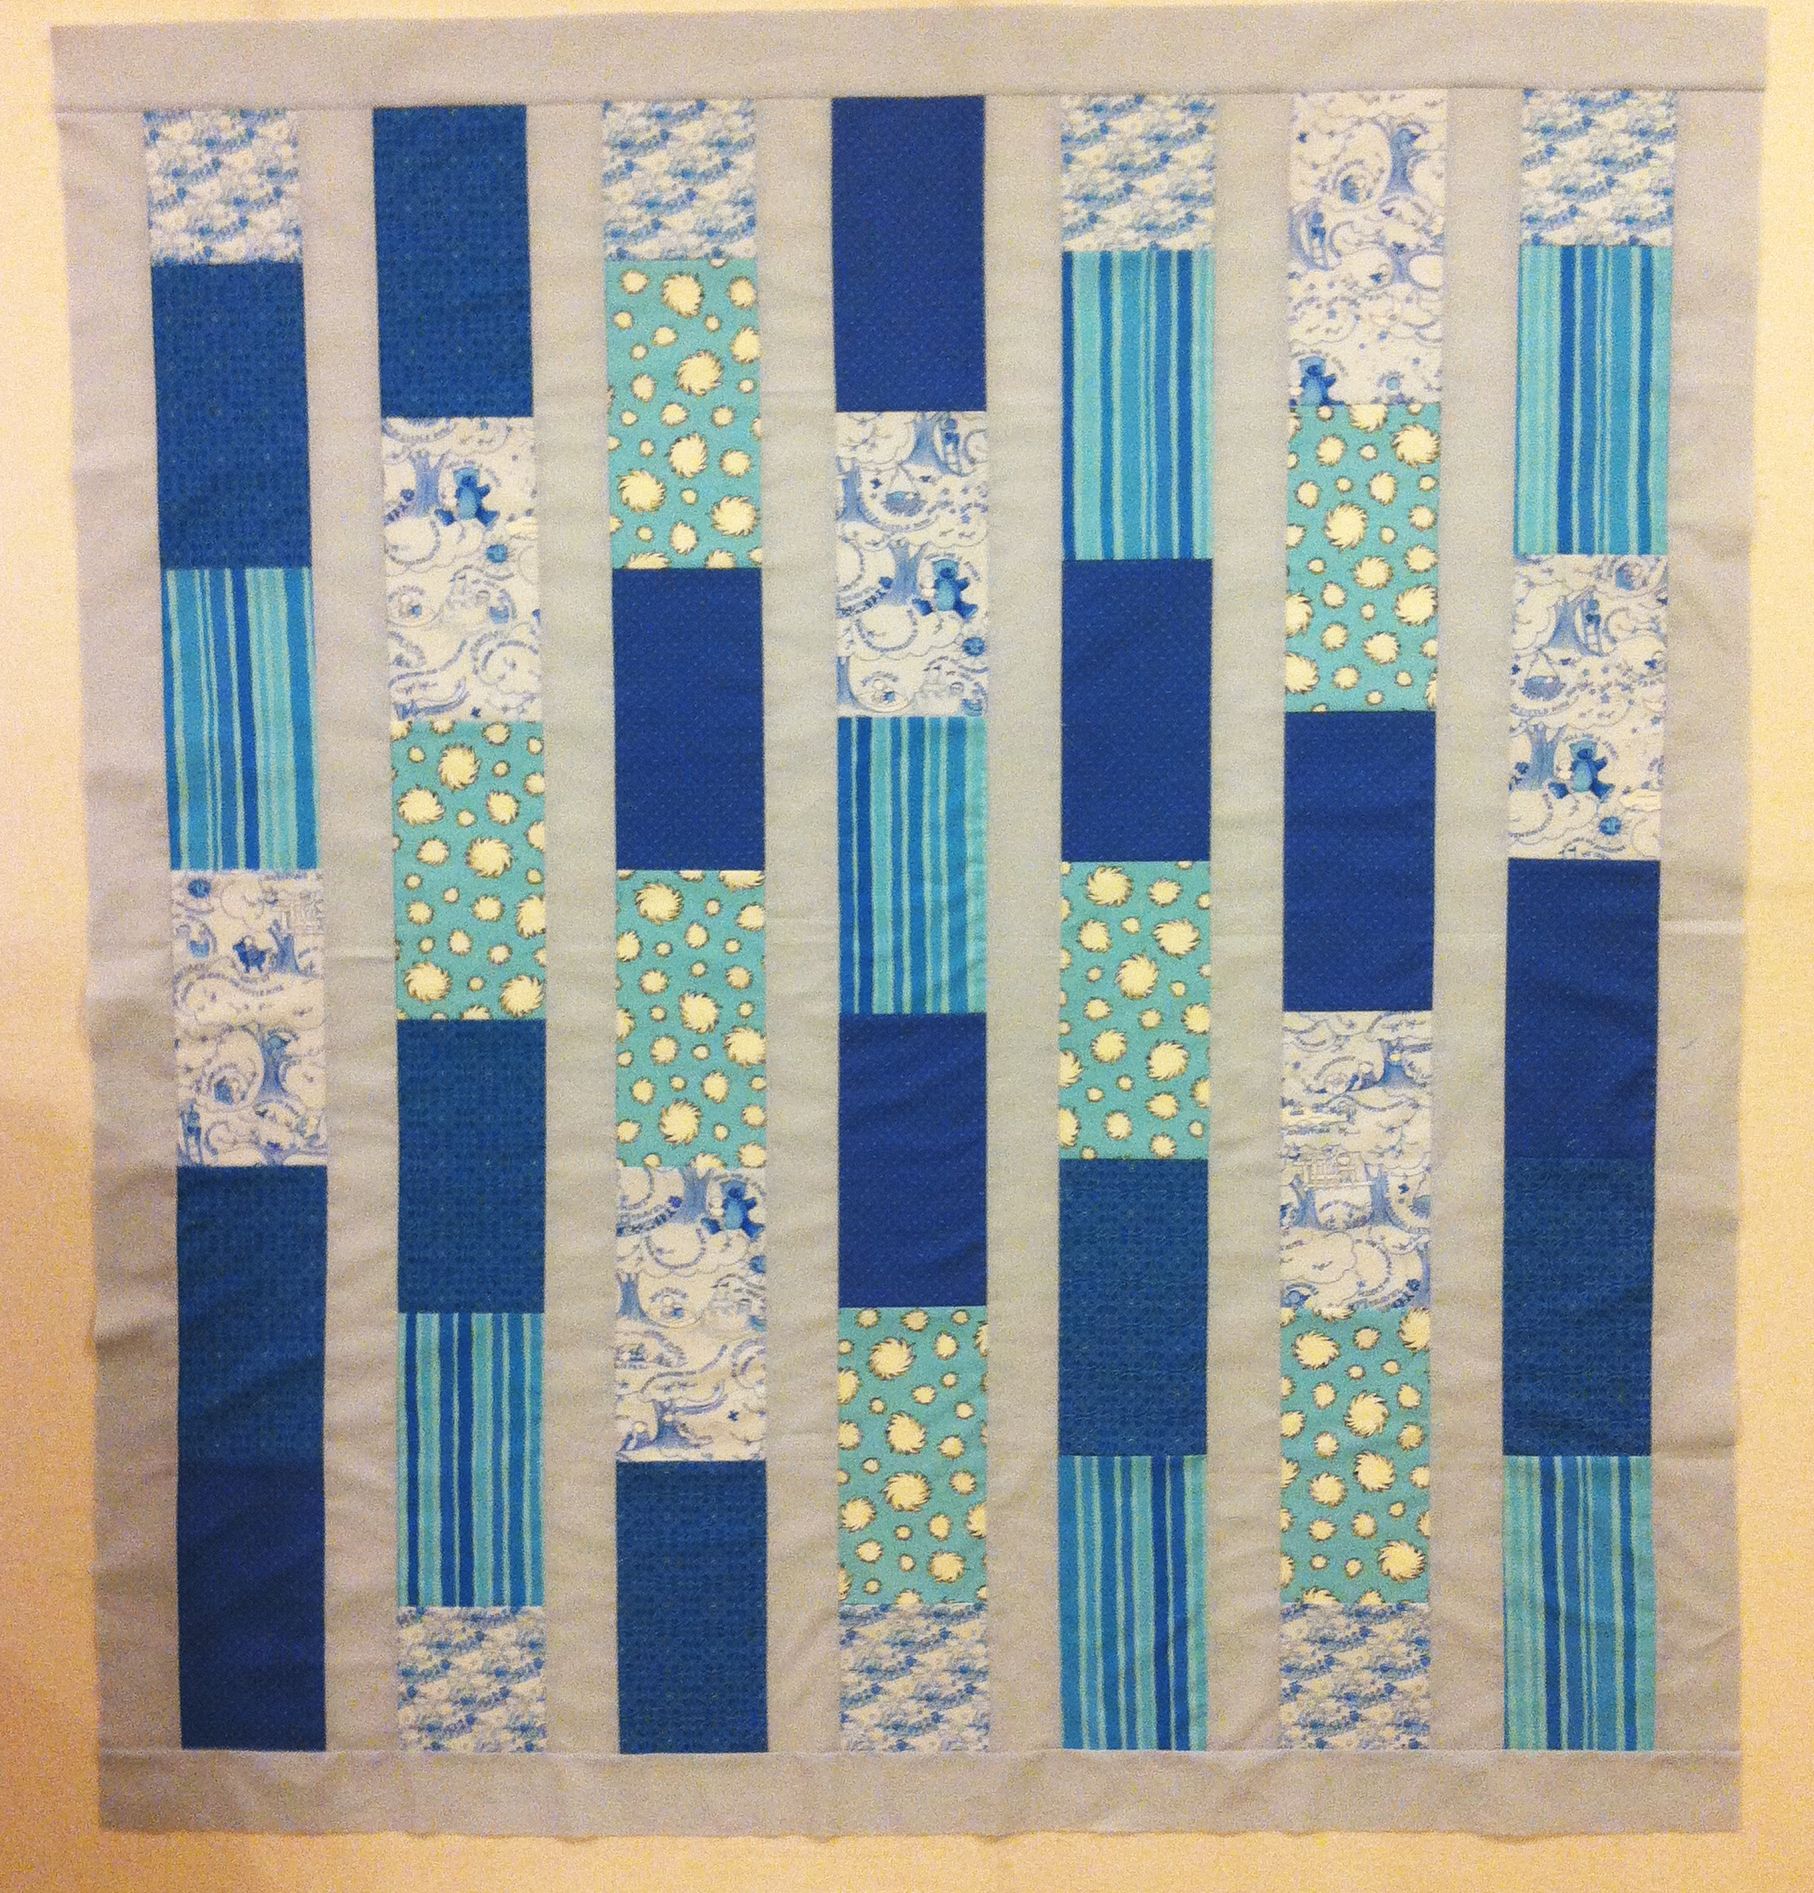
Mathematically it should be around 44 1/2″ wide (the same as the length of each row).

Trim your last two background strips this length and join to the top and bottom.

Give it a nice press and your top is done! This quilt will be a nice canvas for some fun geometric machine quilting. I can’t wait to get to that step in 2 weeks.

Be sure to email me pictures of your progress and any questions you have!

The full tutorial schedule is shown below, with links to each completed step as I finish:

Favorite Tools #7 – Acrylic Rulers

I’ve skipped a couple of weeks of blogging about my favorite tools so here are all of my previous posts so far if you want to catch up:

  1. Wooden Seam Roller
  2. Shout Color Catchers
  3. Design Wall
  4. My Toothbrush!
  5. Batting
  6. Needles

Today I wanted to mention acrylic rulers as a whole. I have tons of them and use them for all different purposes.

Acrylic Rulers

In addition to the workhorse 6″ x 12″ ruler which I use for cutting most of the pieces of my quilt, I like big square rulers  and longer rulers to help block the corners of my quilts.

I use smaller square rulers for trimming small blocks and strips. The largest ruler I could find, an 8 1/2″ x 24″ ruler is great for cutting longer border strips and trimming the sides of a quilt before applying the binding.

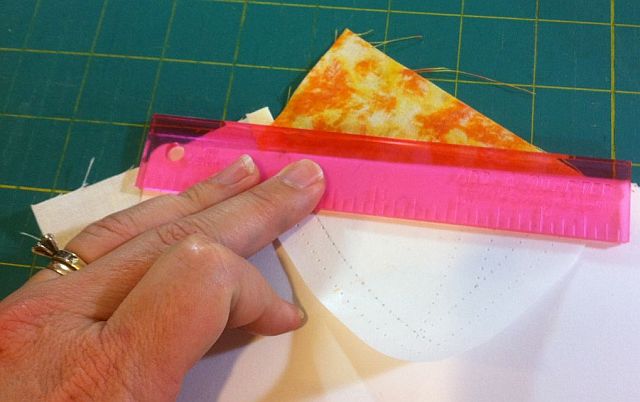
Long RulerI recently starting using a small ruler, called “add a quarter” when paper piecing. I took a class from awesome teacher and author Gail Garber. You can read my blog post about that.

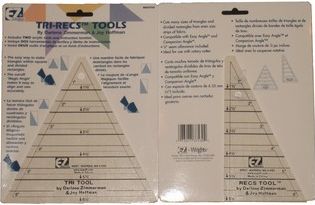
Add a Quarter RulerI don’t carry any of the larger rulers because they are too hard to ship but I guess I can start stocking up on the smaller ones. My favorite specialty ruler set is called Tri-Recs. You can make awesome triangle blocks and half-square and half-rectangle blocks from them.

Tri-Recs Tools

I used Tri-Recs when I designed one of my first quilt patterns, many years ago (and yes, it’s still waiting for me to put it in a professionally published format. For now, you can get a free version on my website).

Do you have a favorite ruler you’d like to share? I’m always on the lookout for nifty new tools!

Viva Mexico!

Mexican VacationThis week, Jason, the kids and I are on a beautiful Caribbean vacation near Cancun, Mexico.

It’s a beautiful time of year for a fun family getaway. Our family motto is “work hard and play hard” and that’s what we try to do!

With our work and school flexibility, it’s nice to be able to take off in mid-September and do a little traveling.

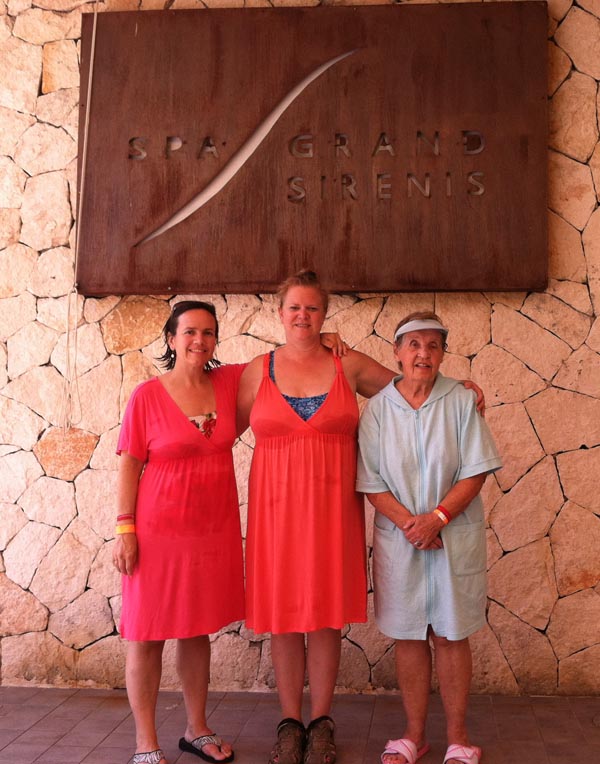
Spa DayThanks to great helpers at home and modern technology we can leave our shop in good hands while we are gone!

We arrived at the international airport this weekend and got right to work relaxing.

We are staying with some of Jason’s family at this cute little time-share resort.

The gals (Jason’s aunt, grandma and I) got to start off with a little spa day while the guys and kids did a little snorkeling on the beach.

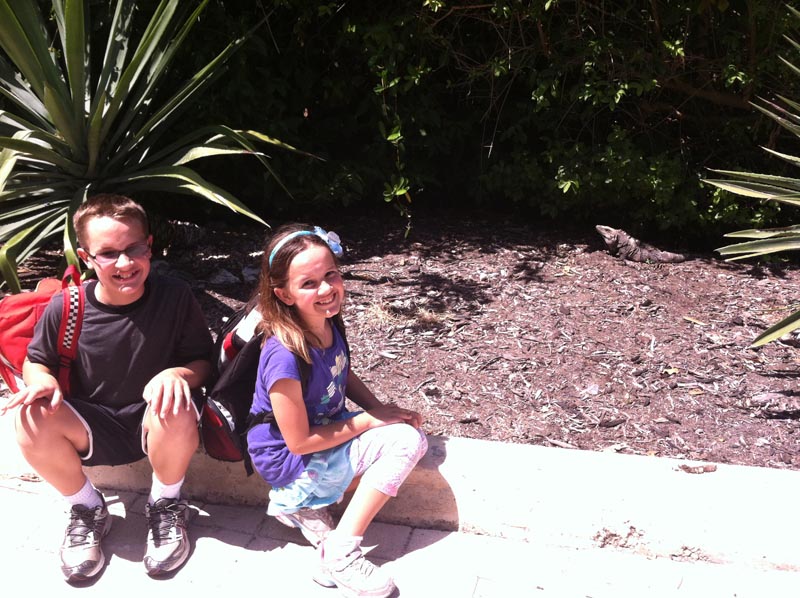
Almost as soon as we got here, the kids started chasing these huge lizards that are everywhere! (Maybe they are Iguanas?? I don’t know my reptiles very well!) We are in the jungle by the beach and it looks like a scene right out of the movies.Jungle Lizards

I did all of the hard before we left, like preparing my next quilt tutorial and scheduling my weekly specials and daily deals ahead of time. This leaves me free to relax – which for me is all about dreaming up the new quilt projects I will start when I return!
Mayan Riviera Beach

I read oodles of quilting magazines on the plane ride over and am now sorry I didn’t pack a sewing machine. (Though I did bring some hand work! Hmm… sewing by the beach, now that would be fun!)

Sew and Tell – Jenna Quilts!

My daughter has been bitten by the sewing bug. Today’s post reminds me of the late cartoonist Bil Keane of Family Circus.  He would occasionally let his sons publish some of their cartoons in their dad’s place in the Sunday Funnies, and now his son Jeff continues the work. I, too am encouraging my daughter’s artistry, and she already wants to take over the family business!

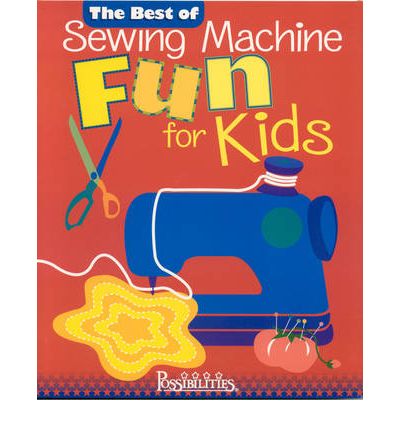
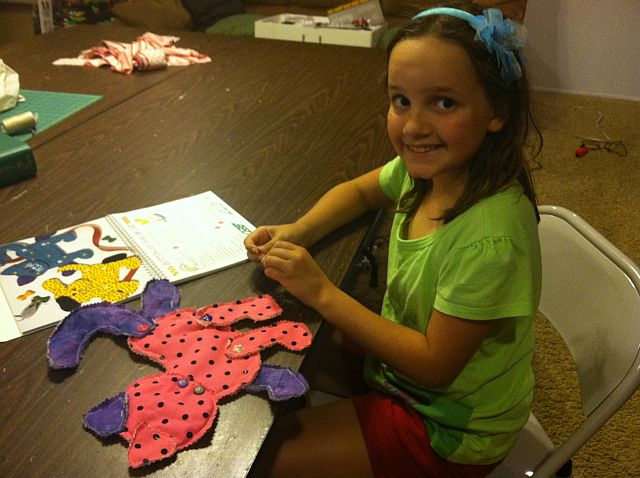
Sewing Machine FunJenna got a sewing machine for Christmas, has already made her first quilt and is working on a second one. This week, she put together a cute little project following directions from this fun book, “The Best of Sewing Machine Fun for Kids.”

She knew I was super busy with work and getting ready to go on our family vacation, so she rummaged through my scrap pile, found some fabrics and leftover pieces of batting and set to work!

Cutting the ScrapsI helped her with the ironing and taught her how to sew the buttons on by hand. But she cut, sewed and stitched everything herself! The book had easy instructions to follow.

Following Directions

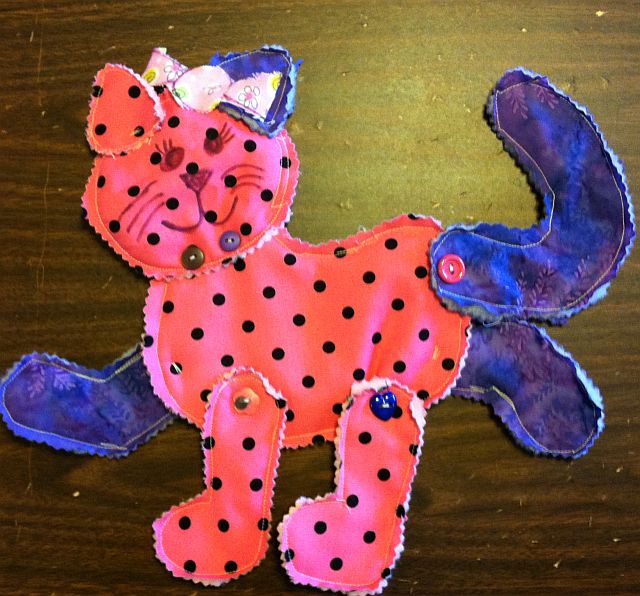
At a young age, she’s already taking the pattern and making it her own. She added some extra fabric and buttons to the cat and attached a bow. Jenna puts bows on everything and I love it! Now she wants to make one for her best friend’s birthday. Way to be crafty, Jenna!

Jenna's Kitty Cat

Christa’s Quilt Along 2.2 – Cutting the Baby Bricks

I’m so excited to start on a new quilt! Perhaps the best thing I love about creating these tutorials is that it forces me to quilt. I work well with deadlines. 🙂 It was also very fun to put together quilt kits for this project and even more gratifying that they are selling!

This week we will cut out all of the pieces for our Baby Bricks Quilt. Scroll to the end of this post for the complete schedule. For those of you needing a quick refresher on rotary cutting, Alyssa from Pile O’Fabric has an excellent rotary cutting tutorial on her blog.

Before you begin, make sure to read the instructions thoroughly and heed this advice: measure twice, cut once! You need 17″ x 18″ of useable fabric from each fat quarter.

Step 1 – Cutting the Bricks

Start with a sharp rotary cutting blade, and stack 5 of your 6 fat quarters together.

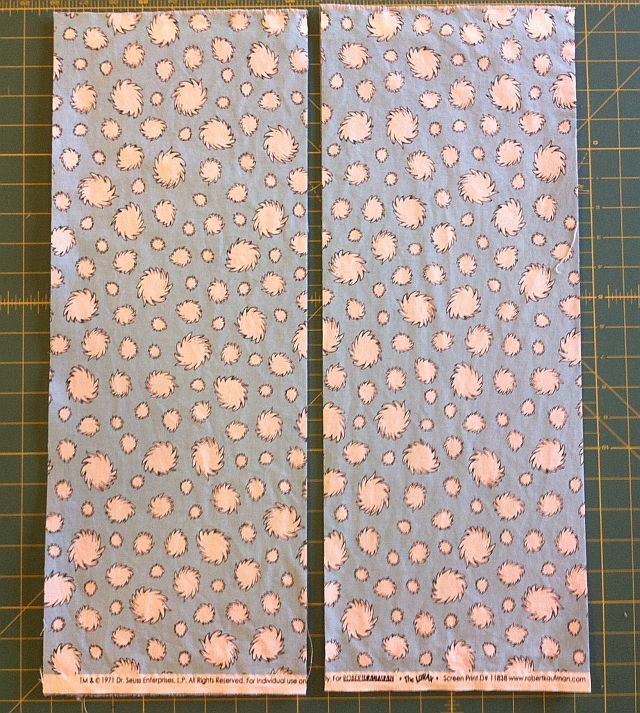
Stack of Fat Quarters

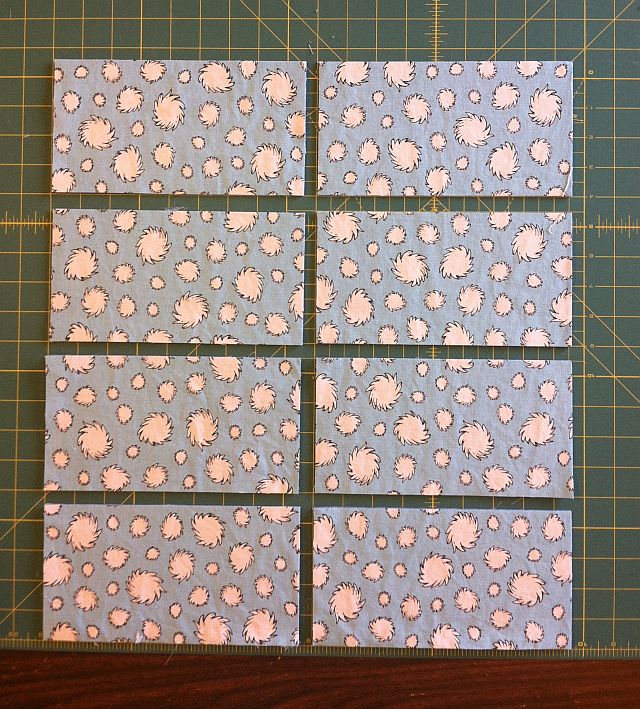
Cut each fat quarter into two 8 1/2″ x 21″ strips. Then subcut them into 4 1/2″ x 8 1/2″ bricks. With careful cutting, you can get 8 bricks per block. Repeat for a total of 40 bricks.

Two 8.5 Inch Strips

8 Bricks Per Fat Quarter

For this quilt, You only need 35 bricks, so 5 of them will be extra.

You can use the leftovers either on the back of the quilt, or use them to make a quilt label, or small throw pillow. Or swap some of them out with your 1/2 bricks shown below for variety.

Step 2 – Cutting the “Half”-Bricks

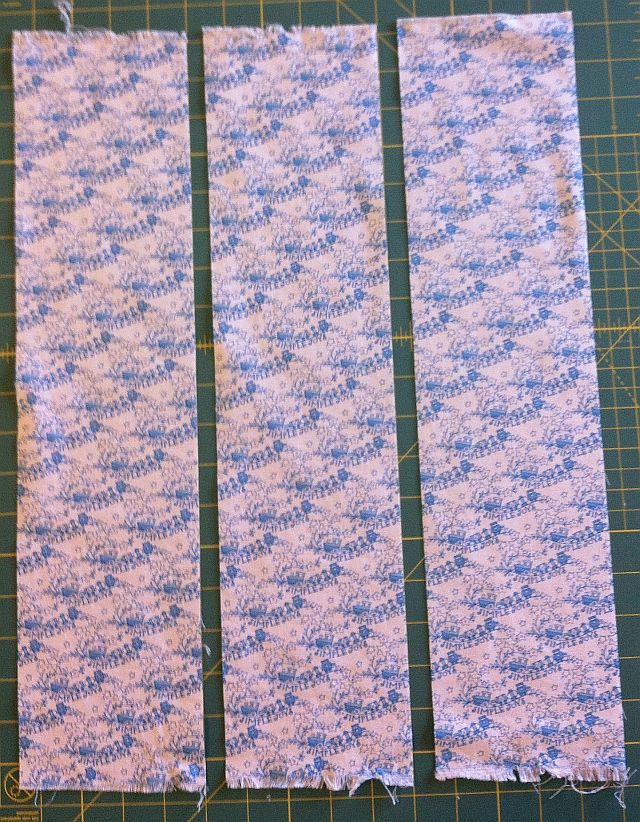
With your remaining fat quarter, cut out three 4 1/2″ strips. It doesn’t matter which direction this fat quarter is going because you will subcut them into squares.

Cut 3 Strips for Half Bricks

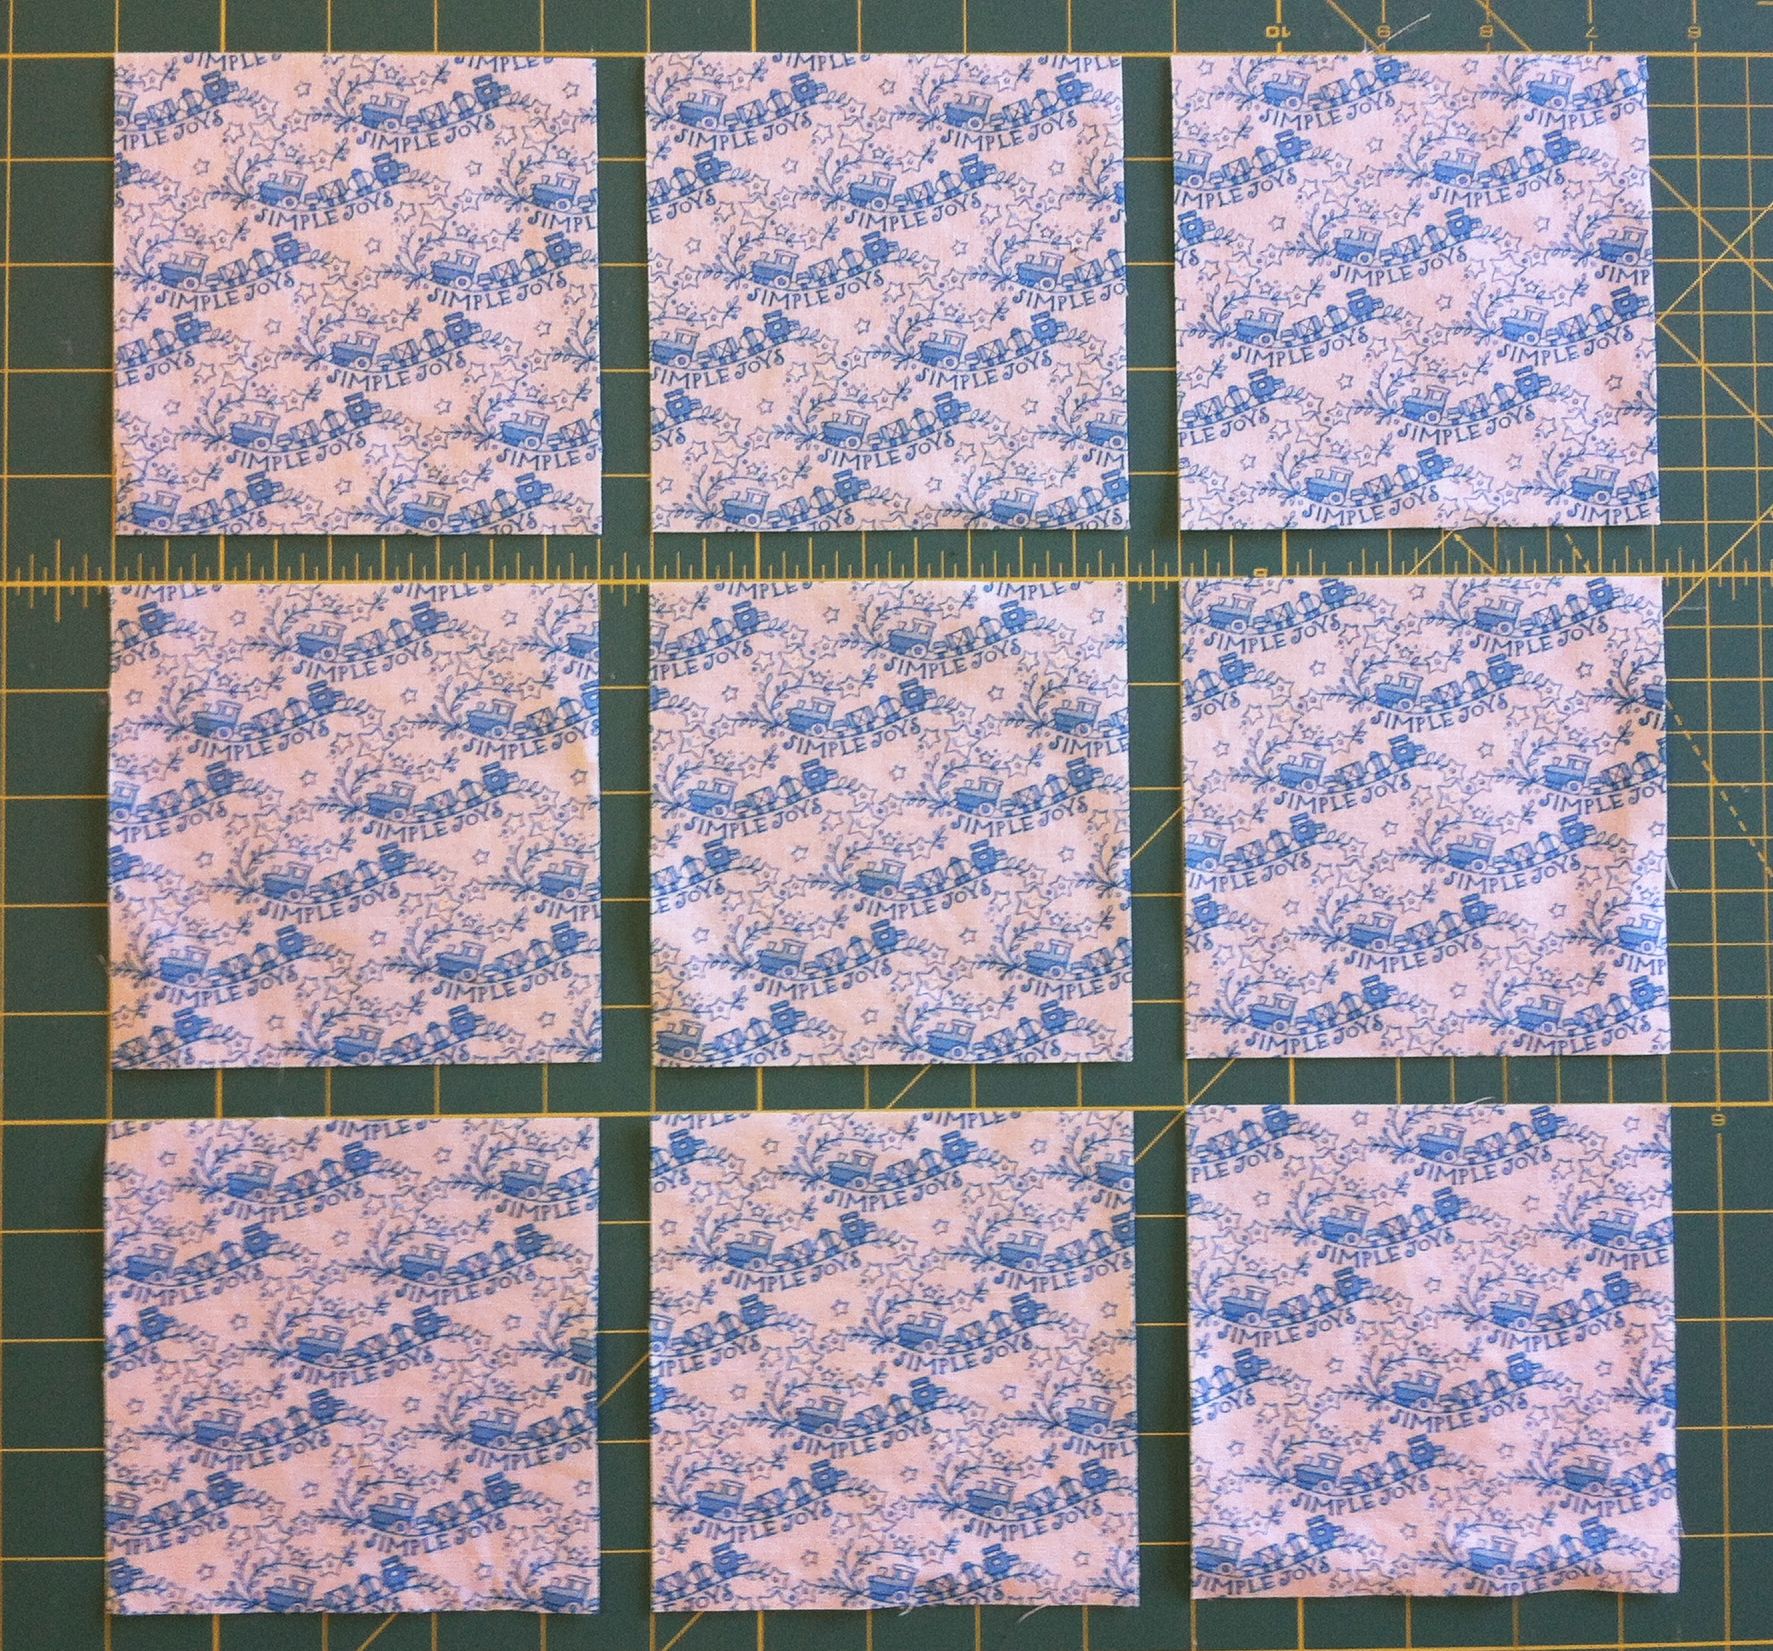
Cut the 3 strips into nine 4 1/2″ squares. These squares are actually a little longer than half of one brick so cut carefully! You only need 7 “half”-bricks, so 2 of these will be extra.

Cut Nine 4.5 Inch Squares

Step 3 – Cutting the Background and Binding Strips

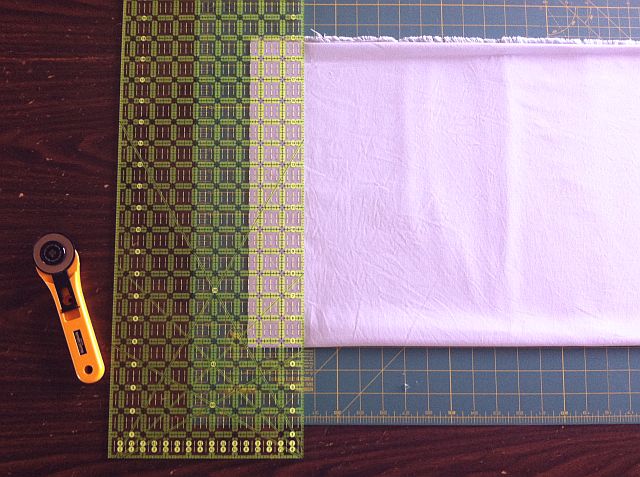
Fold your background fabric “the long way” as I call it, parallel to the selvedge. Fold the fabric into 4 layers and use a longer acrylic ruler for cutting.

Fold Parallel to Selvedge

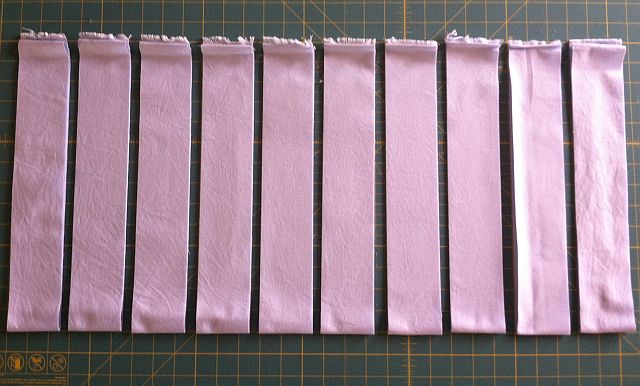
Trim the selvedge and cut ten strips that measure 2 1/2″ wide by the length of the fabric (about 54 inches).  These are for your background strips and your borders.

Cut 10 long strips by 2.5 Inches

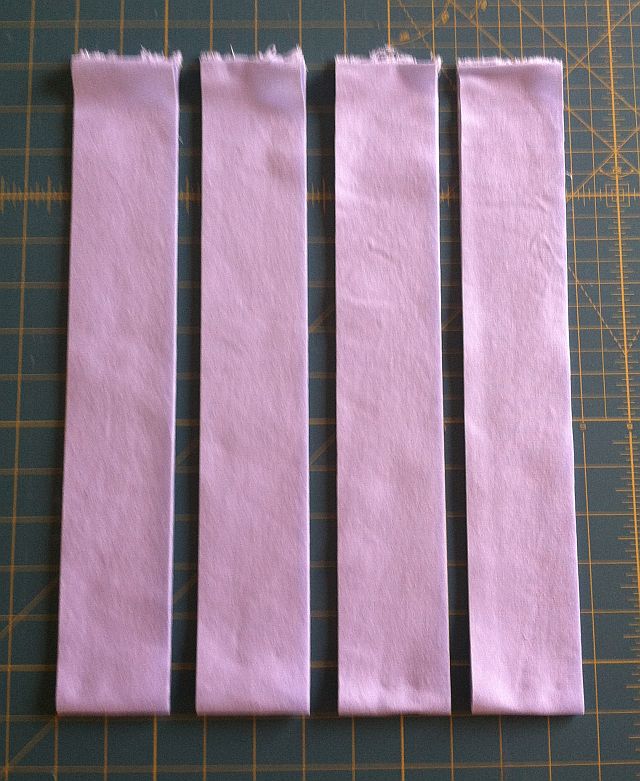
Cut 4 more  strips 2 1/4″ x 54″. These will be your binding strips. Set them aside for now.

Cut 4 Binding Strips 2.25 Inches

That’s it for this week! Wasn’t that easy? It was so easy that I am actually making two quilts at the same time. You can see both my boy version and girl version below.

Boy BricksGirl Bricks

If you have any questions about this tutorial you can post them here on the blog. If you want to share pictures of your quilts in progress from any of my tutorials, just email me at Christa@ChristaQuilts.com. I’ll share pictures and answers next Friday.

Here is the complete tutorial schedule. Each link will be active once I’ve finished that step:

And the Winner is… (with another chance to win fabric!)

Thanks so much to all of you who participated in my blog hop party and fabric giveaway hosted by the Quilting Gallery. Make sure you visit their website for more upcoming fun – I’m sponsoring a few of their weekly contests and their fall block party so check it out!

It was such fun to read everyone’s comments and see what they would buy if they won. It also gave me a good idea of what fabrics are most popular among my blog readers. I randomly chose one winner from all of the posts I received. And the winner is……..

Tanya H. who said, “I like American Jane. Thanks for chance to win.”

Congratulations, Tanya! You have won a $20 gift certificate to my online fabric store, ChristaQuilts.com. You can spend this gift certificate however you choose! I will be contacting you separately via email on how to redeem your prize.

Now, for all of you who did not win, guess what – there’s still hope! I sponsor a couple of crafty/quilting blogs out there and 2 of them are featuring my shop on their blogs with another giveaway this week!

For details, please visit PileoFabric.com or PlumandJune.blogspot.com. These contests end soon, so hurry on over for you next chance to win!

Modern Quilt Musings and QuiltCon

I have recently jumped on the Modern Quilting wagon big-time! I was trying to figure out why this latest quilting movement is so appealing to me and here’s what I’ve come up with:

1. I love all the negative space! Machine quilting is my first love (even more than piecing) and with modern quilts, there is more room to show off intricate FMQ. Plus, it’s easy to add texture with lots of simple geometric quilting.

Modern Free-Motion Quilting

2. Many modern quilts are based on traditional patterns with a twist. Have you seen wonky log cabins and not-your-grandmother’s flower garden hexagons? How about pinwheel remix? To me, modern quilting is different than abstract art quilting (though of course it can include that, too!) I love the traditional roots with an anything goes attitude of modern creativity.

Modern Quilt Blocks

3. Fresh, clear colors with simple designs are very appealing to me. Much of the modern aesthetic is inspired by fashion trends and home decorating. That means most modern quilts are made to be used and loved but that doesn’t mean they are just slapped together. Good workmanship is still an essential part of the quilt-making process.

Simple Modern Quilt

4. Can we say solids??? There are so many tutorials and inspirational photos out there using solids by themselves or in tandem with other fabulous designer prints.  And I love the flexibility of combining different lines of fabric from different manufacturers. Modern quilting is all about getting away from being too “matchy-matchy” and instead, pursuing more eclectic combinations that actually work.

Moda Bella SolidsKona Cotton Solids

These are just a few things I like about modern quilting; I’m sure I will discover many more.

QuiltConThis weekend I signed up to attend QuiltCon, the first international modern quilting conference, presented by the Modern Quilt Guild in Austin, Texas next February. It’s a little out of my comfort zone to travel that far by myself but I know it will be worth it.

I will be taking Angela Walters “Quilting Negative Space” class and am looking forward to lots of informative lectures like “Publishing Your First Book” and “Publishing Your Work in Magazines”. I am excited to meet many of the modern quilting “celebrities” that have made a name for themselves in this industry.

Sew and Tell Friday – Strips and Bricks

It’s so fun to see how everyone’s Jolly Jelly Roll quilts have turned out.  Even though I finished up this tutorial, I will be happy to share pictures of those that have followed along, whether they are finished or not (though I can’t wait to see the quilting on them)!

Also, I put together a Jolly Jelly Roll quilt kit if you’d like to make another one.

This is Laura F.’s top that she made from her stash. She chose to make her quilt as I had shown in the original pattern drawing, with piano keys borders. She’s toying around with the idea of using oilcloth for the backing as a picnic blanket. I think that would be fantastic!

Laural's Jolly Jelly Roll QuiltI’ve just begun the next quilting tutorial series, called quilt Baby Bricks. I tweaked a design I had done previously, based on a couple of fun quilts I designed and made last year.

Blue BricksMy tutorial will be very similar to the blue quilt, with the addition of neutral solid strips in between the rows. That will give it a modern touch while providing some negative space.

Kits are available for that one, too.

Green BricksJust for fun, I made a similar quilt in brown and green and added a few monkey appliques.

To do this, I simply ironed some wonder under to the back side of my Funky Monkeys fabric and cut around the shapes. I ironed them to the quilt top and then stitched around them with a straight stitch once the quilt was basted, an appli-quilt technique!

This is the first time I’ve sort of worked in a series. I like the look of the bricks and it was fun to explore a few different possibilities with the design.

Christa’s Quilt Along 2.1 – Baby Bricks Supply List

Free Quilt Pattern

New to my blog? Be sure to sign up for my email newsletter to get a free pattern!

Baby Bricks

Welcome to my second Quilt Along! (Click Here for the first one). What makes my quilt alongs different and exciting? We will make the complete quilt from start to finish including machine quilting. I love to encourage do-it-yourselfers – no quilting by check here. 🙂

We will be making this Modern Baby Bricks Quilt measuring approximately 44″ x 48″.

Baby Bricks Boy Blue

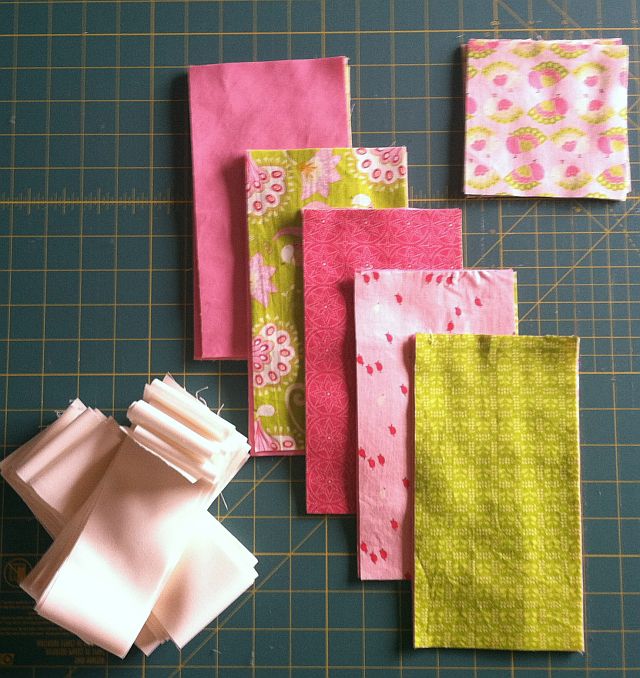
I’m making this quilt in two color options, using the fabrics shown below:

Girl Baby BricksBoy Baby Bricks


These  colorways are Pretty in Pink and Baby Boy Blue and am going to make one of each! Have fun choose your fabrics using the supply list below and quilt along with me!

Sewing Schedule (All links will be active once each step has been completed.)

Supply List

  • 6 Fat Quarters of coordinating fabrics – use a variety of values and scales for interest
  • 1 1/2 yards of neutral background fabric; includes enough for binding
  • 2 yards of fabric for the backing; will be pieced
  • Rotary cutter with a sharp new blade for cutting through multiple layers.
  • General sewing supplies: machine in good working order, rulers, cutting mat, etc.
  • Neutral cotton thread for piecing (sewing the quilt blocks together)
  • Matching cotton or polyester thread for machine quilting
  • Walking foot for straight line quilting
  • Brand new sewing machine needles
  • Piece of batting at least 50″x55″
  • Tape or washable marking pen (test first and be sure to prewash your fabrics!)
  • Optional: Darning foot for free-motion quilting; supreme slider, quilting gloves, for FMQ

Note about washing your fabrics – I always prewash to make sure there are no surprises. If you are using small pieces like fat quarters, either wash them by hand in your sink, or use a mesh bag and machine wash on a gentle or hand-wash cycle. Wash light and dark colors separately until water runs clear and consider using a color catcher sheet with each load.

So take this week to gather your supplies and I’ll meet you back here next week for cutting!

Sharing is Caring

Please share your work in progress in my facebook group: Quilt With Christa . 🙂

Bungle Jungle Quilt – Making Progress

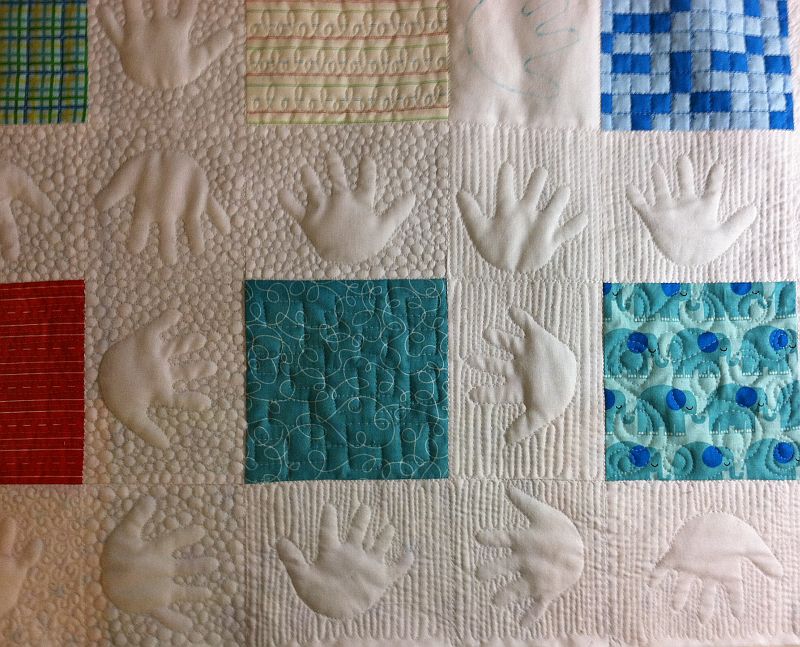
I am slowly but surely making progress quilting my Bungle Jungle quilt. This is my first attempt at a modern quilt. I discovered the whole modern quilting movement just a few months ago and have truly been smitten!

Pebble Quilting

I started with just one Bungle Jungle charm pack and surrounded the charms with lots of  “negative” space so I could practice my free-motion quilting skills. I used Kona Cotton Solids in white for the background.

Cucumber Vines QuiltingI love how the pebbling turned out and I’m now learning how to quilt some swirling vines. My vines look a little more like hooks, but it’s still fun to vary the motifs.

LinesI like the textural element that quilting gives to a quilt!

Curlie-Cue SwirlsAt first I thought I would surround the little hands entirely with just one quilting motif, little curlie-cue’s.

However, after I quilted a few squares, that got old very quickly!

So to keep things fun, I’m switching quilting motifs throughout the quilt. Not only will every charm square be quilted differently, the background fills will change, too.

I’ve only finished about 4 rows of quilting so far (out of 15!) but I am enjoying the process. The key is not to rush it. I only quilt a couple of squares per day. This gives me daily FQM practice so I won’t get bored. This will be a long-term process and I won’t even attempt to record how many hours the quilting takes. But I am having fun and that’s what’s important!

Bungle Jungle Charm QuiltI think I will call this quilt “Busy Hands” not only for the cute little quilted hands, but because I am keeping my hands quite busy quilting this baby!