Part 5 of Answers to Your Machine Quilting Challenges continues with more fun quilting problems to solve! Check out part 1, part 2, part 3 and part 4 for more solutions!

Problem: Sometimes I get bored quilting the same thing over and over.
My suggestion: Break down the quilting into different designs and quilt them in different areas of the quilt. Also be sure to listen to something fun while you quilt! I love listening to audio books or quilting podcasts while I sew. It makes the time pass quickly and I feel like I’m being super productive at the same time!
Problem: My stitches vary in size.
My suggestion: You know what? So do mine, but that’s totally okay. When you step away, you won’t even notice. The only way to get perfectly sized stitches is with a stitch regulator and I know that’s not available on all machines, so I usually don’t even use one on my own work. Stitch length consistency will get better over time, but I wouldn’t stress about it too much. 🙂
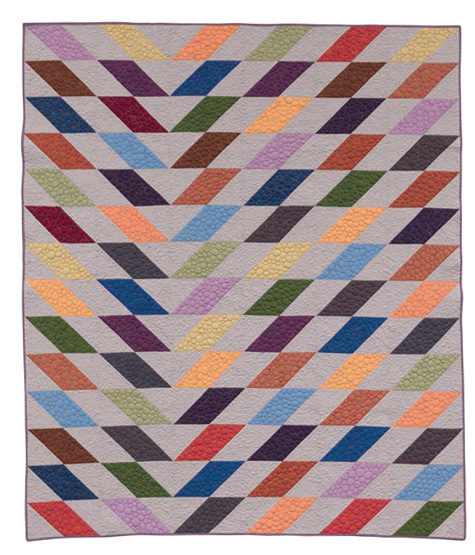
Problem: How do I quilt negative space other than with straight lines?
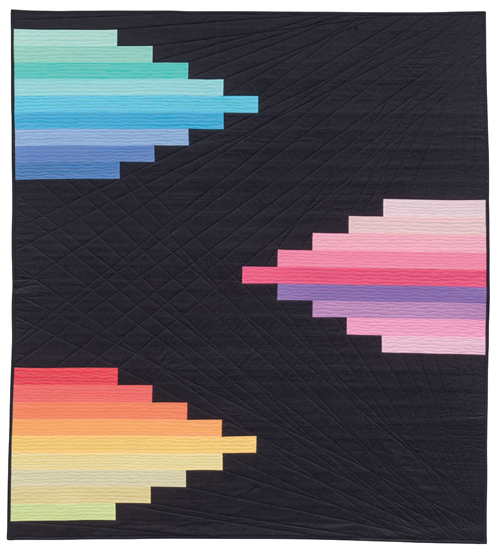
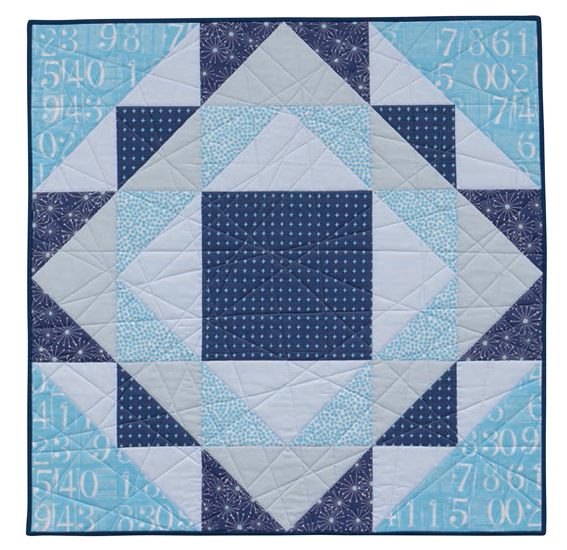
My suggestion: I show several different geometric variations in my “Plumb Lines” quilt from The Ultimate Guide to Machine Quilting. I quilted this quilt to answer that problem. Although straight lines are awesome, I wanted to give free-motion quilters some modern alternatives for straight-line quilting. Try out linear designs such as zig-zags and or other cool geometric shapes. Have fun experimenting or combine them together for even more ideas!

Detail of geometric/linear free-motion designs that you can quilt in negative space.
Problem: I don’t feel like I’m in control.
My suggestion: when begining your free-motion quilting adventures, embrace that fact that it will take awhile to get the hang of it. To put it more bluntly, yes, you are going to suck at it for awhile and that’s okay! Just like it took you a while to learn how to write, so too is machine quilting a brand new skill. Just be patient and keep at it and it will get better, I promise! One suggestion I offer my students is to make up 7 small practice pieces. Quilt one a day for a week and you’ll see a noticeable improvement!
Problem: How do I manage dealing with a bulky quilt?
My suggestion: scrunch and smoosh the quilt out of the way as much as possible while you quilt. There’s a brand new apparatus out there called “The Weightless Quilter” which I just got and can’t wait to try! It basically holds the quilt up of the table for you while you quilt.

Click here to see a video of the Weightless Quilter in action!
Problem: My machine is too light.
Solution: My guess is that this is more of a problem with the table than your machine. I suggest using the largest table you can, and embedding your machine into the table so it’s flush with the top. If you don’t have a table you like, check out the affordable sewing tables that Leah Day sells. You can always add extra tables surrounding it to make your work area larger.
I hope you are enjoying these suggestions. I’ve got a couple weeks’ more worth of questions to go – so I’ll keep going until I answer them all. 🙂


 Pink, made by Leanne