This week we are sewing our cut pieces into larger units, following the instructions and diagrams as given in the Color Weave quilt pattern. Next week, we will assemble the units into blocks. Be sure to scroll to the end for important quilt along links you may have missed!
Several people have asked why I cut out all of the individual units rather than using strip piecing and I’m happy to explain why: because it’s much more accurate!
When you sew long skinny strips of fabric and then cut them, you have a much greater chance of stretching your fabric as you sew. So if I know the units are cut to the correct size to begin with, the blocks will turn out the right size, and won’t warp or stretch out of shape. However, I’m happy for you to continue using any method or technique that you are comfortable with and works for you, because after all, you are the boss of your quilt!!
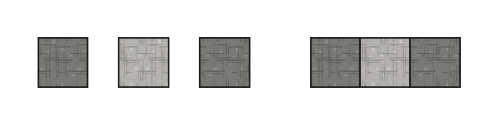
Triple Square Units
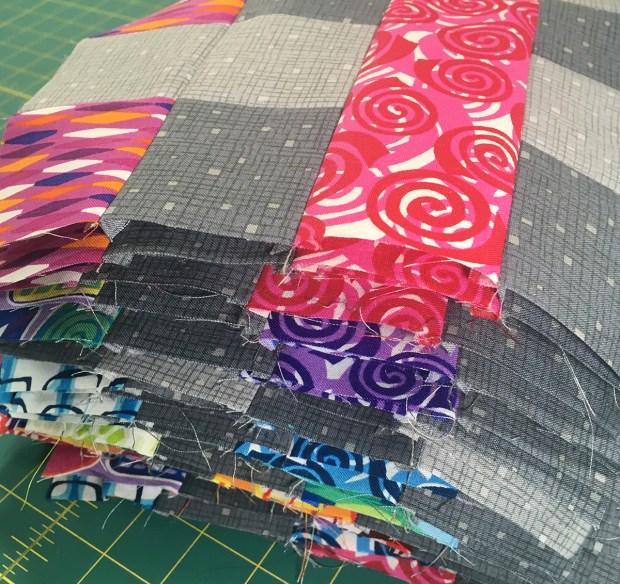
Once you’ve cut out all of the pieces according to the chart in the pattern, it’s time to sew them into larger units. You CAN sew one block at a time if you like, but I find that very tedious and time consuming.
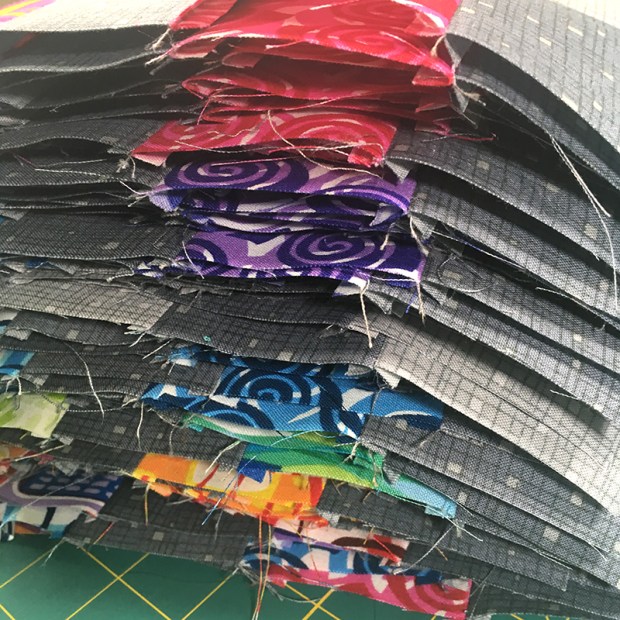
First sew together ALL of the triple square units, then press the seams open when you are finished so your blocks will lie nice and flat. In order to prevent the edges of your seams from splitting open I recommend sewing with a shorter stitch length (like 2.0 instead of 2.5) or backstitching at the start and end of each unit.
Chain Piecing Video Clip
Take a look at this short (slient) video showing how I chain piece 2 units together at a time. I use a stilleto for accuracy and make sure I’m sewing with an accurate 1/4″ seam. Take care that you don’t veer off at the end of the square while sewing. I also engage the “hover” feature on my machine (a BERNINA 770QE). This automatically raises the foot up slightly when I stop sewing, so it’s much easier to slide the next set of units to be sewn under the machine.
In this next video, I’m using a Triangle Thread Cutter to quickly clip the threads in between each chain pieced unit. Once I’m through, I’ll sew the other square to the other side to complete my triple square units.
Side Units
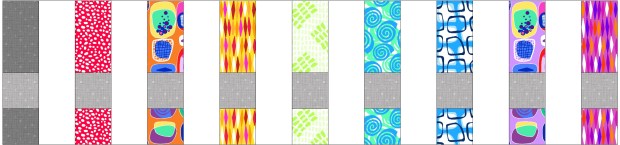
Once you’ve completed the triple square units, you can also construct all of the longer units that will be sewn on to the left side of each block. This unit consists of 2 small squares and a rectangle. If you make 11 each of the following units, you’ll be in good shape to finish all of the blocks after next week’s post. If you are using different fabrics, make a note in your pattern and substitute your fabrics for those shown below.
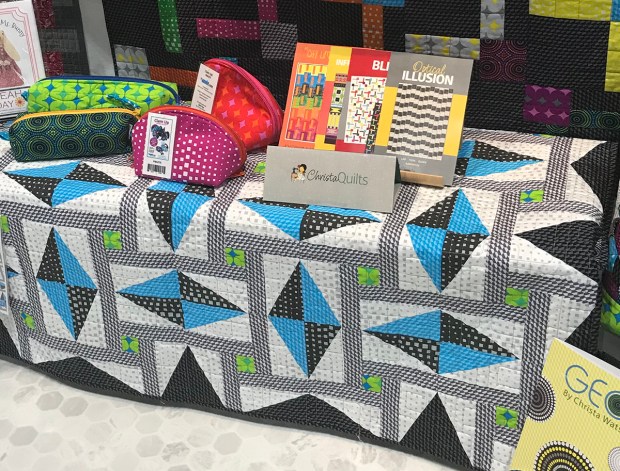
I’m excited to release three new patterns that I created to showcase my new fabric line, Geo Pop which will be shipping to stores in August/September. Just like all of my quilt patterns, they will look great in any fabrics you choose! And they are available in either print or PDF.
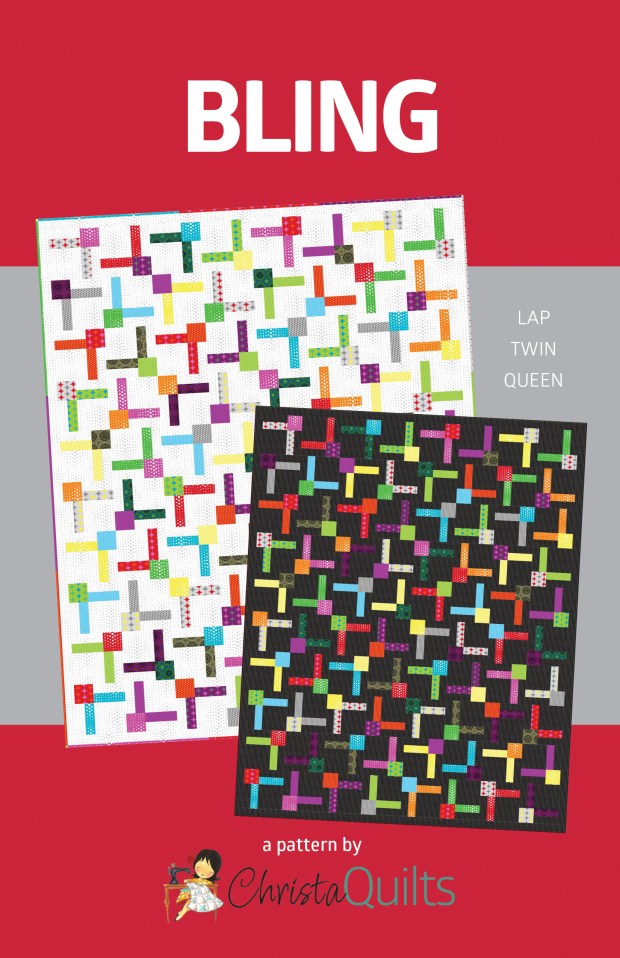
Bling comes in three sizes and is made from 20 fat quarters plus background. I loved the design so much I had to make it twice! The key to color success is choosing a very high contrasting background. I wanted to show off the black and white prints from Geo Pop and I love how they turned out!
It only takes 3 fabrics to create this stunning Optical Illusion! Scroll up and down to watch the lines play tricks on your eyes. Yes, they really are straight!! I’ve made my version using geometric prints in black, white and gray, but I’d love to see this made up in other colors, too! I’ve included instructions for 3 sizes and like all of my patterns, it also includes machine quilting suggestions.
This stunning quilt is a collaboration between me and my very talented friend Heather Black. I sent her digital images of Geo Pop early on and asked her to come up with a fun modern design with straight piecing (rather than the curves she’s well known for). I think she knocked it out of the park with this design while cleverly using every fabric in the line. I love this quilt so much that it will be my next quilt along in September, once the fabrics have been released. I can’t wait!!
Once Geo Pop hits stores later this year, I’ll share more about the making of each quilt. Remember – I’m here to cheer you on every step of the way so that you enjoy making these quilts as much as I did!
Welcome to the Color Weave quilt along! Cutting and color placement is the key to the success of this design. There is definitely a lot of cutting involved, but just take it step-by-step and give yourself plenty of time to enjoy the process!
This Week’s Homework – Subcutting the Strips
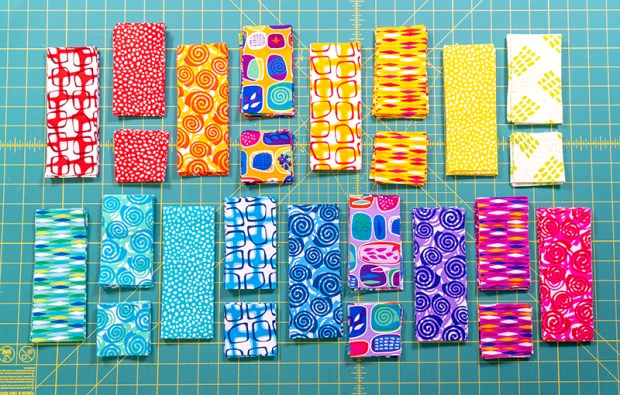
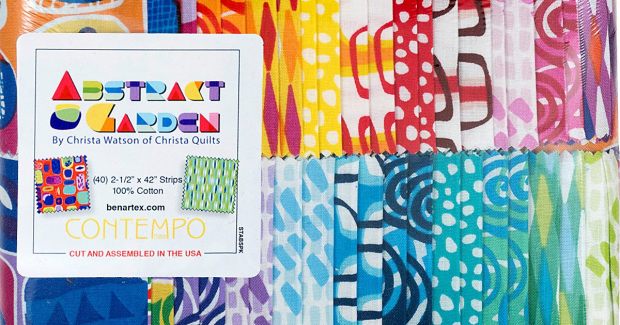
Although my Abstract Garden Strip Roll includes 20 different fabrics (2 of each), you will only need 17 of them (34 strips total) to get the glowing rainbow effect. Set aside the gray strips and the pastel “tracks” prints for another project, or use them on the back of the quilt.
In my Color Weave pattern, the strips are listed and cut in rainbow order, making it easier to keep track. Cut the strips into the subunits listed in the pattern cutting chart. Keep all of the same piles together and remember to measure twice, cut once!
If you are using a different set of rainbow colored strips, you will need 2 of each fabric to get the rainbow effect. You could also make it super scrappy, or coordinated scrappy (same color, different fabrics for each rainbow strip).
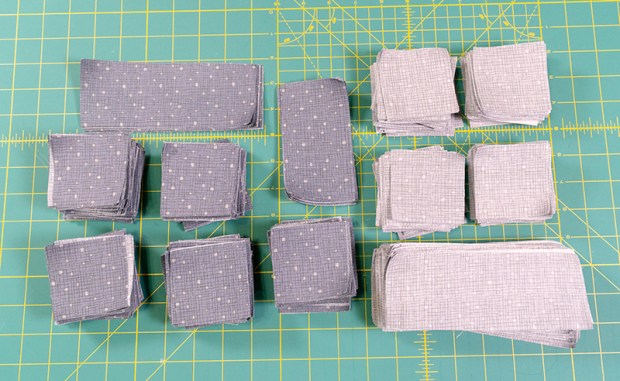
The background grays will be quicker to cut since it’s only two additional fabrics. These can either be cut from yardage or from a strip roll of each. Because I cut mine from yardage, I starched them before cutting, so they curled up a little in the corners. But they have a little more body to them now which will make lining up the pieces for sewing much easier.
Starching tip
I prefer to only starch yardage (not precuts or finished blocks). I use inexpensive starch from the grocery store (my favorite is Faultess Premium). The trick to avoid flaking is to starch on one side of the fabric and let it rest for about 30 seconds, then flip the fabric over and iron from the other side. If you want crisper, stiffer fabric, repeat the process for both sides of the fabric.
Bonus Tips
If you are comfortable cutting through multiple layers accurately, you can cut through two folded strips (4 layers of fabric) at a time. Just keep track of how many units you need to cut per fabric and the number of units you need to cut from each strip. There’s not much room for error, so remember to measure twice, cut once!
If you do make a boo-boo when cutting, you can get additional fabric at shop.ChristaQuilts.com. Or substitute a similar color in your stash for a scrappier, custom look!
Next week we’ll start sewing the pieces into blocks, but remember – you can work at your own pace so feel free to jump ahead if you are an eager beaver, or slow down and enjoy the process.
Remember to share your progress on social media using the hashtag #colorweavequilt. Not only will others cheer you on, but you can see lots of other ways to make this quilt and change things up to make it uniquely your own!
IMPORTANT LINKS: Supply List & Schedule, Where to buy
We are less than week away from the start of my Color Weave quilt along and I can’t wait! I love getting people excited to quilt their own quilts and I’m going to be there, cheering you on every step of the way from cutting to binding!
Three Color Version
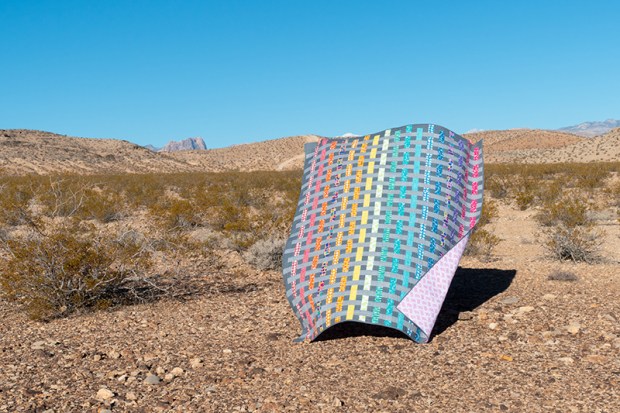
Below is an earlier version of the quilt I made for a magazine when testing out the design. It’s actually smaller than the one in the pattern, but it shows the same quilt using 3 solid colors instead. I will be focusing on the rainbow version during this quilt along, but the Color Weave pattern includes step by step instructions for both options.
The same color option (in the larger throw size) is included in the pattern.
Make it Scrappy
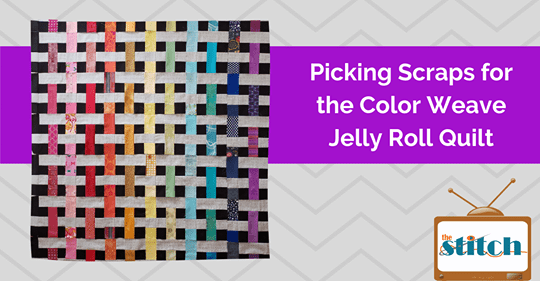
My friend Pam, (who with her cohost Lynn produce The Stitch TV Show on YouTube) is making a wonderfully scrappy version of Color Weave. In her screen shot below you can see how she still gets the woven color effect, but if you look closely, each section of the weave is a different piece of scrap fabric. How cool is that?
You can click here to watch Pam’s process as she sorted through her stash, deciding which fabrics would work and which wouldn’t. Her approach is super versatile and used pieces as small as a 5″ charm square. The units are all cut the same size as given in the pattern, but using multiple fabrics for each woven strip really gives it a ton of depth and sparkle.
Rainbow Option
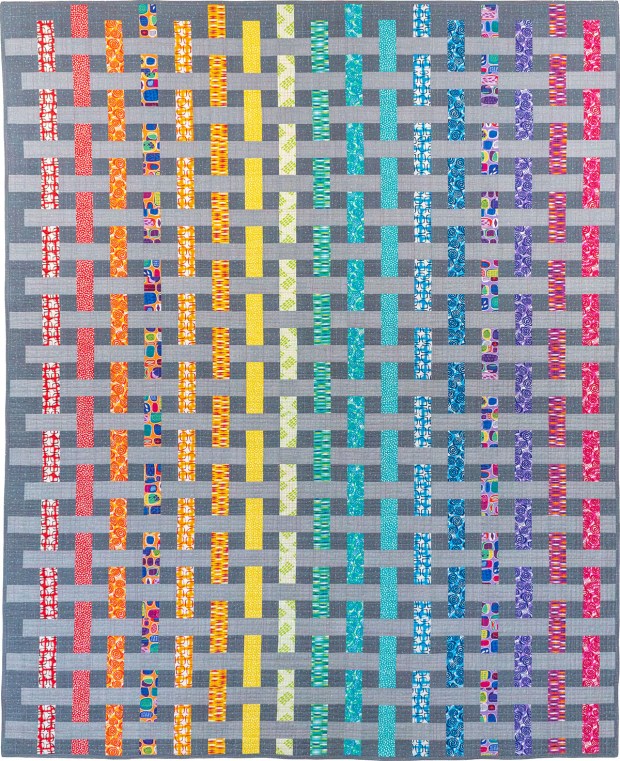
If you choose to make the Rainbow version like mine, you can use one Abstract Garden strip roll, or select 2 precut strips of the same fabric per rainbow weave as shown below. Then choose two contrasting background fabrics. I used light and dark gray, but other combos will work, too!
Let’s dive into a summer full of color! In two weeks I’ll kick off my free Quilt Along featuring Color Weave – the perfect quilt that you can work on at your own pace and on your own schedule! This should give you enough time to gather your supplies and be ready for some quilting fun!
This quilt was originally made for the February Quilty Box and they had exclusive rights to it for the first couple of months. Now that the rights have reverted back to me, I was able to release the pattern (in print and PDF) to share it will you all.
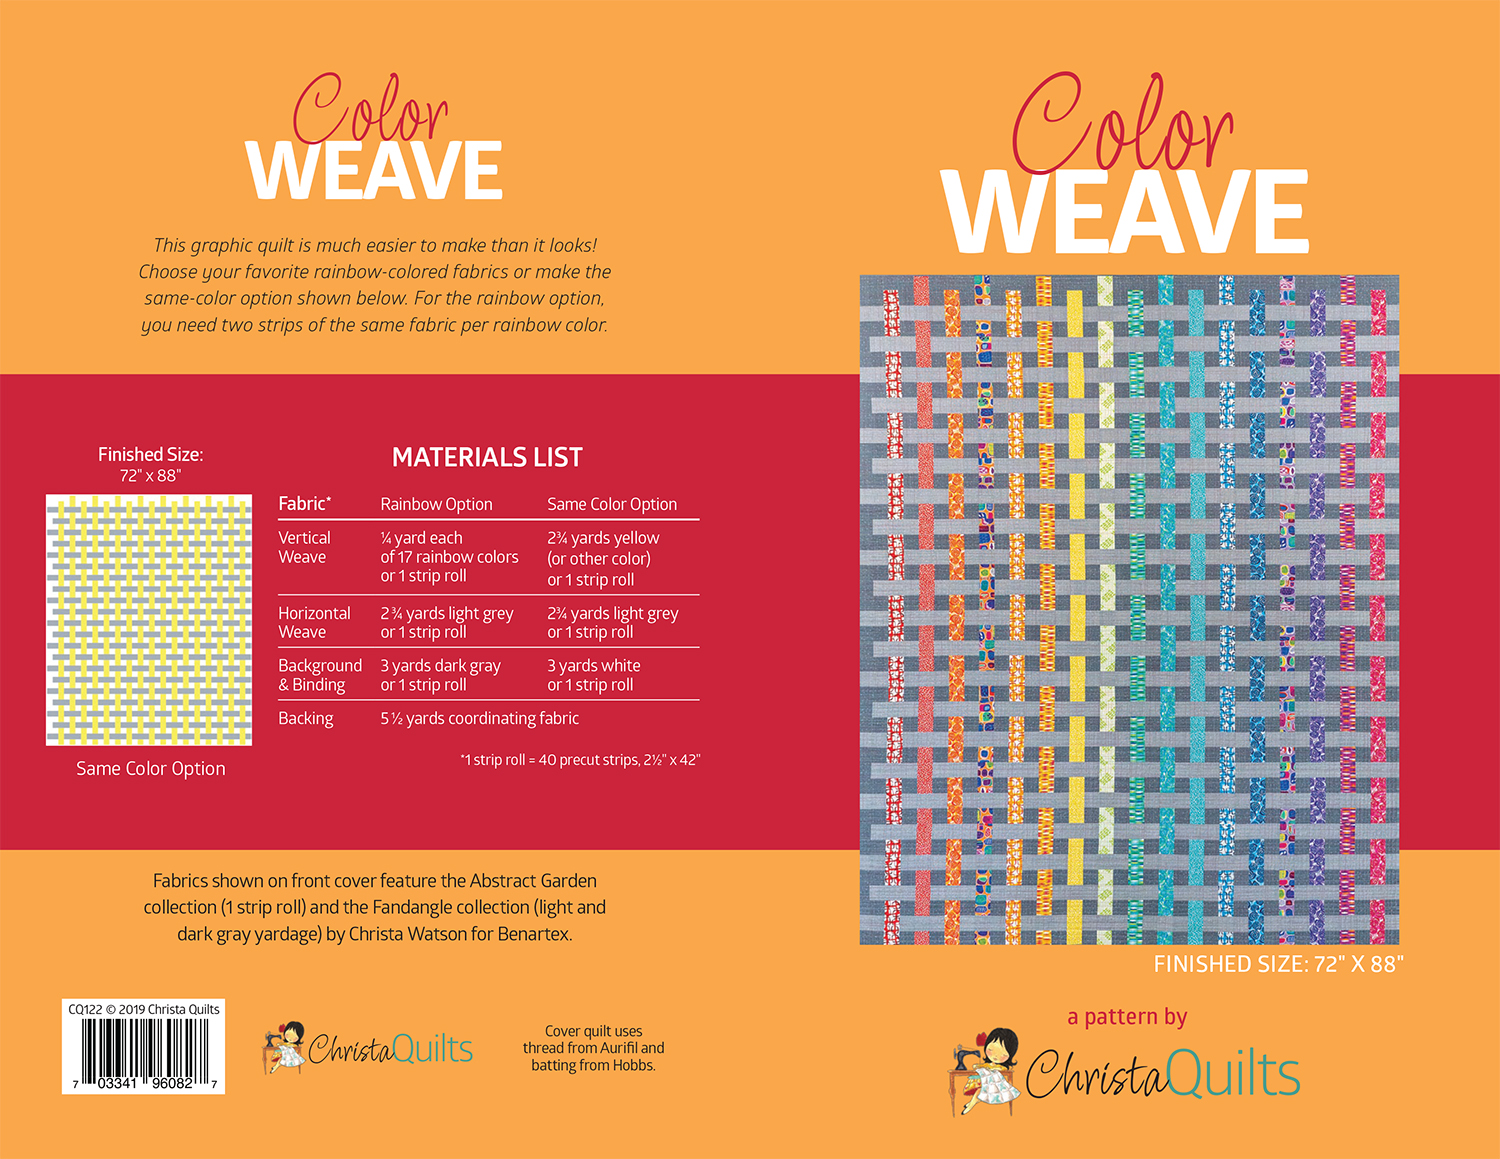
Here’s the complete pattern cover front and back. You can change it up and use just 3 colors for a completely different look, and I’ve included backing requirements, too. Click the image below to enlarge.
Color Weave Quilt Along Schedule
Each Monday for the 8 weeks, I’ll write up a post with bonus content and tips on top of what you’ll find in the pattern. Each time a post goes live, I’ll update the links below so you can refer back to it any time you are working on your quilt.
Just like all of my quilt alongs, I’ll guide you through the entire quilt making process from cutting to binding. After all, I want you to have just as much fun making this quilt as I did!!
The fun begins next week, so gather your supplies, and join the fun anytime right here on my blog. If you want to receive a notice each time a new blog post has published, enter your email in the subscribe box (found on the left of the screen on a computer, or scroll down to the very bottom of your screen on a mobile device).
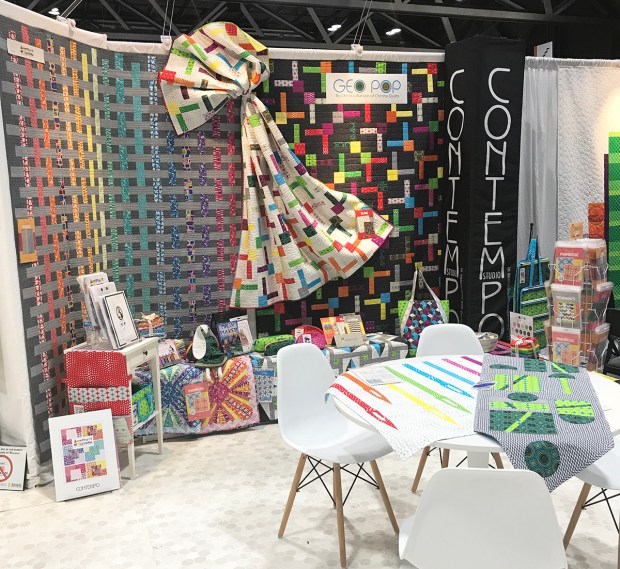
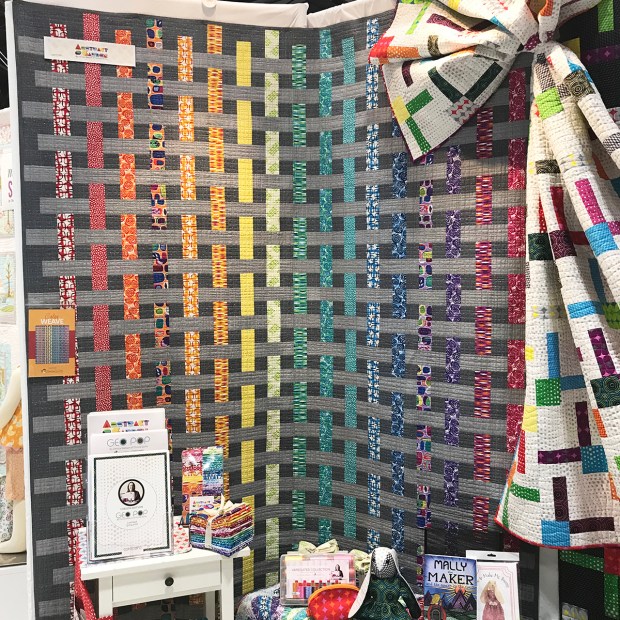
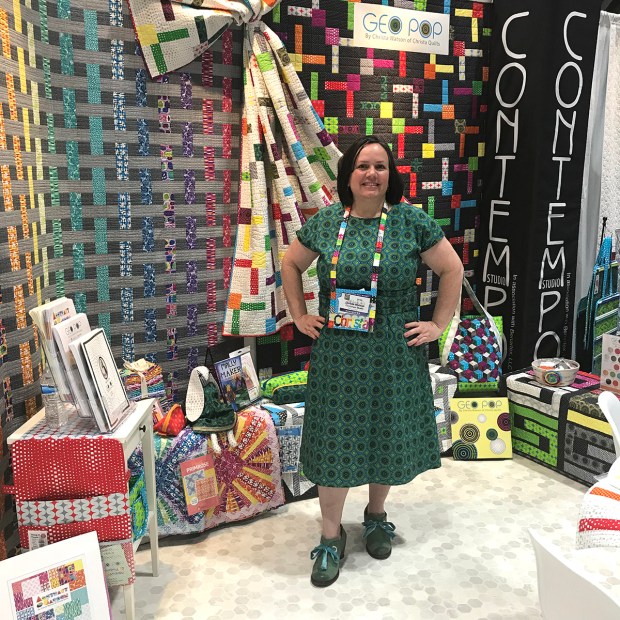
As promised, here’s a virtual tour of my quilt market booth, where I showcased my brand new Geo Pop line (shipping in Aug/Sept) and shared new things made from my current line, Abstract Garden. Quilt Market is an industry only trade who which took place in Kansas City, MO. Ready for a bunch of inspiring pics??? Here goes:
Here’s the whole booth at a glance. I features some brand new quilt patterns, along with some fabulous projects made from my designer friends. Putting up a booth is no easy feat; fortunately I do get help from Benartex with booth setup, but it still takes all day!
This amazing strip-roll quilt is called Colour Maze, from the uber talented Linda Sullivan of Colourwerx. How fab would it look made from an Abstract Garden Strip Roll?? On the benc above left, you’ll see the adorable rope bowl made by Vicki Arnold of SewPositivelyVickie on Instragram (who also made my adorable name tag below.)
I displayed my Geo Pop fat quarter bundle (which you can pre-order now), plus my quilt patterns that work great in any of my lines (or other fabrics for that matter.) Shops really liked being able to my current patterns directly from me and take them home from the show!
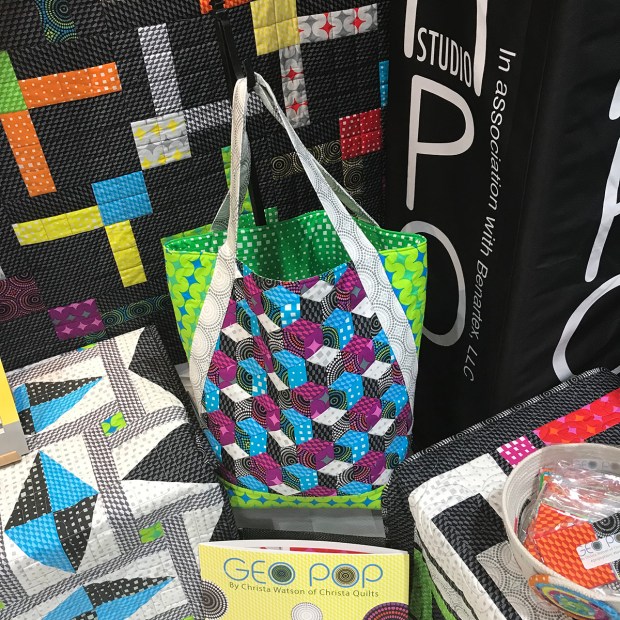
Don’t you love this woven bag made by Sherry Shish of Powered by Quilting? I believe she’s currently working on a pattern for it, so stay tuned!!
Tammy Silvers of Tamarinis chose white and gray, with pops of blue and green for her brand new Spark quilt pattern, coming soon. Isn’t it super cool and modern? On top of the quilt are the new patterns being released this spring , so stay tuned for more info when they are ready!
Sprinkled throughout the booth were more pops of color – bags and accessories from the folks over at ByAnnie. They make quick gifts and give you a fast finish!
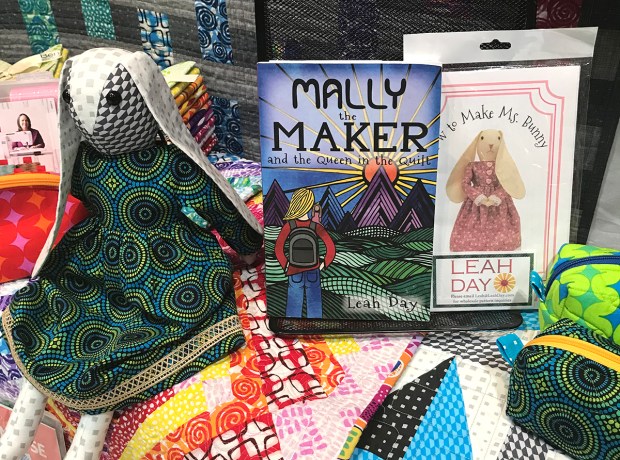
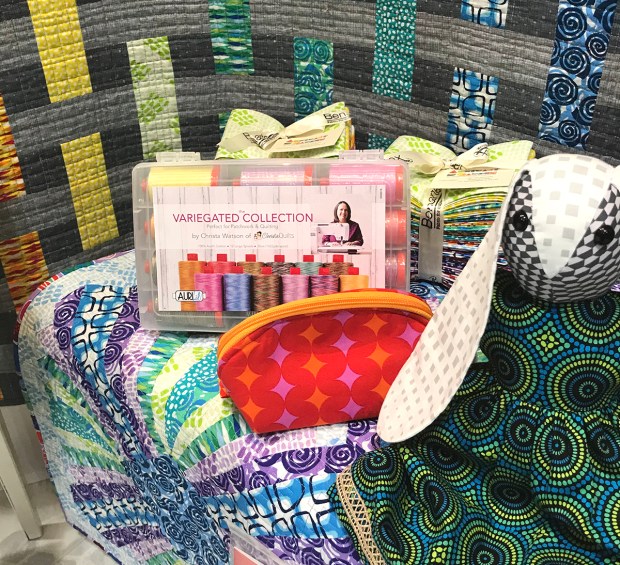
Domestic machine quilting goddess Leah Day recently released her first fiction novel, “Mally the Maker” about a young girl on a quest to find her missing grandmother. Her companion is Miss Bunny, her beloved doll. Leah created a pattern to go along with the book and even made a miss Bunny for me (which my daughter quickly claimed.)
You can see above that Miss Bunny and I are both wearing matching dresses – from the Mosaic Dots print in green. Just behind me and left I showcased my Pieced Primrose pattern made from Abstract Garden fabric. Because the line is currently in stock, I wanted to show how nicely the two colorful groups play with each other.
I also displayed my newest Aurifil Thread kit – The Variegated Collection. I used it to quilt the Pieced Primrose quilts as well as Color Weave. It was fun to share quilting tips with anyone who stopped by!
The highlight of my booth was two versions of my Bling pattern that I made, with either black or white background from the line. It just takes 20 fat quarters of Geo Pop (or your favorite fabrics) and it goes together super fast!
Although it was a ton of work to pull this together for 3 days of display, it was worth it seeing all of the smiles of everyone who’s ordered it so far for their shops. I hope you enjoyed this virtual tour, and believe it or not, it’s already time for me to start prepping for fall market, LOL!!
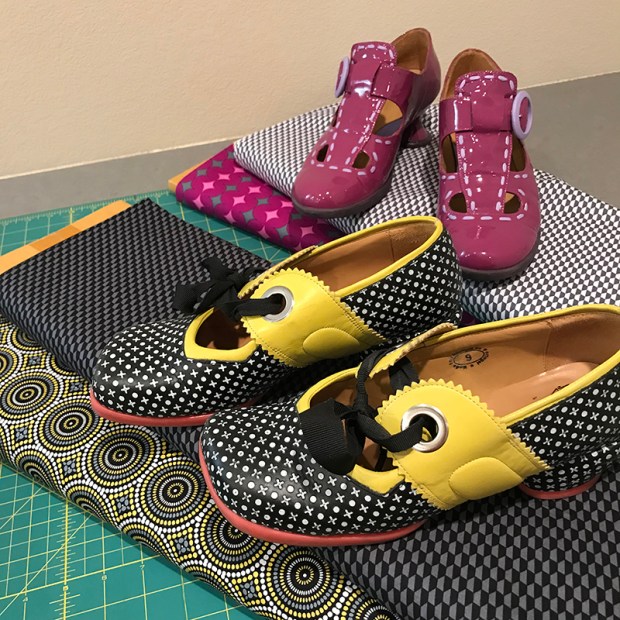
I’m finally recovered from Quilt Market last week, so I can share with you how my dresses turned out using my new Geo Pop fabric line. “3-D” sewing is new to me, so this was a fun adventure! I began by pairing up my new fabric samples with some of my favorite Fluevogs…
Which do you think came first – the fabric or the shoes??
Then I made a “muslin” – a practice version (using my Modern Marks fabric) without all the finishing touches so I could test for fit. I used Liesl & Co’s Terrace Dress pattern because it looked easy enough for beginners, and it really was!!
I used Crossmarks in pink for my “practice” dress before making the real thing.
I don’t have many in-progress pics because I was a hot mess while sewing on a deadline. But I tried tissue fitting and making an FBA (full-bust adjustment) before I finally settled on making a version of the dress according to the size I thought I was on the pattern, without any adjustments. This actually seemed to give me the best result.
Cut pattern pieces all laid out on my design wall – it’s not just for quilts!!
I made a total of 4 of this dress using each color of the “Mosaic Dots” print from my new Geo Pop fabric line from Benartex (shipping in August). I put pockets in the first version which was awesome! But they took a lot of extra time, so I skipped that step in the other 3 versions since I was in a hurry. I also changed up the hem length a couple of times, just to see which I liked better (slightly longer for sure!) I missed getting a good pic of me in the yellow version, but here are the other 3 versions below.
A purple dress with matching purple shoes!!
I admit it – sometimes my fabric color palette is influenced by my shoe collection!!
You can’t go wrong with classic black and white!!
It was fun to try out different sash/belt configurations.
I really enjoyed making these dresses, and am excited to make more clothing. I got a great tip from a seamstress I met when I wondered why the top had a few small wrinkles between the bust dart and shoulder area. She said I should look for patterns with set in sleeves rather than a cap sleeve – that it would fit my shape better. I’ll be sure to look for that next time!!
If I’ve piqued your curiosity about my new booth and fabrics, don’t worry. I’ll share more about the items in my booth at the of the week, so stay tuned!!
I’ve had something under wraps that I’m finally excited to share! My latest quit pattern – Color Weave is now available as a PDF download from my Etsy shop.
I enhanced the original pattern and also included an option to make it from a single color instead. But of course it would look fabulous in any fabric combo! You just need two strips of the same fabric when working with precuts. That’s why I designed my Abstract Garden precuts with 2 of each!
Click the image below to enlarge so you can see the materials requirements.
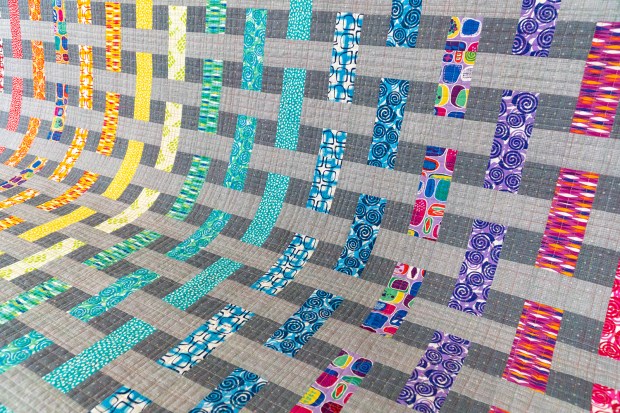
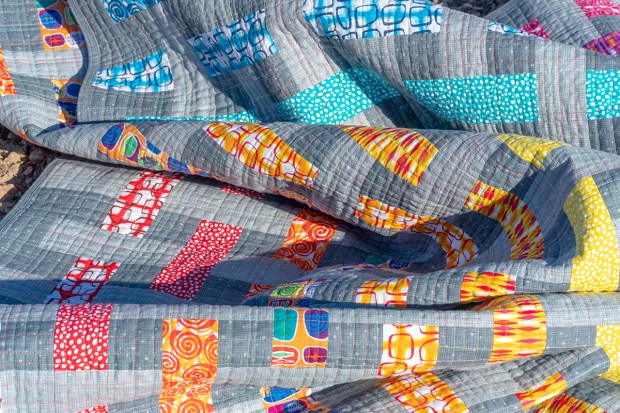
I had an amazing time making this quilt! The instructions are easy to follow and I’ve included step-by-step full color diagrams for both versions shown above. I’ve also included a quilting plan to quilt one of my favorite walking foot designs – random crosshatch.
I’m here to cheer you on every step of the way when you purchase any of my patterns. I want you to have just as much fun making this quilt as I did!
Sharing is caring! While you are making your version, be sure to share your progress in my ChristaQuilts Facebook group or use the hashtag #colorweavequilt on instagram. I’m happy to guide you every step of the way!
Most people think that stitch in the ditch is the easiest thing you can do with your walking foot, but wavy lines “near” the ditch are much easier to accomplish. Then, when you are ready to tackle straight line quilting, embrace unmarked, uneven line spacing for a quicker finish!
Irregular Parallel Lines on Geese in the Garden – Cool
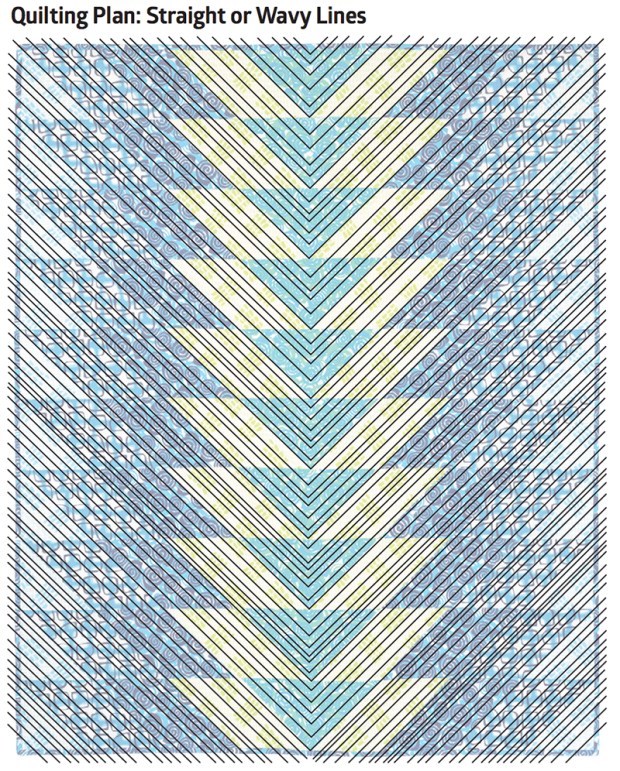
Make a Quilting Plan
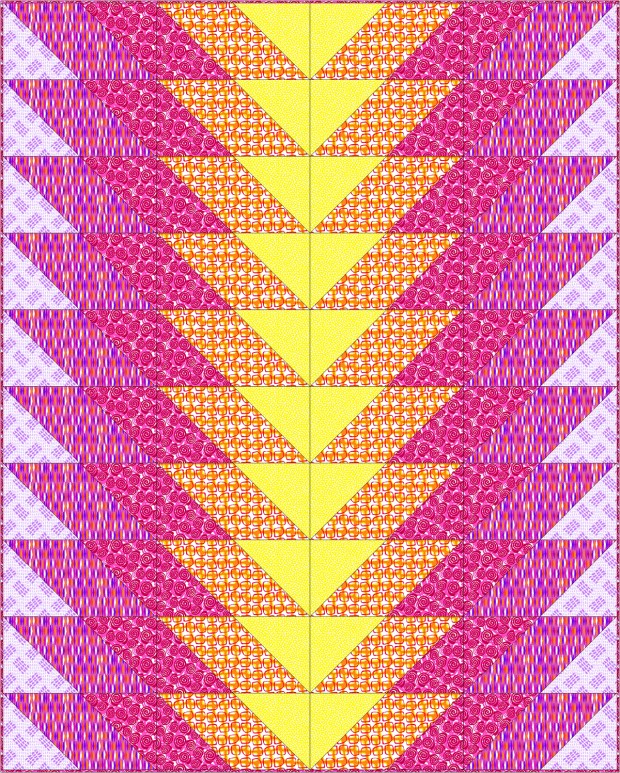
I originally developed the idea to make a quilting plan in my books, then refined my technique so that I could clearly teach it to others in my online video class – The Quilter’s Path. In a nutshell, I like to draw my designs out on an image of the finished quilt top to see how it will look before I quilt the quilt. Below is the quilting plan for both quilts, which is included in my Geese in the Garden quilt pattern.
The reason I like to quilt irregularly spaced, imperfect lines is because I know I’m going to “mess up” anyway, so why not build it into the design? After all – you know what they say: do something once and it could be a “mistake.” But do it two or more times and it’s a design element! Plus, it’s a lot faster to quilt imperfect lines than perfect ones!
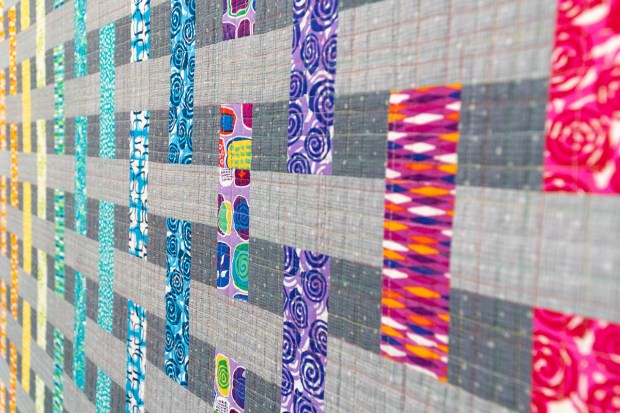
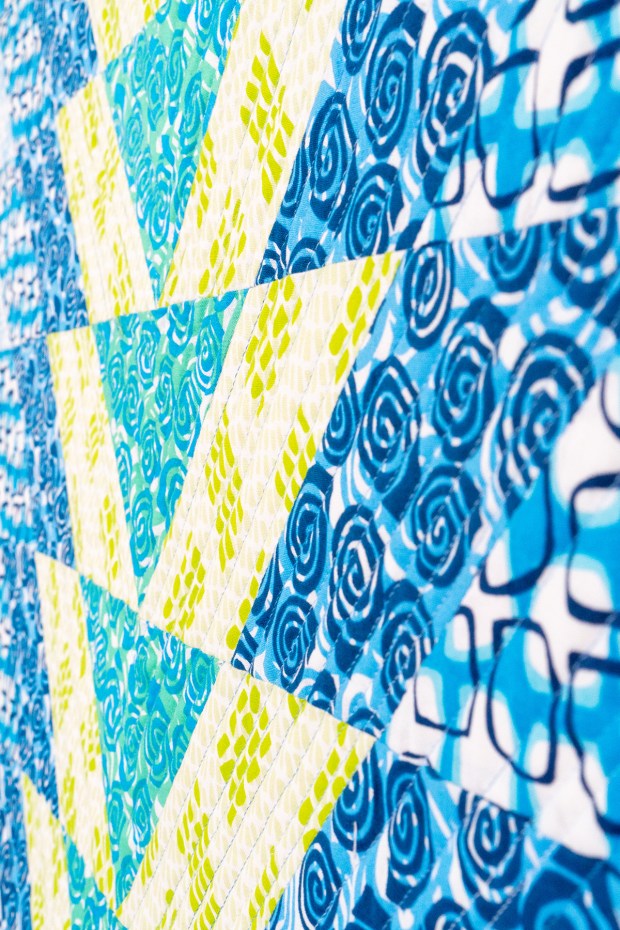
Because the prints are so colorful and busy, a variegated thread looks great and helps blend everything together. I chose Stone Washed Denim #3770 for the cool version. Even though it looks like a solid colored thread, it has subtle color changes that will look great on this quilt. Because it’s more on the pastel side, it also blends in with the rest of the prints.
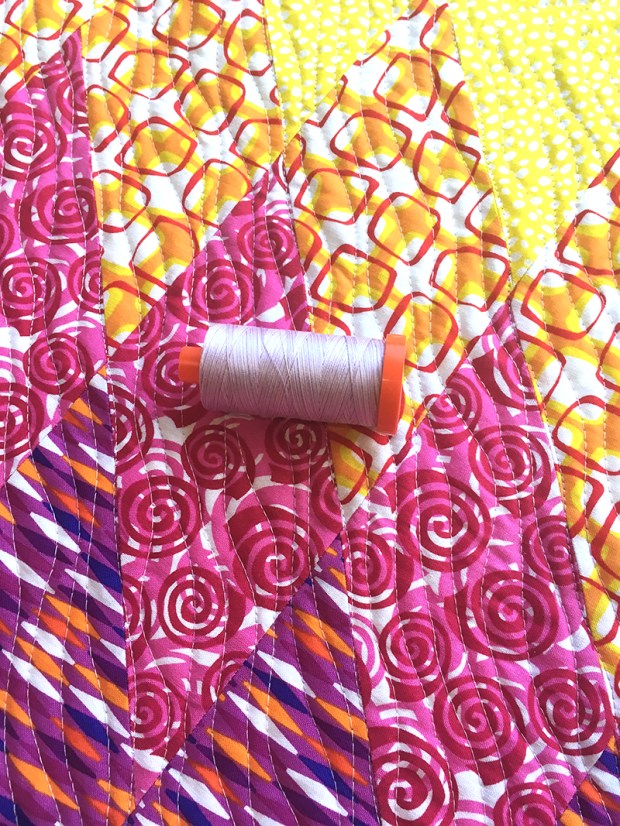
For the warm version, I selected #3840 French Lilac. The purply-pinks blend beautifully and add wonderful texture. When choosing colors, I lay the spool across the quilt and see which color disappears into the quilt the most. If I’m not using and exact matching thread, I’ll usually go a shade lighter rather than darker, as that seems to blend in the best.
To do the actual quilting, first I quilt a series of “anchor” lines to secure the quilt. These can be lines in, or near, the ditch, randomly spaced across the quilt to prevent it from shifting. Then I fill in with additional lines as desired.
Check out this video of me quilting the warm version with a simple wavy line design, following the pieced design of the quilt. I’m using my BERNINA dual feed, which acts just like a walking foot, but allows me to use different feet on my machine.
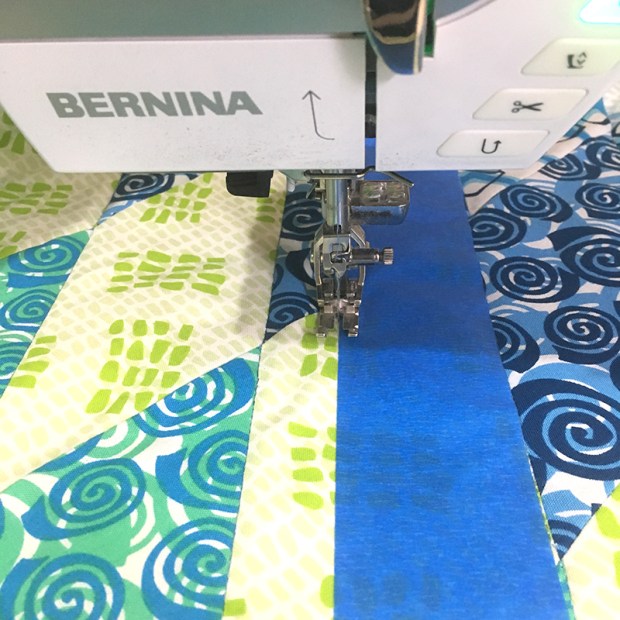
For the cool version, I used painter’s tape in some of the areas to divid up the space and give me nice, crips lines. When stitching right next to the tape, I have to be careful not to stitch it to the quilt!
Once I’ve established a few anchor lines, I’ll fill in between the lines at random intervals, using the edge of my foot as a guideline for spacing. Here’s another short video of my quilting the cool version, adding more lines in between previously spaced lines:
Finally, I prefer to bind my quilts by hand because I love the clean look it gives to them. Here’s a final video showing how I make each stitch by hand, once it’s been sewn onto the quilt by machine. (See links at the end for my full binding tutorial.)
Here’s a short video showing how I stitch the binding by hand to finish:
I really enjoyed sharing more behind the scenes of making this quilt. To help support the time it takes to create these posts, please use the links below to purchase the pattern, or find my entire pattern and fabric line at shop.ChristaQuilts.com. Many thanks!!
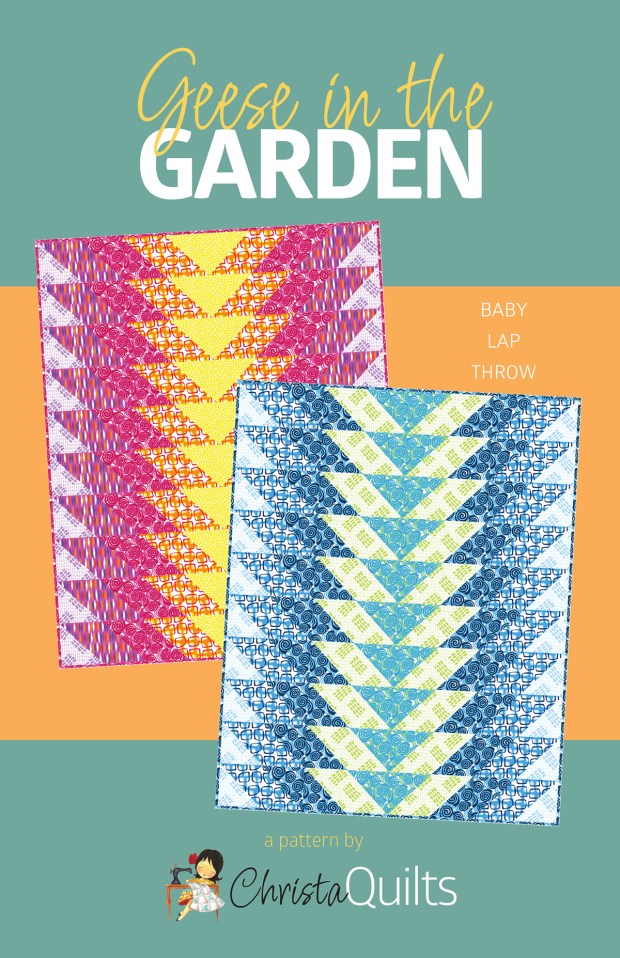
Welcome to my new series where I explain a little more in depth about how I made a recent quilt and share tips to make your sewing and quilting faster and more fun! Today we’ll focus on my Geese in the Garden Quilts made from my Abstract Garden line with Benartex/Contempo.
When I designed Geese in the Garden with it’s radiating diamond-like shapes, my first instinct was to write the pattern by making all of the blocks from Half Square Triangles. However, that would have left a seam in the middle of each block which would have disrupted the fabric print.
I knew I could eliminate some of the seams using the “flip and sew” method but there would still be some seams I didn’t like, and it would have created a lot of waste. Here’s an early sketch of it in Electric Quilt with those unsightly seams (in the yellow seeds fabric and the pink roses fabric).
So then I researched how to sew diamond shapes and discovered that these shapes are NOT true diamonds, but are rather “squished” or “elongated” diamonds. However, the traditional technique to make the diamonds would still work, but I’d have to recalculate the math.
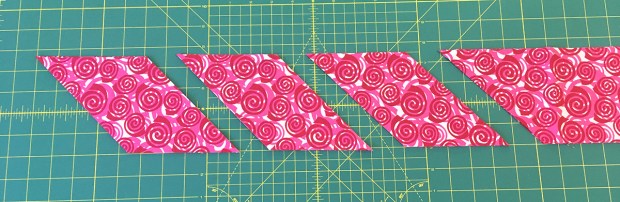
Diamond cutting in process.
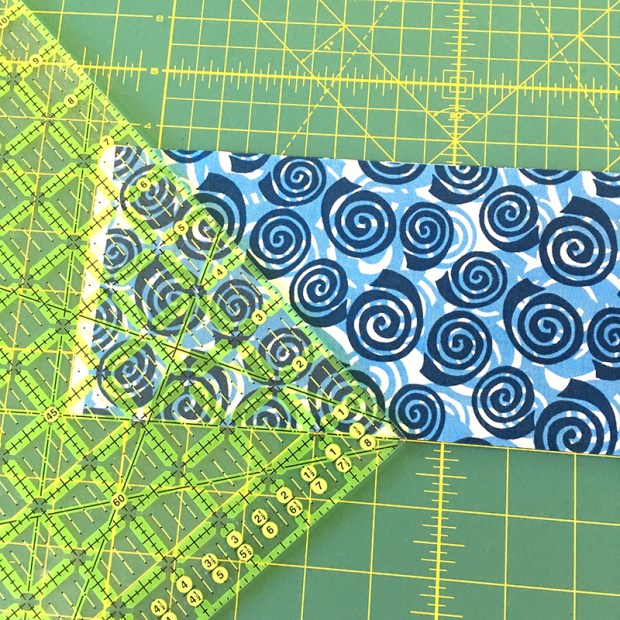
After a bit of testing I figured out an easy way to cut these elongated diamonds with a simple acrylic ruler that has a 45 degree line – no specialty ruler required! It’s all about the width that you cut them, and that information is included in detail in the pattern.
You’ll get a chance to use the 45 degree line on your ruler when cutting these diamonds.
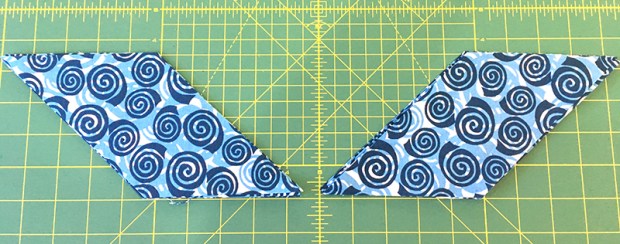
Because these are not true diamonds, they have a definite left and right side. You can create some really cool designs with “mirror image” units. Here’s a tip to cut them correctly: Cut at least 2 stacked strips at a time. Make sure one strip is right side up, while the other is wrong side up. Or fold the strip in half and you’ll automatically get mirror image pairs.
Mirror image units – and no pesky seams in the middle of the fabric!
Abstract Garden Fabric Choices
My Abstract Garden collection includes a total of 20 fabrics arranged into warm and cool colorways. However, I wanted fabric selection to be easy for this quilt pattern, so that you could use any fabrics you like. So it only takes a total of 5 prints to create the design.
Since I was making two quilts (warm and cool), I decided to cut and piece them both at the same time. I starched the fabrics ahead of time before I cut, to help control the diagonal bias edges.
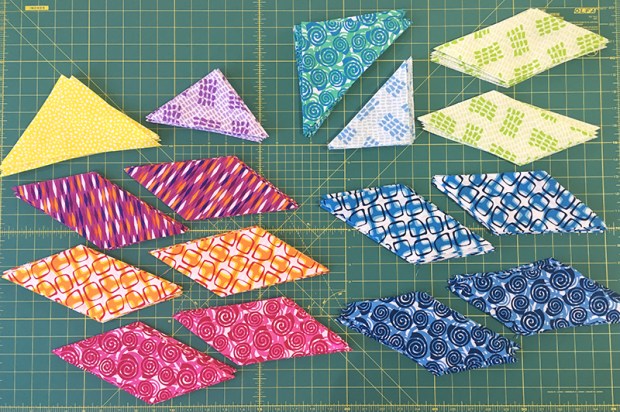
The fun part about choosing fabrics is creating a radiating, glowing look with your color choices. Because the center diamonds of the design are interchangeable, I played around with them to make sure I was happy with the color arrangement.
I love pretty stacks of cut units – don’t you?
Sewing the Geese Rows
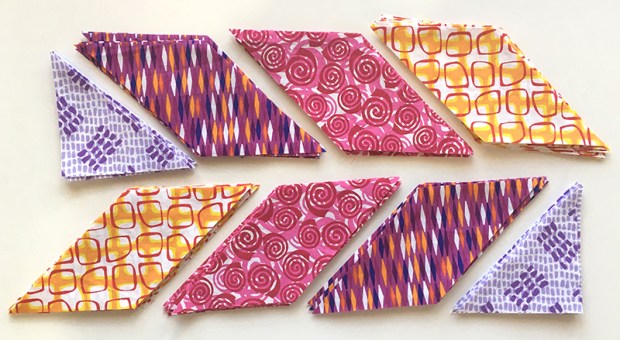
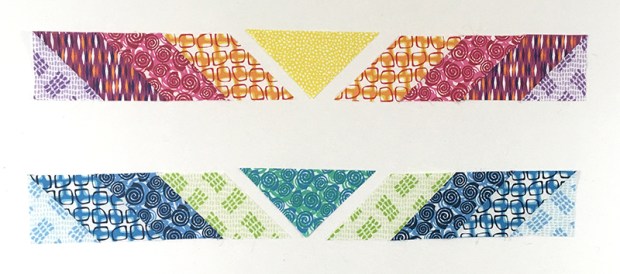
Technically, this is a “row” quilt, meaning it’s sewn together into rows, rather than blocks. The super easy thing about this pattern is that each row is exactly the same! To make sewing go even easier, I recommend laying out all of the units, and sewing them into pairs on either side of the center triangle.
Although these are for 2 separate quilts, how fun would it be to alternate the rows?
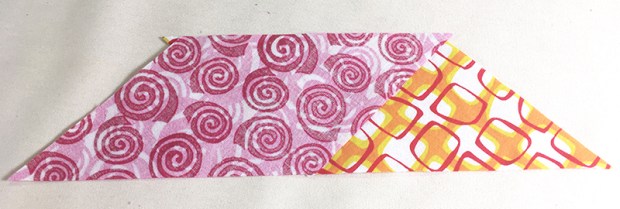
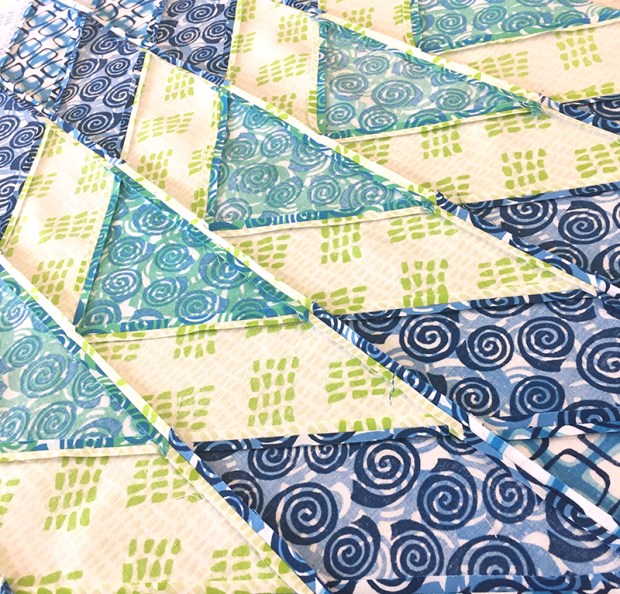
My tip for sewing units with a 45 degree angle is that you need to offset the triangle tips by the same amount on both sides as you sew. The triangle tip will stick out about 1/4″ inch on either side. Notice the tips sticking out in the image below when the fabrics are matched up, right sides together:
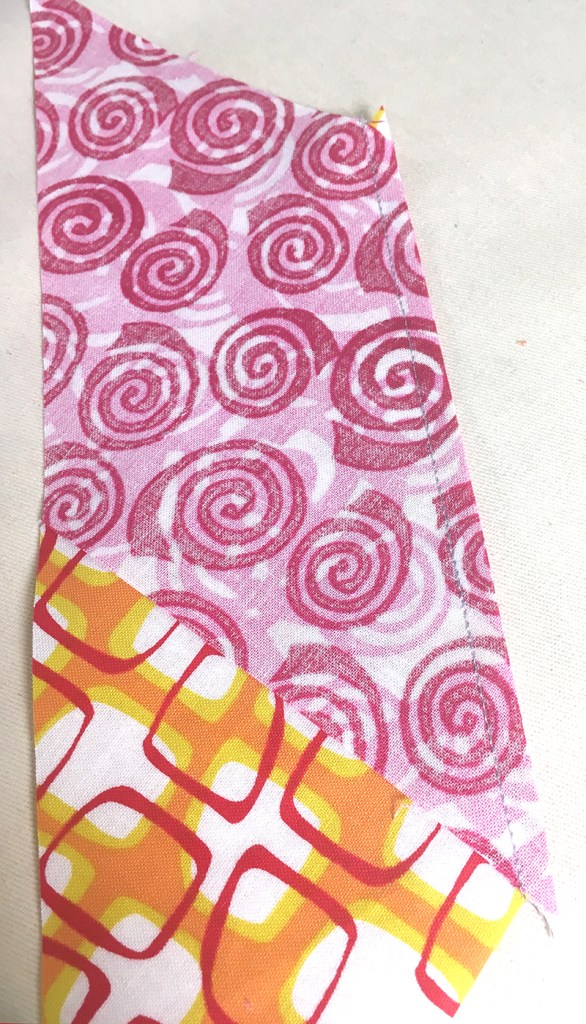
Sew an accurate 1/4″ seam, using the point where the two fabrics intersect in the corner. This detail image below shows the sewn seam (stitched with my favorite 50 weight Aurifil thread). Notice it’s been rotated to show the angle at which I sew each unit under the machine. (Make sure to chain piece all the units at once for speed and efficiency.)
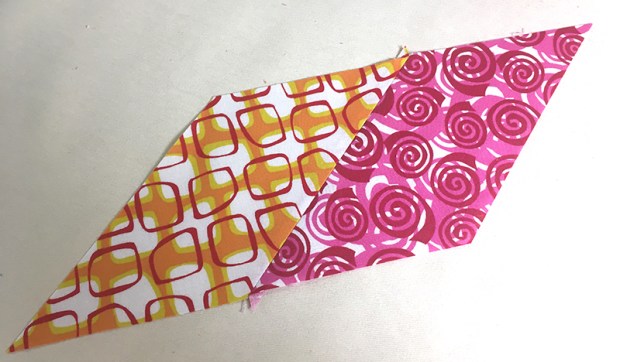
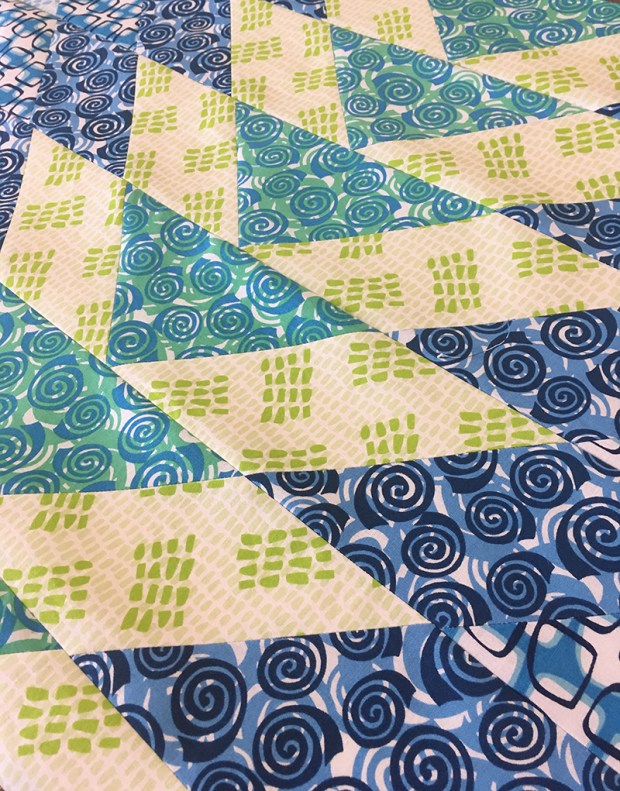
You’ll know you’ve sewn them correctly when you’ve created a nice smooth edge along both pieces. Don’t forget to trim the triangle tips! I also press all of my seams open so that my blocks will lie nice and flat.
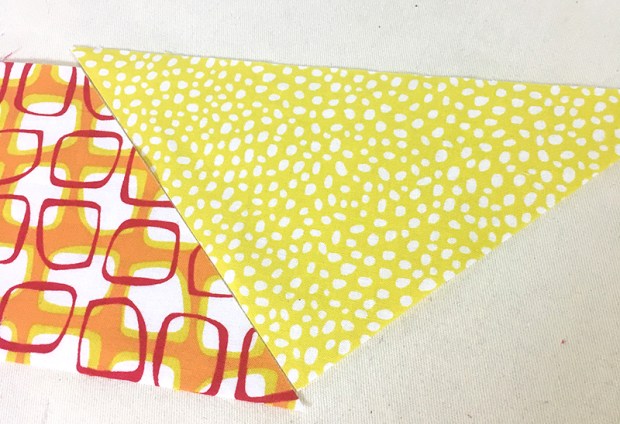
Remember, this technique works for ANY units with a 45 degree angle. Below is what the center triangle looks like when I lined it up with the rest of the sewn pairs. It looks a little awkward, but notice how both tips are sticking out about 1/4″. Once the pieces are flipped over right sides together and sewn, everything will come out even, just like the diamond pairs.
I often get asked how I press seams open without burning my fingers. The answer is that I open them up with my fingers ahead of the iron, and I never use steam. Here’s a 20 second video clip showing how I press my seam open, once I’ve sewn my rows:
Here’s the backside of the cool version with all of the rows sewn and those nice, flat, pressed open seams. Doesn’t it look just as pretty as the front??
Although the pattern comes in 3 sizes, I chose to make the smallest size. But the best thing about this pattern is that it’s the same number of pieces to cut and sew, no matter which size you make. They just get larger as the quilt gets bigger. It only took me a few hours to piece each quit top, so it’s a great design to make when you are in a hurry, and it’s fun to show off your favorite fabrics in the diamonds.
One final tip to share today: don’t stress too much about perfection. Do your best to line up the seams as you sew the quilt, but notice the lower left corner of the image below. The turquoise and blue corners don’t match up perfectly in all the rows, but that’s ok. Once the quilt is quilted – you won’t even notice it!!
Very few of my points line up perfectly – but it still looks great!!
If you found this post helpful, you can help support my blogging efforts by purchasing my Geese in the Garden pattern or any of my other quilt patterns or fabrics at shop.ChristaQuilts.com. They’ll come infused with a little “Christa Quilts” magic, ensuring your success while I cheer you on!
In the next post, I’ll share tips on how I quilted each quilt with two quick and easy walking foot designs, so stay tuned!











 Cut pattern pieces all laid out on my design wall – it’s not just for quilts!!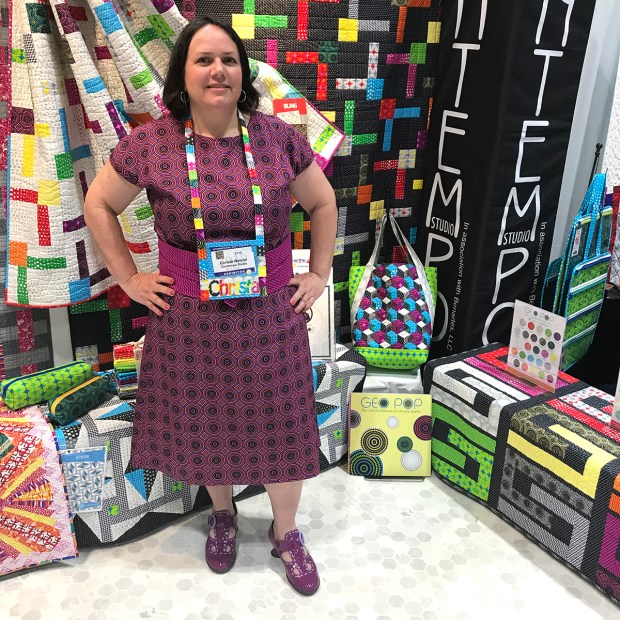





 Christa Quilts