On yesterday’s giveaway post I asked everyone which was their favorite quilt so far. It was so fun to read the responses! I was a little worried when I wrote the book, that not everyone would resonate with each pattern from Machine Quilting With Style. But I have been overwhelmed by the positive responses. There truly is something for everyone in this book, as evidenced by your answers – so thanks for your input!
Static – The Background Story
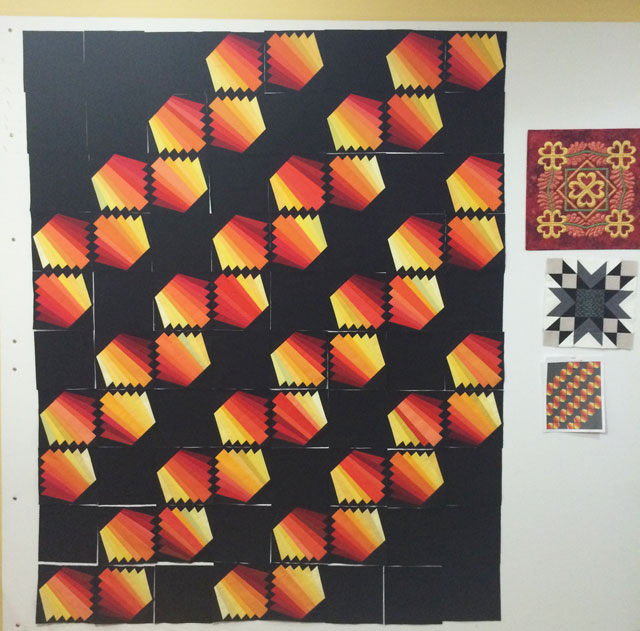
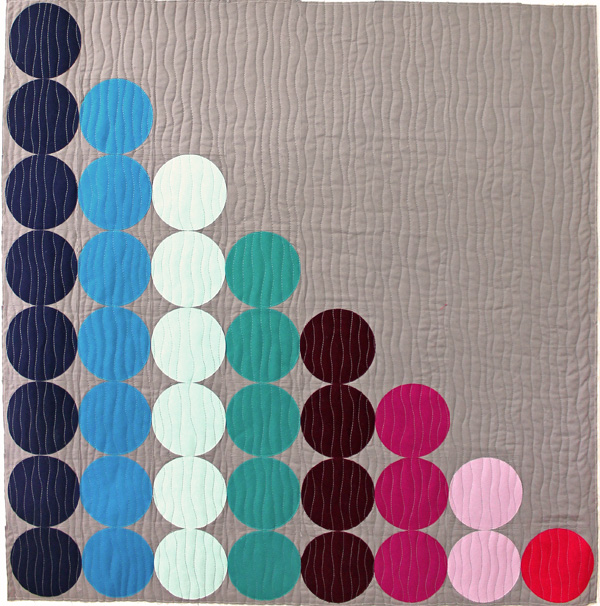
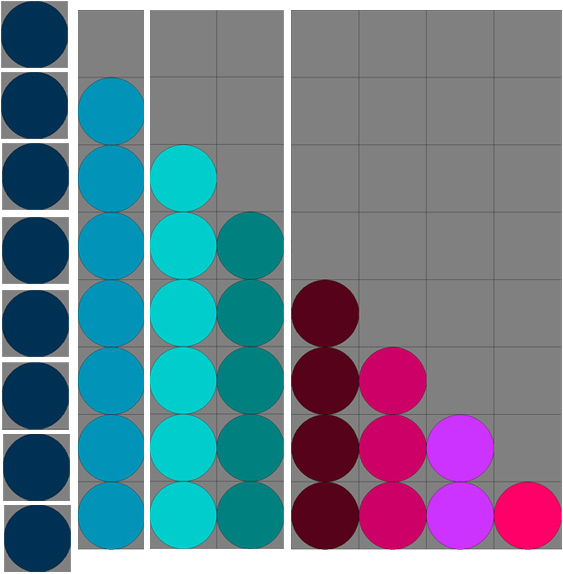
Pixelated quilts (those forming an image from tons of tiny squares) have been all the rage in modern quilting circles the last couple of years. Static is my tongue-in-cheek attempt to get in on this trend. Being the non-artist that I am, and not being able to come up with an amazingly complex design – I attempted to recreate “static” – a repeating block pattern that looks like nothing but chaos. I even posed the question – do you see an image in the static? 🙂
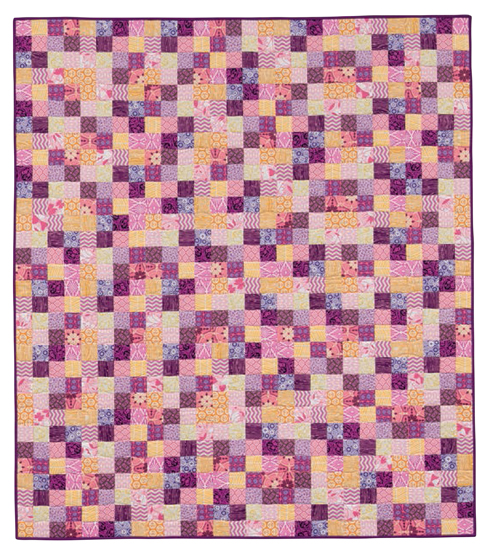 Static 56″ x 64″ by Christa Watson. Photography by Brent Kane.
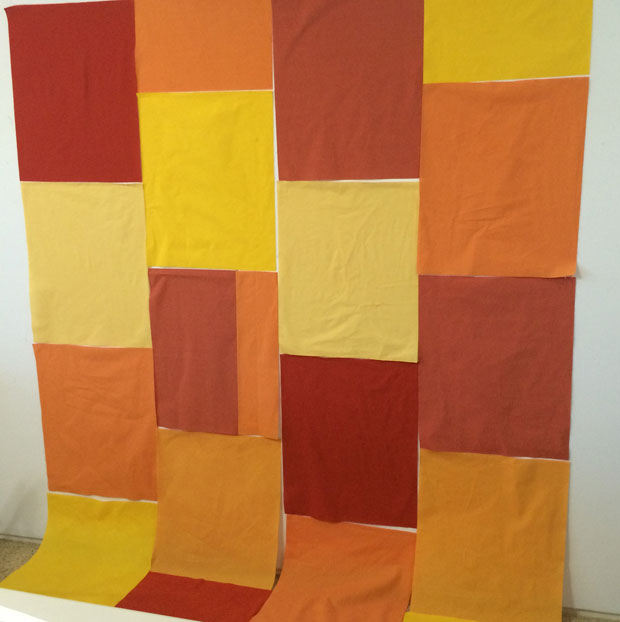
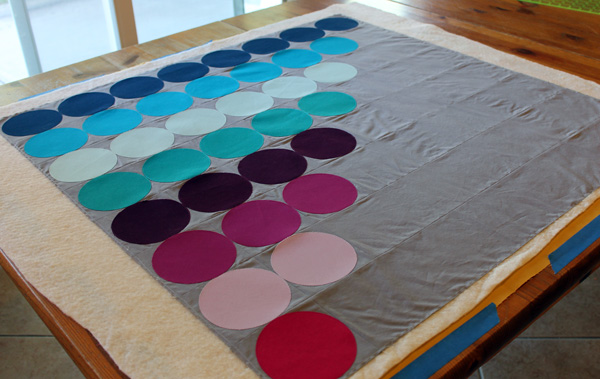
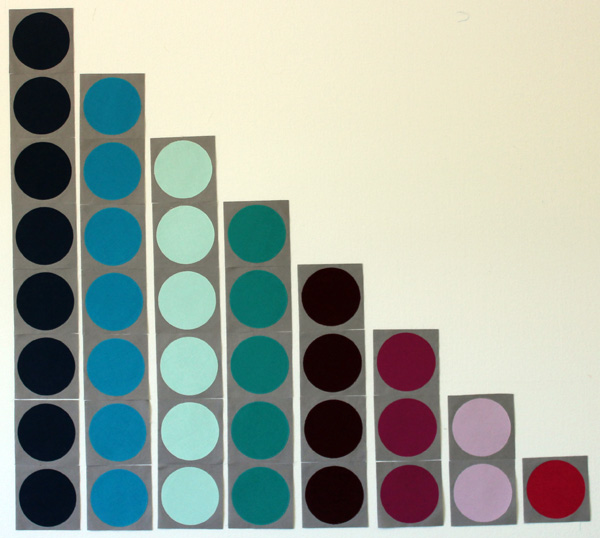
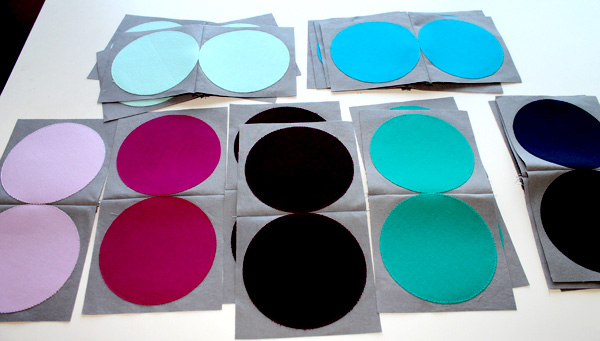
I really did enjoy picking out the fabrics for this quilt, happy shades of pink, purple and yellow from the True Colors collection by Free Spirit. The quilt contains lots of small squares, but strip piecing made the blocks go together fairly quickly. Although the individual blocks look random, there’s actually a method to my madness when I pieced the quilt!
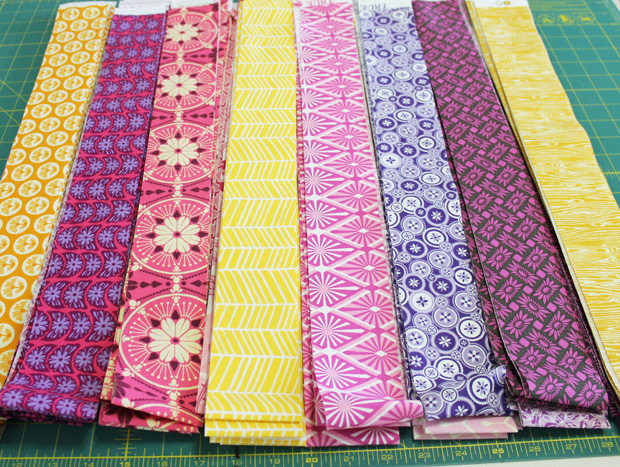
Some of my Static strips. I chose 16 different fabrics – such fun!
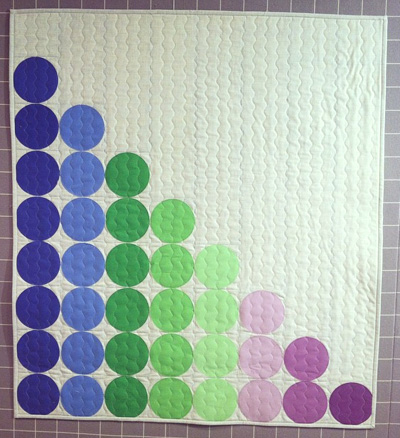
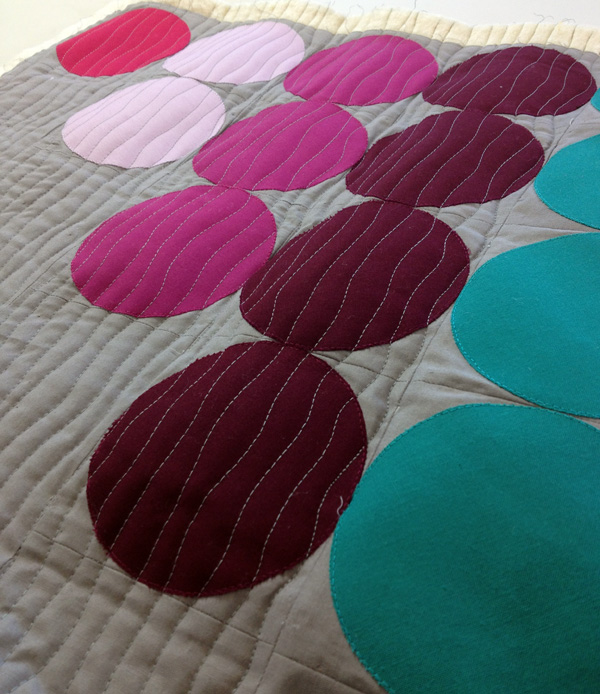
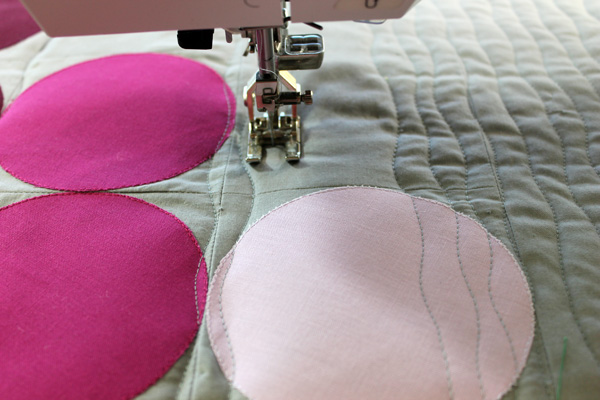
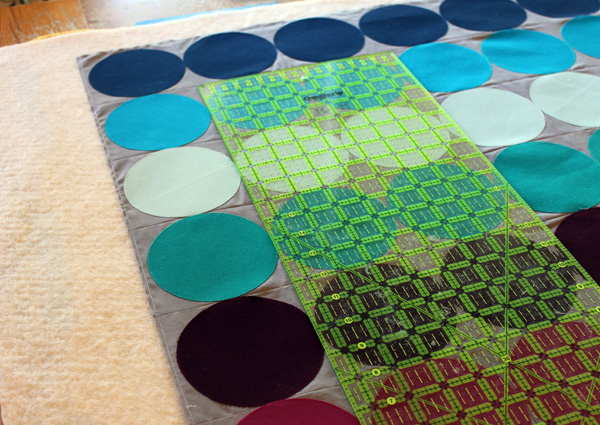
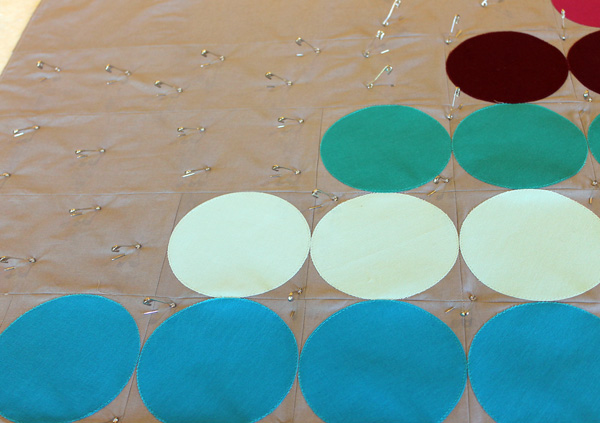
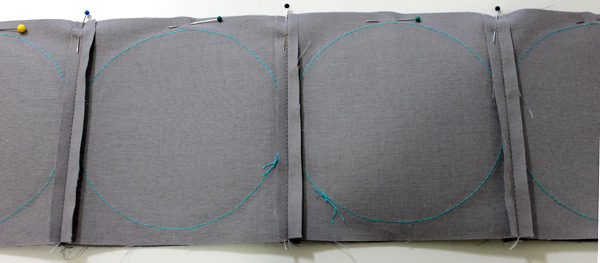
For the machine quilting, I really had to fight hard to overcome the urge to quilt this one to death! I wanted to have at least one quilt that a very beginner quilter could have immediate success with. It’s quilted completely with a walking foot and I use my favorite method of stitching “near the ditch” rather than in it. The job goes much quicker and is a lot more forgiving this way. I also like the wavy effect that the quilting gives to some of the blocks, even though they are all pieced totally straight.
 Quilting “near” the ditch is so much easier than stitching “in” the ditch!
A Bit More
What makes this quilt modern: Although Static is a pretty traditional design, I still chose to incorporate a few modern elements: bold, geometric prints, sharp angles with hard edges, minimal design, walking foot quilting, no borders.
Time to complete: 26 hours from start to finish (mostly piecing and pressing).
A Fresh Quilt from Freshly Pieced
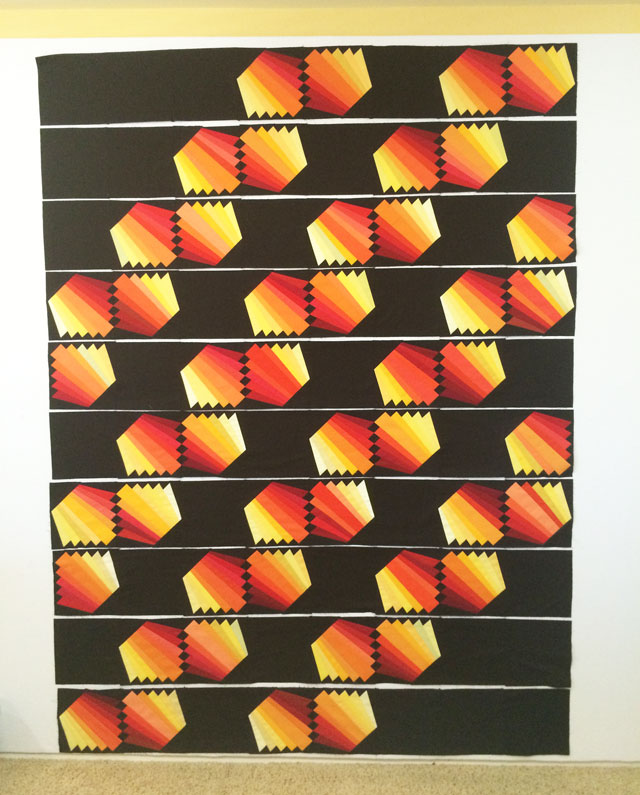
My friend Lee Heinrich from Freshly Pieced can put together fabulous color combinations like no one else! I adore the fabrics she chose for her version of Static, which makes a seemingly simple design come to life. Lee has an eye for color and she’s an amazing pattern designer, too!

I was so happy when Lee, Katie and Faith released their first book, Vintage Quilt Revival, with much success. Lee wrote me the kindest note ever after I participated in her blog hop. She said she’d return the favor when it was my turn for a book, and true to her word, she’s knocked it out of the park! I love the extra touch she added to the quilt, to truly make it her own!
Head on over to Freshly Pieced for tons of eye candy and quilty inspiration!
Eye Candy from Esch House Quilts and Gen Q Magazine
Another fabulous designer friend of mine is Debbie Grifka from Esch House Quilts. She’s been super involved in the modern movement almost from the beginning, was an instructor at the inaugural QuiltCon and is a prolific pattern designer, too!
Pop on over to Debbie’s blog for her thoughts on the book (we really do have similar tastes), and while you are there, you may want to look around for awhile. I mean just look at the sleek, modern quilts pictured in her website header above. Every time I see a quilt of Debbie’s, I’m so inspired to make more!

Generation Q is one of my favorite modern quilting magazines! It’s a bit edgy and fun and the designs they share in each issue always resonate with me. Plus, the magazine has tons of well-written articles, so there’s more to read and look at than just pretty pictures. I was honored when they chose me to represent “I am Gen Q” in their latest issue. Be sure to grab a subscription to Generation Q magazine and check it out!
 I Am Gen Q is written by Scott Hansen, who was an earlier stop on the hop.
Scott (who was an earier stop on the hop) and Teri (who’s coming up later this week) both chose to remake some blocks from one of the quilts in the book. Be sure to pop on over to the Gen Q website to see which quilt they chose. You will be blown away by their versions – so completely different yet amazing in their own way. I love it when designs look great in any fabrics!
Be sure to enter the Generation Q giveaway!
Click here for the complete blog hop schedule.
Click here purchase your autographed copy of Machine Quilting With Style.