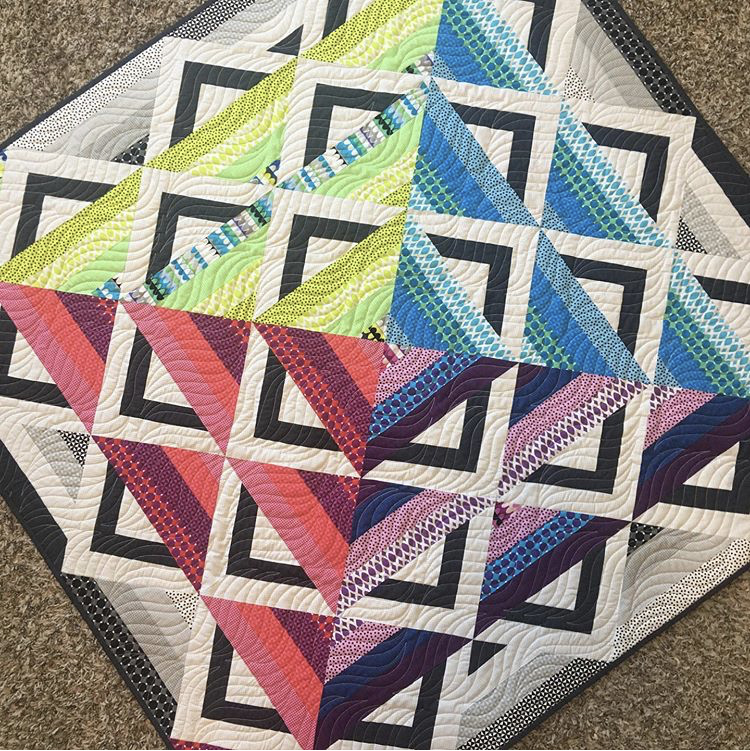
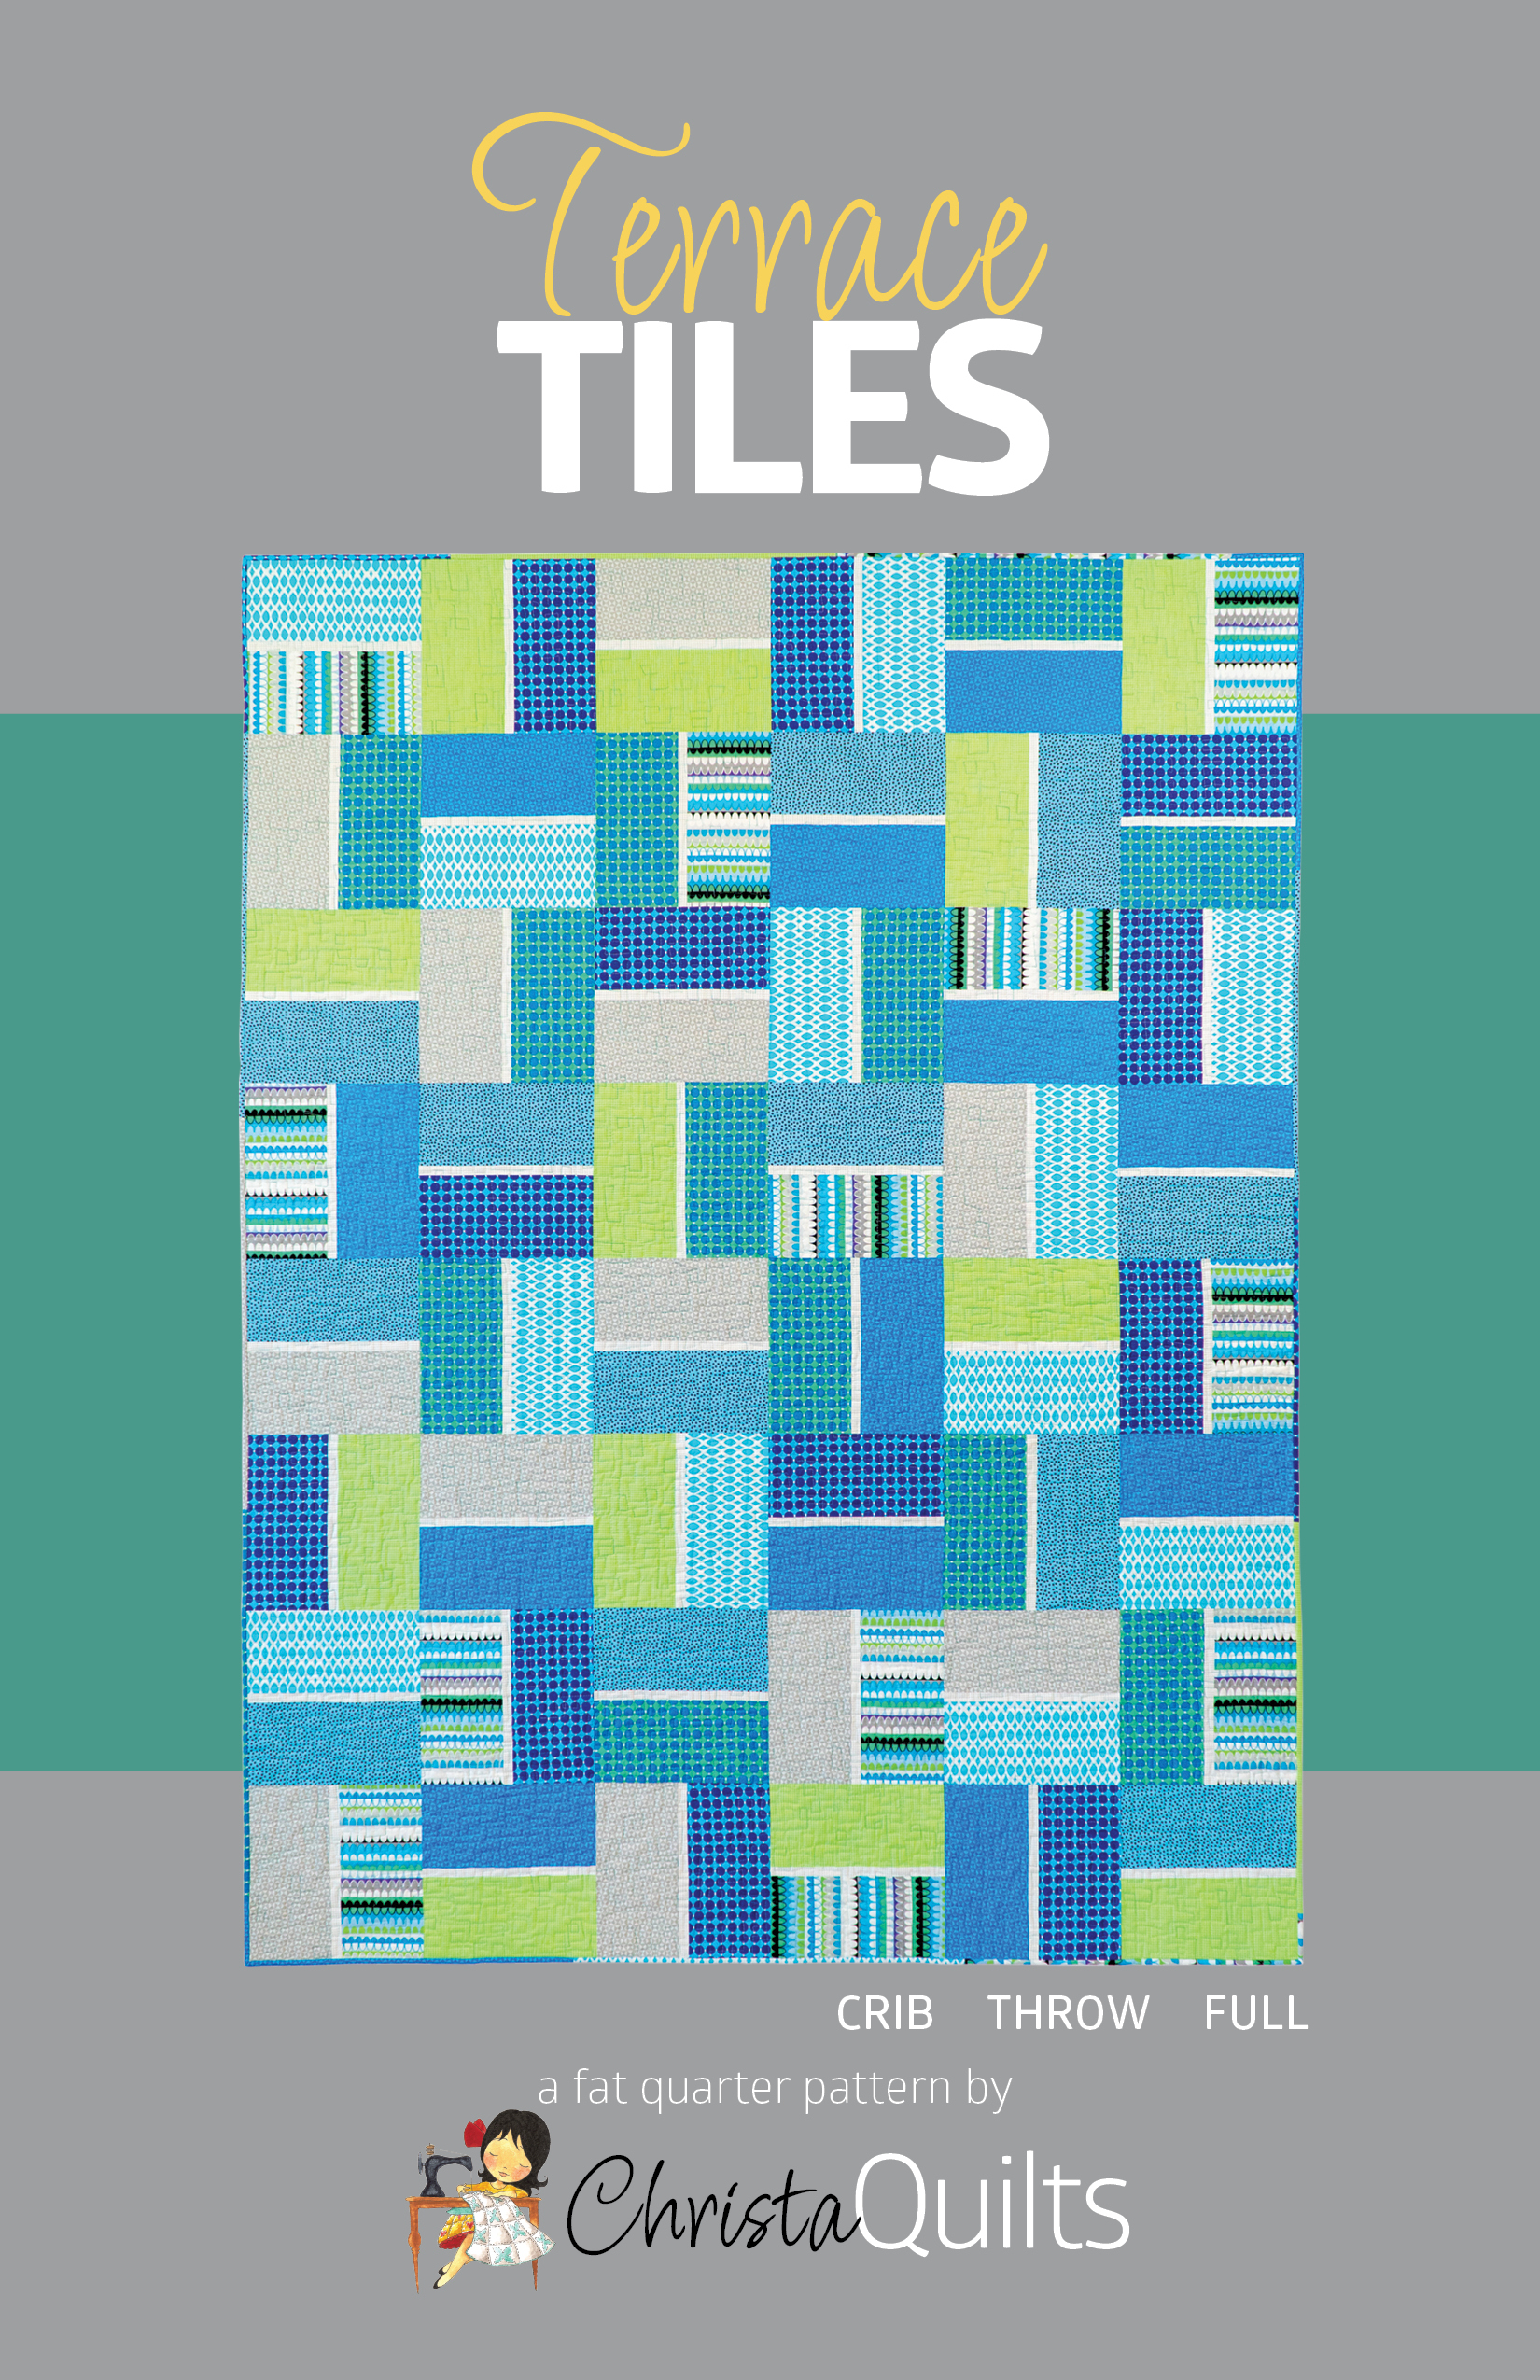
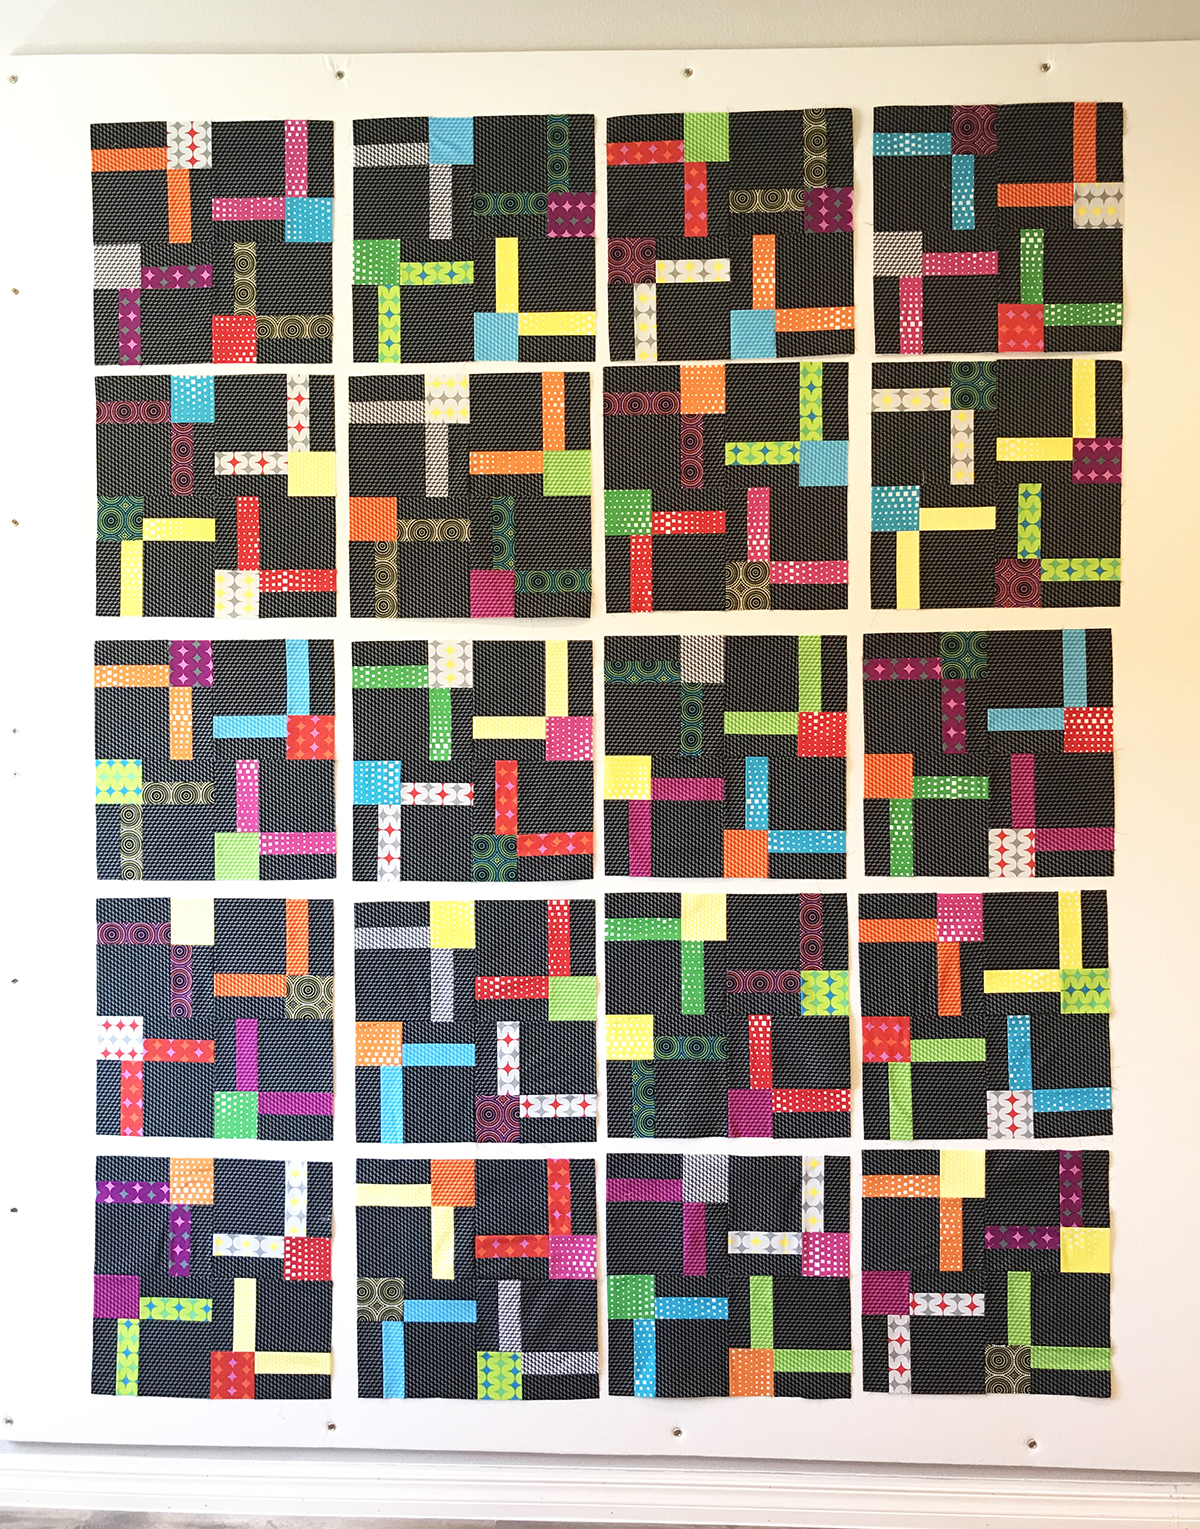
Now that my Gridwork fabric line has started arriving in quilt shops, I want to share more about the quilts I made from it. Over the next 4 weeks I’ll share some detailed progress pics of the three Terrace Tiles Quilts I made in three different colors.
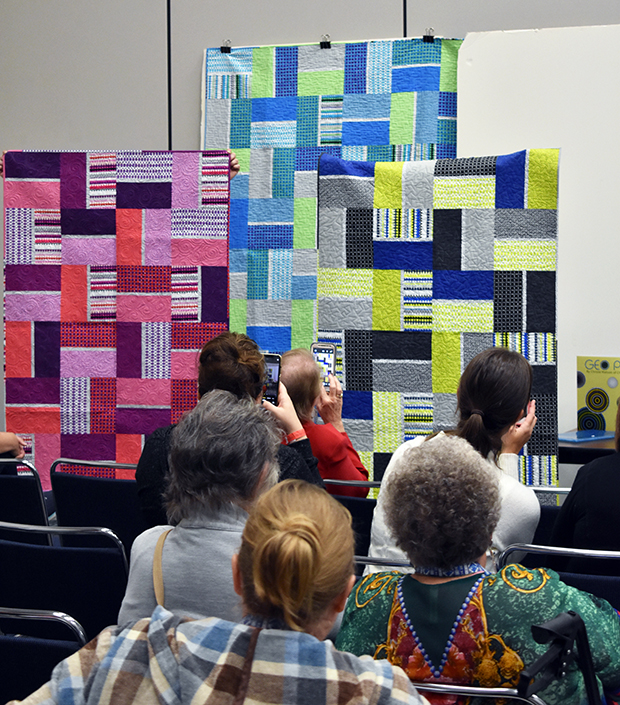
Terrace Tiles Quilts were first shown at Fall 2019 Quilt Market in Houston Texas
With 27 different fabrics in this collection, I wanted to make it easier to work with so I organized Gridwork into 3 distinct colorways with 9 fabrics each: Amethyst, Breeze, and Citron.
I love designing fat quarter friendly quilts, and wanted to sew up some sample quilts that would effectively showcase the different Gridwork colorways. I also wanted to offer a quick and easy quilt that could be made entirely from any of the Gridwork fat quarter bundles.
The quilt sizes included in the pattern are Crib (1 FQ bundle), Throw (2 FQ bundles) and Twin/Full (3 FQ bundles). Each quilt size is completely made from fat quarters, including the scrappy binding. You can mix and match any of the fat quarters from the line to make a scrappy looking quilt, or you can use multiple bundles from the same color group for a more coordinated look. The choice is up to you!
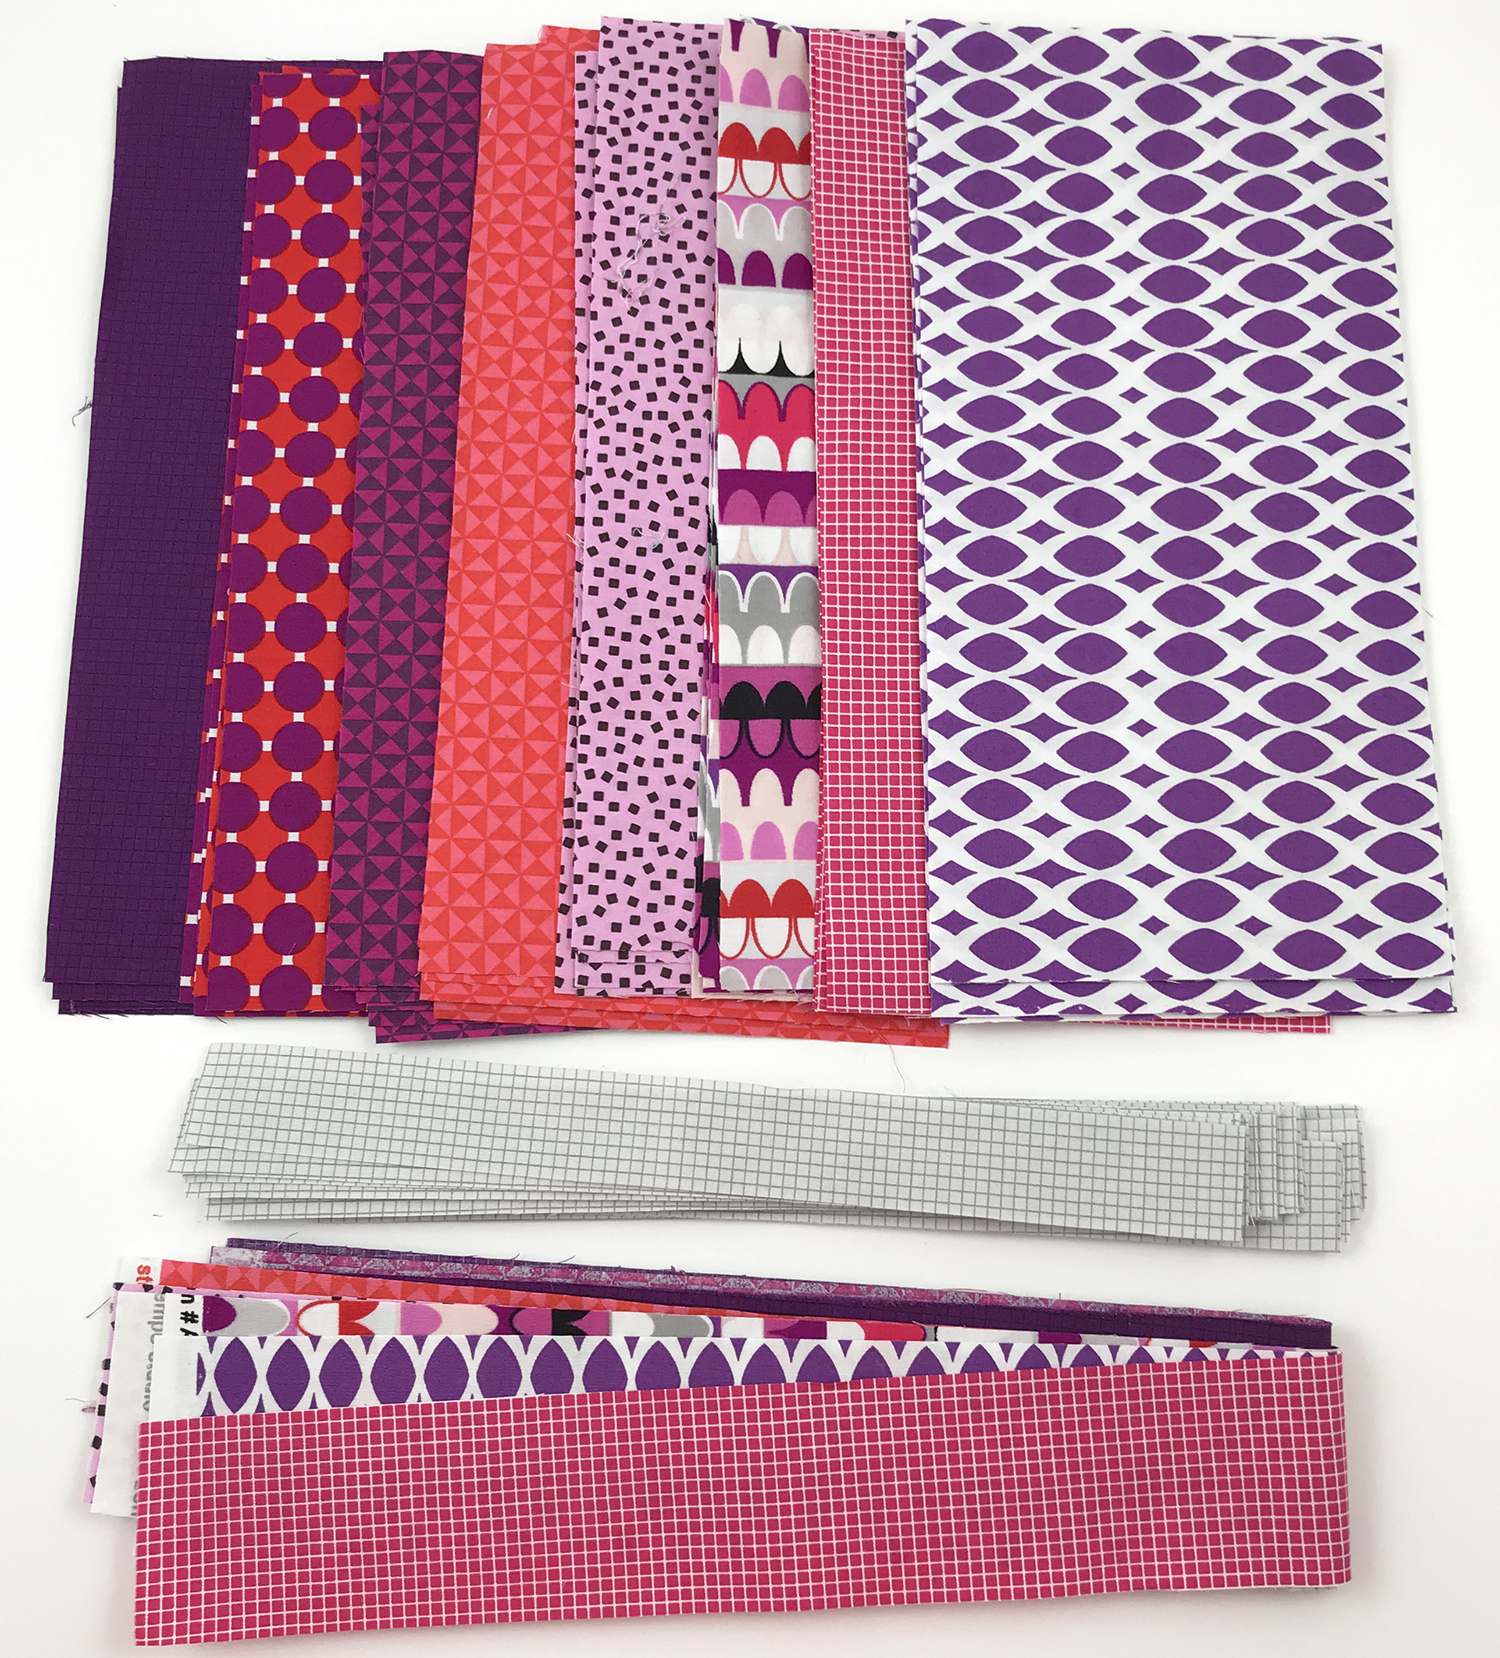
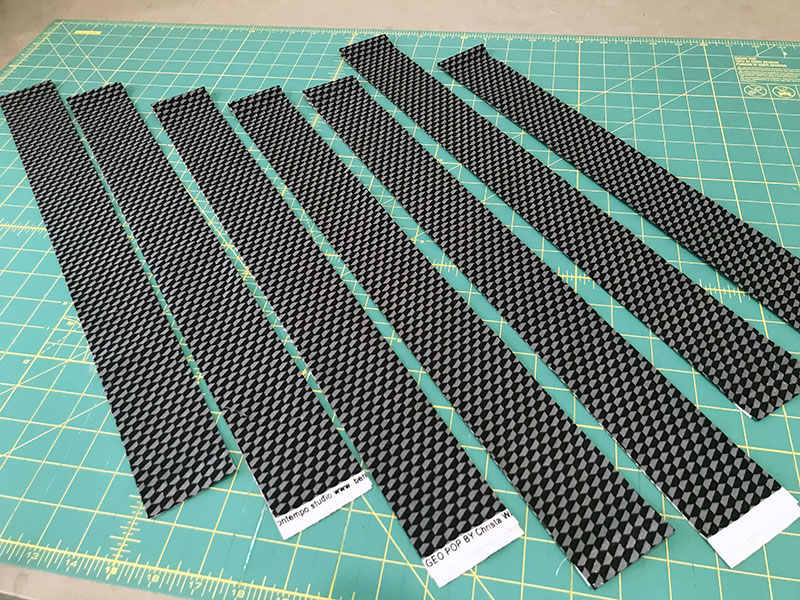
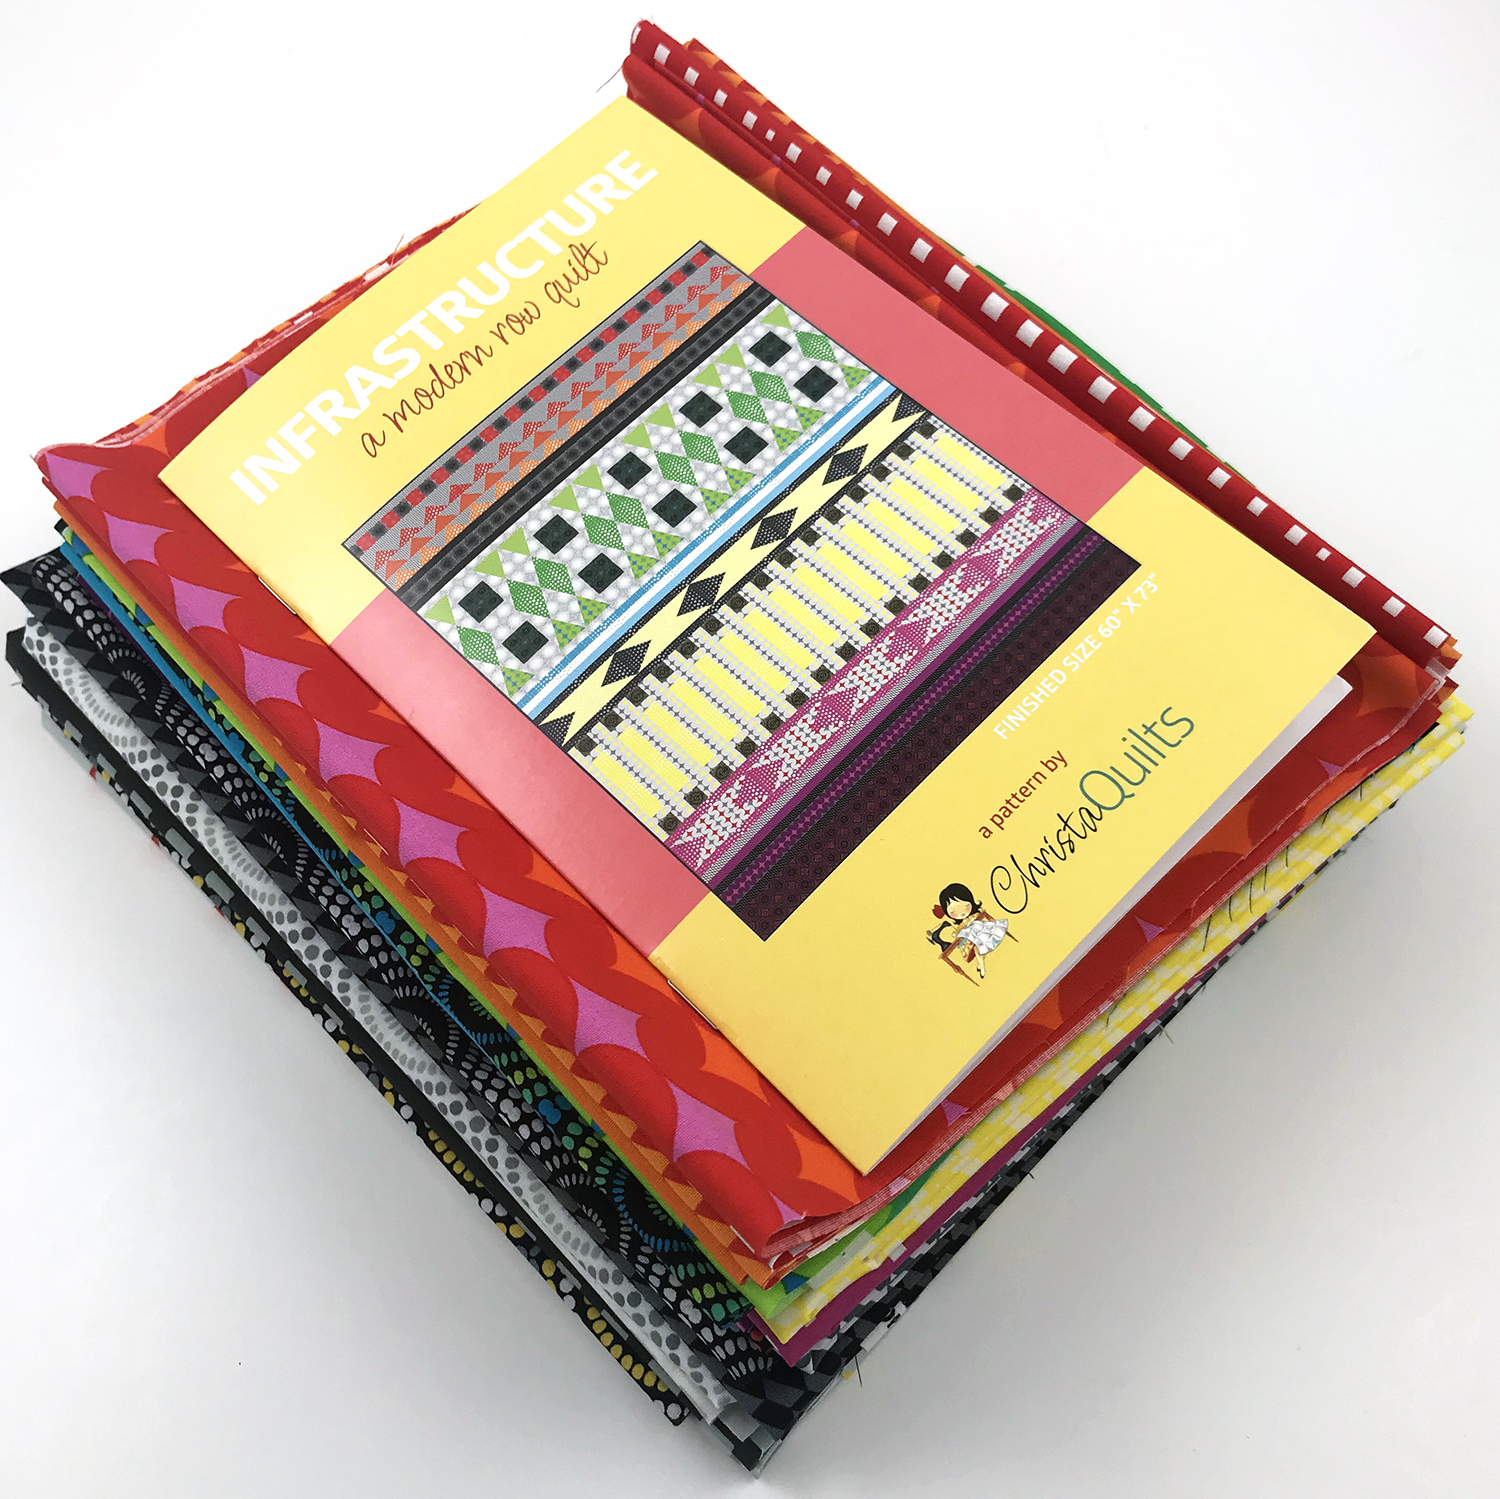
Because I wanted to show off this fun design in all 3 colorways, I decided to make three quilts: two of them are Crib size using one bundle each of Amethyst and Citron; and the third one is Throw size using two fat quarter bundles (or half yards) of the Breeze colorway. Here are all my yummy pieces, cut and ready to sew!
Cutting tip: I love to assembly line cut and piece so I’ll usually stack 4 fat quarters on top of each other for speedy cutting. When making the scrappy binding, I’ll go ahead and cut one strip from each fat quarter at the same time I’m cutting the block units.
Stay tuned for next time when I show what the blocks look like when they are all sewn!
It’s been a few years since I actually sat down and wrote some business goals. But finally feel like I’m catching up and have actually had time to think and plan again, LOL! One thing has really stuck out at me lately, and that’s how much I enjoy blogging (and sharing pretty quilt pics)!
Here’s a recent quilt finish you may have missed. It’s called Surplus Strips made from leftovers or precut strips.
I’ve written several times over the past year about how I’m trying to nail down this social media stuff. I appreciate everyone’s support in ALL THE PLACES and I’m not going to abandon any of them. But no sooner had I decided that I should blog LESS that I realized that’s the wrong answer for me. I actually want to blog MORE!
So I was looking at my stats and I get a healthy number of people who visit my blog each and every day, whether they leave a comment or not. And I LIKE writing lots of words! And sharing lots of pics!
Don’t get me wrong – Facebook and Instagram are great for spur of the moment stuff. But sooo many people don’t see my content because of the 8#!@& algorithms! In fact I would say I have double the number of instagram followers than blog followers, yet my engagement and views here on the blog is about 2-3x higher than on Instagram.
So all of this is to say that going forward I plan to increase my blogging frequency to 3x per week on Mondays, Wednesdays and Fridays. Now to make this work, I’ll write up and schedule some of the content, like quilt alongs, ahead of time. Other days I’ll write a stream of consciousness “soapbox” post like today (but I’ll still include pretty pics).
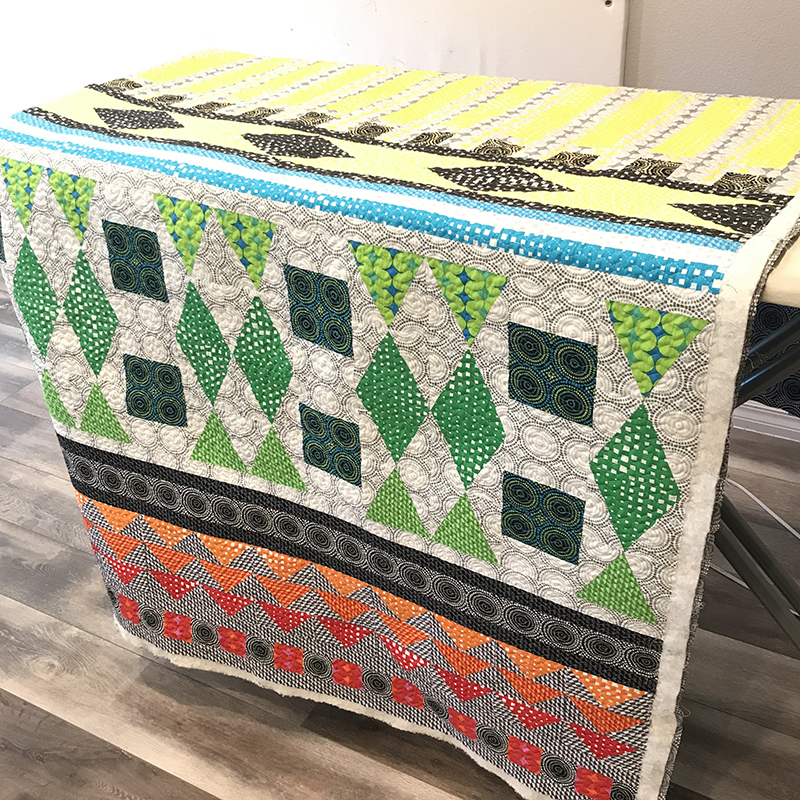
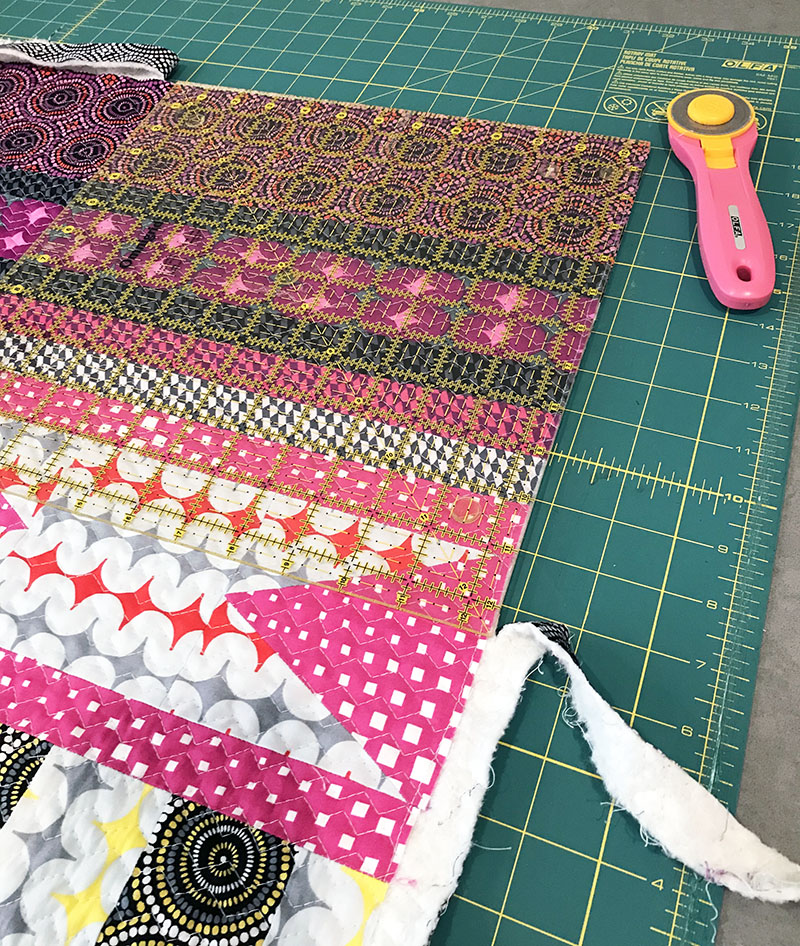
I love making pieced quilt backs from leftovers!!
And because this IS my business after all, I’ll still need to sprinkle in the occasional post about my latest & greatest fabrics, books or patterns for sale. But hopefully it will be inspiring content that will get you excited to make (and finish) more quilts!
I’m very data driven and geeky about this stuff, so I’d love to know. And feel free to leave me a comment letting me know what you’d love to see more of in the new year. Here’s hoping you have a fabulous 2020 and that all your quilty dreams come true!!! 🙂
I’m so excited that my newest fabric, Gridwork will be arriving in stores soon! To get you pumped up for some post holiday sewing, I’m sharing some gorgeous quilts made by my talented friends. Hopefully you’ll be inspired by one of these designs and put them on your “to make” list in the new year!
The simple Gridwork quilting on this version gives it a completely different look, but it’s still very effective, don’t you think? And of course I love that it fits in with the theme of the fabric, too!
Mid Mod by Charisma Horton
I’ve recently gotten to know Charisma Horton online and her work is just fabulous! She has a great eye for modern design and is a prolific long-arm quilter, too. I love this composition that she created from Gridwork, called Mid Mod.
If you love jelly roll quilts as much as I do – check out the new Colourwerx Paintbox quilt below. It’s made from one “Strip-pie” of Gridwork plus background fabric – easy peazy!!
This striking design is made from Gridwork fat quarters + background fabric. I love how it shows off the prints and they look great all mixed up together!
I sure do love having talented friends that create some amazing patterns with my fabric!!
Now it’s your turn. Once you grab your favorite Gridwork prints and start sewing with them, please share your progress with me. You can post pics in my Facebook group, or you can share on instagram with the hashtag #gridworkfabric. I can’t wait to see what you make!
Have you enjoyed following along with Infrastructure? Remember, even if you haven’t even started your quilt, you can make it anytime and I’m here to help cheer you on! We’ve come to the very last step of making the quilt and I’m “sew” excited to share my tutorial for binding by machine.
I like to use a large square ruler at the corners and along straight ruler for the sides. I trim the extra batting and backing flush with the edges of the quilt so that I can get a nice, tight binding. I’ll sew with an accurate 1/4″ seam and try not to cut off any points along the edges.
Step 2 – Cut the Strips and Sew Continuously
The length to cut your strips is a personal preference. For this quilt I experimented and cut them out at 2 1/2″ wide so it would give me enough room to finish by machine. But I usually like to cut them narrower at 2″ so I get a nice tight binding that’s even on both sides. Here’s an easy way to calculate the # of strips you’ll need. Take the perimeter of the quilt and add 10″. Then divide that number by 40″ and that will tell you how many strips to cut.
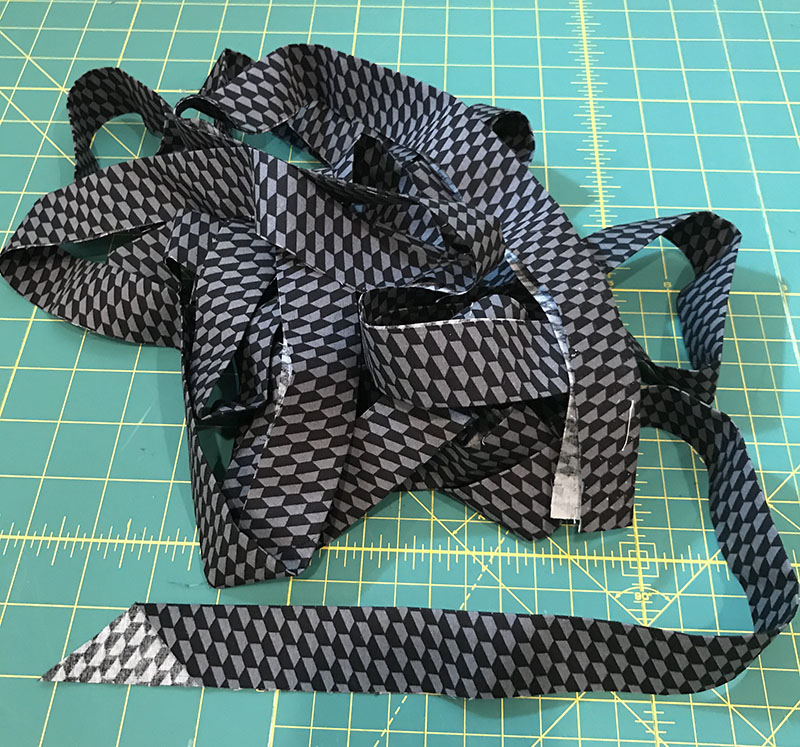
Sew the strips together end to end, mitering each of the corners so you get a long continuous strip. Cut one end at a 45 degree angle so the end and beginning are hidden. Then press the entire binding in half, wrong sides together.
Step 3 – Bind by Machine
Sew the binding to the BACK of the quilt and then secure it to the FRONT of the quilt with a decorative stitch so that it becomes part of the design!
Watch me sew the Binding & Follow Me on YouTube!
I’ve put together a short 6 minute video showing how I sew the strips and attach the binding by machine.
The difference between hand binding and machine binding is which side of the quilt I sew it on. I sew it to the back and finish by front by machine. Or I sew it to the front and finish on the back by hand. But whichever technique you choose is completely up to you!
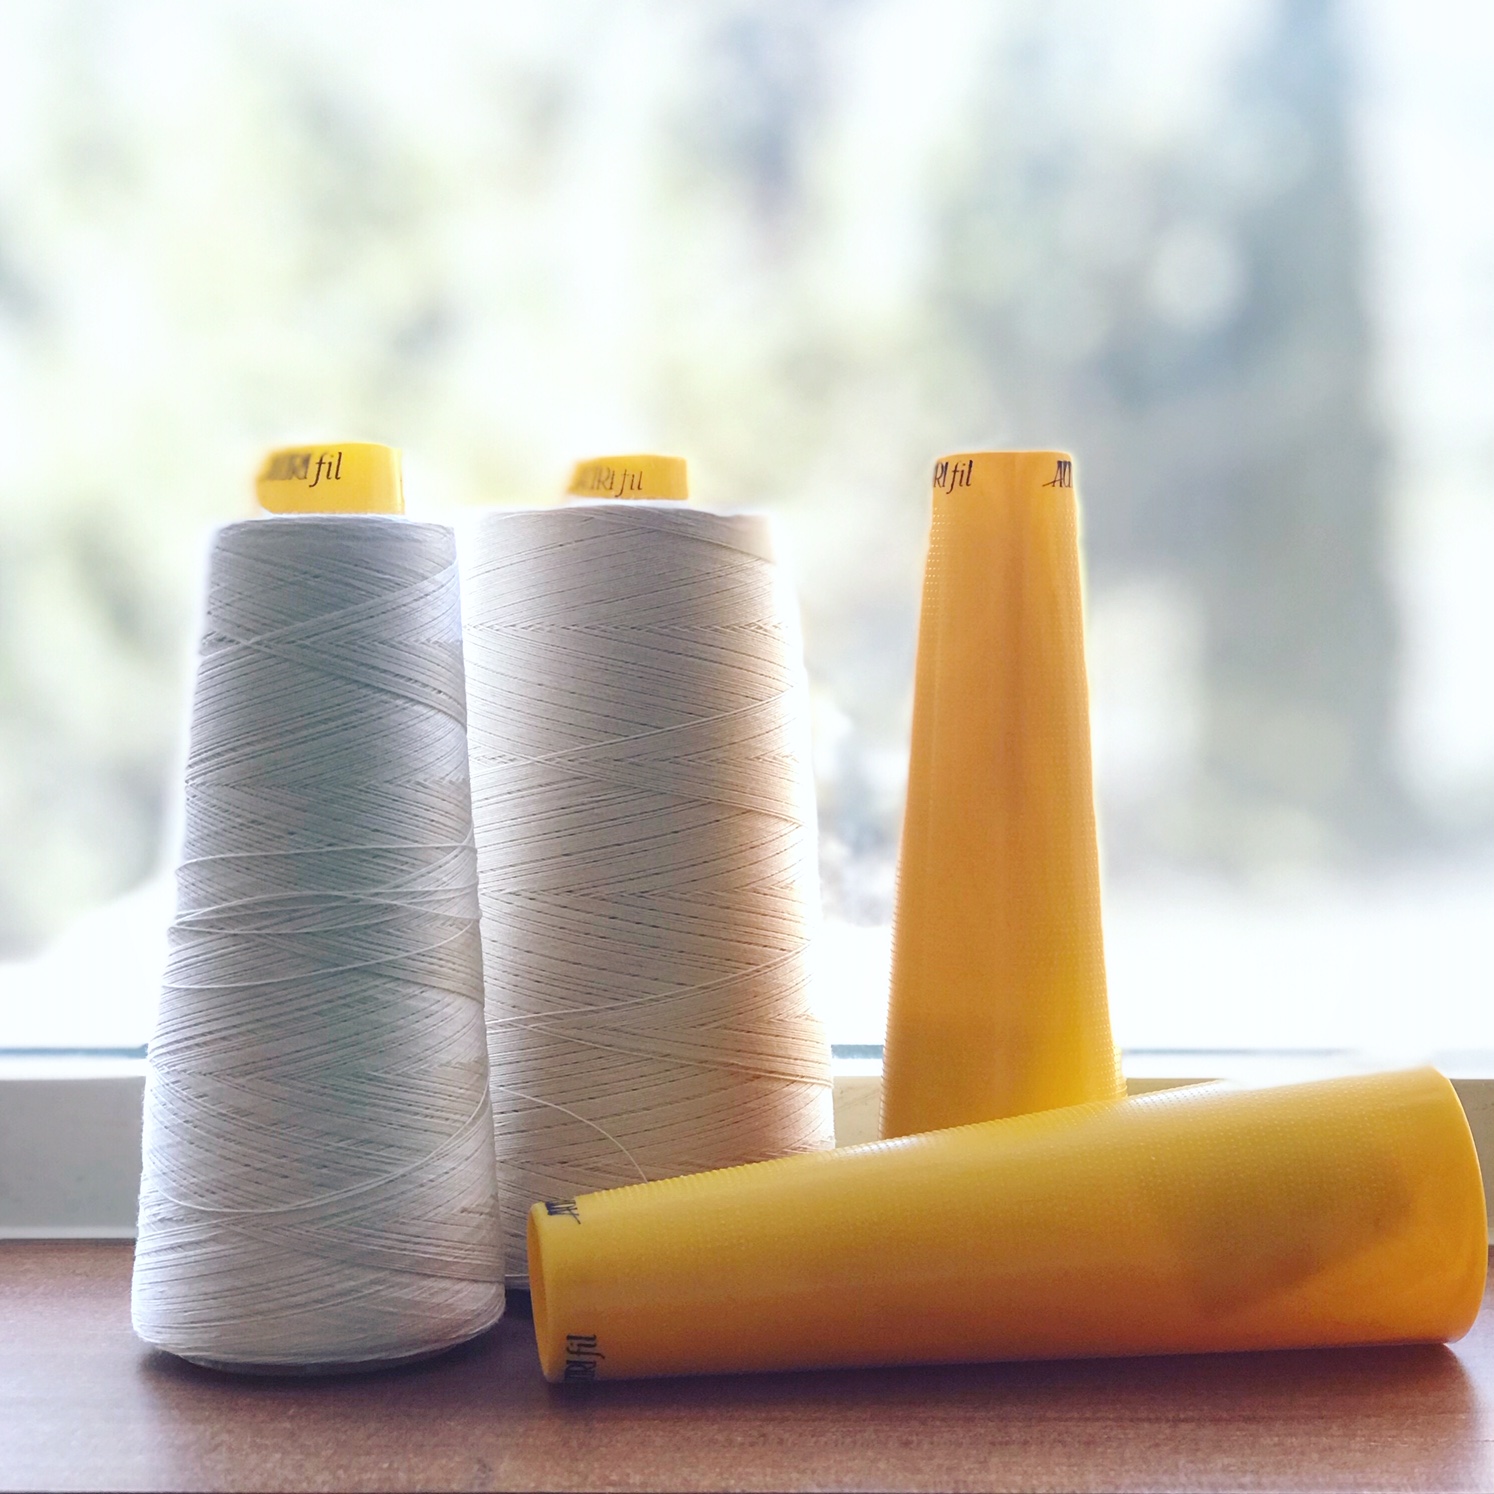
While you are there be sure to enter the giveaway on Heather’s blog. Aurifil is giving away two large cones of their 40 weight, 3 ply thread in fave colors of dove and light beige.
I sure love seeing everyone’s progress pics. You can also share on instagram by tagging us @christaquilts and @quiltachusetts and use the search hashtag #infrastructurequilt in your post so others can see, too!
And now we get to my favorite part of making a quilt – machine quilting!!! There are so many different ways to quilt this quilt. Heather Black did an amazing job custom quilting hers, and I took the opposite approach with one of the simplest designs you can do – decorative machine stitching.
Infrastructure Machine Quilting Detail Using a Decorative Stitch
So the first thing to do is choose the thread you’d like to quilt with. I piece AND quilt all of my quilts using Aurifil, 50 weight, 100% cotton thread from my 3 thread collections. It’s thin, yet strong and blends into my quilts so all you see is the yummy texture. I use leftover bobbins for piecing my next quilt and I never have to worry about which bobbin matches which spool since they are all the same weight!
I like to use the same color thread in top and bobbin so that I don’t get “pokies” on my quilt – those little dots of thread that appear when your tension is the tiniest bit off and you are using highly contrasting thread.
I used Aurifil #5007 light gray/blue from my Neutrals thread box. It’s one of my favorite go-to neutrals because it blends with nearly every color. When I’m doing an allover edge-to-edge quilting design, I don’t want to have to stop and switch thread colors while I’m quilting.
Because the spools hold so much thread on them, it took me less than one spool to quilt the entire quilt, including the front and back.
Make a Quilting Plan
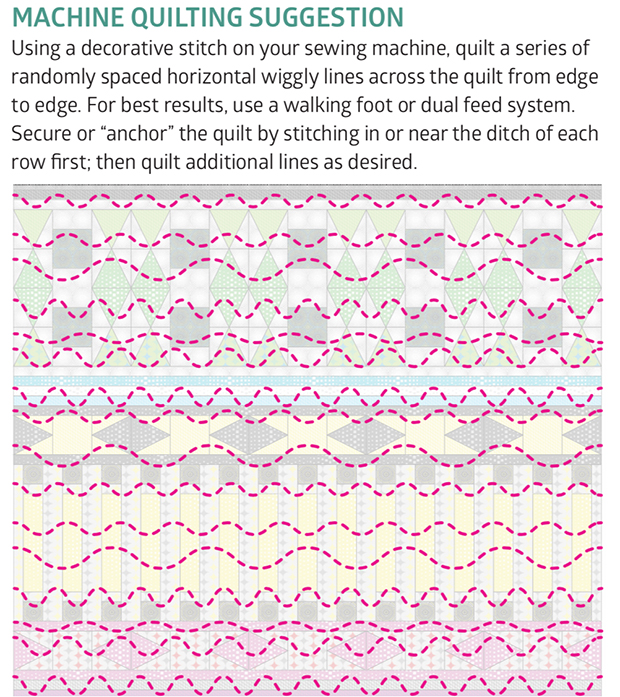
I love figuring out HOW I’m going to quilt ahead of time, so I don’t have to think too much. I will usually print out a copy of the quilt top from the pattern (you can photocopy the pattern cover for personal use, OR you can take a picture of your finished quilt top). Then I draw all over it until I come up with something I like. I include quilting suggestions in ALL of my quilt patterns to help you out with each quilt you make.
Above is the illustration that’s included in my Infrastructure Quilt Pattern. Here’s the basic idea: choose a decorative stitch on your sewing machine and quilt a series of lines across the quilt from one side to the other.
Make them as light or dense as you like and use my “divide and conquer” method: quilt one set of lines “near” the ditch instead of IN the ditch for each row. Then go back and quilt additional passes across the quilt, shrinking up the open spaces until the entire area is filled.
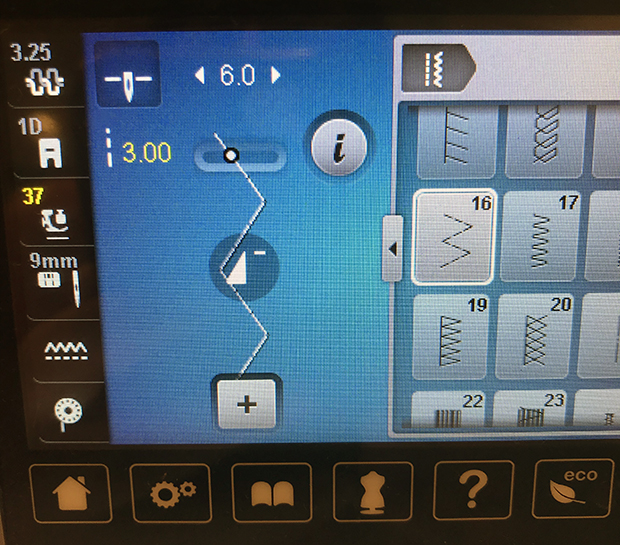
You can use ANY decorative stitch on you sewing machine. Play around with length and width settings until you find something you like, and stitch on a practice sample before you quilt on the real thing. Here’s a picture of the settings I chose on my machine, a BERINA 770 QE:
I’m using decorative stitch #16 which is known as a running stitch or a broken zig-zag. It creates several stitches each time it zigs and zags, so you can make it bigger than the default settings and it still looks great! I adjusted my width to 6.0 and my length to 3.0 because I like the way it looks. Don’t forget to use a zig-zag needle plate so you don’t break a needle when it moves back and forth!!
The Quilting
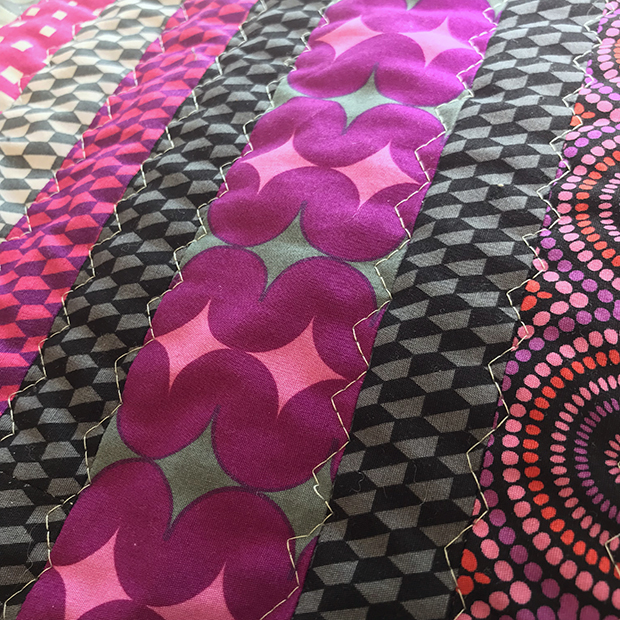
Here are some beauty shots of the decorative stitch quilting in process. I made sure to NOT try to line up the quilting lines perfectly because I love a more organic look. The more quilting I did, the more beautiful texture it added to the quilt and the more the thread blended in. After all, the best way to hide imperfect stitches is to surround them with MORE imperfect stitches!!
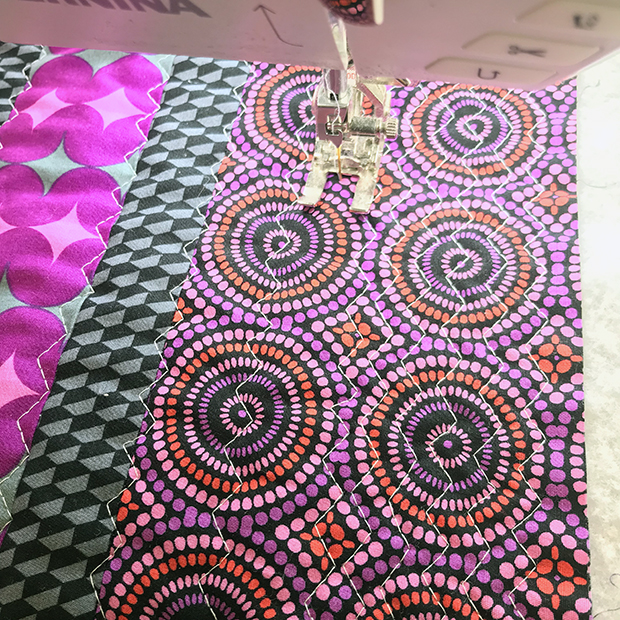
Here’s what it looks like when I’m stitching “near” the ditch in each row. You can see all the imperfections up close, but fortunately they get hidden when more quilting is added.
I’m filling in the spaces between the first pass with randomly spaced lines. I’m using the 20D foot on my BERNINA with the integrated dual feed. It works just like a walking foot and I don’t have to mark anything. I’m using the edge of the foot as a guide for some of the lines.
What this section looks like when it’s completely filled in.
None of the lines match up and some are a bit irregular – I love this look!!
Another section complete. Look how well the stitching blends in to the quilt!
This is one of my favorite designs because it adds great texture to ANY quilt!
See it In Action
Here’s my latest YouTube video, showing me quilting this decorative stitch on my quilt. It did take a few hours to accomplish, but I just worked on it a few minutes at a time over several days. It’s my joy and my zen when I get to do mindless quilting like this, and once you let go of perfection, it’s really quite fun!
Next week we’ll finish up with machine binding, including another video tutorial – so stay tuned!!
This Week’s Giveaway & Heather’s Version
Heather did some amazing custom quilting on her computerized long arm machine. Pop over to her blog at Quiltachussetts for more about how she chose her designs.
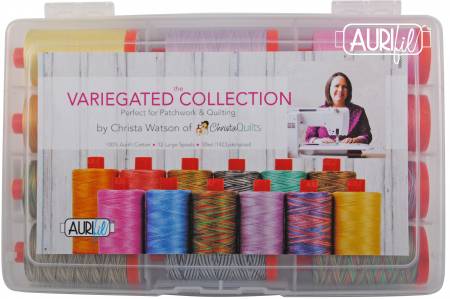
While you are there be sure to enter the giveaway on Heather’s blog. One lucky winner will receive one box of my Variegated thread collection, courtesy of Aurifl!! How cool is that???
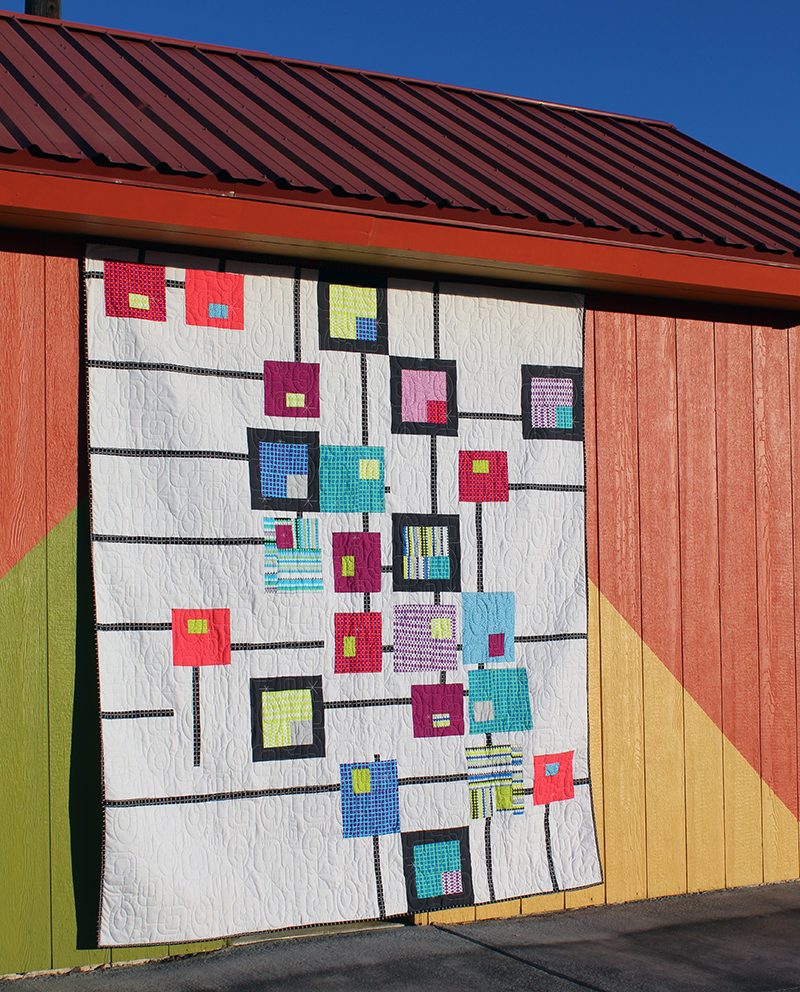
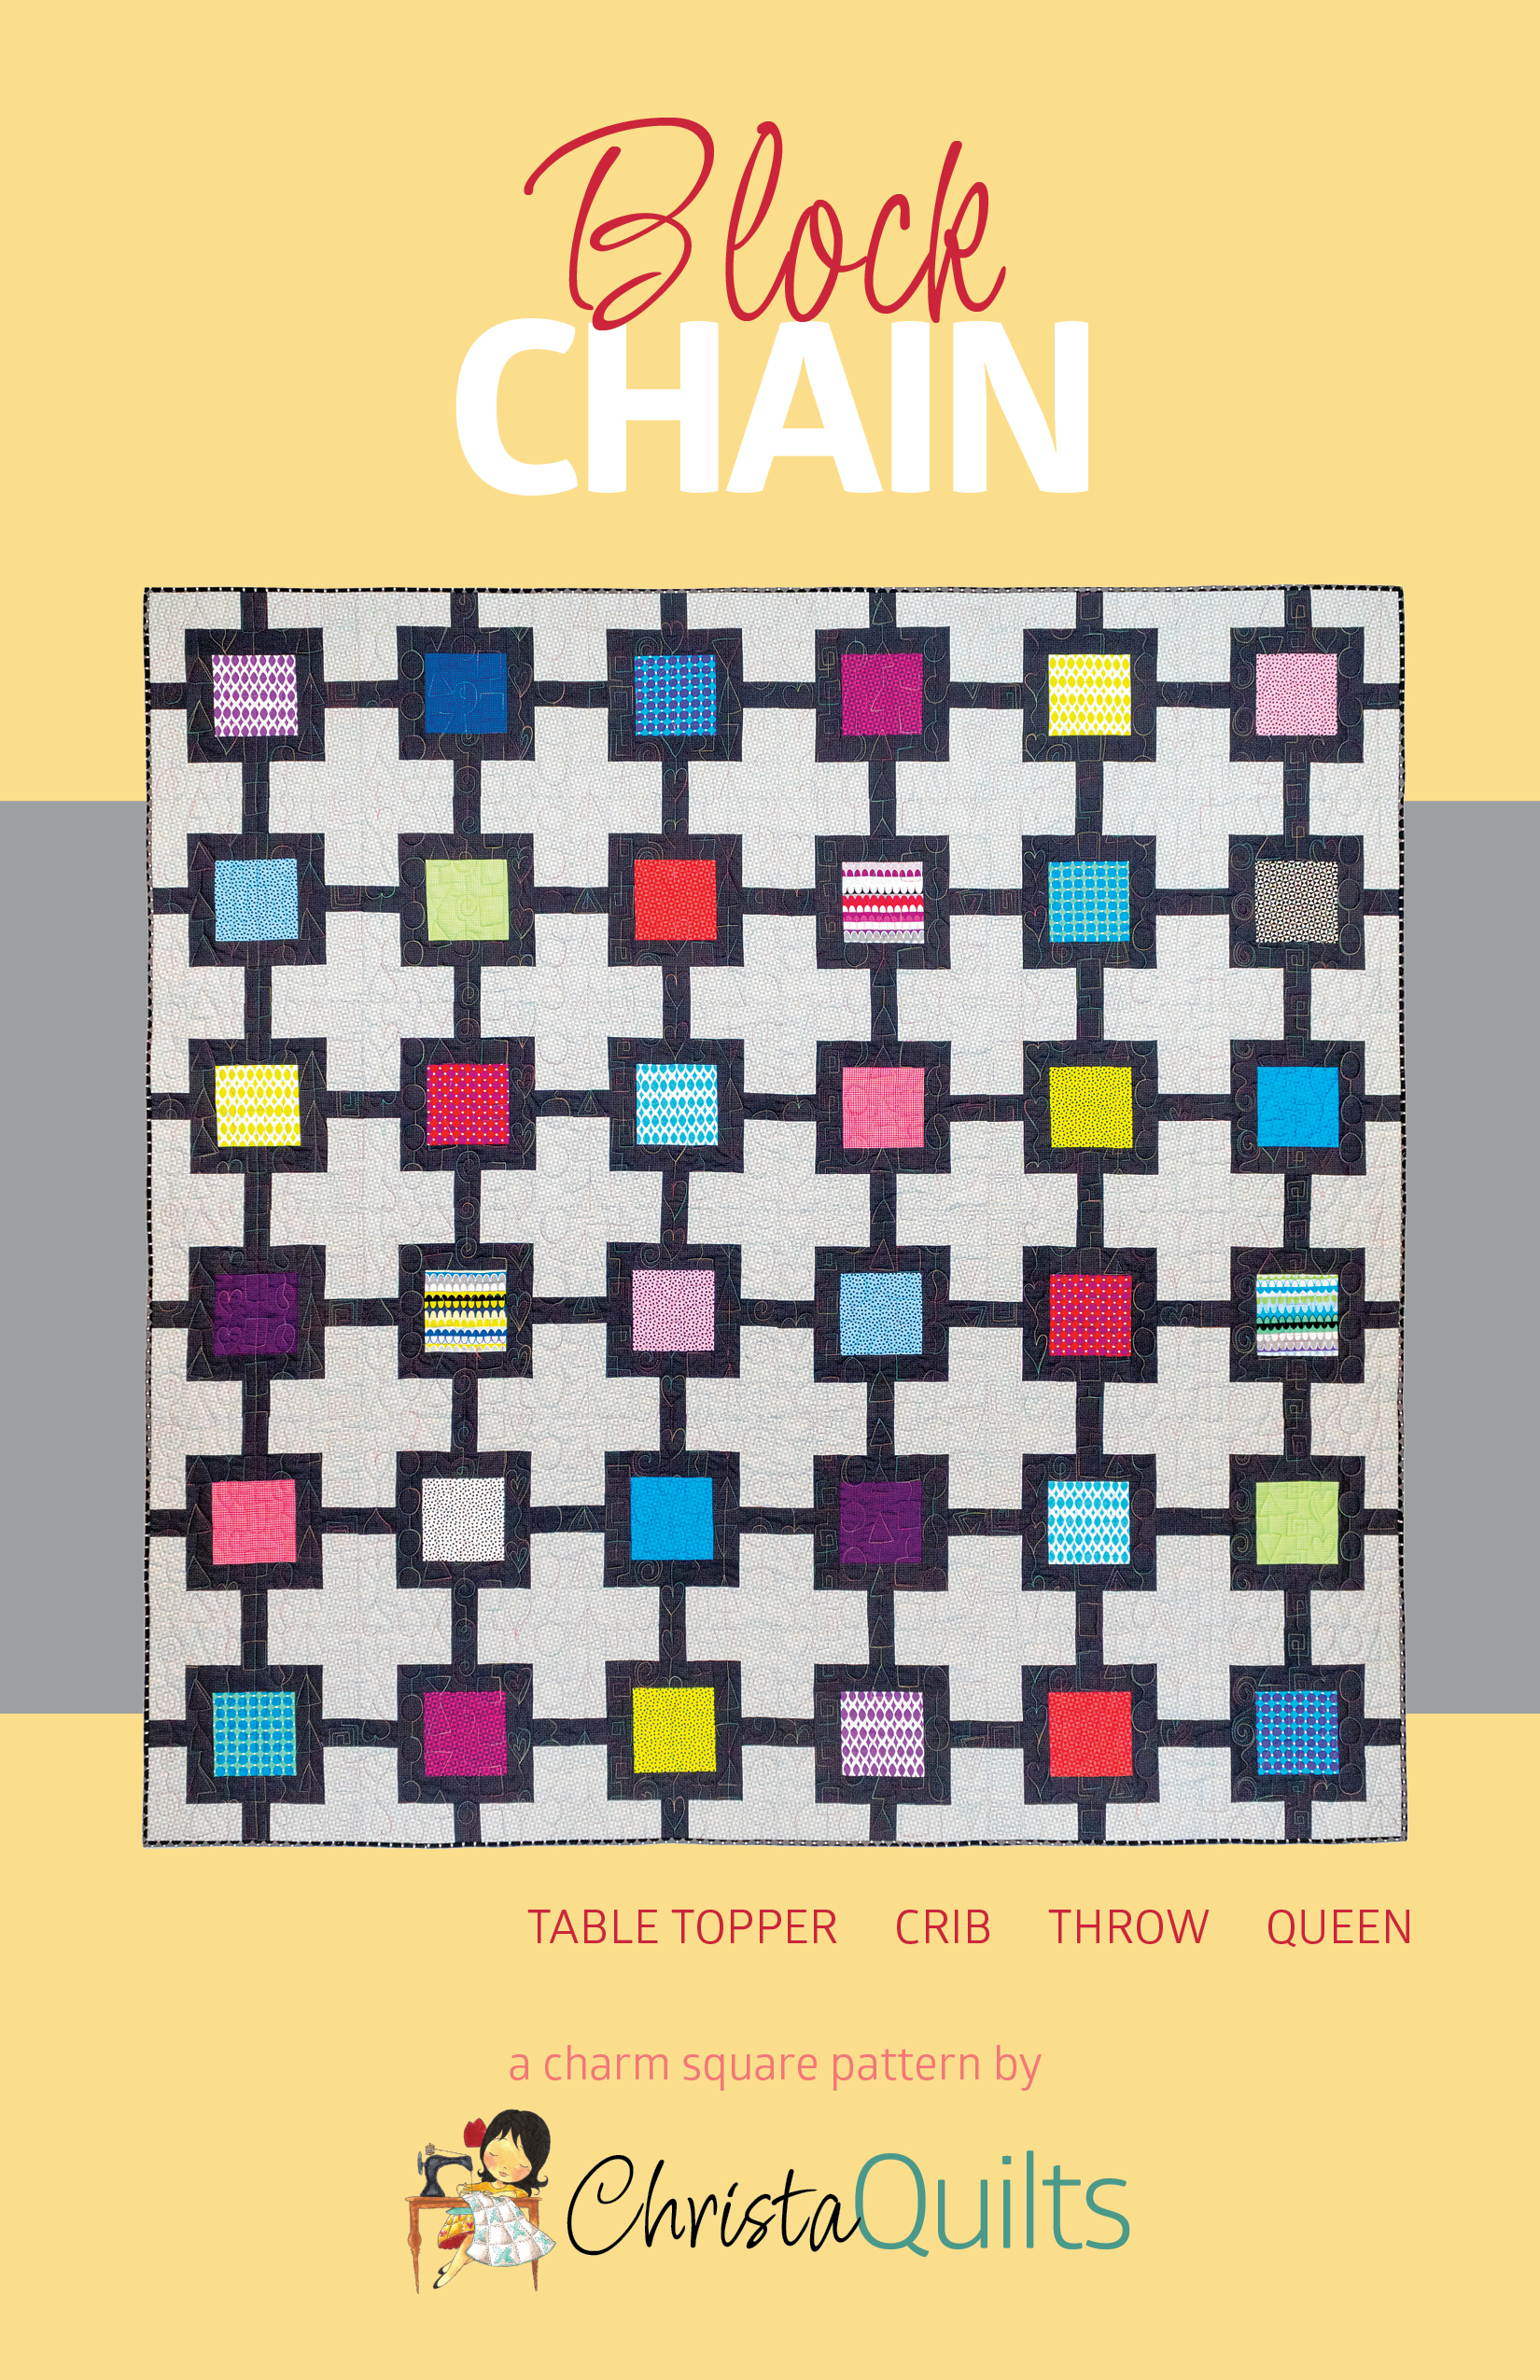
I’m excited to announce two fun new quilt patterns to go along with my next fabric line that I will be showing at Fall 2019 Quilt Market. Although they patterns feature prints I designed, they will look fabulous with any fabrics you choose to work with!
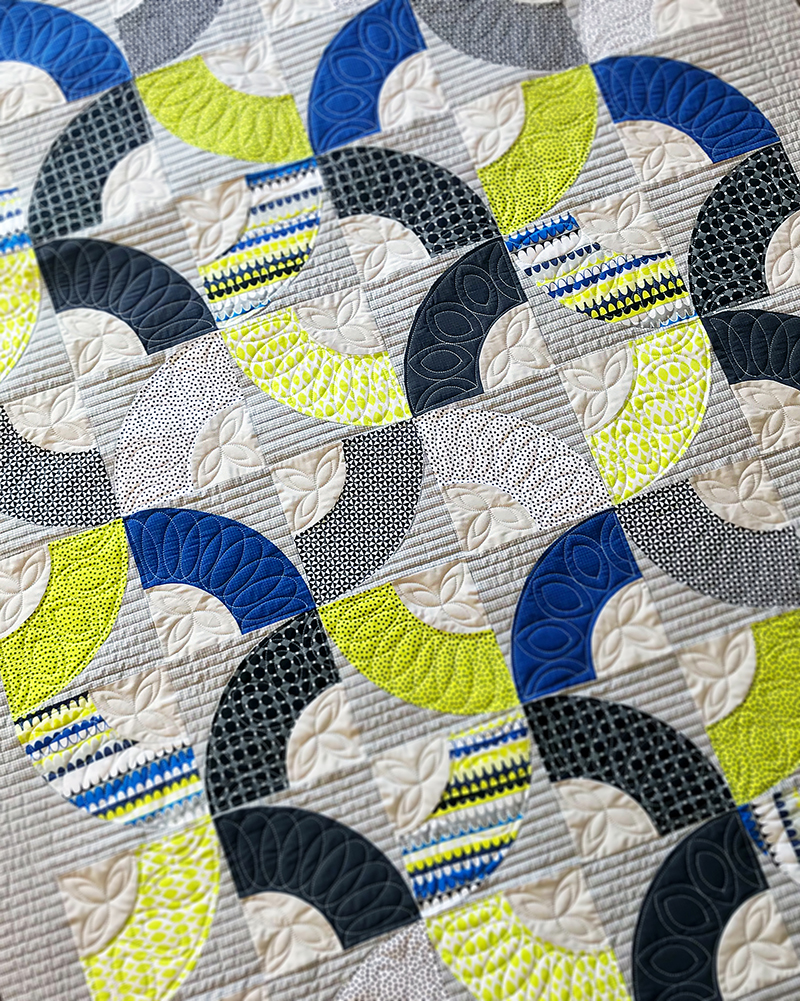
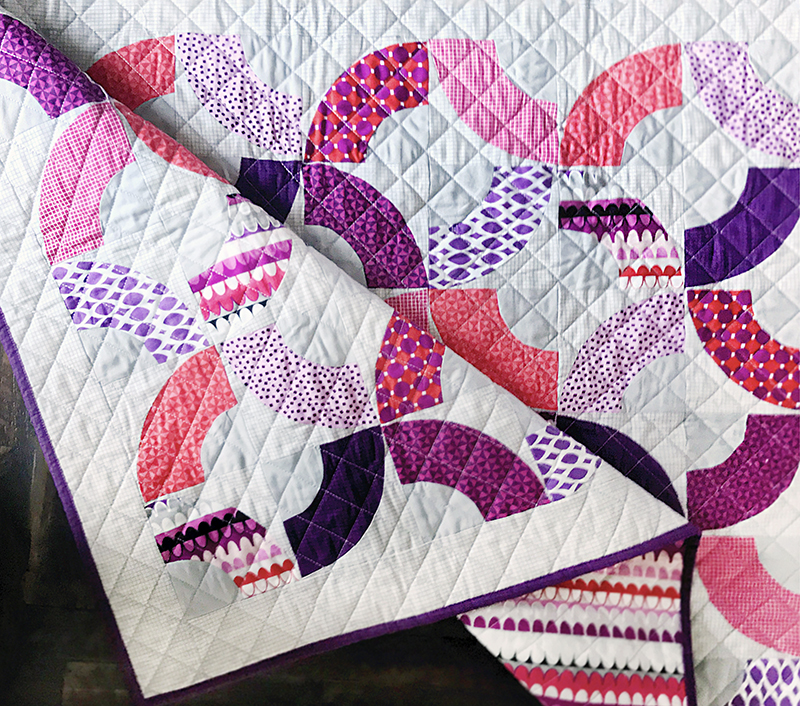
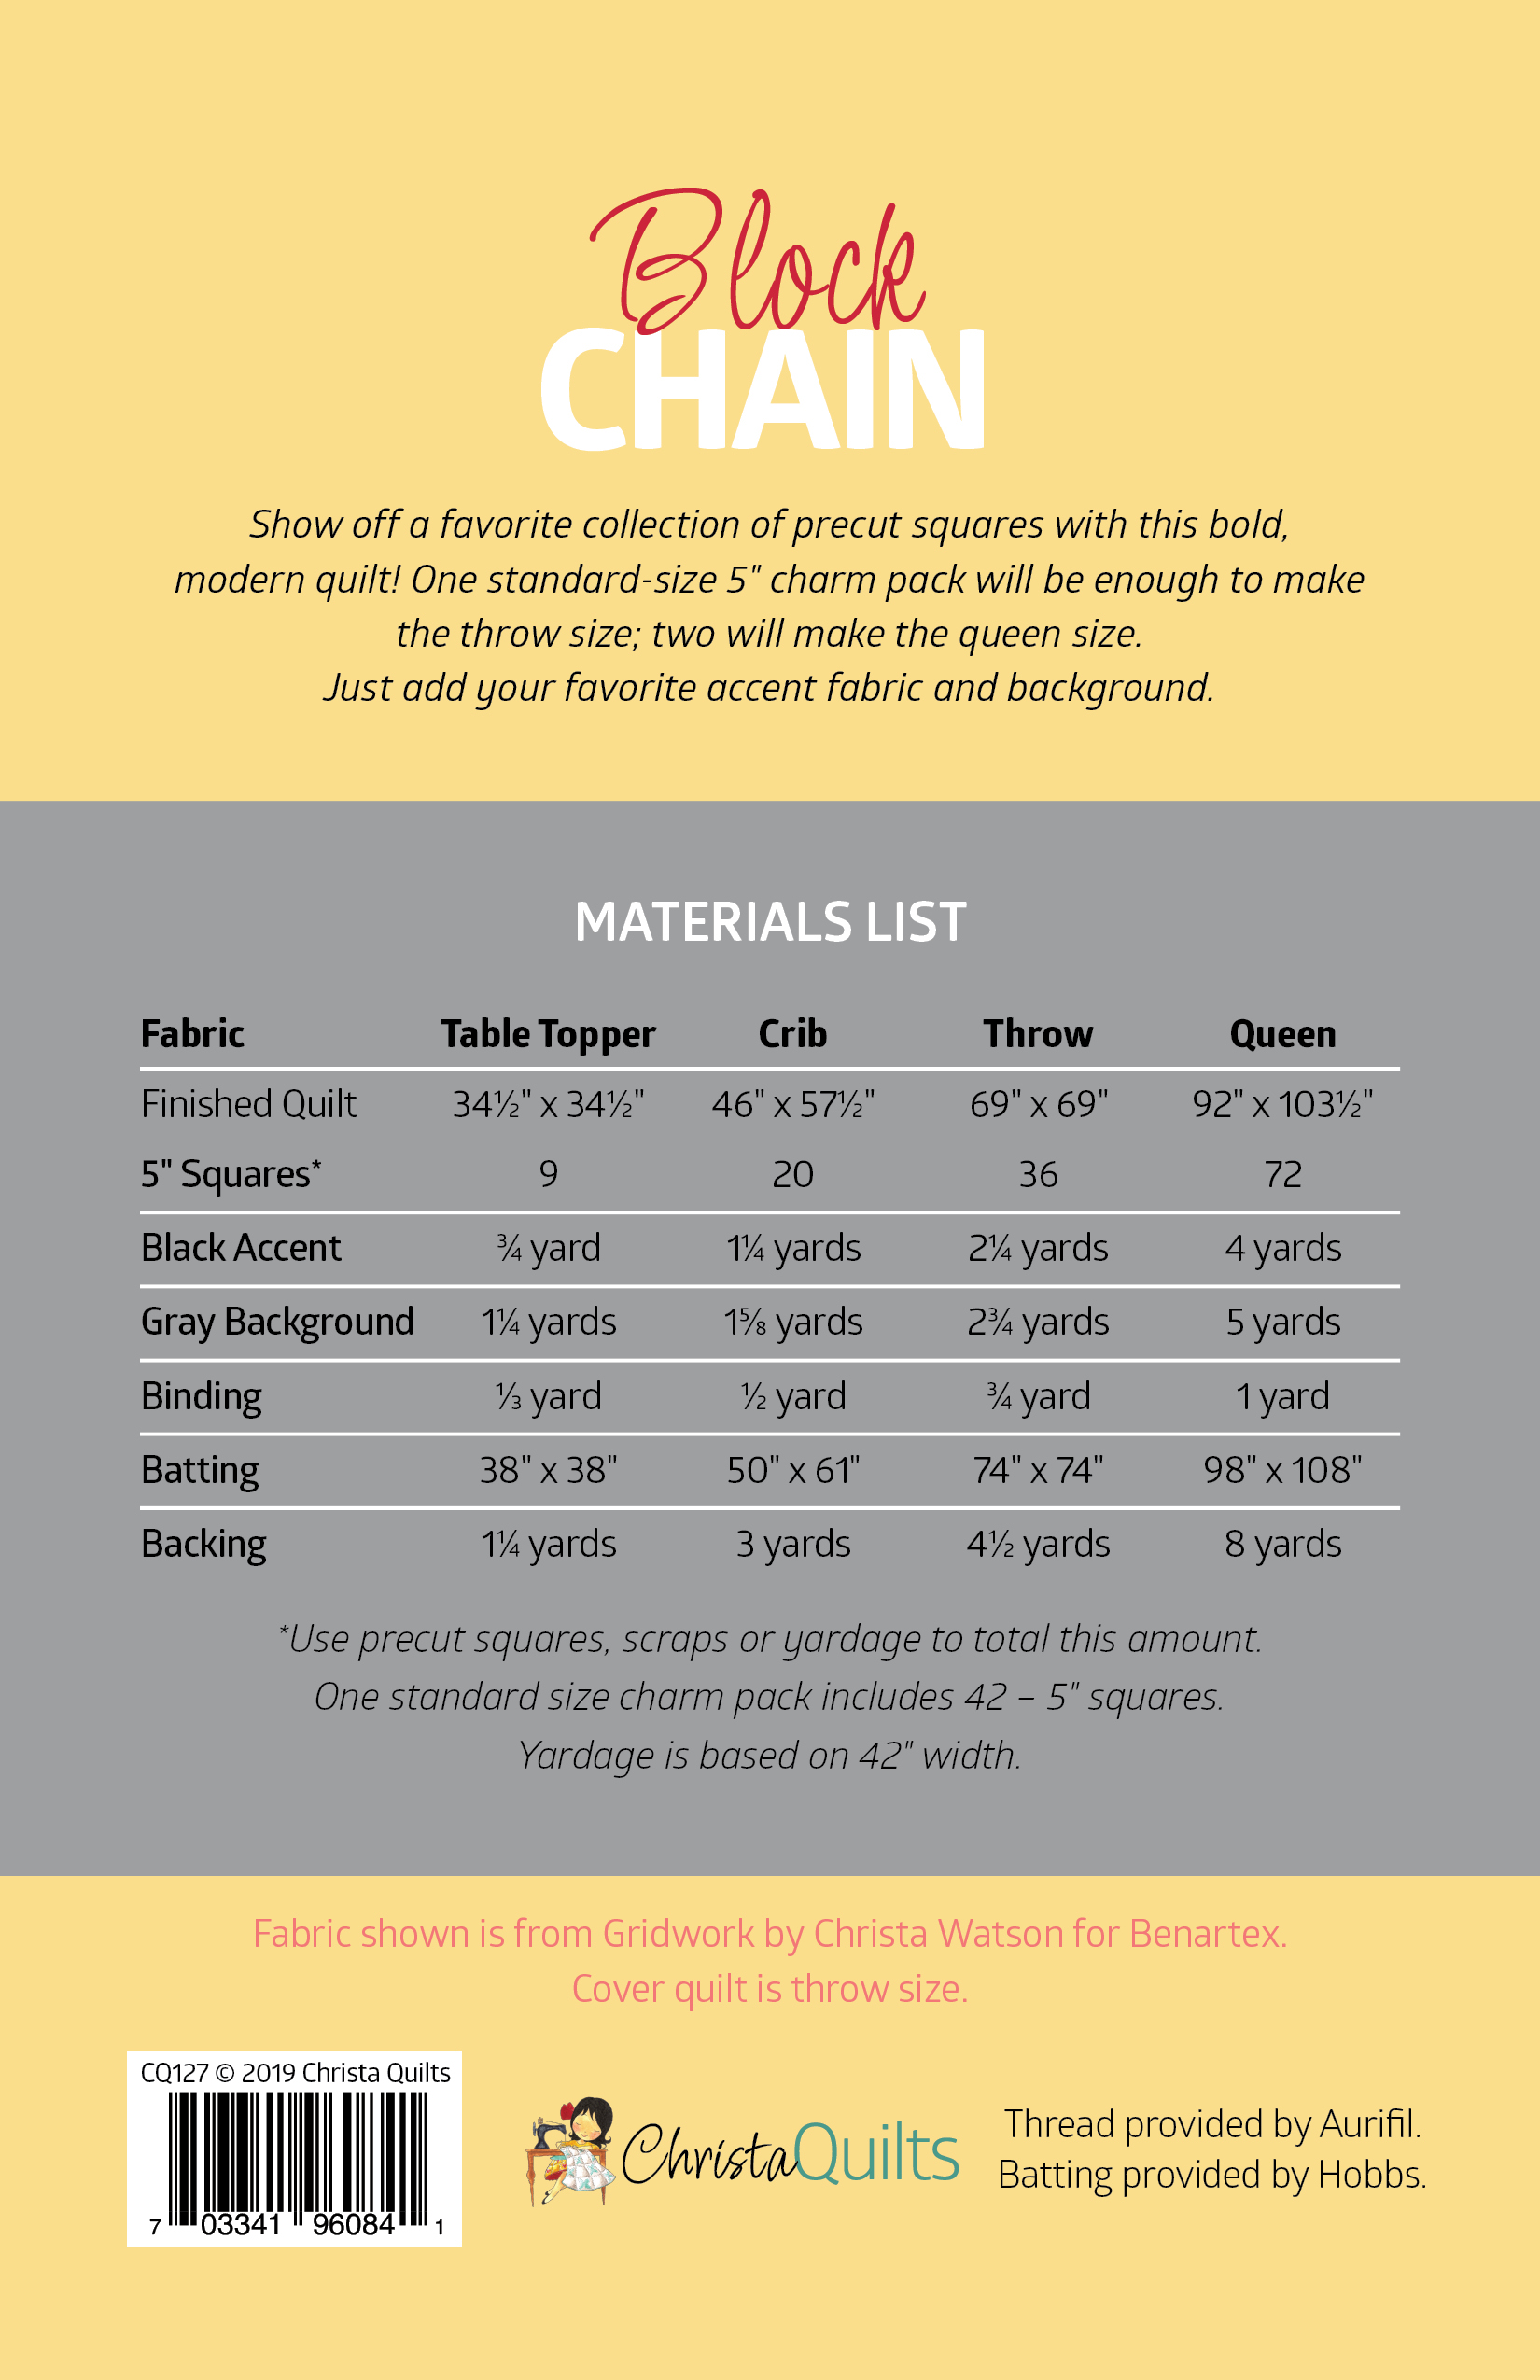
This pattern is based on a design I came out with years ago before precuts were popular. So I redesigned it, tinkered with the math, and came up with a fun way to use up your favorite charm packs! For the throw size shown, it takes 1 regular sized charm pack, or 36 squares.
Most charm packs are 40-42 squares so this gives you some flexibility to pull out any of the prints that are too light or too dark. Pair it up with contrasting black and gray, and you’ve got a dynamic looking design that’s perfect for showing off your favorite prints!
Quilting Suggestions Included
My biggest pet peeve about quilt patterns is when you get to the end and it says “quilt as desired.” If you’ve purchased any of my patterns before, you’ll know that I include quilting suggestions and diagrams with every single one! I want you to have a great time with the piecing AND the quilting and I’m always here to guide you through every step of the process.
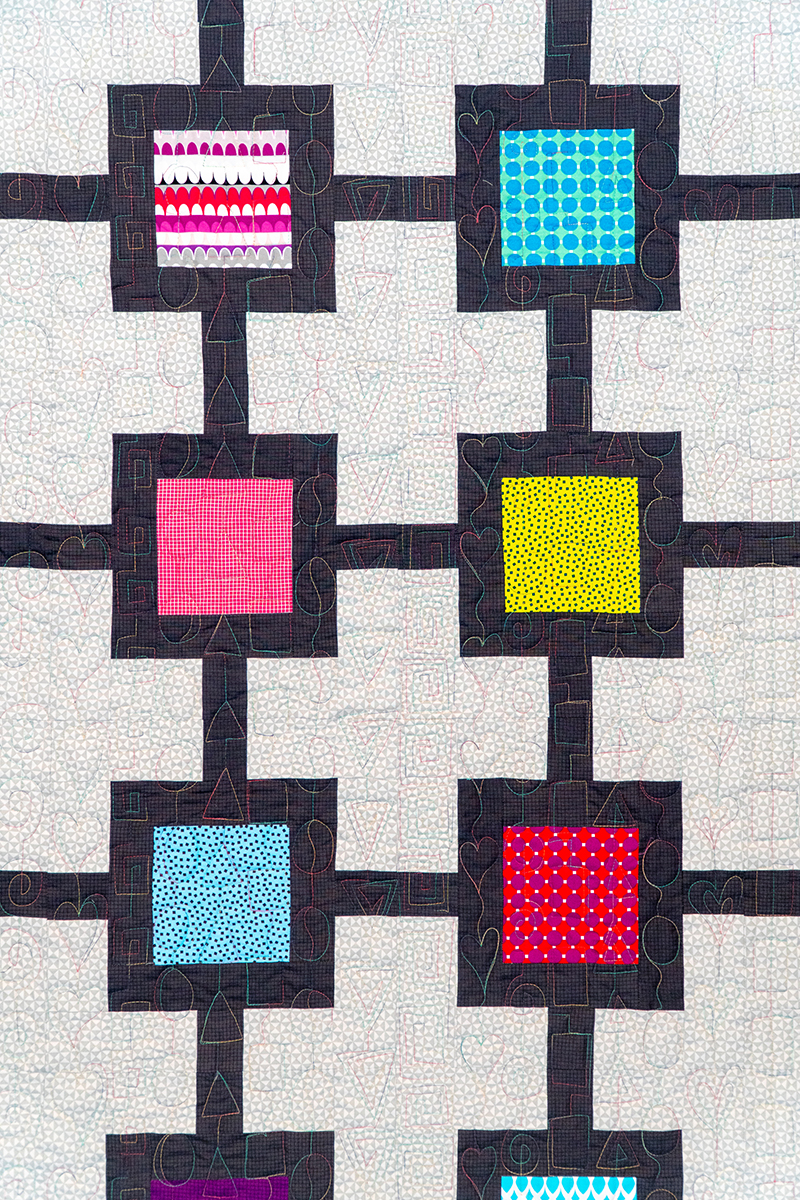
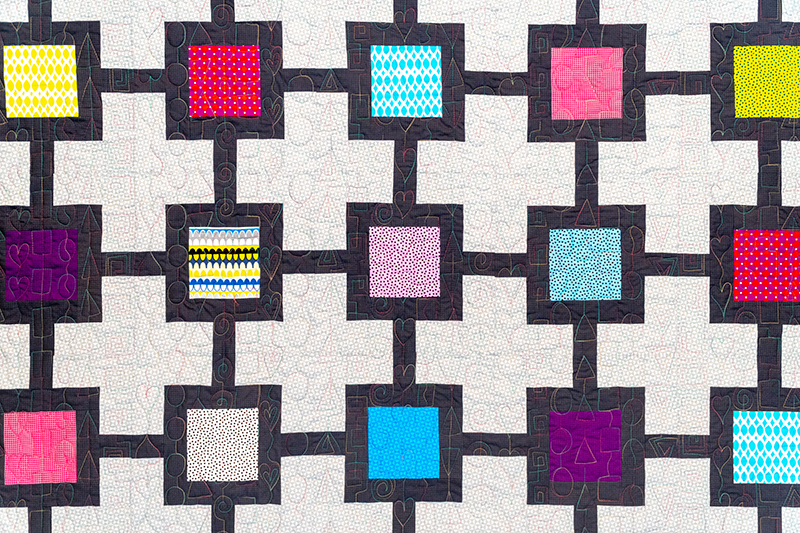
For Block Chain, I quilted a series of funky, geometric shapes with 50 weight multi-color cotton thread from my Aurifil Variegated Collection. It was a super fun and fast way to get this quilt done in a hurry. And the best part about my “perfectly imperfect” quilting method, is that it looks great every time.
My secret to successful machine is to hide my imperfections with dense machine quilting. I used Hobbs 80/20 cotton/poly batting for a soft, drapey feel that didn’t get stiff no matter how much I quilted it!
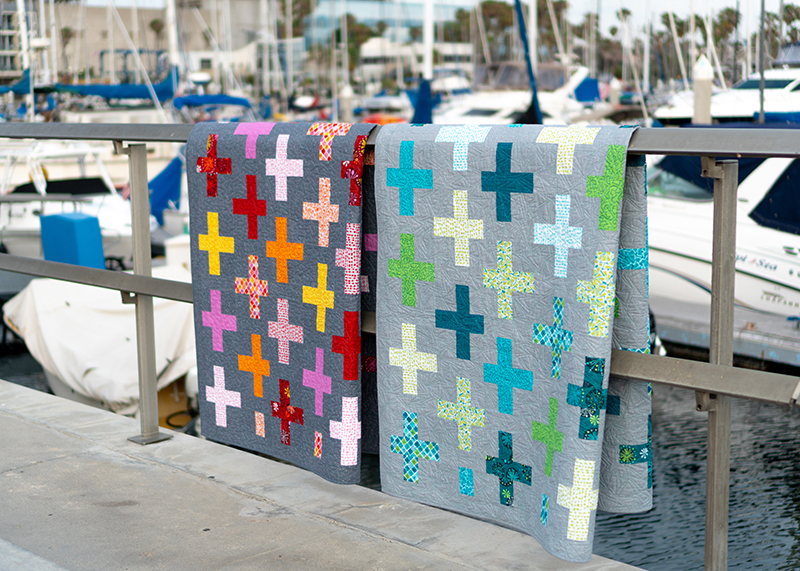
Terrace Tiles is also a remake of one of my earlier designs from a magazine. I’ve come a long way since I first started publishing quilt patterns and I’ve tweaked this design so that it’s completely made from fat quarters, including the binding!
This quilt is literally one of the fastest and easiest designs you can make and I loved it so much I just had to make three of them!! I whipped up each quilt top in just a few hours and quilted them each with a different allover quilting design. Terrace Tiles is a great stash buster, and you can go as scrappy as you like with this design. It will look good no matter what!
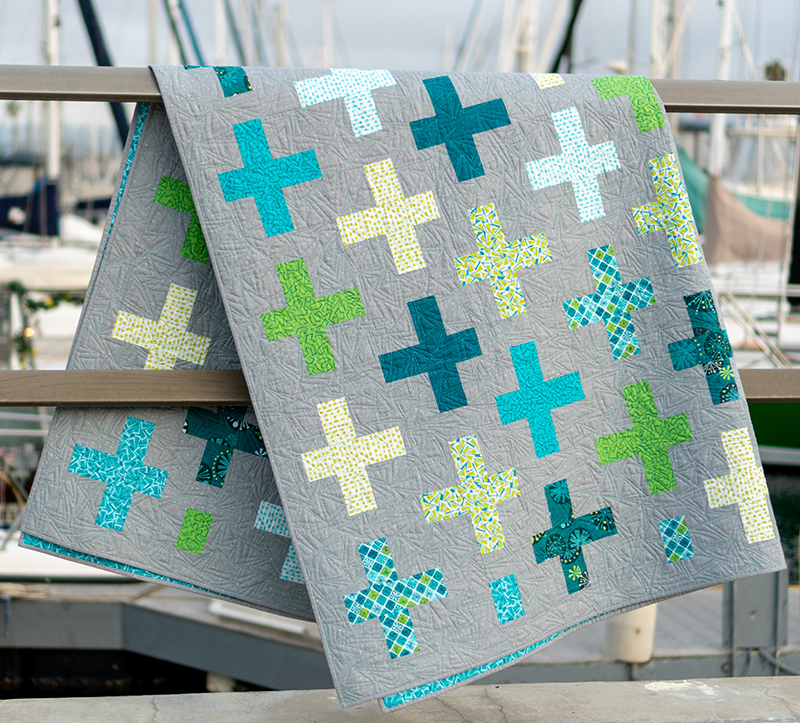
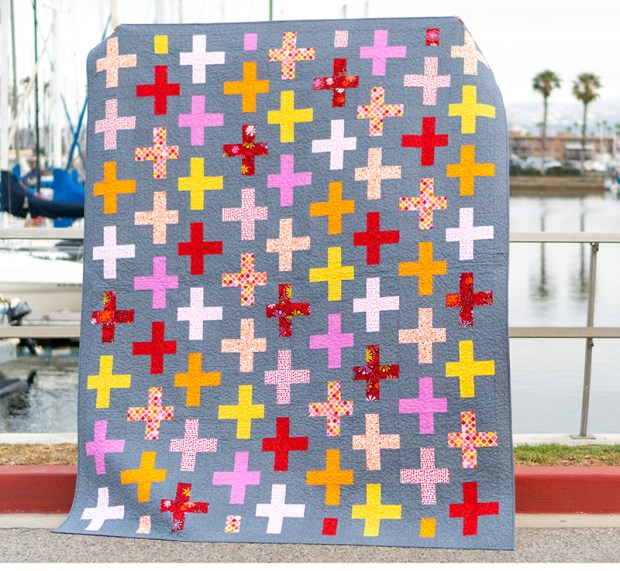
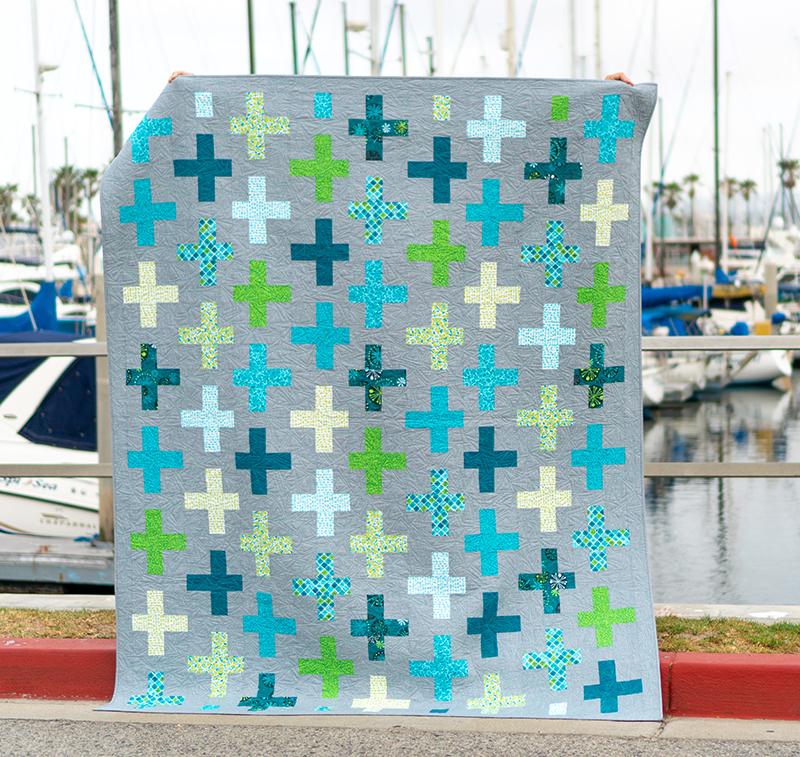
Check out each of the three versions I made, all using fat quarter bundles of my Gridwork fabric organized by colorway:
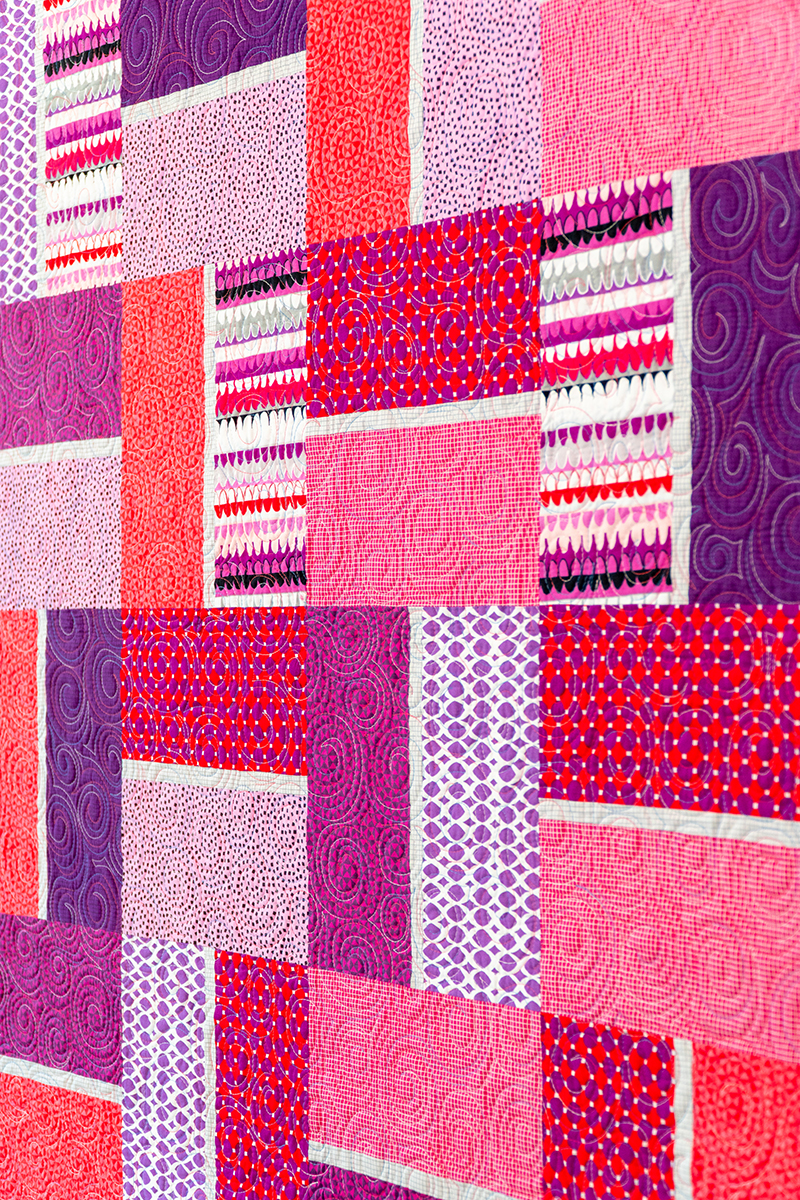
Terrace Tiles in Amethyst
I quilted this pink & purple version using a fun swirly design and thread from my Aurifil Variegated collection in pink/purple/blue. I love how it adds yummy texture to the fun geometric prints!
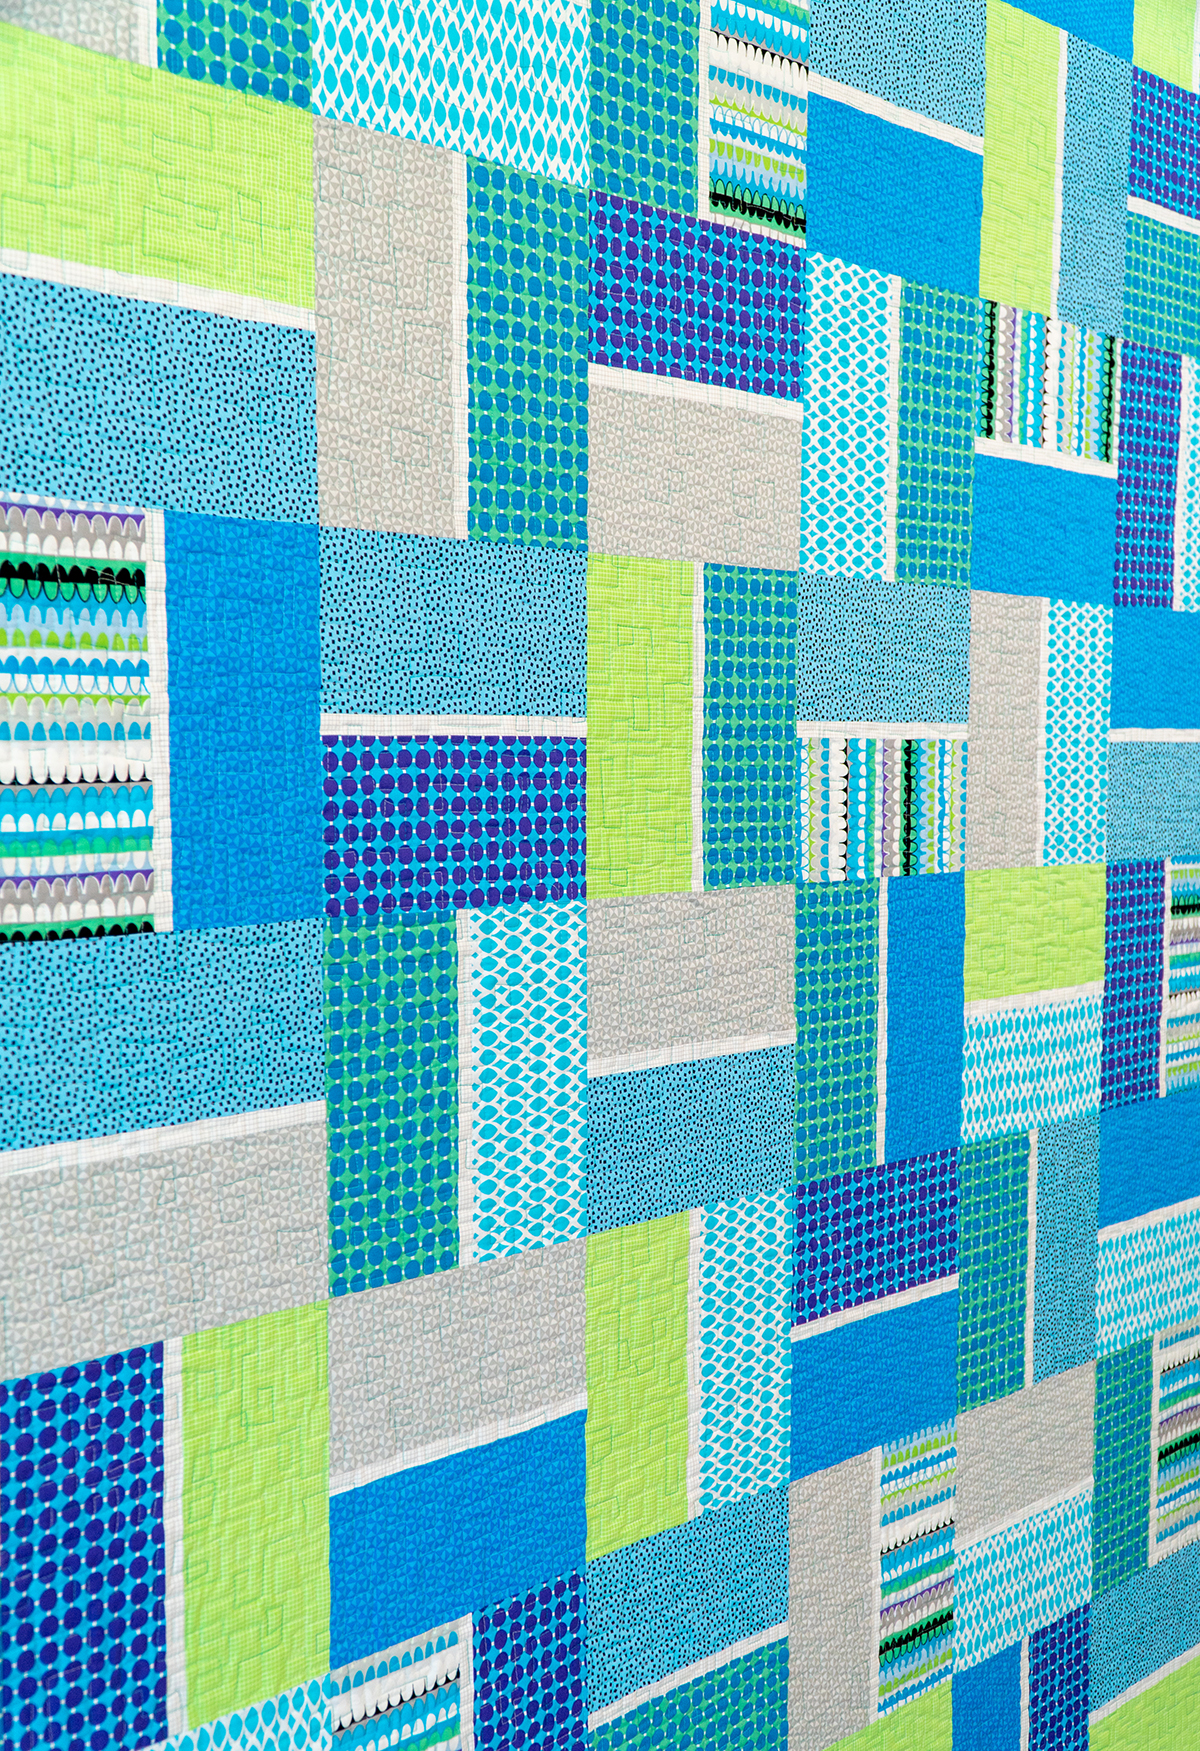
Terrace Tiles in Breeze
For this colorway, I quilted an allover boxes design – one of my faves that looks great on modern and contemporary quilts with a strong geometric vibe. I used the aqua/teal combo from my Varieated thread collection for this one.
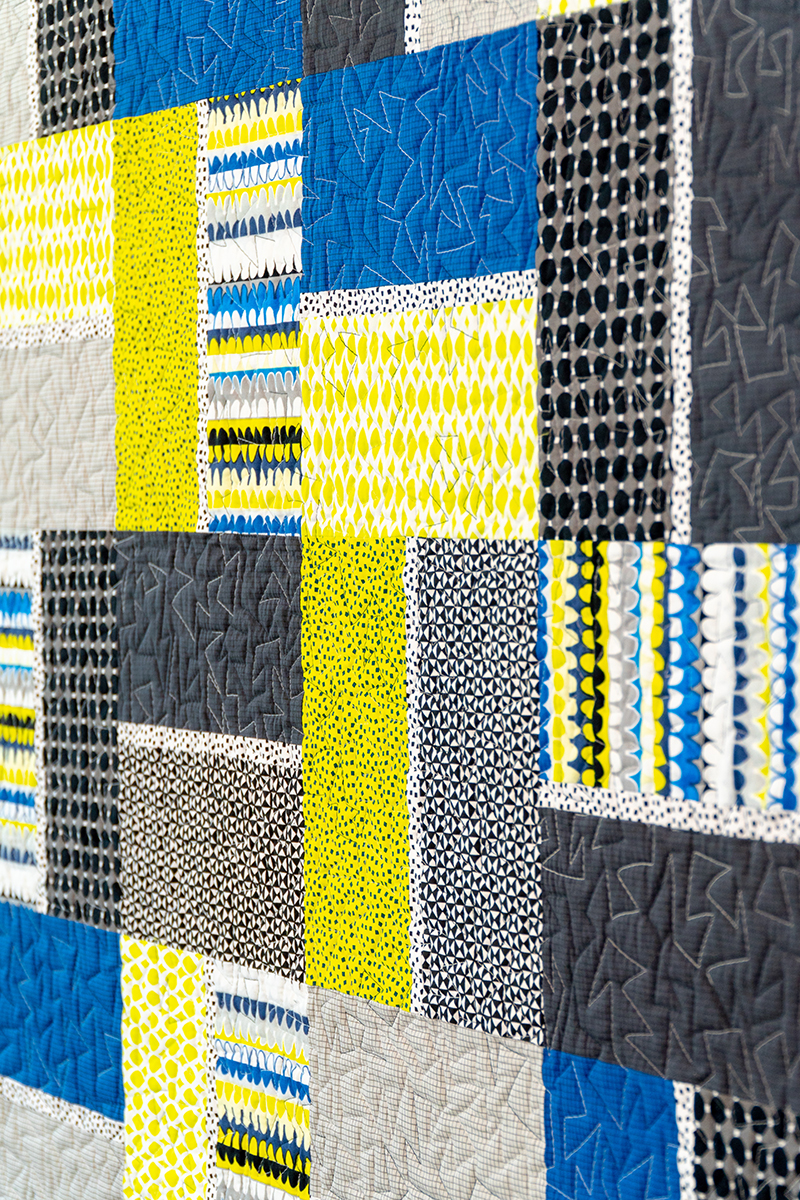
Terrace Tiles in Citron
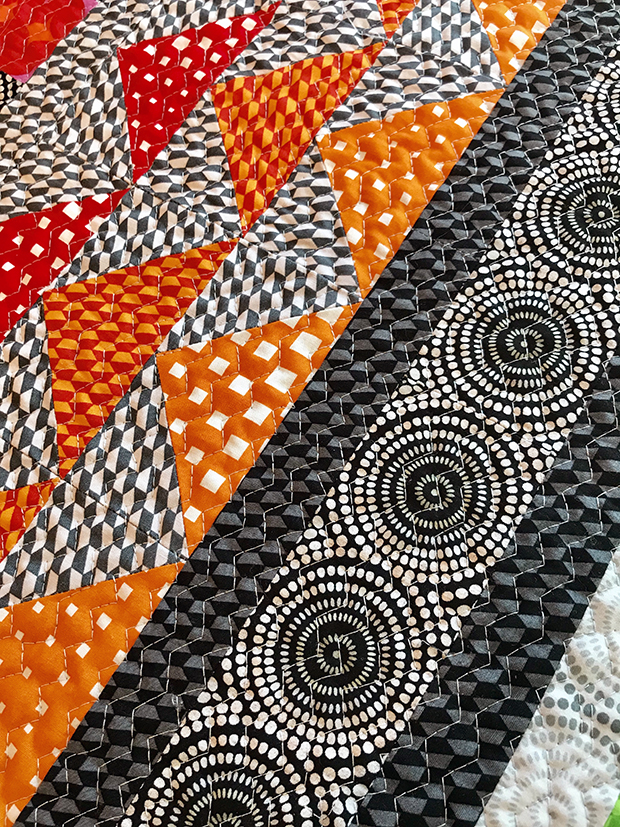
I went a bit out of my comfort zone with this blue/citron/gray colorway, but I love the results! I quilted it with one of my all-time fave designs, “jagged stipple” which is a perfect quilting motif for a guy’s quilt with its edgy geometric angles. It’s quilted using black/white thread from my Variegated Collection.
I’ve included diagrams for all 3 machine quilting designs in the pattern as well as 3 different sizes so you can customize this quilt to suit your needs.
Where to Buy My Patterns
My patterns are slowly but surely making their way to quilt shops across the country and around the globe. However, if you can’t find them locally, you can always order direct from me. I offer full-color versions in printed paper versions, or downloadable digital PDF’s.
Click the links below to see my entire pattern line and stock up on your faves! The PDFs are great if you want instant access on your computer, and the paper versions ship free to anywhere in the US.
If you are a teacher or quilt shop who wants to carry my patterns, please shoot me an email to christa@christaquilts.com for wholesale order info. As always, thanks for your support!
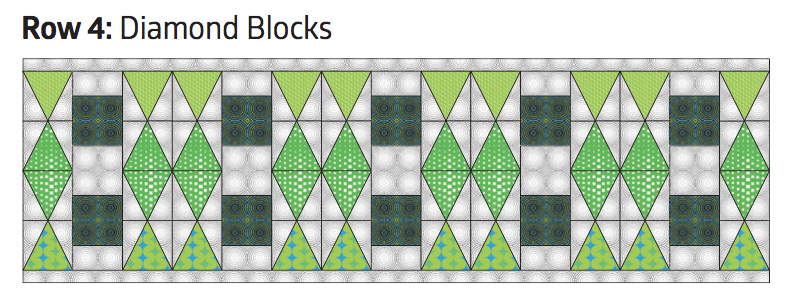
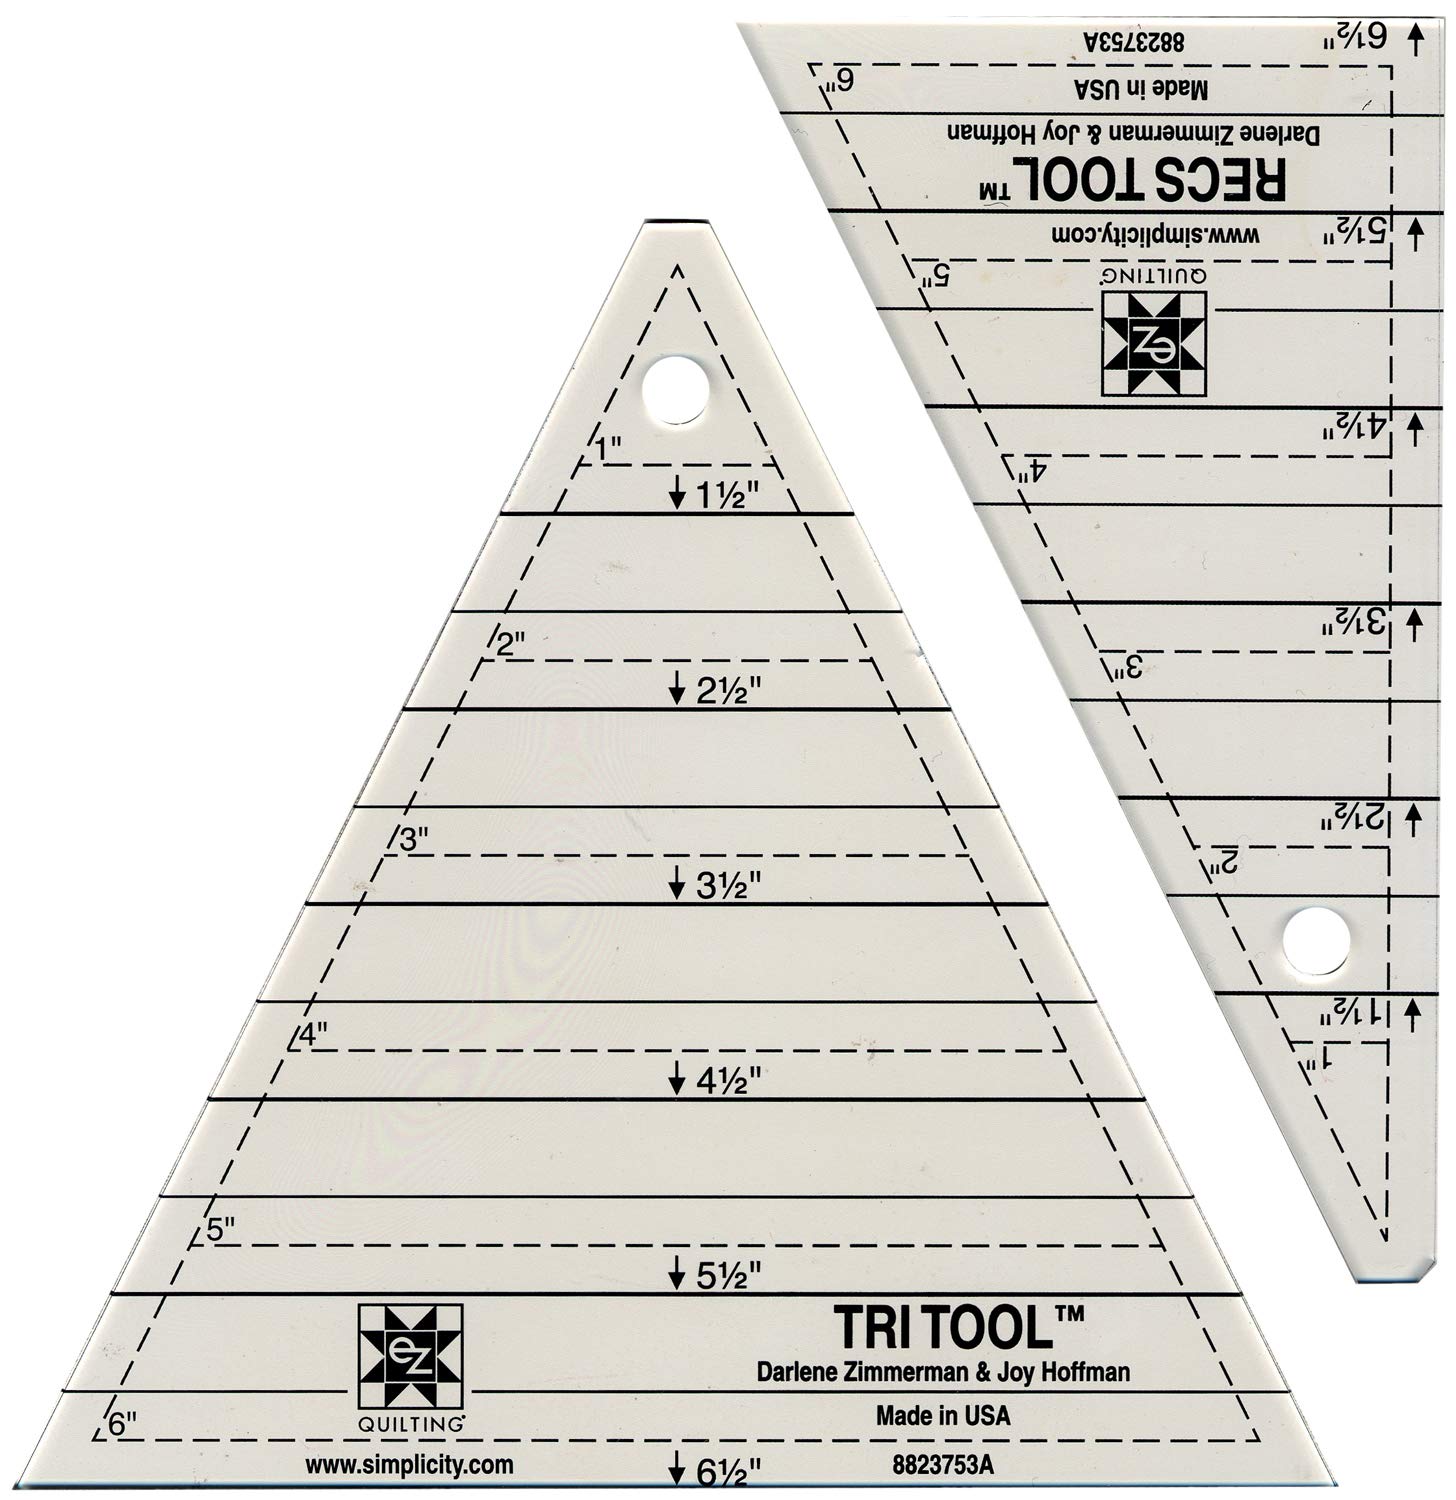
This week for the Infrastructure quilt along, we are sewing Row 4 which looks a bit intimidating, but it really isn’t. True, it does have a lot of piecing, but it’s a great opportunity to play with fun shapes.You can fussy cut your fabric so that the patterns match up if you want, but it’s certainly not necessary. My #1 tip for cutting this row is to use the Tri-Recs Ruler set. The Infrastructure quilt pattern includes full size templates, but honestly, it’s faster and easier to use the specialty rulers.
Follow along in the quilt pattern on pages 4, 6-7 and 10-11 to make Row 4. It’s sewn from Triangle in a Square blocks, fussy cut squares and background fabric.
Here’s a video tutorial on how to cut and sew Triangle in a Square blocks using the Tri-Recs Ruler set. It’s 11 minutes long and walks you through the entire process, so click below to watch the entire thing. If you’d like more videos, be sure to subscribe to my YouTube Channel!
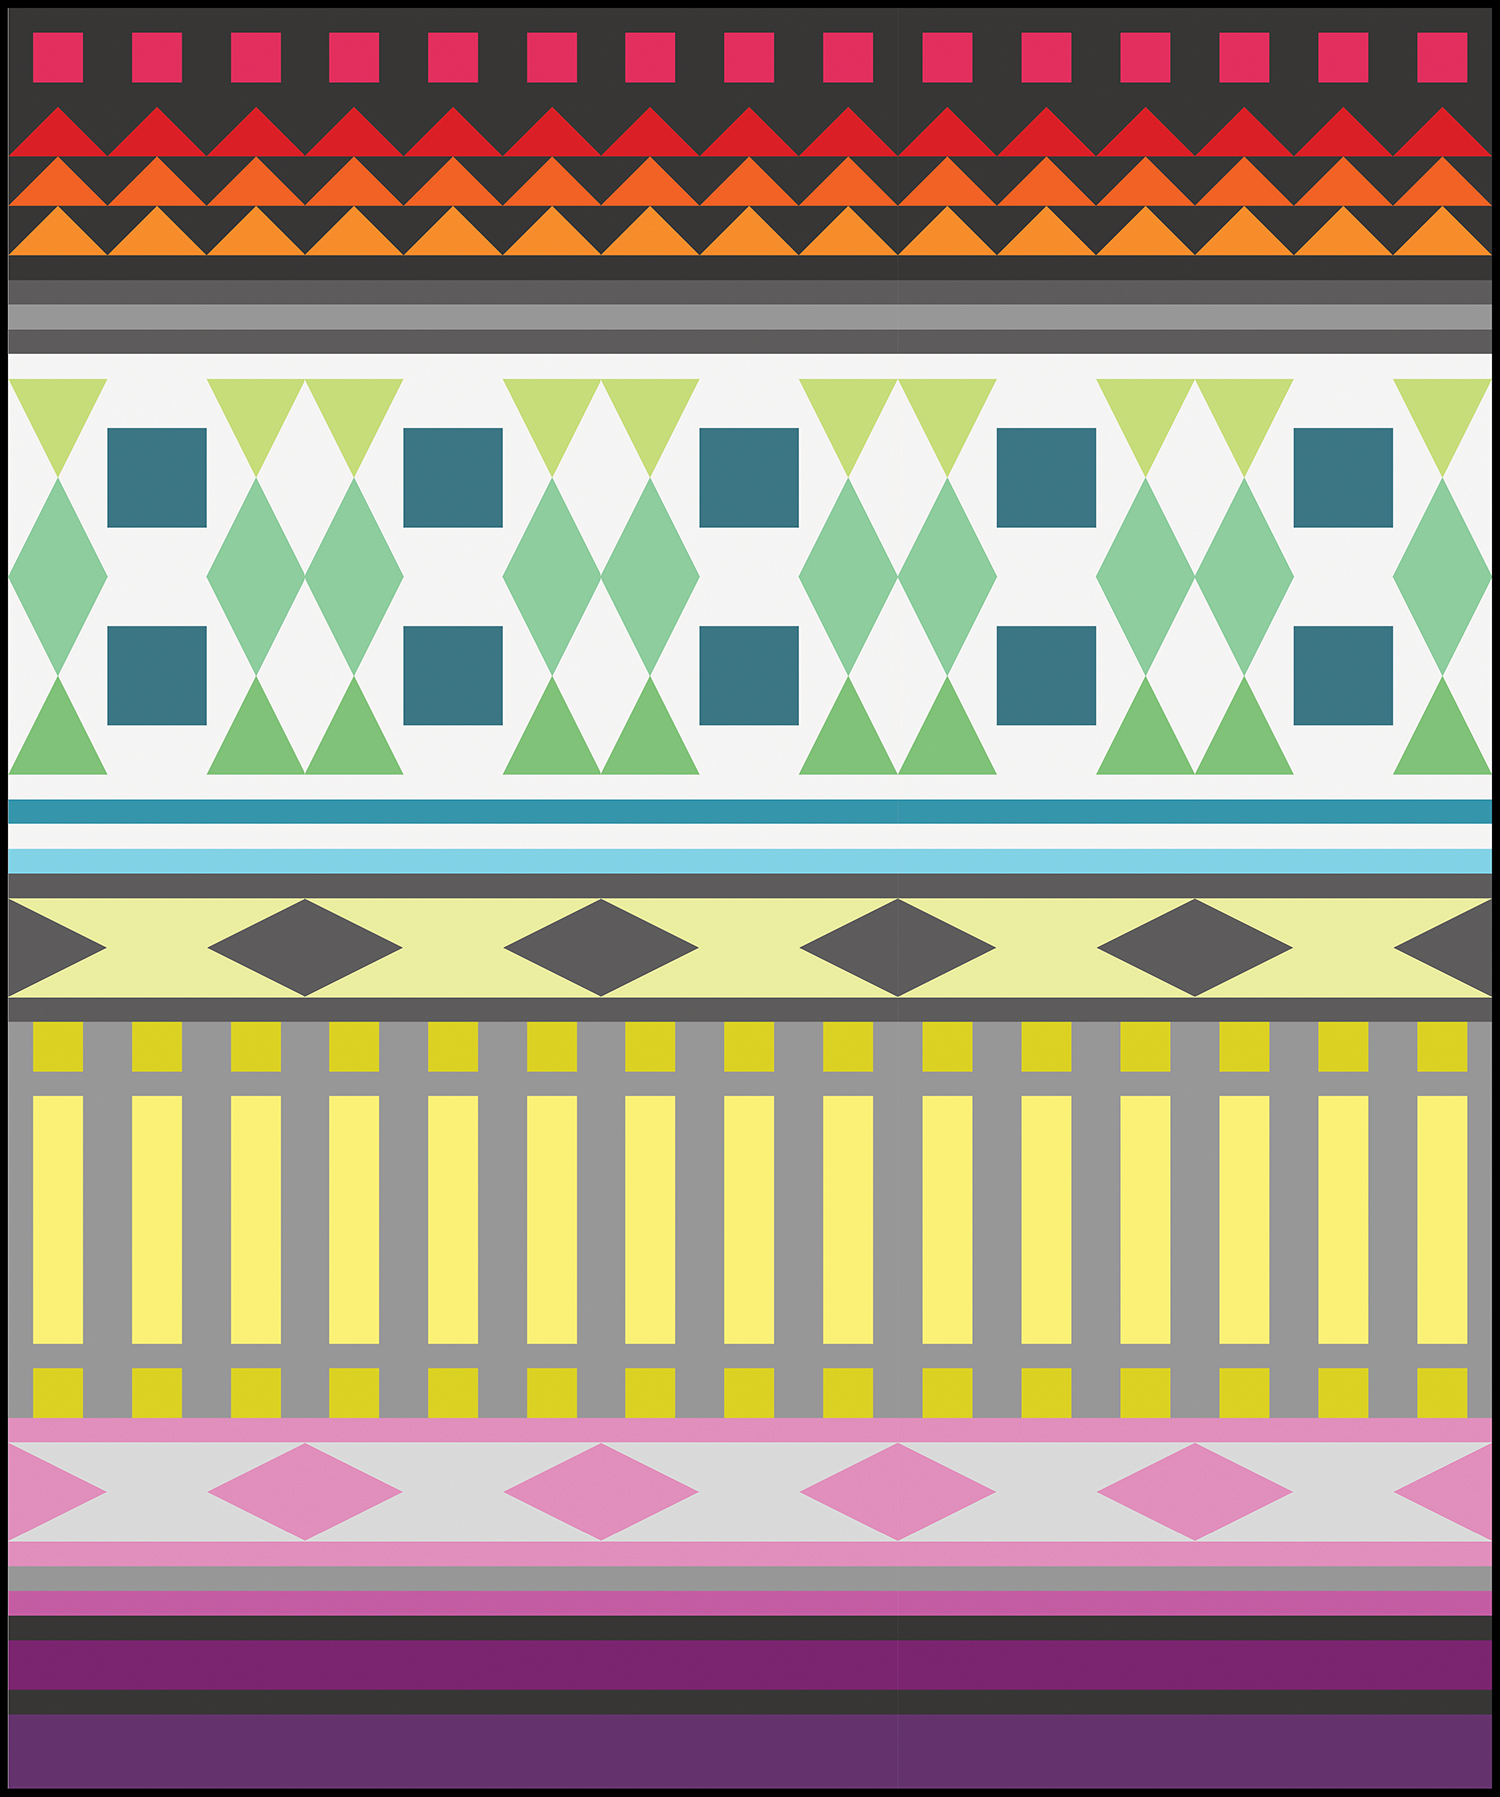
Full Color step-by-step diagrams with exact measurements to make each row are given in the pattern.
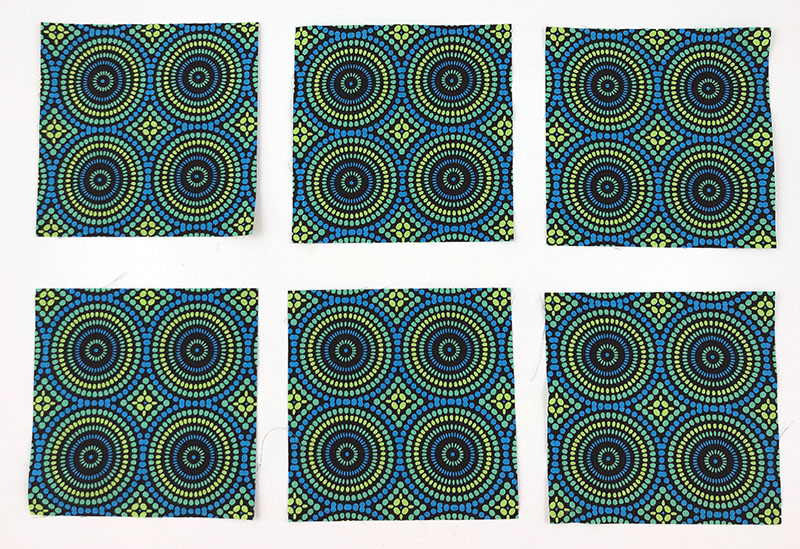
I chose to the fussy cut the squares of green Mosaic Dots, but not the background fabric.
And here’s a closeup of finished row after it’s been sewn together:
This row was a little more cutting and piecing, but the results are well worth it!
GIVEAWAY & HEATHER’S VERSION
Pop over to Heather Black’s blog at Quiltachusetts to see her version of Row 4 made from Benartex Superior solids. Heather is actually our prize sponsor this week and she’s offering 2 lucky winners a Tri-Recs tool set + 2 of her patterns that also use this shape. Aren’t they fab??
Heather is such an amazing pattern designer and longarm machine quilter and I can’t wait until the final reveal of her quilt! After all, she designed both versions of Infrastructure (solids and Geo Pop prints) and I can’t wait to see what she comes up with next!
Heather’s recoloring of Infrastructure using all solids.
Are you a precut lover like me? Now that my next line of fabric, Geo Pop has been released, one of my most often asked questions is – what can I make with a Geo Pop strip roll? So today I thought it would be fun to revisit 3 of my free jellyroll patterns, all recolored in Geo Pop.
This was the very first quilt along I published on my blog, waaaay back in 2012! Although I never wrote up a formal pattern for it, you can follow the quilt along links to make this quilt from start to finish. All you need is one Geo Pop roll + 1 yard of Tiny Hex black for inner border and binding. Now I want to drop everything and remake this quilt!!
This is a free pattern I created to promote a previous fabric line (Fandangle), but I loved recoloring it in Geo Pop! I can’t decide which I like best – using the white or black Op Squares print for the background. Which would you choose??
For this pattern jelly roll pattern, it only uses 36 out of the 40 precut strips so that one of the fabrics from the unused prints can be used for the background. All you need is 1 Geo Pop strip roll + 3 yards of contrasting white or black.
I created this free pattern to showcase my first fabric line, Modern Marks. Although the Modern marks strip rolls have long since sold out, you can also make this quilt using fat quarters of either collection. Above, I’ve paired up a strip roll of Geo Pop with 3 yards of light gray background so that all of the colors sparkle! (Hint: this gray is actually from a future fabric line, so stay tuned!!)
Just remember: if you have any questions while making any quilts from my books, patterns, or tutorials I’m always here to help you out! Be sure to tag me on instagram @christaquilts and share pics of your progress in my ChristaQuilts Facebook group. I can’t wait to see them!
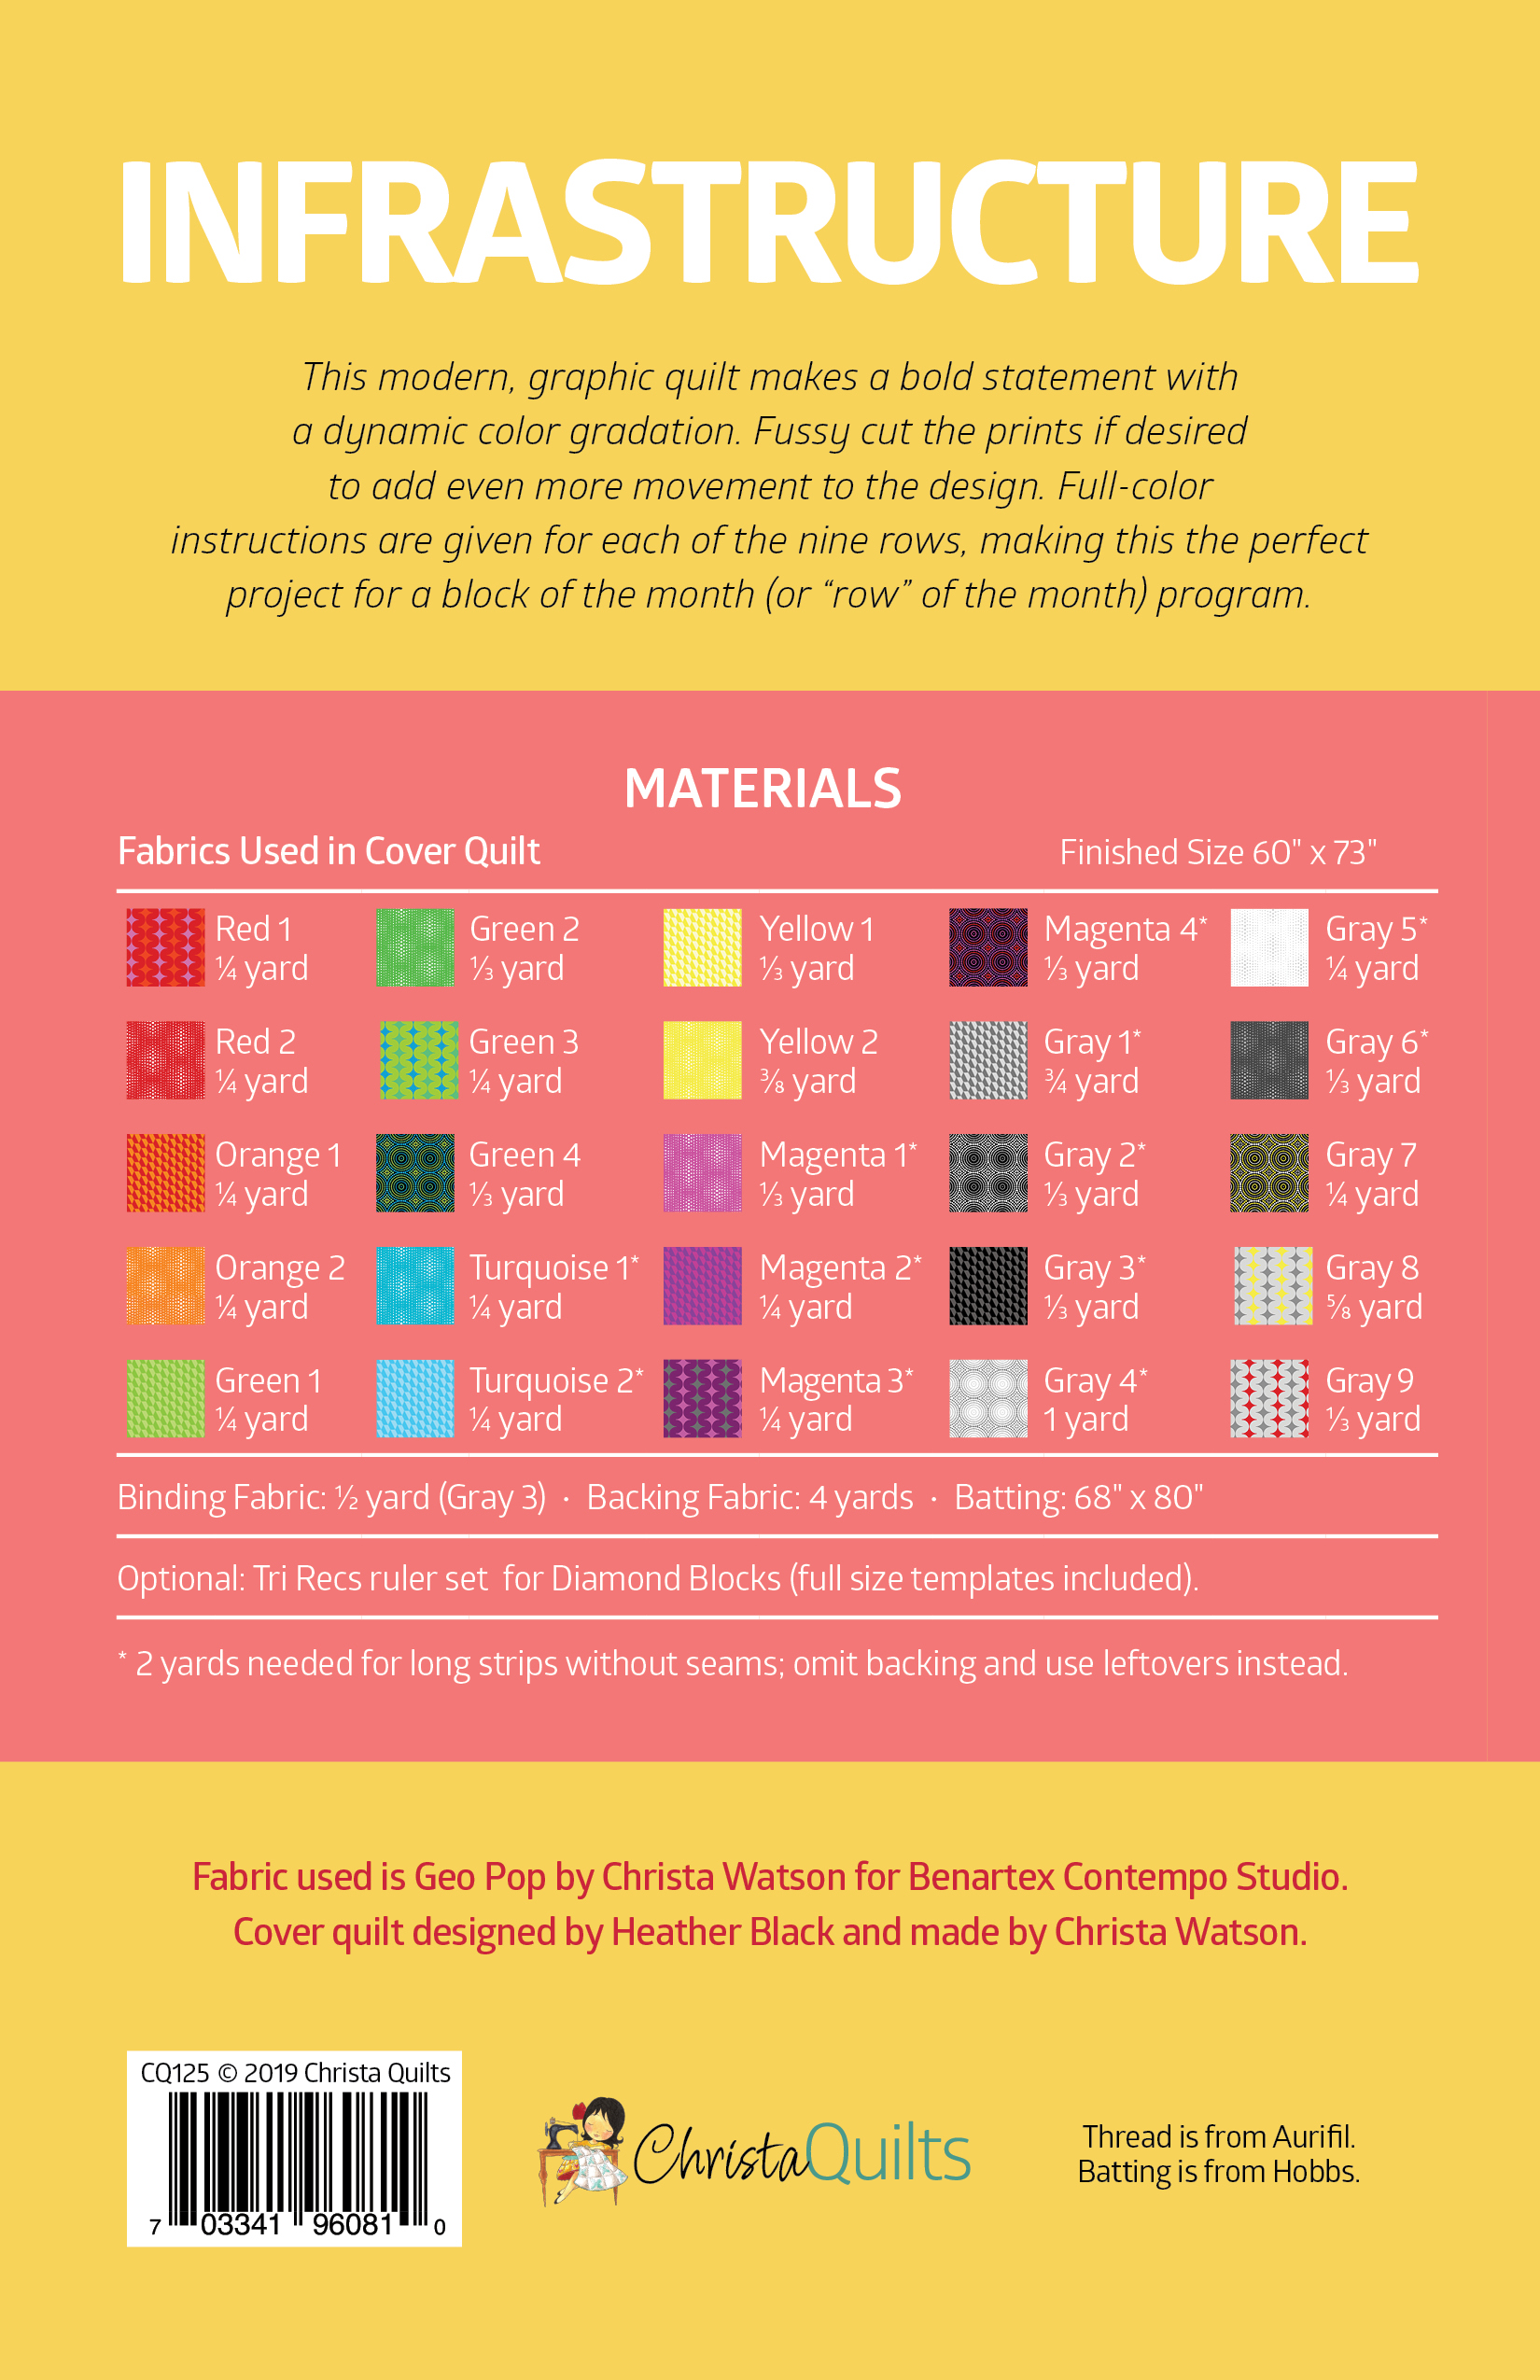
Are you excited to make Infrastructure? Heather Black and I will both hosting the quilt along and sharing tips and tricks for making the quilt on our blogs each week. See below for the supply list along with links to all of the quilt along posts as they go live.
Both Heather and I will share our process as we make the quilts. She’ll be custom quilting hers on a longarm machine and will bind by machine. I’ll be quilting mine using a decorative stitch with my walking foot and will bind by hand. Links to both of our blogs will go live below after each step has been posted.
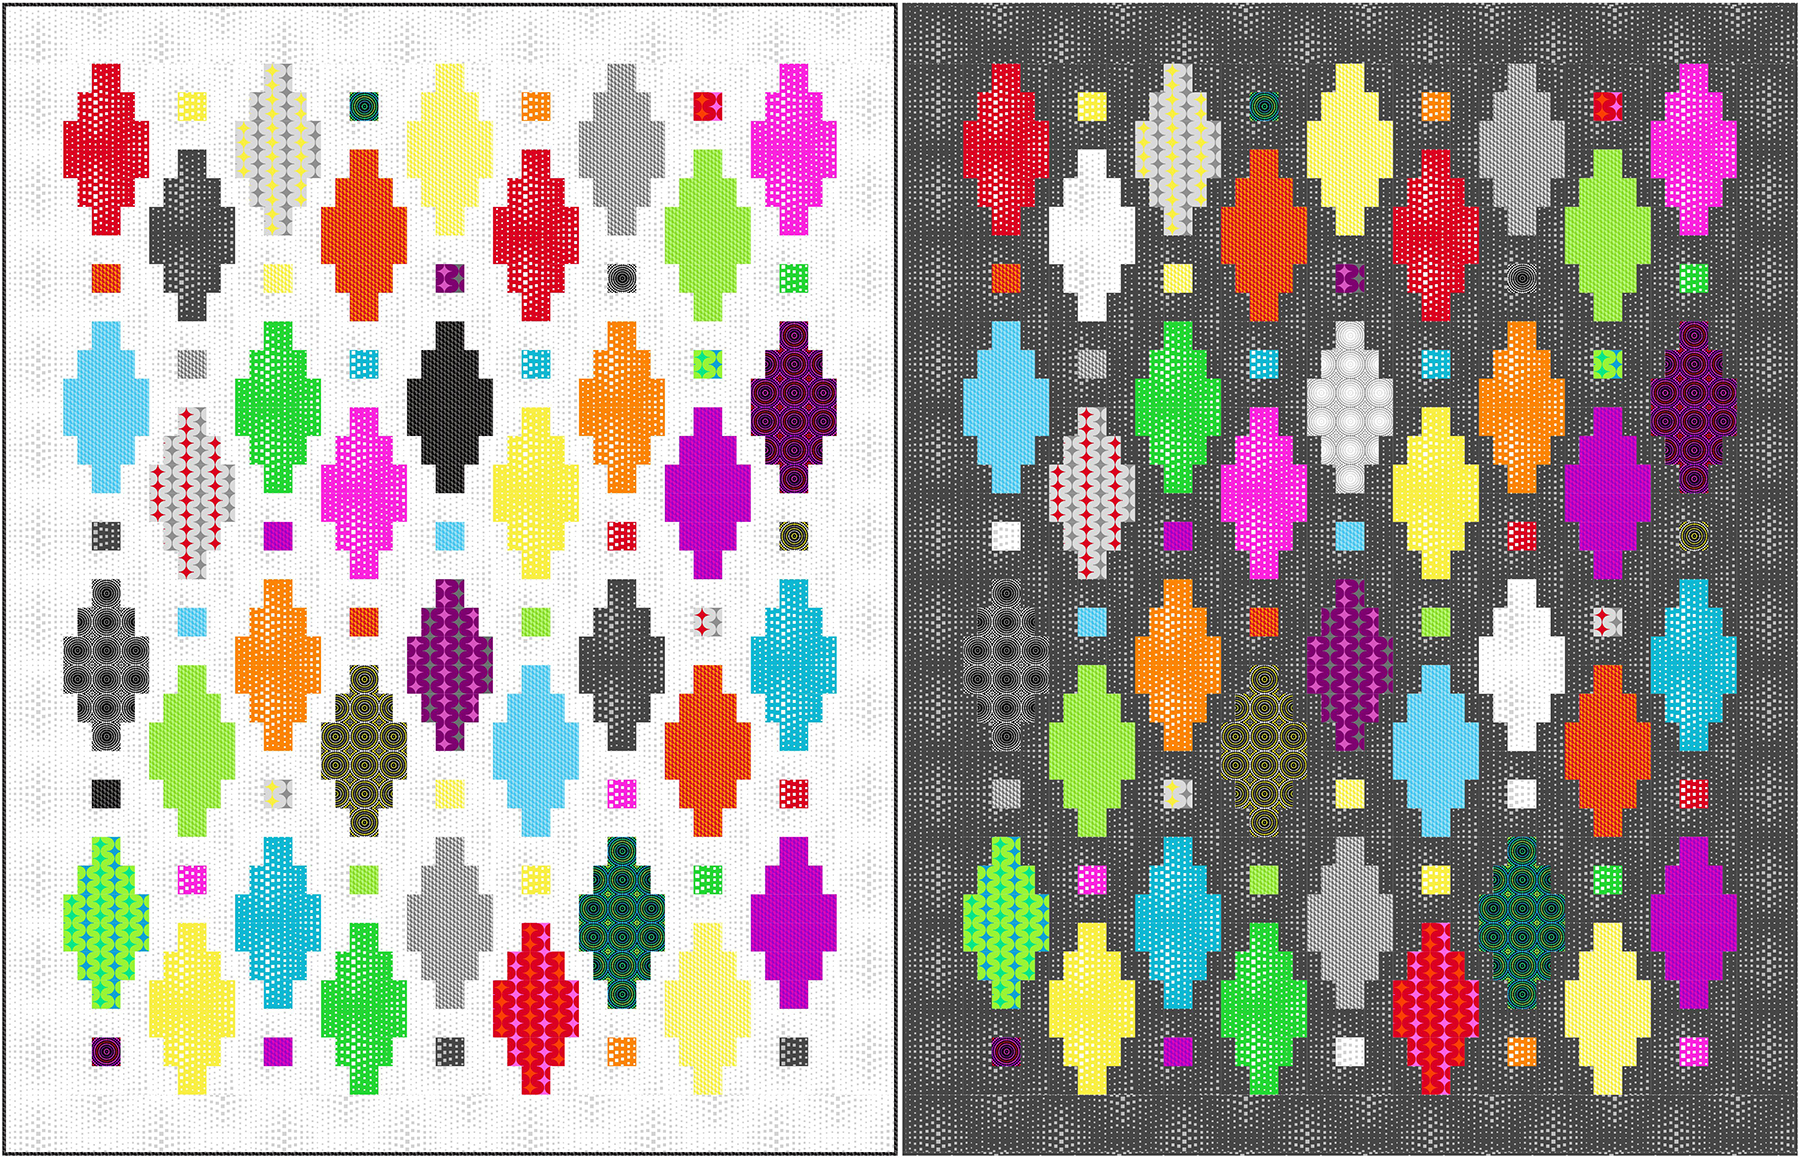
Now it’s time to take those yummy cut up pieces from Geo Pop and sew them together into a quilt! Although I’m making two versions of Bling at the same time, it’s really not that much extra effort to do double the amount of sewing! This is a quick overview of my process – please purchase a copy of the Bling quilt pattern for more detailed instructions.
Geo Pop Cutting in Progress
Cutting in progress for both version of Bling – in black or white
When choosing thread for piecing, I prefer to use Aurifil 50 weight cotton from one of my 3 thread collections. When sewing with lots of colorful prints like Geo Pop, I’ll choose a lighter color when sewing with the light background, and darker colors when sewing with the dark background. I’ll use the same color in top and bobbin or similar shades.
Because these quilts were so colorful, I was able to use up some leftover spools and bobbins while piecing. I sew with a shorter stitch length (2.0 instead of 2.5) and I press my seams open so that everything will lie flat. The shorter stitch length also prevents the stitches from showing through the seams.
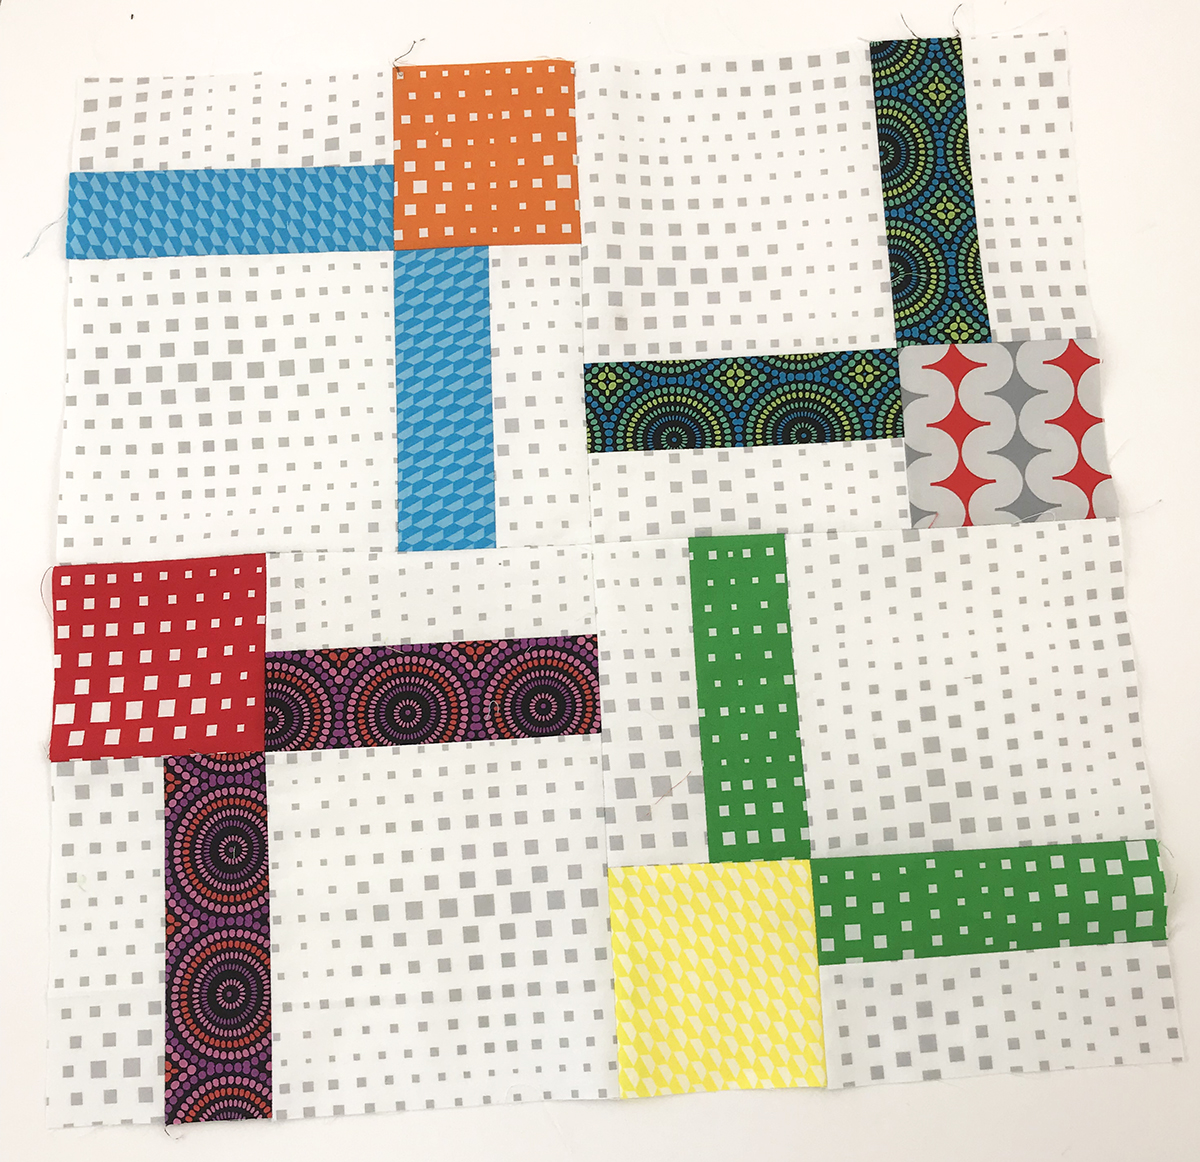
The block that forms the Bling quilt is actually very versatile. First take a look at the finished sewn blocks using both background colors below.
Look at those beautiful seams pressed open!!
Each block in the quilt pattern uses the same background fabric and then two fun colorful prints.But look at the other options you could try! You could rotate the unit placement to create a slightly different block:
Or you could make the block a bit scrappier if desired.
However, you make it is it up to you – because you are the boss of your quilt!!
Piecing the top
Although my usual method is to sew blocks into rows, you can actually sew groups of 4 into larger blocks for easier handling.
Once the blocks are all sewn, the quilt top goes together very quickly. The pattern even includes several alternate layouts for you to try. I use my design wall to help me keep the blocks arranged just how I want them. You could also take a picture with your phone to refer to!
I love quilts that show off the fabrics, and Bling was sooo fun to make! Stay tuned for the last segment where I talk about the machine quilting (my favorite part!!)
RELEVANT LINKS:
If you’ve enjoyed these helpful tips and tricks, pleas consider supporting me by purchasing my quilt patterns, fabrics, and other supplies.

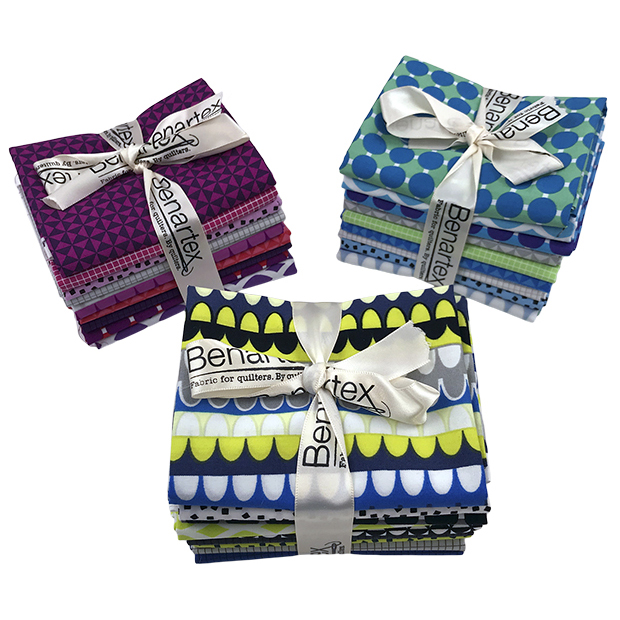 Gridwork 9-piece fat quarter bundles in Amethyst, Breeze, and Citron