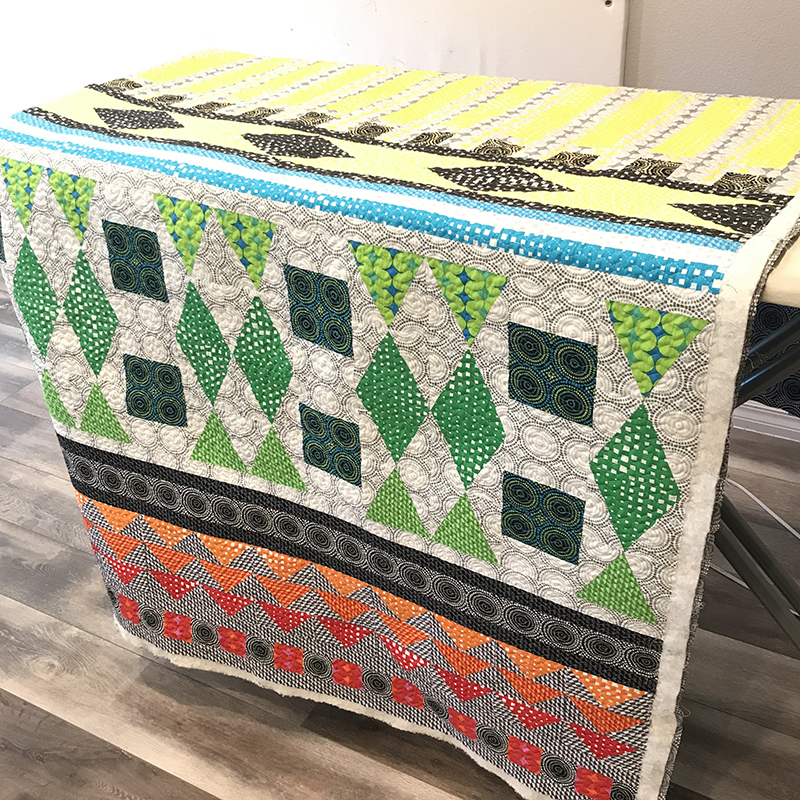
Have you enjoyed following along with Infrastructure? Remember, even if you haven’t even started your quilt, you can make it anytime and I’m here to help cheer you on! We’ve come to the very last step of making the quilt and I’m “sew” excited to share my tutorial for binding by machine.
Click here to get the Infrastructure quilt kit while supplies last.
Step 1 Trim the Quilt
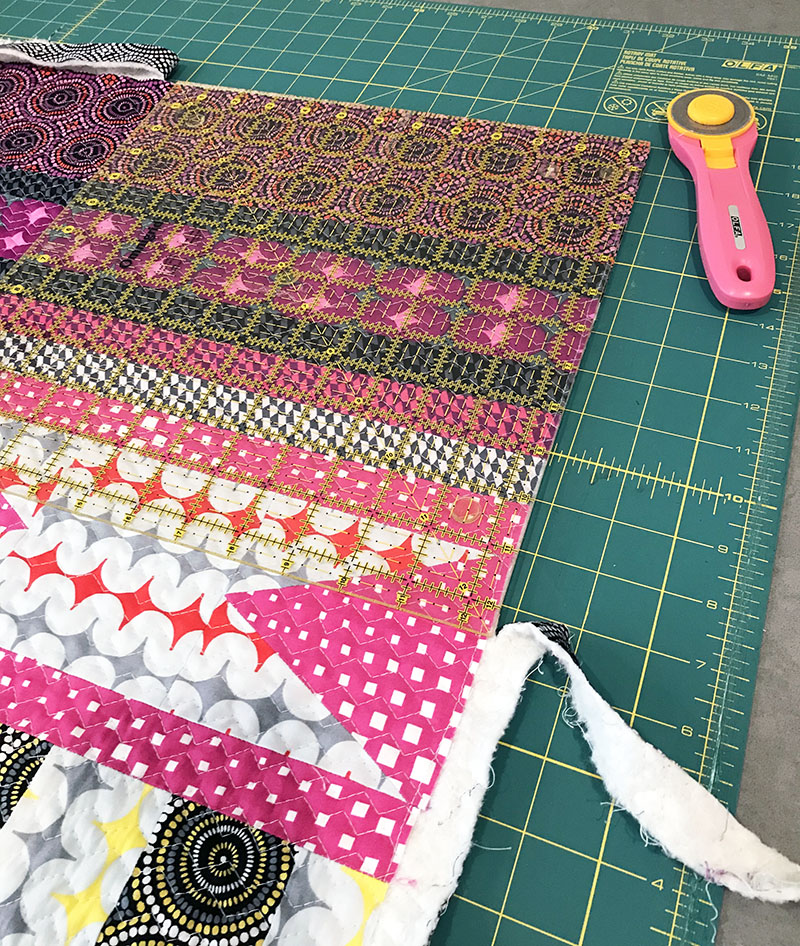
I like to use a large square ruler at the corners and along straight ruler for the sides. I trim the extra batting and backing flush with the edges of the quilt so that I can get a nice, tight binding. I’ll sew with an accurate 1/4″ seam and try not to cut off any points along the edges.
Step 2 – Cut the Strips and Sew Continuously
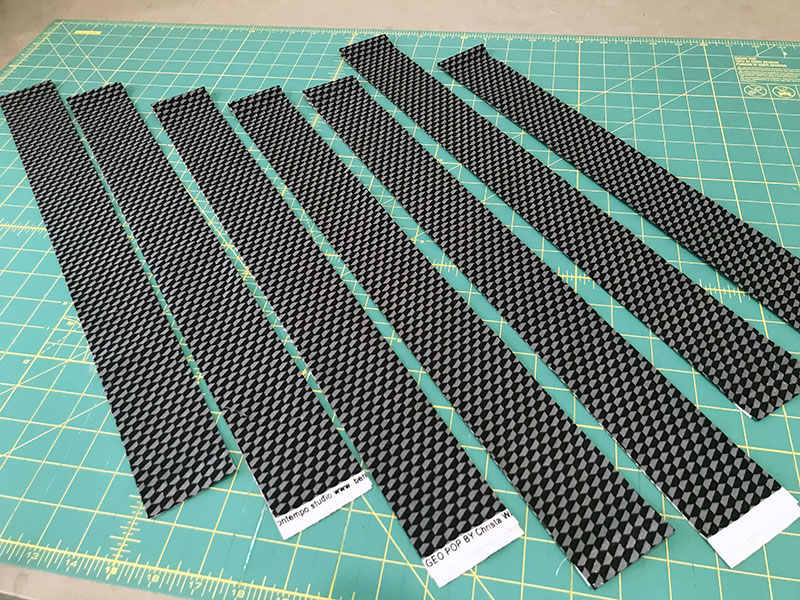
The length to cut your strips is a personal preference. For this quilt I experimented and cut them out at 2 1/2″ wide so it would give me enough room to finish by machine. But I usually like to cut them narrower at 2″ so I get a nice tight binding that’s even on both sides. Here’s an easy way to calculate the # of strips you’ll need. Take the perimeter of the quilt and add 10″. Then divide that number by 40″ and that will tell you how many strips to cut.
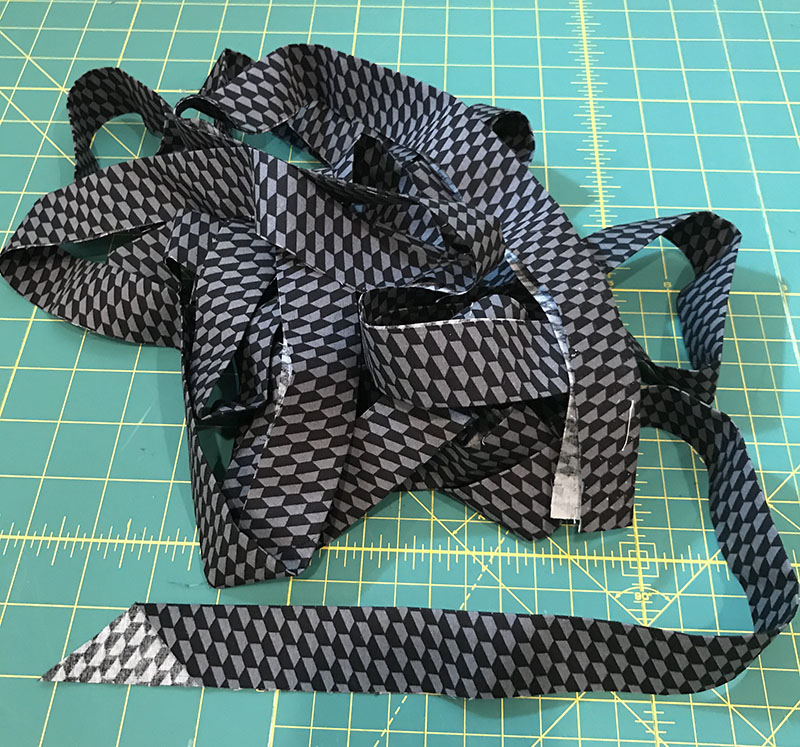
Sew the strips together end to end, mitering each of the corners so you get a long continuous strip. Cut one end at a 45 degree angle so the end and beginning are hidden. Then press the entire binding in half, wrong sides together.
Step 3 – Bind by Machine
Sew the binding to the BACK of the quilt and then secure it to the FRONT of the quilt with a decorative stitch so that it becomes part of the design!

Watch me sew the Binding & Follow Me on YouTube!
I’ve put together a short 6 minute video showing how I sew the strips and attach the binding by machine.
The difference between hand binding and machine binding is which side of the quilt I sew it on. I sew it to the back and finish by front by machine. Or I sew it to the front and finish on the back by hand. But whichever technique you choose is completely up to you!
Click here for my hand binding tutorial.
THIS WEEK’S GIVEAWAY & HEATHER’S VERSION
Click here to check out Heather Black’s tips for binding by hand on her blog at Quiltachusetts.
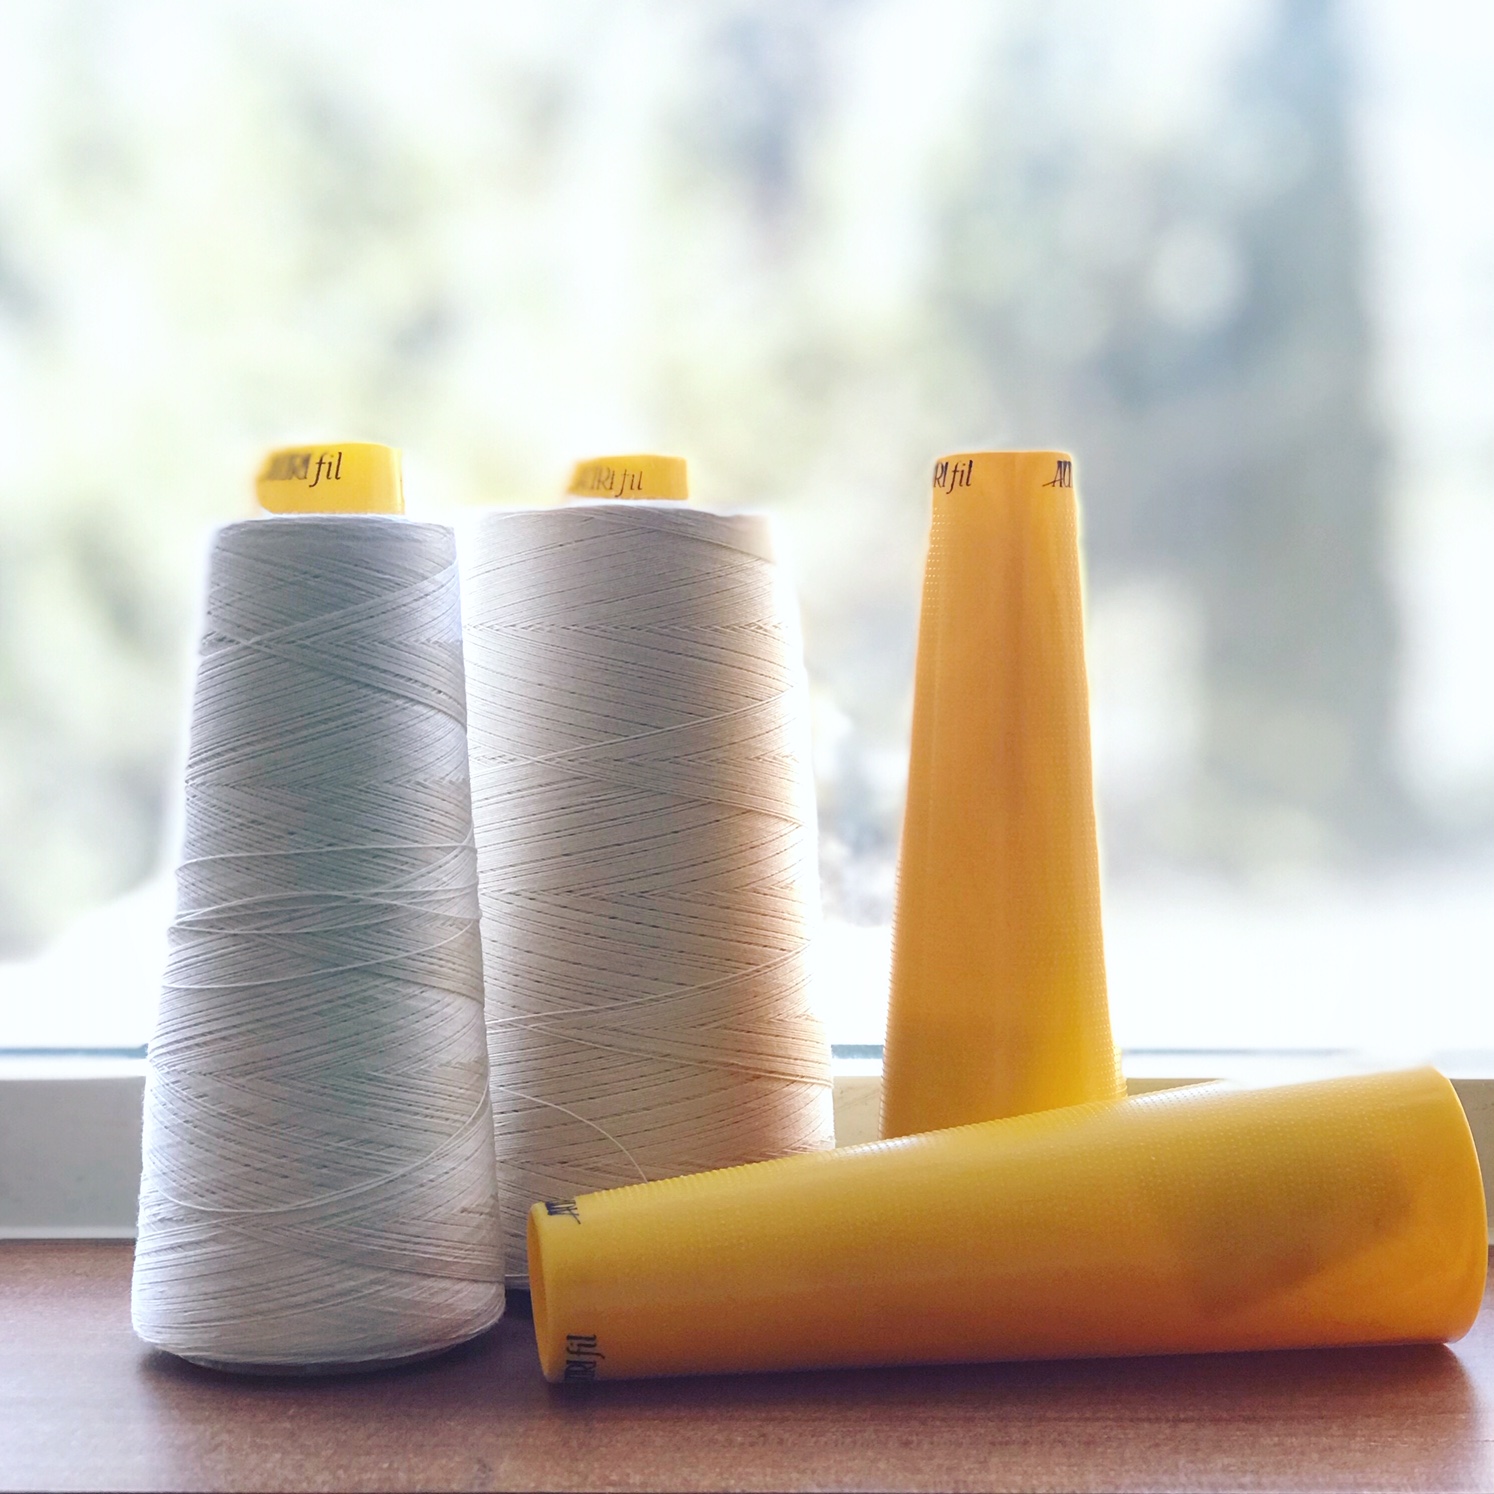
While you are there be sure to enter the giveaway on Heather’s blog. Aurifil is giving away two large cones of their 40 weight, 3 ply thread in fave colors of dove and light beige.
QUICK LINKS
- Click here for the Infrastructure QAL page with all the tutorial links
- Click here to get the Infrastructure Quilt Pattern – PDF version
- Click here to get the Infrastructure Quilt Pattern – Paper version
- Click here to get the Infrastructure Quilt Kit
- Click here to share your progress and ask questions in my Facebook group.
- Click here for Heather’s Week 12 Blog Post – Solids Version
I sure love seeing everyone’s progress pics. You can also share on instagram by tagging us @christaquilts and @quiltachusetts and use the search hashtag #infrastructurequilt in your post so others can see, too!

Can I just buy the pattern
Thanks
Sent from my iPad
>
Yes! At shop.ChristaQuilts.com
I have been doing this method for quite awhile now. I don’t always use a decorative stitch on the front but what I feel is that machine stitching is stronger than hand stitching and it is quicker, especially if you are making multiple quilts for charity.
Great tutorial on machine binding with decorative stitches. I’ve never tried this back-to-front method, but, now that you’ve so clearly shown how to do it, I am going to try it. I appreciate the terrific lesson.
Thanks for posting the binding tutorial. I was going to search your site today for a tutorial and you so nicely emailed it to me. I recently watched a video on Bluprint and I am going to try doing the stitching in the ditch on the front catching the binding on the back.
Thanks! I’m glad it was helpful!
Christa Watson Instagram @christaquilts website/blog: ChristaQuilts.com