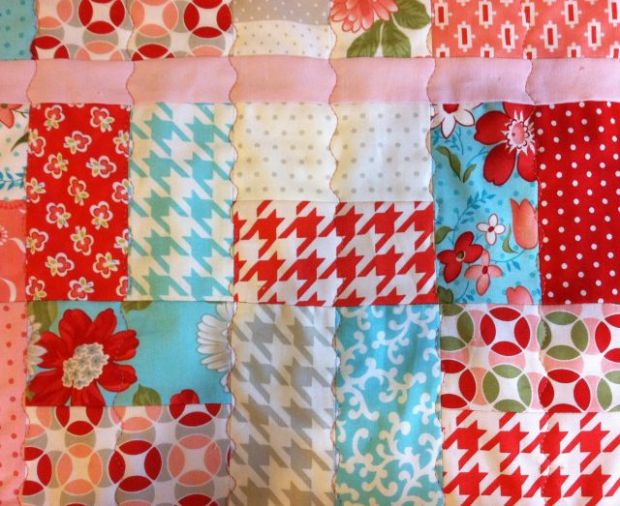
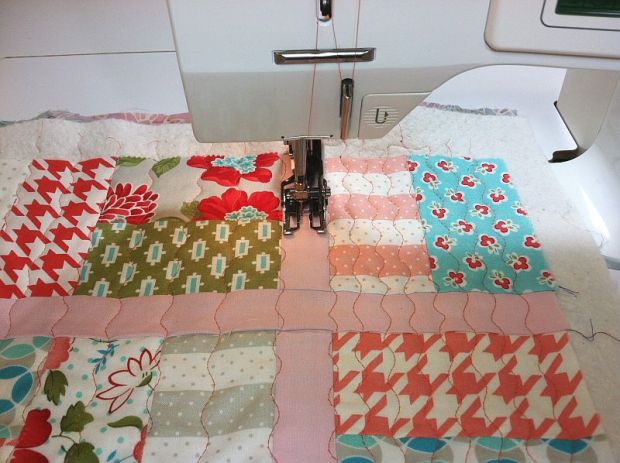
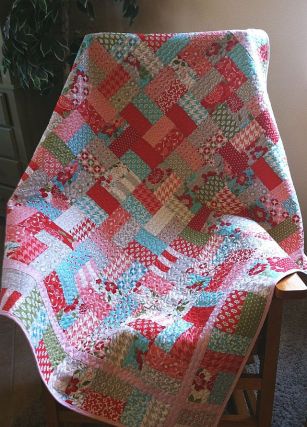
This week’s post is the one I’ve been waiting for. I think machine quilting is the best part of making a quilt, so I couldn’t wait to get my Vintage Modern jelly roll quilt top finished and basted so I could start the fun! I quilted it using a serpentine stitch with my walking foot.
 Before I started quilting, I tried out a few of my machine’s decorative stitches to see how they would look. All of these can be done using a walking foot with the feed dogs engaged.
 I used a 40 weight high-sheen polyester thread with a size 90 needle and used the same thread for both the top and bobbin.
This gives better results than using different colored threads.
Step 1 – Decorative Ditch Quilting
 Be sure your needle plate has a wide enough opening to accommodate your decorative stitch and test it out first so you avoid broken needles.
Quilt along the seam lines in one direction in between your blocks, about 4 inches apart. The first pass took me 30 minutes.
This will secure the quilt and you can remove the pins as you go.
Next, make second pass in between each line of quilting. Now your quilting is about 2 inches apart and the quilt is starting to get some texture! I quilted parallel lines across the quilt. I did not mark any of these lines – I just used the seams as a guide and eyeballed it across the fabric where there was no seam to guide me. This is both liberating and fun!
 This second pass took another 30 minutes so I’m just at 1 hour total quilting time. Not bad! At this point, this is enough quilting to hold your quilt together. However, I want more…
Step 2 – Adding More Quilting
 My motto is that you can never add too much quilting to a quilt!
So I added another line of quilting in between each of the rows above. This was my 3rd pass and now the quilting lines are about 1 inch apart.
This took only another 30 minutes and I can’t believe how fast this is going!
There is still enough room to add another row of quilting and do a fourth pass, so I decided, what the heck?
The fourth pass took 1 1/2 hours because I had now doubled the amount of quilting on the quilt, but I loved every minute of it!
I ended up with quilting lines about 1/2 inch apart over the surface of the quilt. Total quilting time was 3 hours and I used up a full 500 yard spool of Superior Highlights thread.
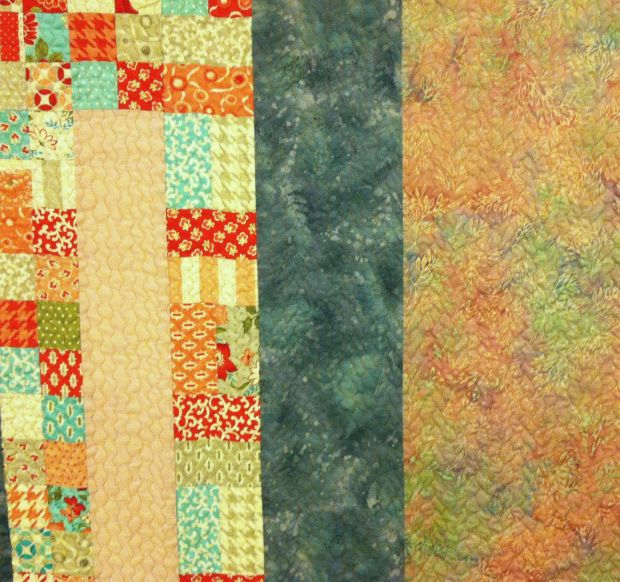
I love all the texture on the back!
So next week, we will finish our quilts, can you believe it? We will trim them up and bind to finish. I really can’t wait to see how everyone’s quilting turns out. Be sure to email me pictures of your progress, no matter where you are, so I can share with everyone else.
Here is the complete Jolly Jelly Roll Quilt-Along Schedule:


Yo ar the best.
Hi Christa!
So I’m finally machine quilting and using the safe “stitch in the ditch” method. I’ve followed the seam for each “block” or pair going down and across so my quilting is basically 4inx4in, is that enough or do you think I need to go be between each row/strip?
Wish I could say that I’m enjoying the machine quilting but I have 2 quilt tops ready to be quilted so I want to get this first one done so I’m not accumulating too many UFO’s!
Thanks in advance!
Jane
Beautiful quilt! I am currently quilting a quilt using the wavy stitch and have had areas of skipped stitches. I sew/quilt almost daily it’s just this stitch I can’t get right. Any suggestions? Thank you
When I saw the picture of your Feather Weight Singer I got soooooo excited. My Featherweight is my only machine, so I will have to use it to machine quilt my project. Is it possible? Perhaps quilting small sections and then sewing the sections together? Thank you for your imput.
Carolyn
Wonderful instructions. Thank you! Did you change the stitch settings at all between piecing together the front and machine quilting? Or was the only difference using the walking foot?
Christa, I love this quilt & your blog!! So glad to find someone willing to take the time to share & help all others to understand. Thank you for that. Question: Do you start quilting in the middle of the quilt or did you just start at one end to the other? I love the pattern quilting you used also.
You can start on either side as long as it is well basted.
Thanks for all of the detailed instructions! I have just started my first strip quilt & need a little guidance. I always watched & helped my mom when I was a little girl , but have forgotten a lot of it. Your site has a lot of info I’m sure I will need!!
So happy to have found your site Christa.
So very glad I found this web site . Have enjoyed reading your blog and can not wait to start on my first project . I love how you explain and sew along with the project too.
Welcome Debra and thanks! I’m glad you enjoy and hope you enjoy all of my quilt-alongs!
Exactly what stitch are you using on your machine for this particular design?
Wonderful Series Christa!
That looks like such an easy quilting method! And it looks professionally done. Thanks!
The quilting looks great! Love it.
I love that wavy line quilting. Thanks for linking up!
Beautiful and modern! The wavy line worked so well!
Emma
Hey, I love that wavy line for the quilting!
Quilting is my favorite part too. However, our “styles” are very different.
Well, I was a fast starter but I haven’t got the backing fabric picked out yet so I am getting behind…but I will send you a picture when it’s done.
No worries! We can all work at our own pace. The wonderful thing about a blog is that the instructions will stay up forever!
Love that Vintage Modern quilt…beautiful!