While I’m away teaching in Australia this week, I thought I’d share a virtual trunk show with you, so you can pretend that you are right here with me! I’m including all the quilts from all three of my books along with the book covers from each, so you can easily reference where to find them. Be sure to click the bonus links for more details about each quilt. So grab a treat and enjoy the show…
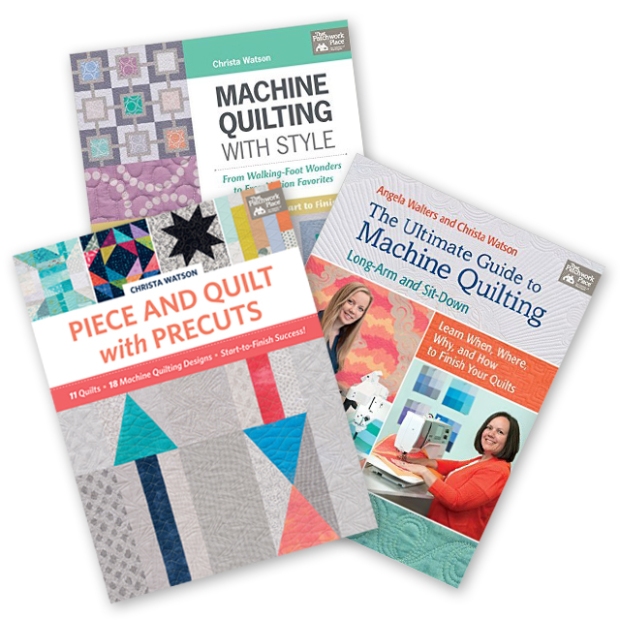
Quilts from Piece and Quilt with Precuts (2017)

All of the quilts in this book are precut friendly and each pattern includes piecing instructions and a quilting plan with diagrams and quilting suggestions. You can mix and match pieced patterns and quilting motifs to your heart’s content!
Squiggles – Original Version from the Book
Click here for the blog post about this quilt.
Click here for the Quilt Along for this quilt.

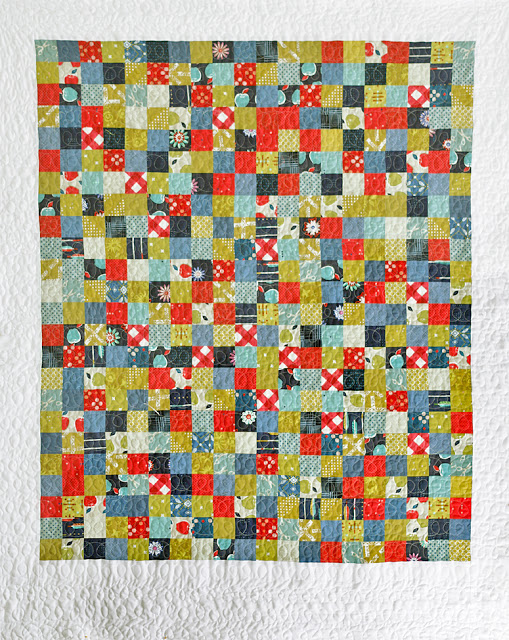
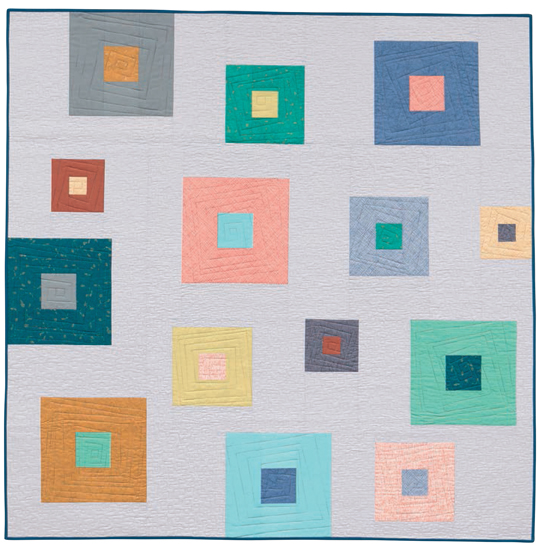
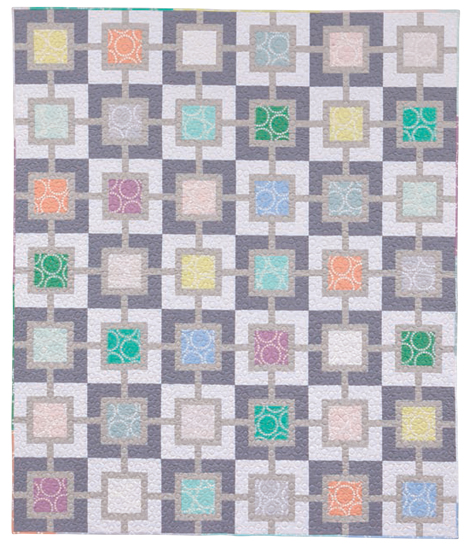
Gridwork – Original Version from the Book
Click here for the blog post about this quilt.

Gridwork Remake by Vicky Holloway Using Modern Marks
Click here for Vicky’s blog post about this quilt.

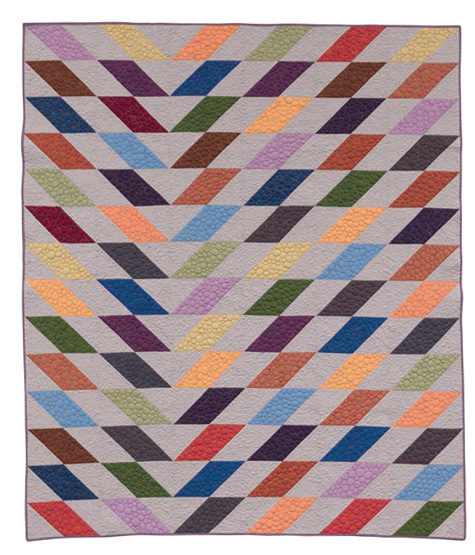
Frequency – Original Version from the Book
Click here for the blog post about this quilt.

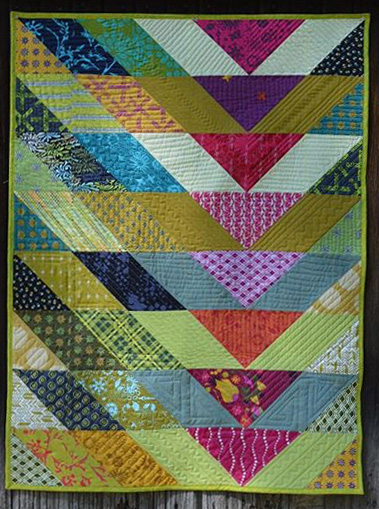
Frequency – Mini remake using Modern Marks
Click here to read more about this collaboration between me and Leah Day.

S.W.A.K
Click here for the blog post about this quilt.

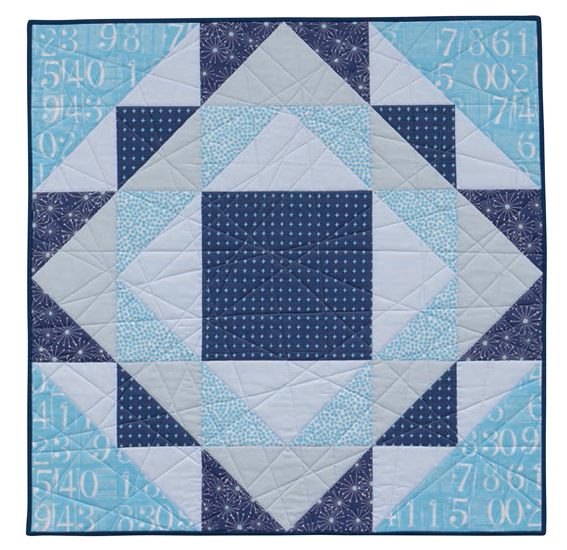
Starstruck – Original Version from the Book
Click here for the blog post about this quilt.

Starstruck remake using Modern Marks
Click here for the blog post about this quilt.

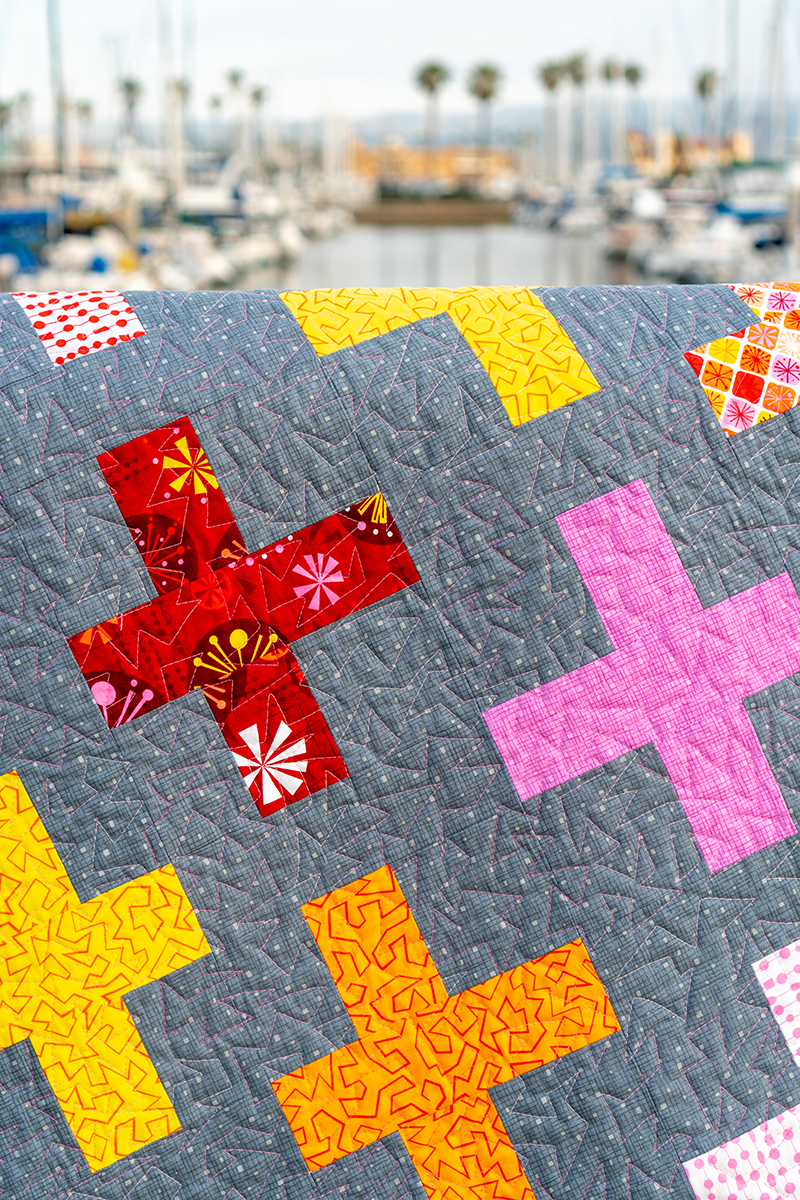
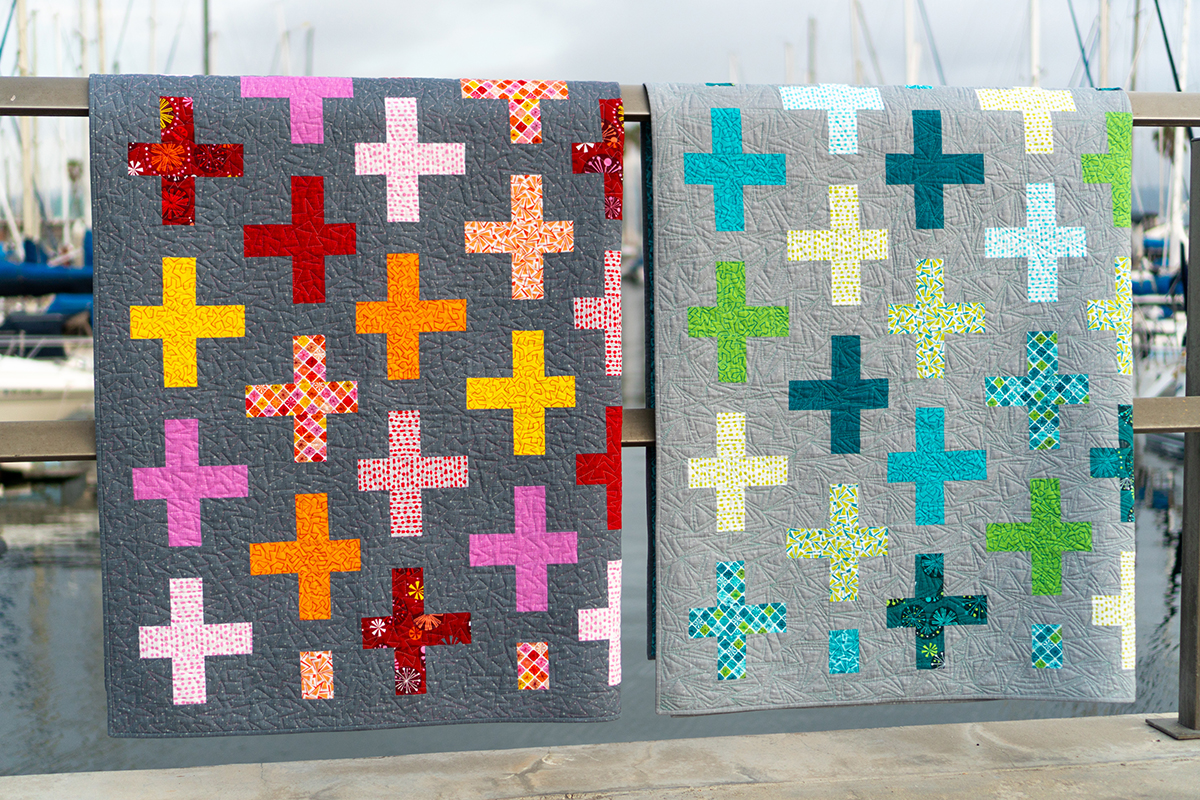
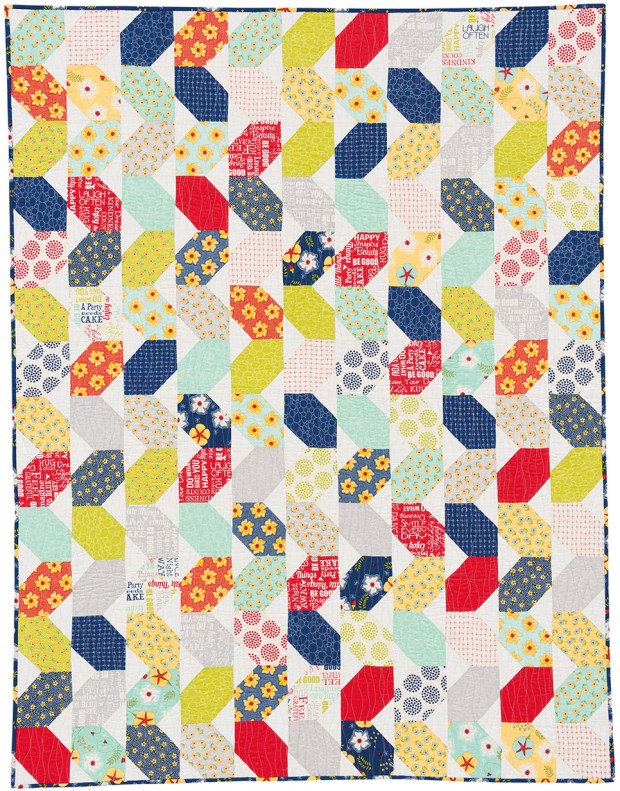
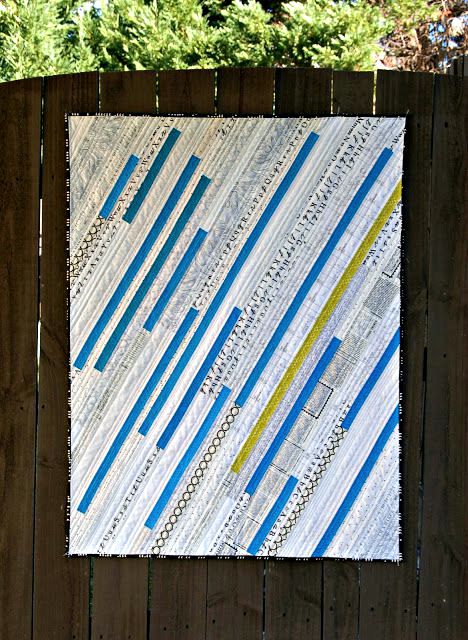
Dot ‘n’ Dash – Original Version from the Book
Click here for the blog post about this quilt.

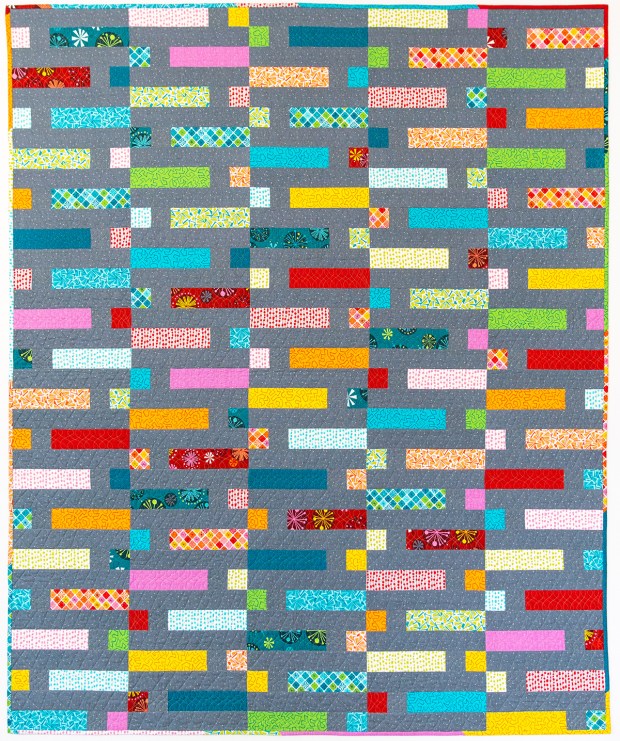
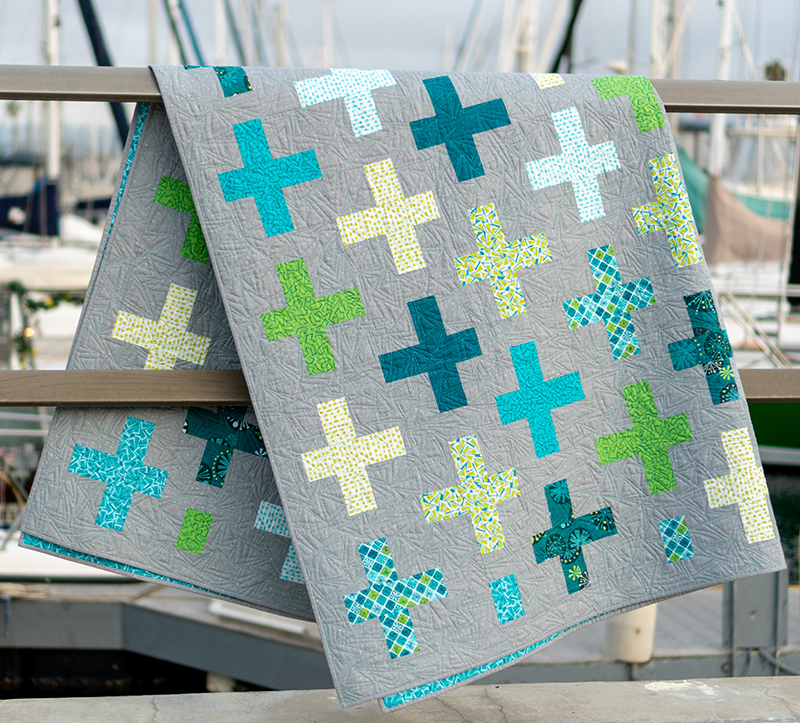
Dot ‘n’ Dash remake using Fandangle
Click here for the Quilt Along for this quilt.
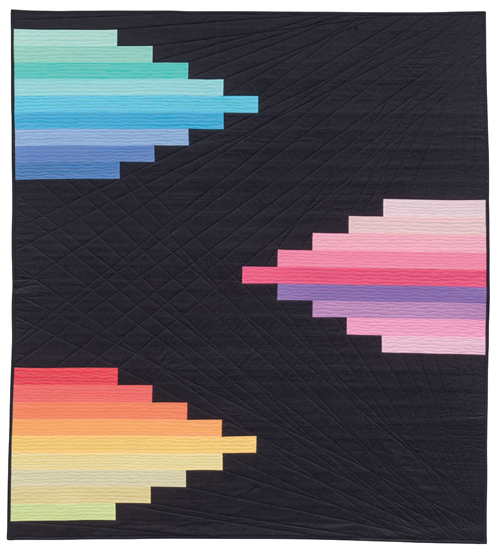
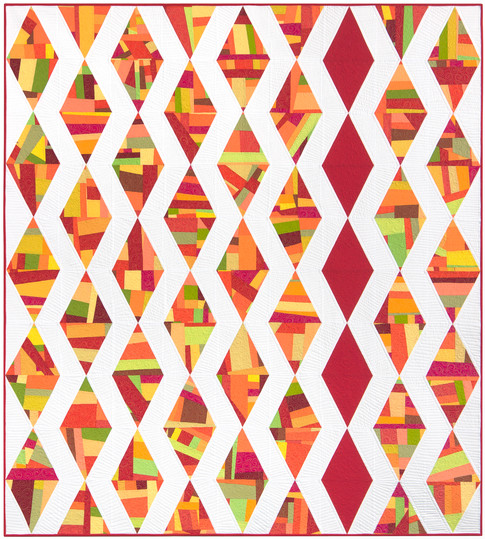
Twinkling Diamonds
Click here for the blog post about this quilt.

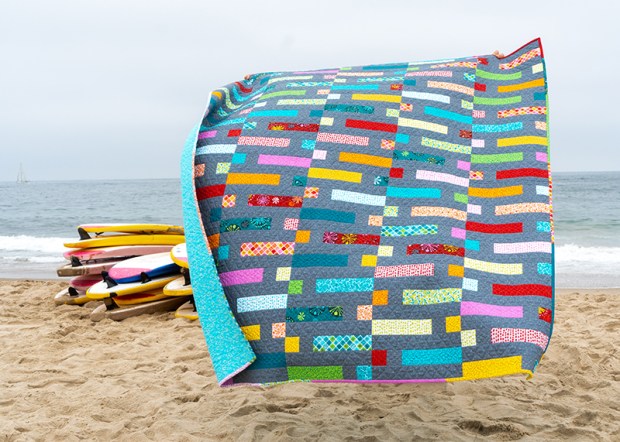
Windows
Click here for the blog post about this quilt.

Kites
Click here for the blog post about this quilt.

Arrows
Click here for the blog post about this quilt.

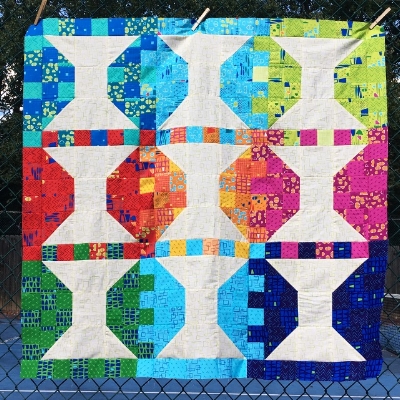
Spools – Original Version from the Book
Click here for the blog post about this quilt.

Spools Remake by Hollyanne Knight Using Modern Marks
Click here for Hollyanne’s blog post about this quilt.
Quilts from The Ultimate Guide to Machine Quilting (2016)
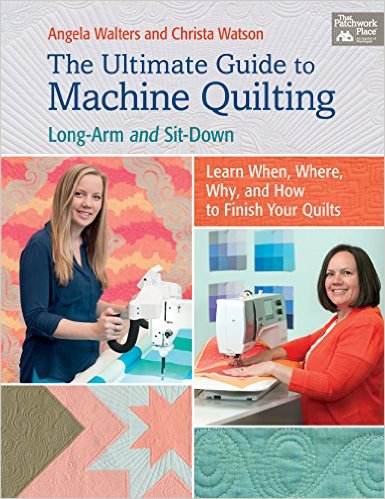
Angela Walters and I each made the same ten quilts in our own choice of fabrics and quilting motifs. There are 10 different patterns presented along with over 50 different machine quilting designs. Below are each of the 20 quilts we made showcasing different color combos and machine quilting suggestions.
Choosing Colors
Click here to read more about this quilt.

Christa’s version – in rainbow order.

Angela’s version – mix it up and throw in a scrappy binding!
Swirling Butterflies
Click here to read more about this quilt.

Christa’s version – bold and contemporary.

Angela’s version – white and traditional.
Plumb Lines
Click here to read more about this quilt.
My version of Plumb Lines won 2nd Place, Modern at HMQS in 2016.

Christa’s version – free-motion alternatives to straight line quilting.

Angela’s version – peachy keen!!
Cornered
Click here to read more about this quilt.

Christa’s version – pretty in pink!

Angela’s version – make your friends green with envy when you learn how to quilt these motifs!
Directionally Challenged
Click here to read more about this quilt.

Christa’s Version in shades of blue with walking foot quilting and FMQ.

Angela’s version in red showing how to break down large blocks for quilting success.
Migration
Click here to read more about this quilt.

Christa’s version – grid quilting in warm earthy tones.

Angela’s version – jewel box quilting with lots of negative space fillers.
Exploding Star
Click here to read more about this quilt.

Christa’s version using Angela’s fabrics with walking foot continuous spiral quilting.

Angela’s version quilted with multi-sized spirals.
fractured squares
Click here to read more about this quilt.

Christa’s version – completely quilted with a walking foot.

Angela’s version – having fun with improv borders!
Quatrefoil Applique
Click here to read more about this quilt.

Christa’s version – it’s a machine quilting sampler!

Angela’s version – bold and dramatic.
U-Turns
Click here to read more about this quilt.

Christa’s version – cool teal solids with a touch of print.

Angela’s version – perfect for practicing turning a corner!
Quilts from Machine Quilting with Style (2015)
Click each highlighted link below each image for more about that quilt.

13 friends each remade the 12 quilts + 1 of the backings. I have included their versions, too. Photography of my quilts courtesy of Martingale and Brent Kane. Here’s the order in which they are presented in the book:
 Ripples, made by me

Ripples, made by Melissa Corry and her MIL Barbara
 Rain, made by me
Juried into QuiltCon 2016
Shown at MQG Exhibit at Int’l Quilt Festival
Drizzle, made by Cheryl Brickey
 Color Crystals, made by me

Color Crystals, made by Vicki Ruebel
Honorable Mention, PIQF 2015
Faculty Award, MQX New England 2016

Technicolor backing made by me

Urban sunrise, made by Ida Ewing
Best Machine Quilting, Pahrump Quilt Show 2016
 Little Man’s Fancy, made by me

Little Man’s Fancy, made by Tina Guthmann
 Static, made by me
Static, made by Lee Heinrich
 Square in a Square, made by me
Juried into Road to California, 2016

Square in a Square, made by Stacy Cooper

Focal Point, made by me
Juried into QuiltCon 2016

Focal Point, recolored in EQ7 using Chic Neutrals fabric from Amy Ellis

Focal Point, made by Amy Garro

Lightning, made by me
Bonus backing tutorial from Martingale
Juried into Road to California 2016
 Pink, made by Leanne Chahley
 Candy Pop, made by me
Awarded 3rd Place, Applique at DQN 2016 Quilt Show

Candy Pop, made by Linda Hungerford
 Broken V, made by me
Broken V, made by Sharon McConnell
Facets, made by me
2nd Place Modern, AQS Paducah 2016
Juried into AQS Phoenix 2016
Quilt Along Blog Series 2016

Facets, made by Kristy Daum
 Pearl Gray, made by me
1st Place Large, Single Maker, DQN 2016 Quilt Show

Pearl Gray, made by Alyce Blyth


 My Dot ‘n’ Dash design is based on


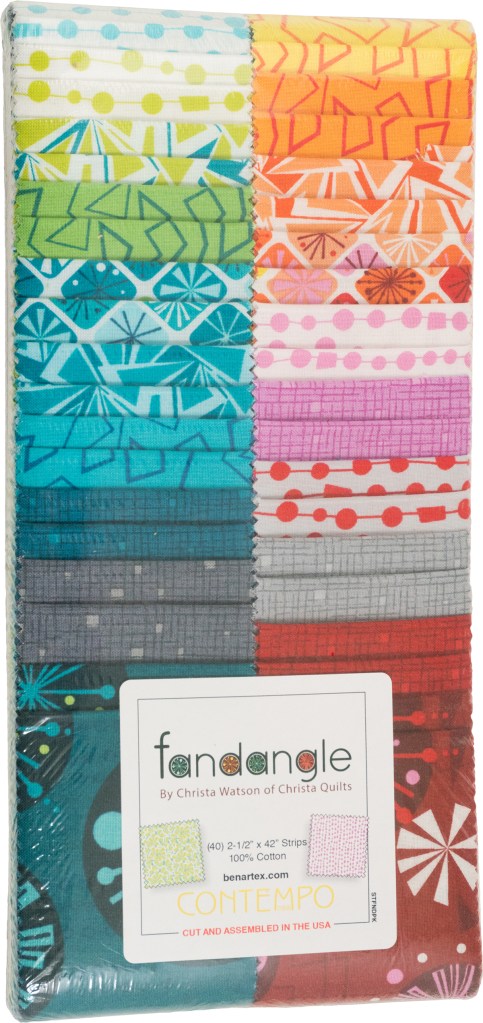
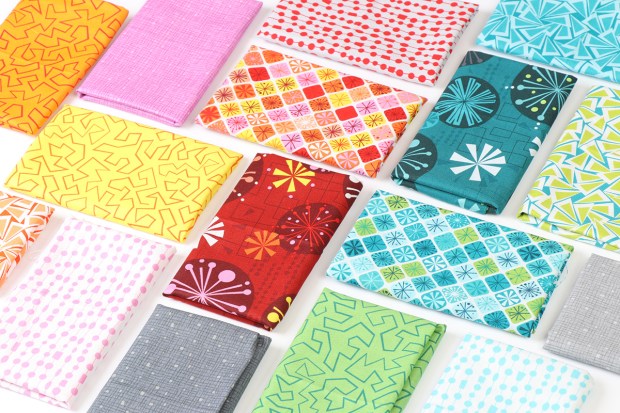
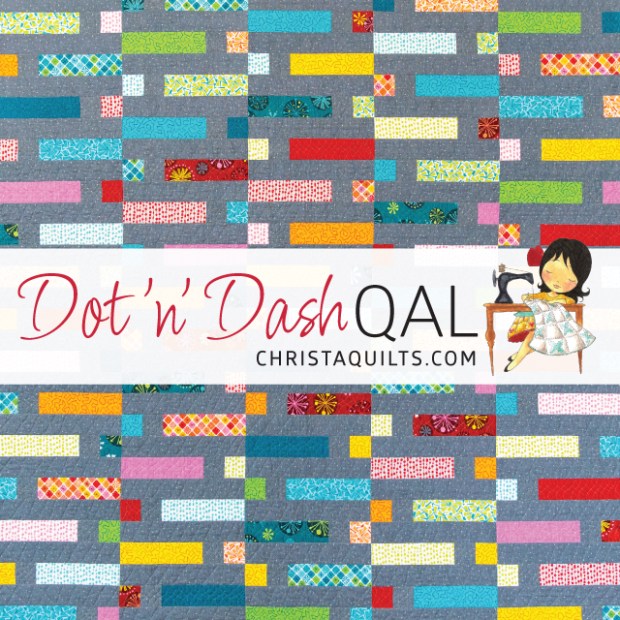 This remake showcases Fandangle, my second fabric line from Benartex.
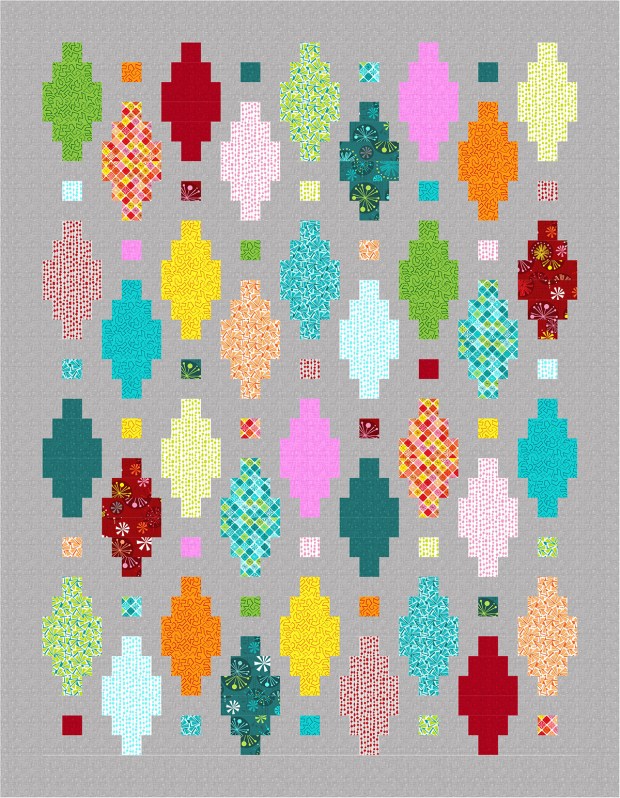
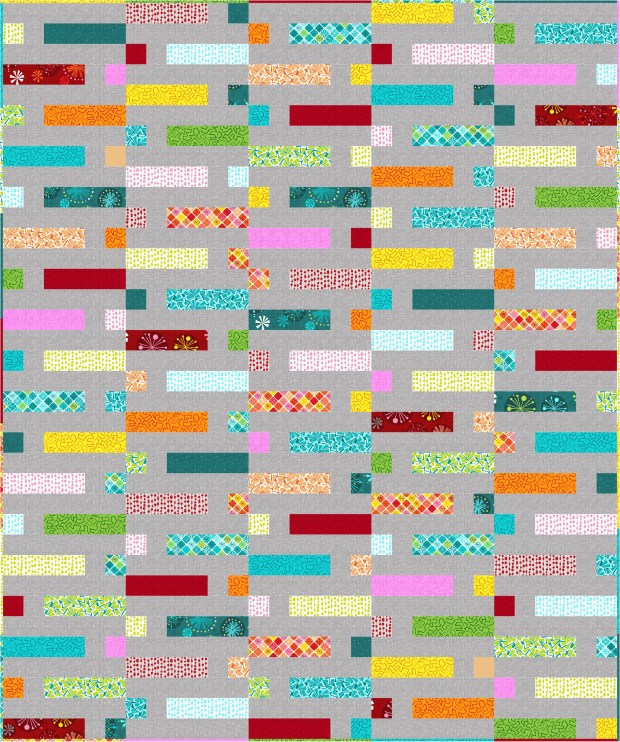 Dot ‘n’ Dash with light gray background recolored in