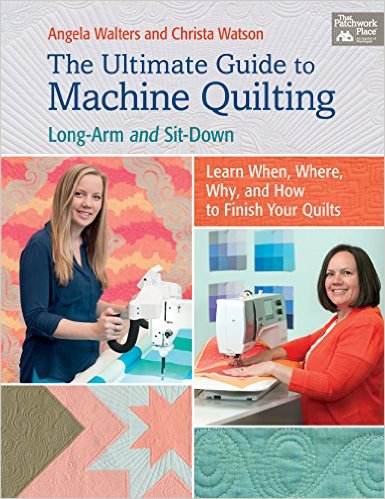
Now that I’m back and rested from my trip to Australia, I thought I’d share some of the highlights. I was invited to travel to Tasmania and Adelaide to teach machine quilting and it was soo amazing! I couldn’t pass up the opportunity to bring my family with me. They had lots of adventures while I was teaching, and I was able to participate with them on my days off.

If you’ve never gone on a long haul flight, I have to admit it was pretty tough. It took us about 24 hours to get there with multiple layovers, one long 14 hour flight in which we had to sleep on the plane (so not fun) and of course a huge adjustment in time zones. But the hubby and kids were up for the adventure and fortunately our first day there was a recovery day so it didn’t slow us down too much.
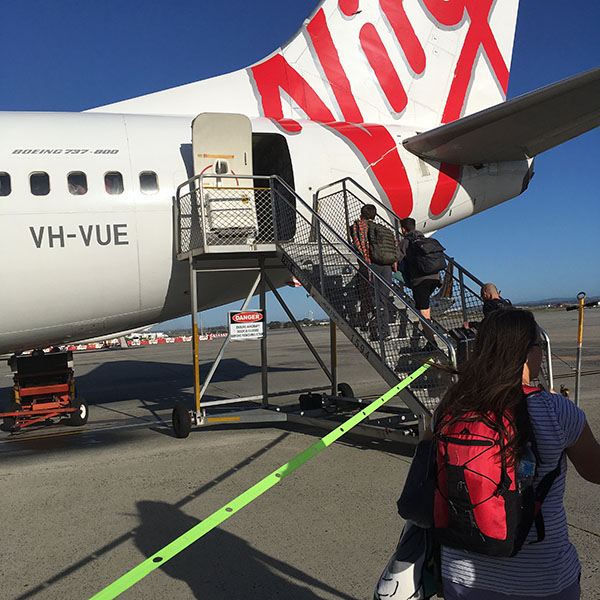
The kids loved walking on the tarmac to board the plane on one of our connecting flights.

Sleeping on the Airplane is not very comfortable!!
I had a full play day scheduled in Tasmania before I had to teach and we were able to visit a local museum and animal sanctuary. I learned a bit about the country’s history and got to cuddle with some koalas and kangaroos!

This art piece from the museum looked very quilty. I enjoyed learning about the region’s history.

The Bonorong Wildlife Sanctuary in Tasmania got most of their animals as rescues. Many times the mama kangaroos are killed on the roadways while carrying Joey’s (baby kangaroos) in their pouches. They raise the babies and protect other native wildlife so they can thrive.

It was fun to pet & feed the kangaroos. Can you see the joey sticking out of mama’s pouch??
Jason was our designated driver and it took him a few days to recover from driving on the “wrong” side of the road, but fortunately I was able to use that analogy when teaching free-motion quilting. I told my students that It takes learning a new motor skill while both driving AND quilting, LOL!!

It took awhile to get used to the view from the “wrong” side of the street while driving!!
My students in Tasmania seemed to have a fabulous time learning both walking foot and free motion quilting. Thank goodness that “driving” a sewing machine works the same no matter which country you are in (though of course we had to pack a few plug adapters to use our electronics.)

Student work in class – I love the variegated thread!
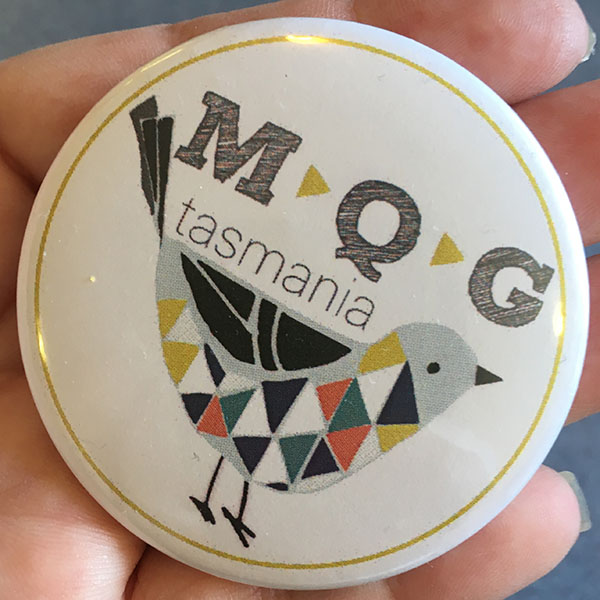
Souvenir from the Tasmanian Modern Quilt Guild – I’ll wear it with pride!
While I taught, the kids were able to travel to what they called “The End of the World” – the southern most tip of Australia. Really you can’t travel much further south without being in Antarctica!

View from “the end of the world”! It wasn’t really but the kids had fun calling it that!
By the way, I loved taking notice of all the cultural and language differences between our two countries. The most interesting thing I noticed at each restaurant we visited was that they gave us a container and glasses for us to pour our own water, rather than serving us glasses of ice water and constantly refilling it. It’s actually more efficient I think, and my younger son who prefers not to have ice in his drinks was thrilled.

There’s a large Asian population in Australia which meant lots of yummy Asian restaurants to try!

The word LIFT at the airport certainly takes up less space on a sign than “elevevator!”
Just for funsies, here are a couple of wording differences that the kids had fun pointing out. The first word is the Australian version, followed by what we call it here in the US:
- Lift = elevator
- Holiday = vacation
- Trolley = shopping cart
- Chips = french fries
- Sauce = ketchup
- Toilet = restroom
- Take away = take-out
- Way out = exit
- Pram = stroller
- Jug = pitcher
- Biscuit = cookie
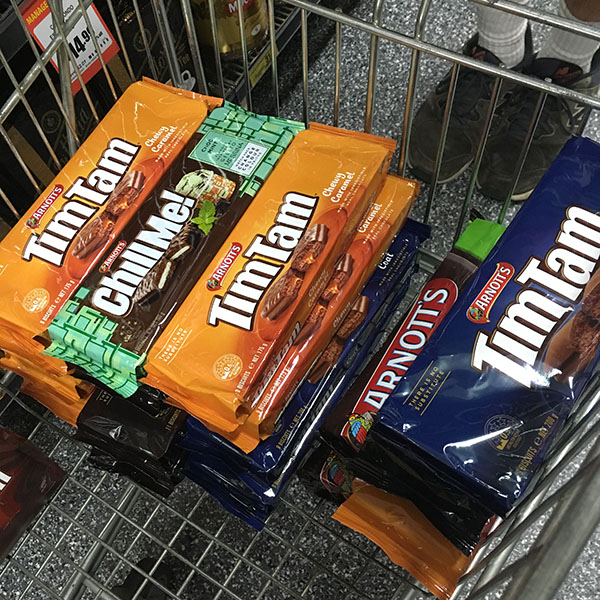
TimTams are the best “biscuits” we’ve ever had so we made sure to stock up!!
After our jaunt in Tasmania (with delicious food and amazing hospitality) we took a hop over to Adelaide for the next leg in our journey so I could teach at the Australian Machine Quilting Festival. I lectured and taught for 3 days straight and the most fun thing to realize is that quilters are amazing and enthusiastic, no matter where in the world I travel!

I enjoyed chatting with Cindy Needham and Helen Stubbings from Hugs ‘n Kisses after a day of teaching. Cindy was one of those inspiring teachers who came to my guild about 10 years ago that made me realize I wanted to travel and teach, too! Helen invited me to her guild in Tasmania and it’s her sister who invited me to teach at AMQF. I love a creative quilting family!!
I taught 3 machine quilting workshops and one piecing workshop. Students worked on their versions of my Modern Logs quilt pattern and it’s one of my favorite piecing workshops to teach because everyone’s blocks turn out so differently, but are still soo amazing!

I love hanging out with fun quilters worldwide!!
BERNINA Australia generously provided sewing machines in class for everyone to use.
While I taught in Adelaide, the family had even more adventures. They went bike riding out in the country, and did some rock climbing guided by my oldest son.

This Koala knows how to pose for the camera!
We were there for a total of 12 days including travel and my daughter who is still in school diligently kept up with her homework while we were gone. I’m so glad the timing worked out for all of us to go (the older boys head out on their next life adventures this fall).

The kids had as much fun with their outdoor adventures as I did teaching!

This is the one adventure I was ok to miss! My oldest son is quite the climber so he took the rest of the family on a SAFE rock climbing adventure during one of my workshop days.
I’m so glad they use LOTS and LOTS of ropes!

More Kangaroos!
One of the highlights of the quilting festival was getting to put a teacher ribbon on my favorite quilt. Not only was I blown away by the quilt in the shape of Australia, but the maker machine quilted it herself, adding lots of wonderful texture to the surface, without overpowering the pieced design.

Land Girt by Sea by Barbara Kukulies – Faculty Choice Ribbon
I had such an amazing time and hope to return to Australia again someday. This was my first international teaching trip and it’s definitely made me open to teaching at other international locations, too! So if you live somewhere exotic and fun, feel free to pass my name along to your event organizer or guild. 🙂
Do you have a fun place that’s on your bucket list to visit? Leave me a comment and let me know!


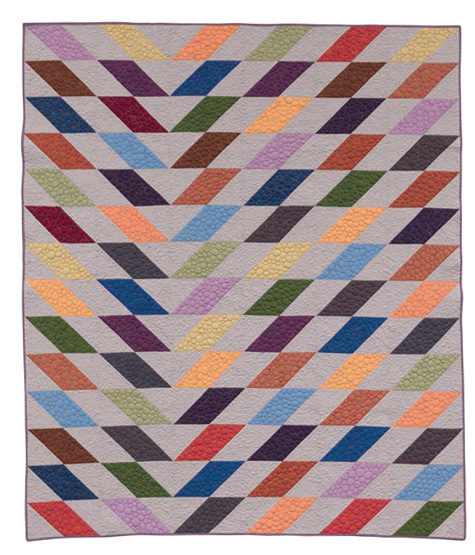
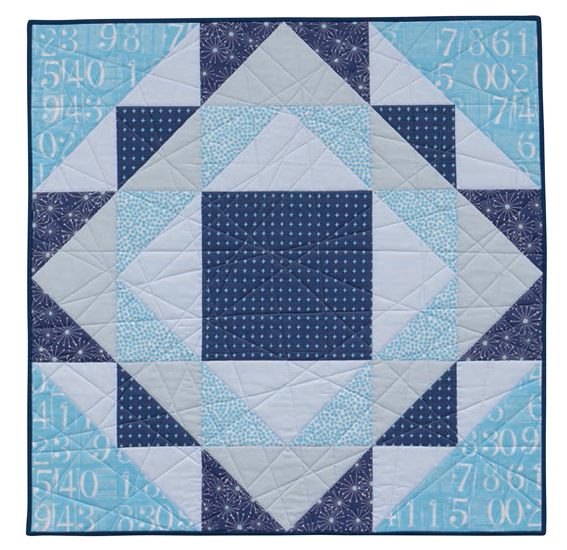
 Image shared with permission from American Patchwork & Quilting® magazine.


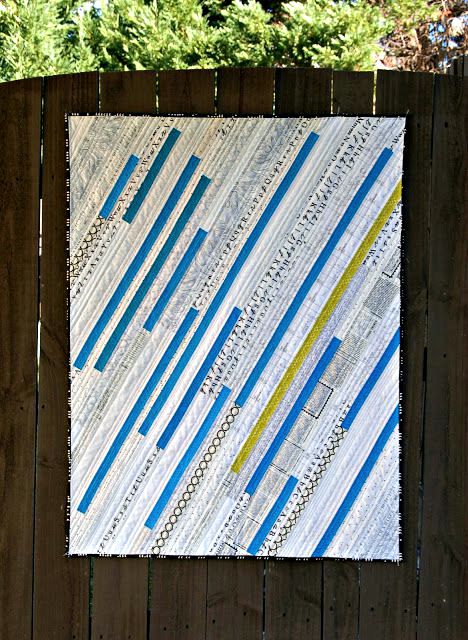
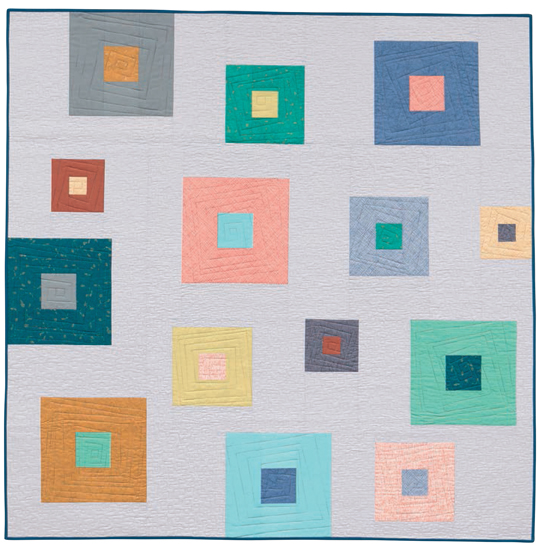
 Out of the box by Christa Watson, Made from Fandangle Fabric


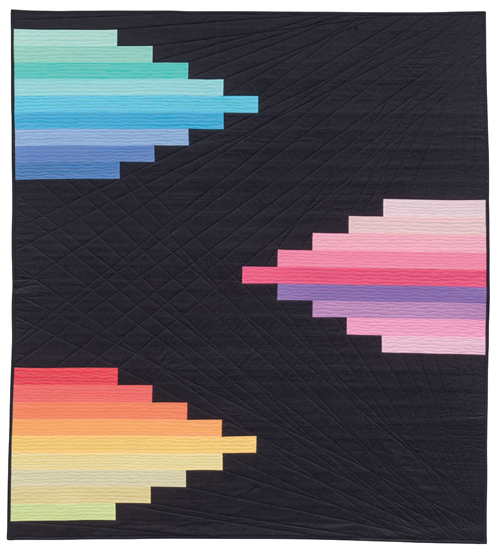


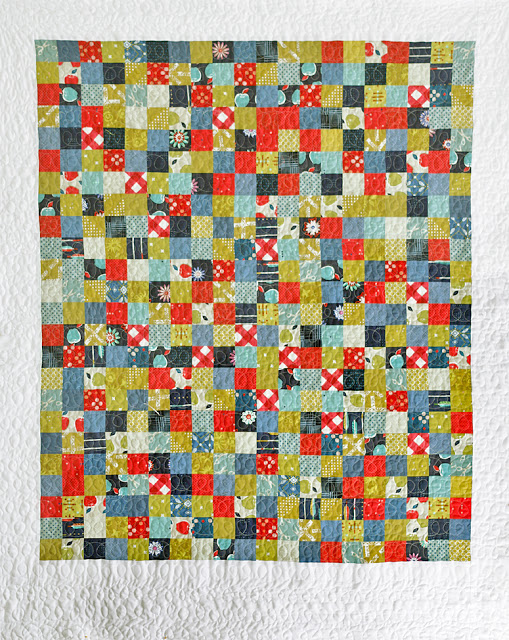


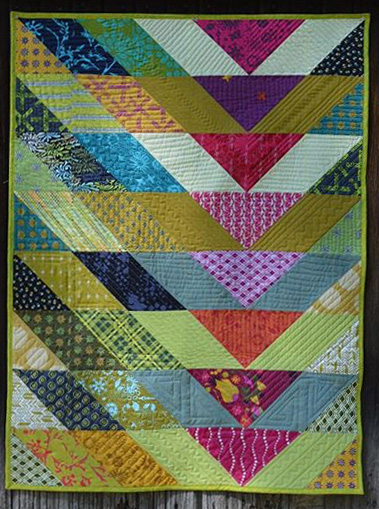
 Pink, made by Leanne